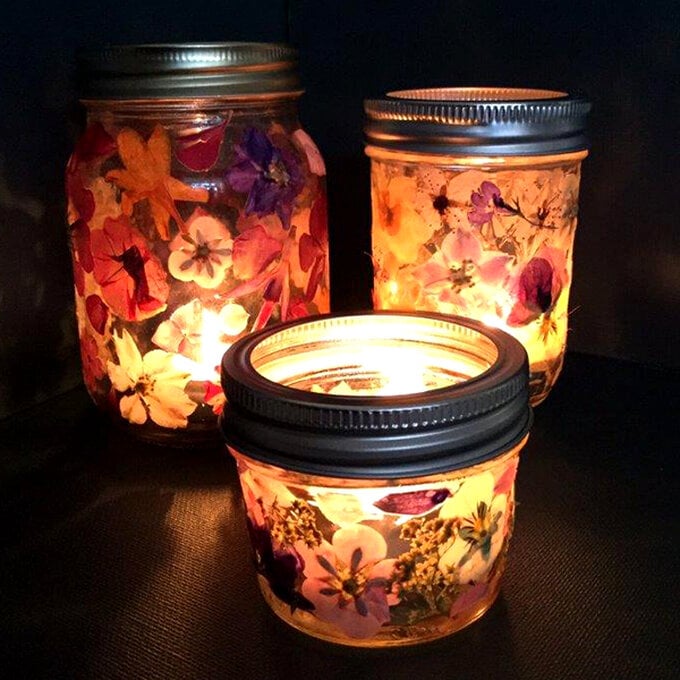
How to Make Pressed Flower Tealight Holders
Level
Beginner
Time
1 hour
Budget
10 - 30
These delicate pressed flower lanterns create a beautiful warm summery glow, and are a lovely project for re purposing your old jam jars! Perfect for a party or wedding table, they can be filled with LED lights as well as regular tealights for use indoors and out.
Project by Jenny Muncaster, extracted from €˜The Artist in You ' Episode 6: Pressing Matters available on Amazon Prime. To find more fantastic craft projects from The Artist in You, click through here to watch on Amazon Prime.
You will need
Quantity:
1
Subtotal
Is $ 1.49
Quantity:
1
Subtotal
Is $ 15.00 , was $ 20.00

Quantity:
1
Subtotal
Is $ 10.00
Quantity:
1
Subtotal
Is $ 10.00
Total:
£0.00
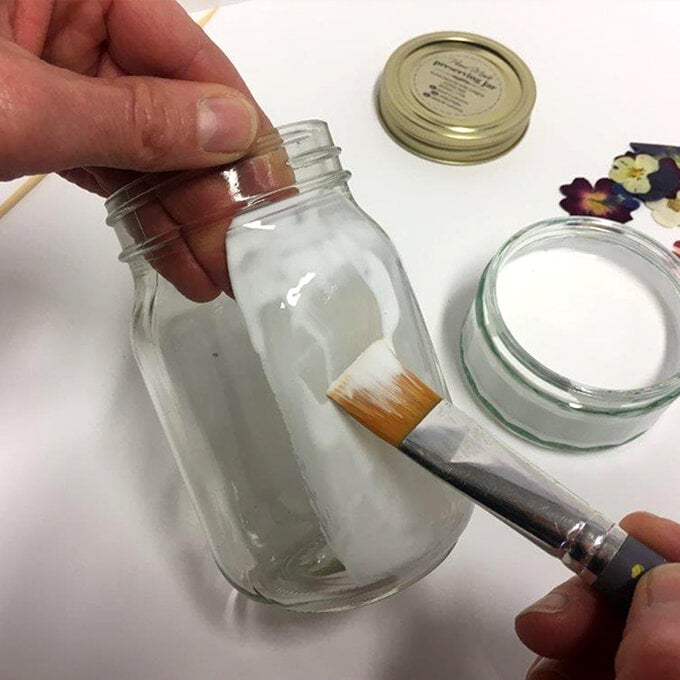
How to make
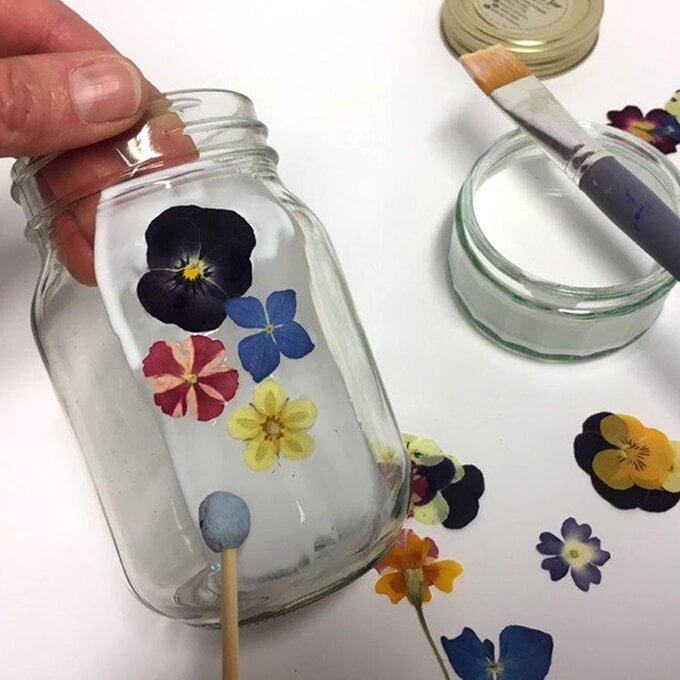
Step 1
Step 2
Step 3
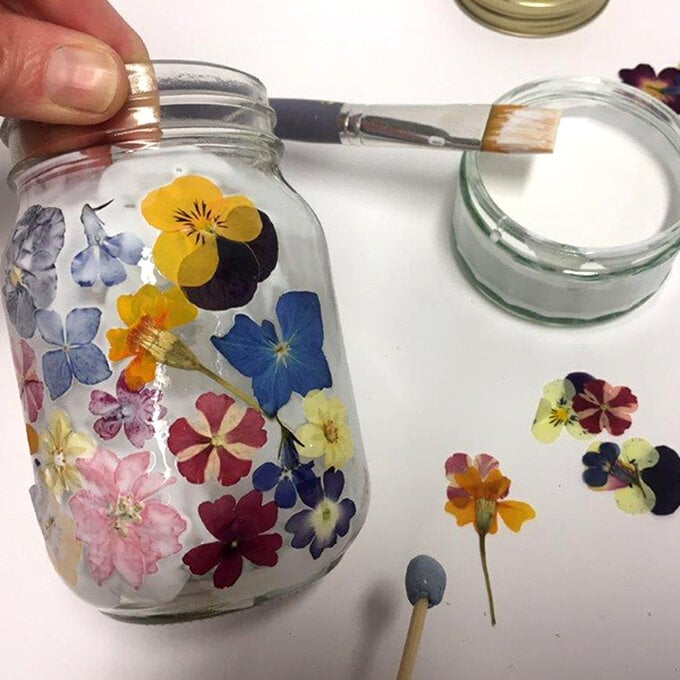
Step 4
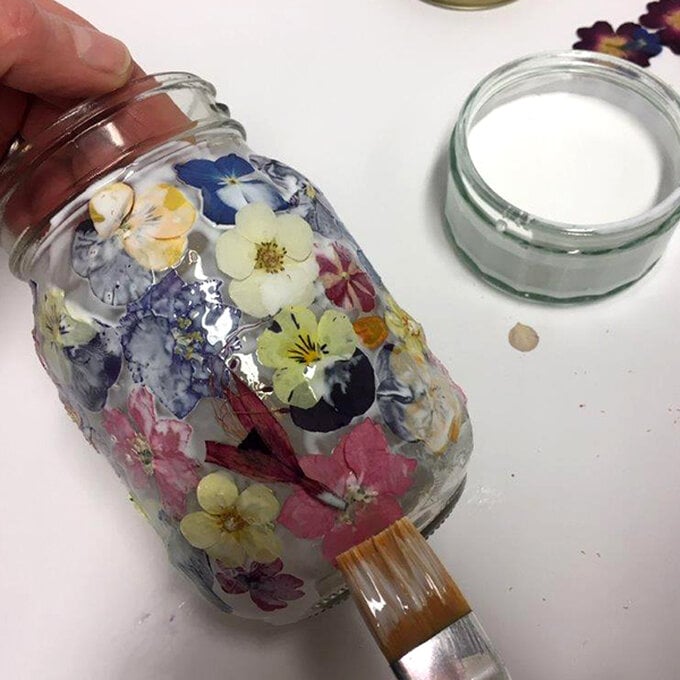
Step 5
Step 6
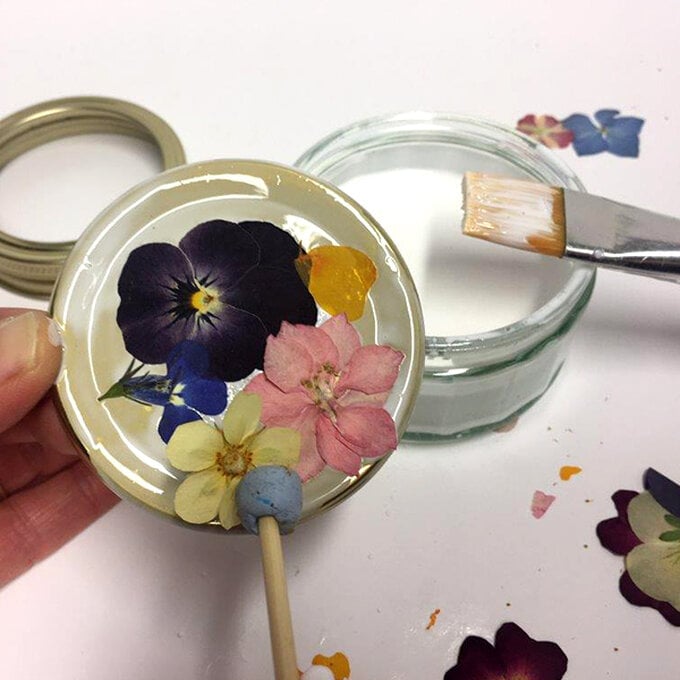
Step 7
Related Products
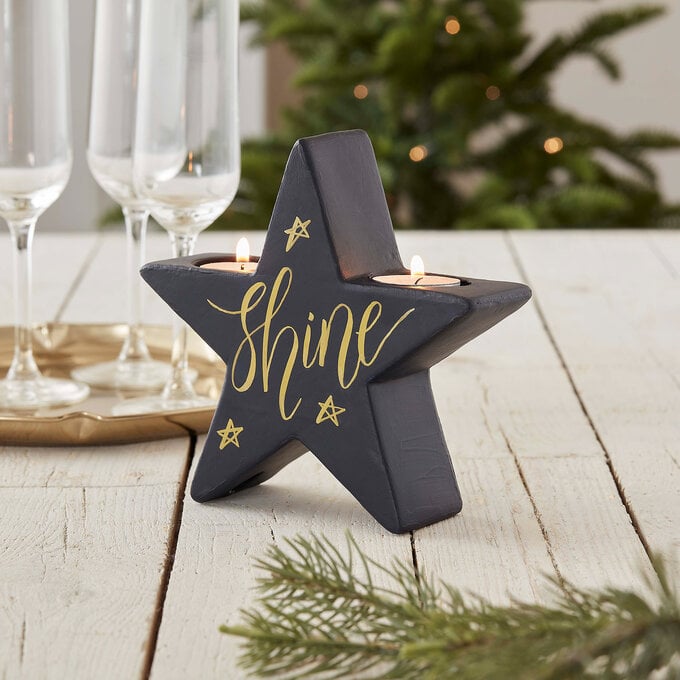
How to Make a Brush Lettered Tea Light Holder
Display photos and table numbers in beautiful style with this Cream Heart Card Holder! The simple stand adds romantic detail to any table, perfect for creating wonderful displays at your wedding! Add your table number and name to the holder ...
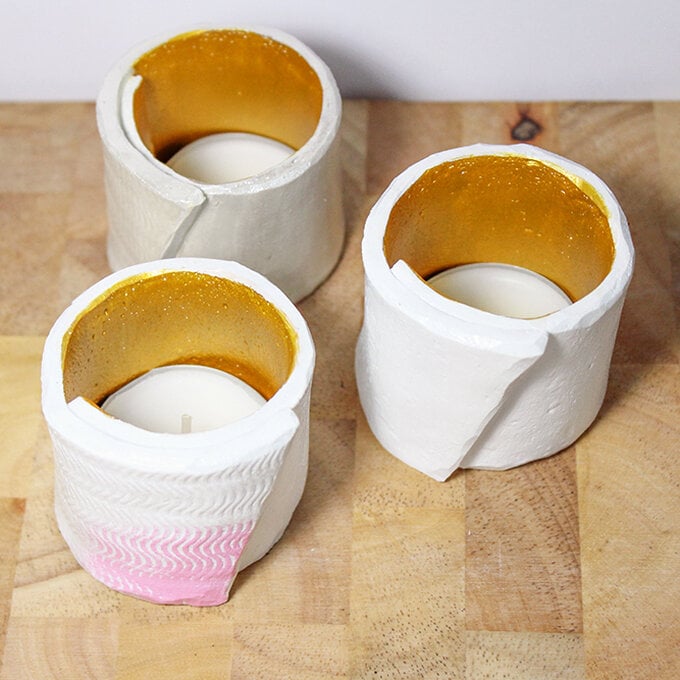
How to Make Clay Tealight Holders
Create a beautiful centrepiece for your Christmas table or mantelpiece with this brush-lettered star tea light holder. Use brush pens to add your message of choice to the front and back of the ceramic star, or use the free template ...
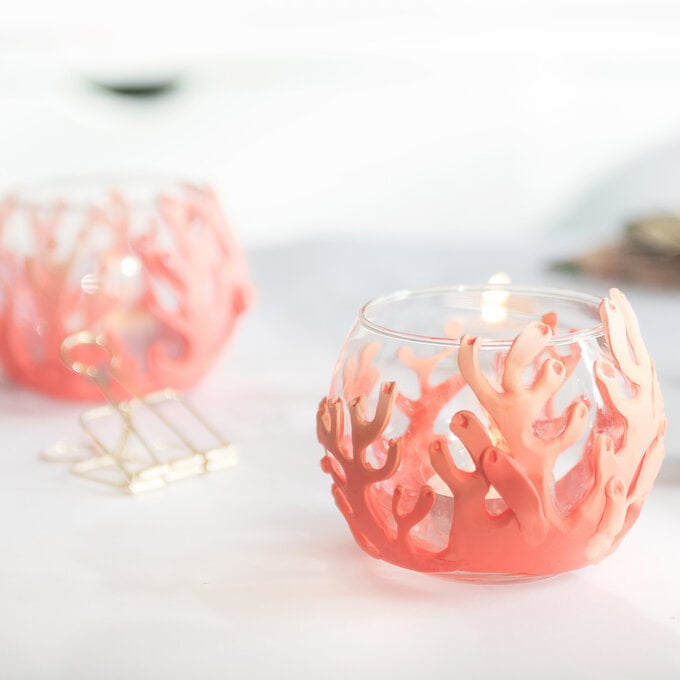
How to Make Coral Tealight Holders with FIMO
Light up any party venue with a stunning Hanging Glass Bubble Tealight Holder. Perfect for lighting outdoor wedding receptions and summer parties, these lanterns can be hung from tree branches and more during your special occasion!Use the space inside the ...
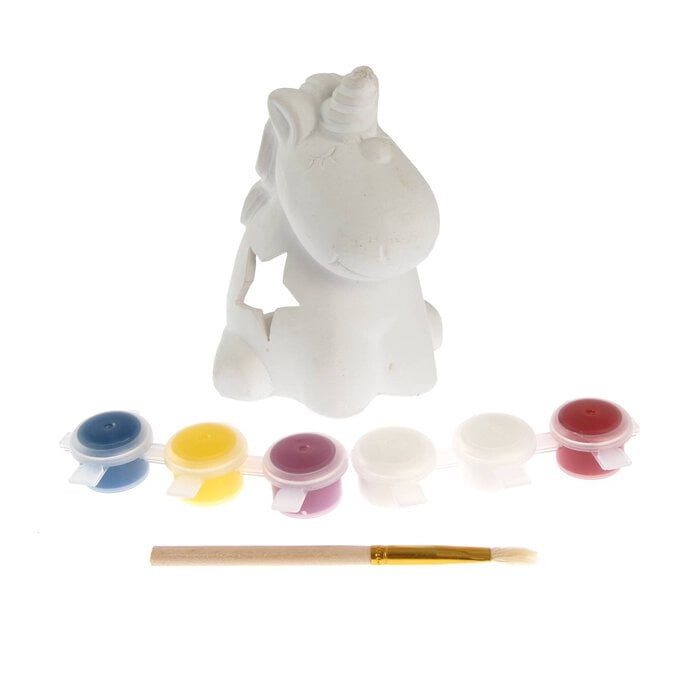
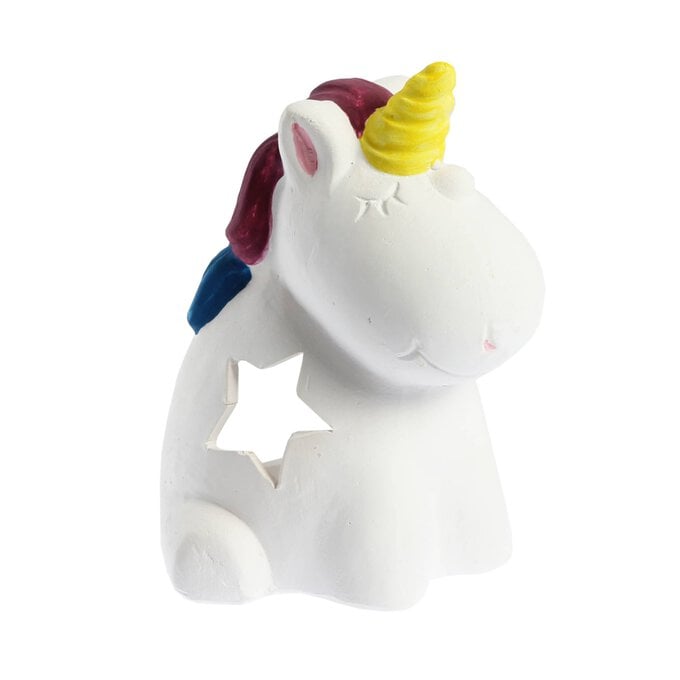
Paint Your Own Unicorn Tealight Holder
Is $ 7.49
Craft a fun decoration with this Paint Your Own Unicorn Tealight Holder!Transform the blank ceramic with colourful paints, ready to help you create a charming ambience in your home with a unique twist. Kids can get their thinking caps on ...
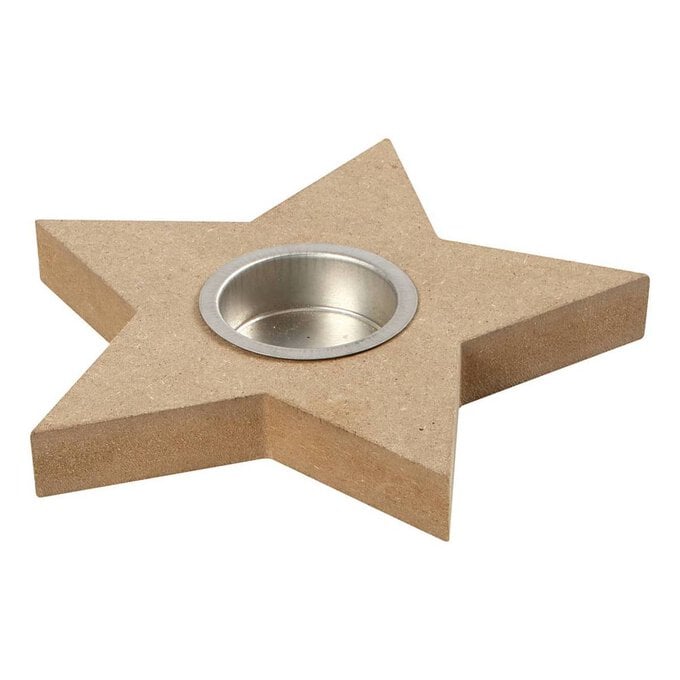
Star-Shaped Tealight Holder 15cm
Is $ 4.49
This Star-Shaped Tealight Holder is ready and waiting to help add a beautiful glow to your home! The MDF tealight holder features a metal candle plate for you to place your tealight in, and you can decorate the star design ...
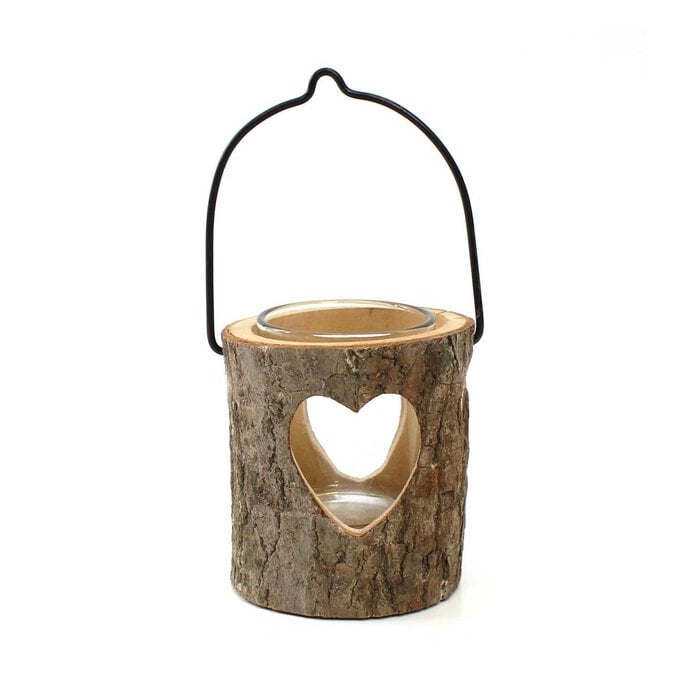

Wooden Heart Tea Light Holder
Is $ 10.00
Light up the night with this Wooden Heart Tea Light Holder! Perfect for vintage-themed weddings and evening events, this stunning decoration will hold your candle to brighten up any room!With its round wooden design, this tea light holder will lend a ...
Rated 5 out of
5
by
Janemouse from
Great idea -simple, achievable and very pretty.
I have some violas and pansies in my balcony pots.
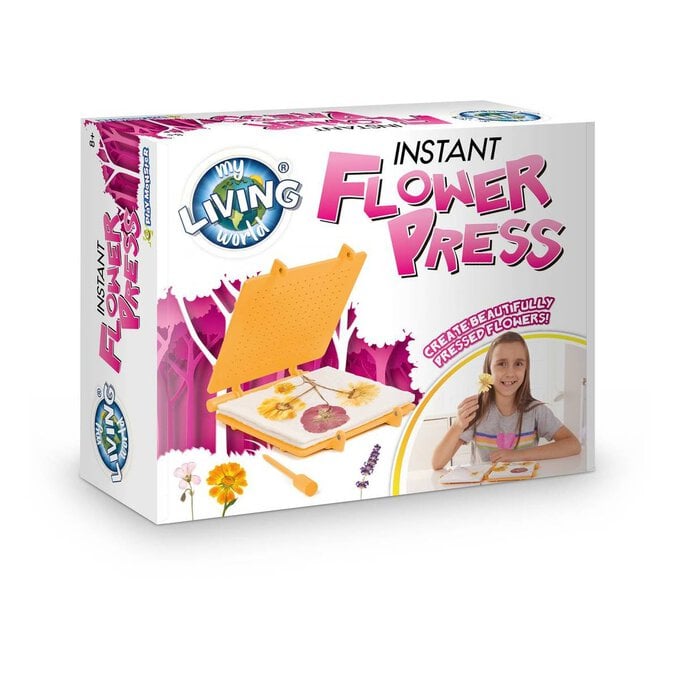
Have just bought the microwave instant flower press and washed out a jar ready….ready to try it out tomorrow!
Date published: 2023-05-29
Rated 5 out of
5
by
CraftT from
What a beautiful idea
A simple but effective way of preserving your favourite flowers and getting some light in those dark corners of the room! Love it hobby craft :)
Date published: 2023-03-01

