Get Started In Fluid Art
Forget your brushes and prepare to enter the colourful world of fluid art!
This is a whole new way of using acrylics to create artworks that are utterly unique every time.
Experiment with the different fluid techniques and watch the colours flow.
If you want to get crafting right away, why not enrol onto one of our superb Fluid Art workshops?Tool Guide
Subtotal
Is $ 41.00
Subtotal
Is $ 4.49
Subtotal
Is $ 26.00
Subtotal
Is $ 40.00
Get Started In Fluid Art
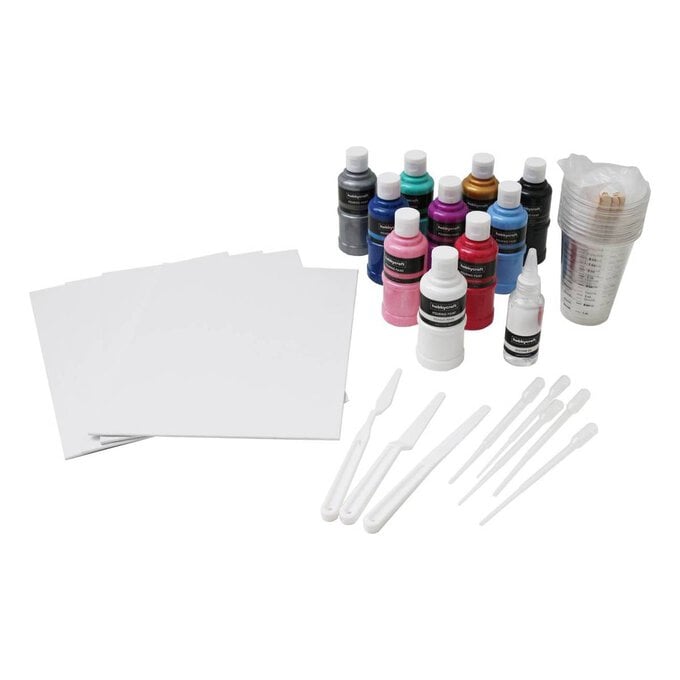
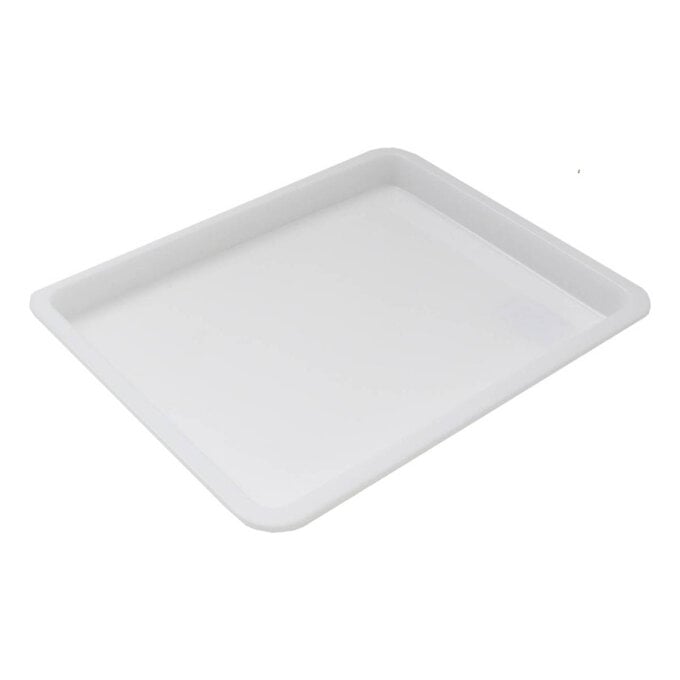
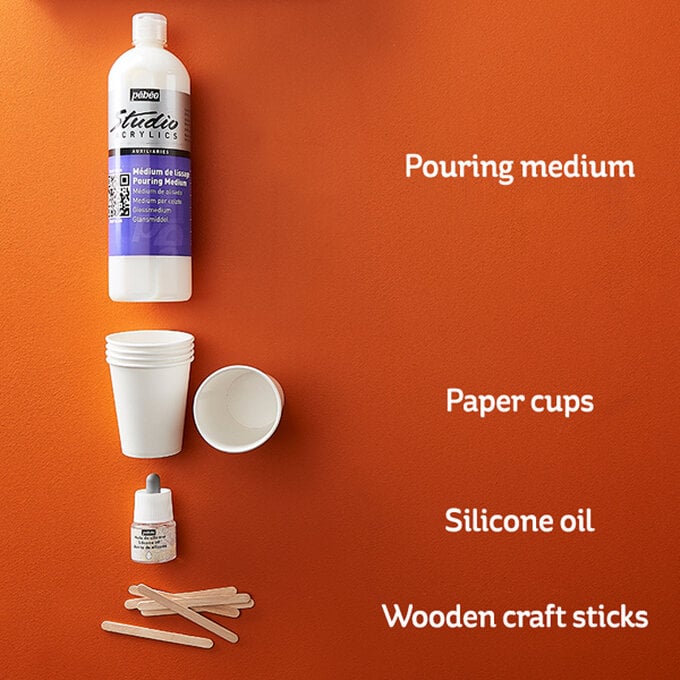
Get Started in Fluid Art Bundle: With pouring medium, a painting surface, pouring cups and silicone oil, you’ll be able to use your favourite acrylics in a whole new way!
Fluid Art Tools: Use printing trays, heat tools, palette knives, sponges and more to experiment with effects and techniques.
Paint: Mix any acrylic paints with pouring medium to create your fluid art, or choose ready-to-use pouring paints.
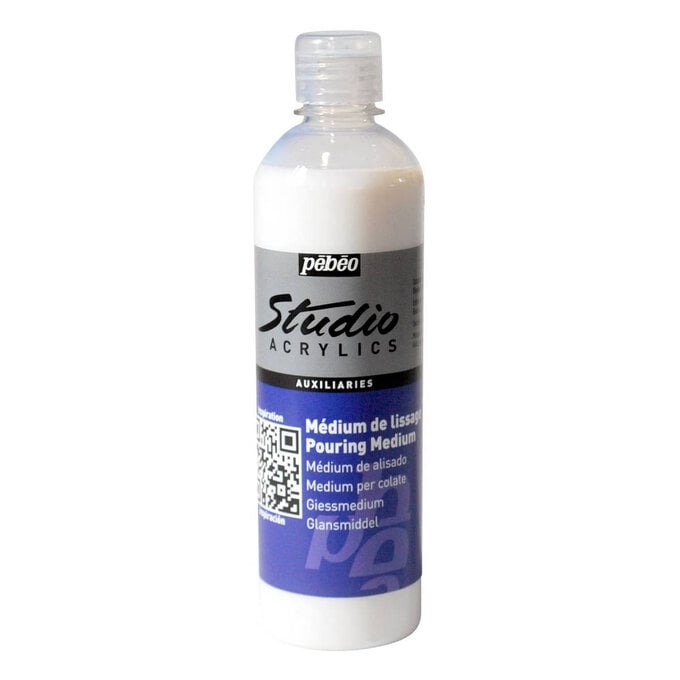
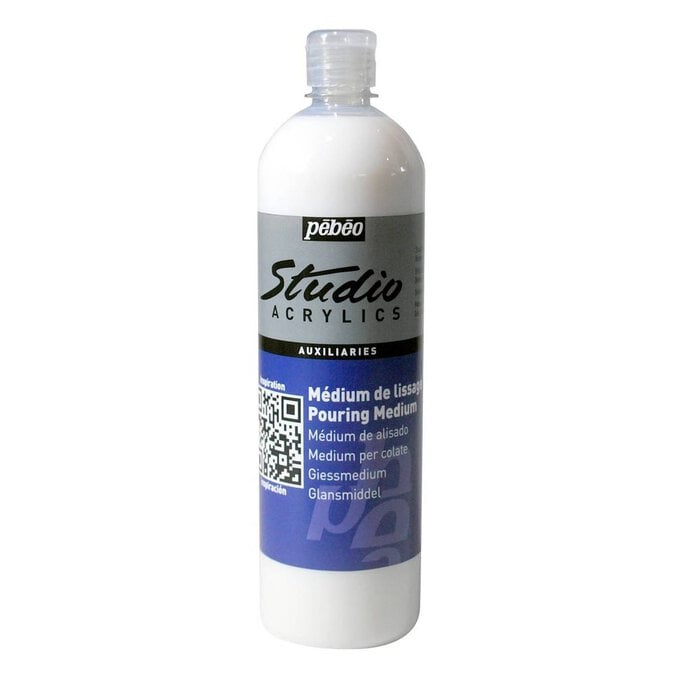
Pouring Medium: This medium creates amazing effects when mixed with acrylic and will allow your paint to pour smoothly onto the surface of your canvas with even, seamless application.

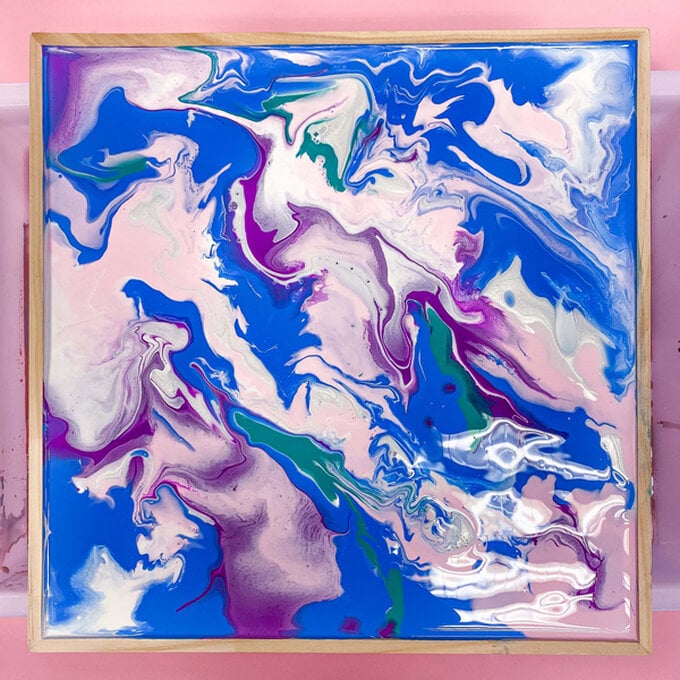
Though there are a multitude of other techniques to try, get started with the basic mix and pour! Even when you’re keeping it simple, the effects will be incredible.
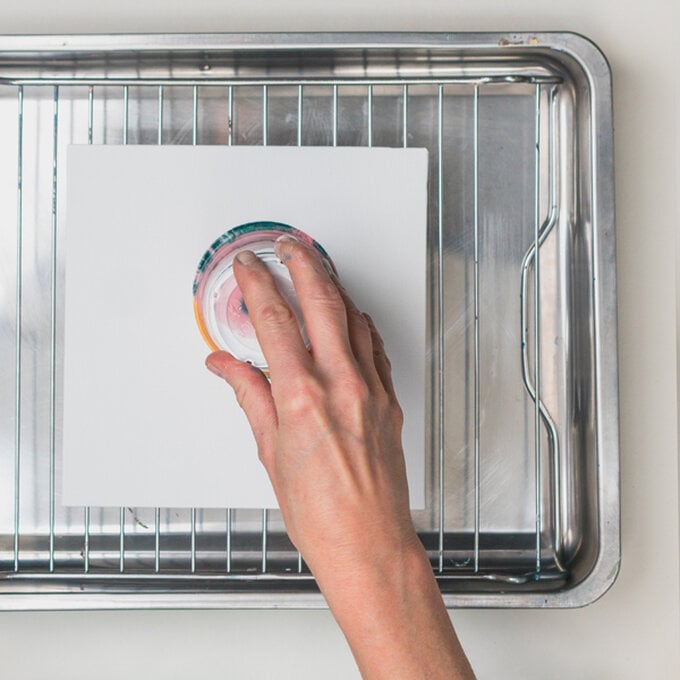
Step 1: Place your canvas on supports in a tray to catch any drips. Add layers of the pre-prepared paints in an empty cup, starting with white. Alternate paint colours in differing amounts. Holding the cup and canvas together, flip them both over so that the cup is then upside down on top of the canvas. Allow the cup of paint to settle for a few moments.
Step 2: Lift the cup and allow the paint to fill the canvas surface.
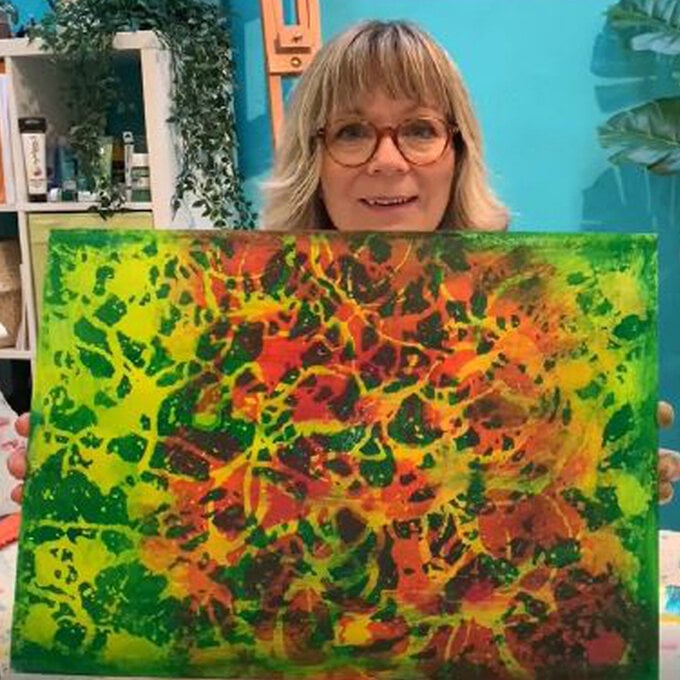
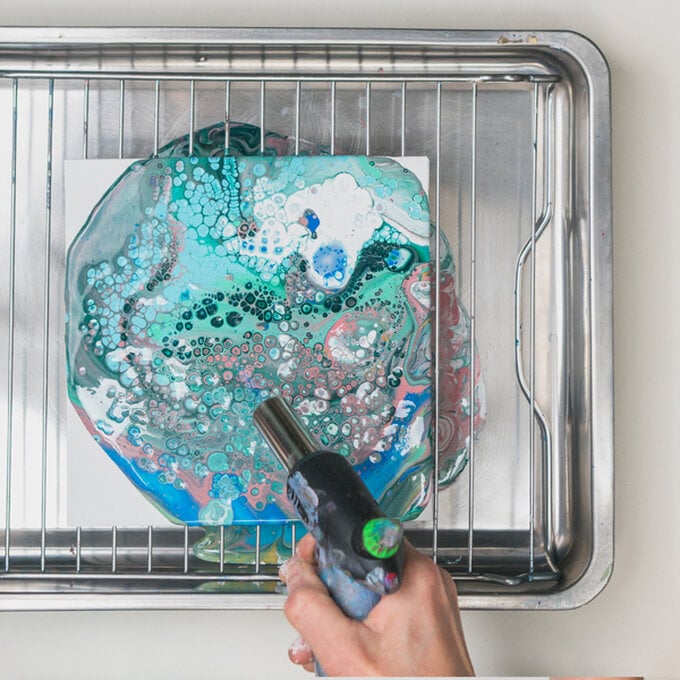
Step 3 - Optional: To create additional cells, use a butane gas torch to heat areas of the paint. Cells will spontaneously erupt in areas where the butane torch is used.
Step 4: Tilt the canvas to cover completely and stretch the cells. Allow 48 hours drying time.


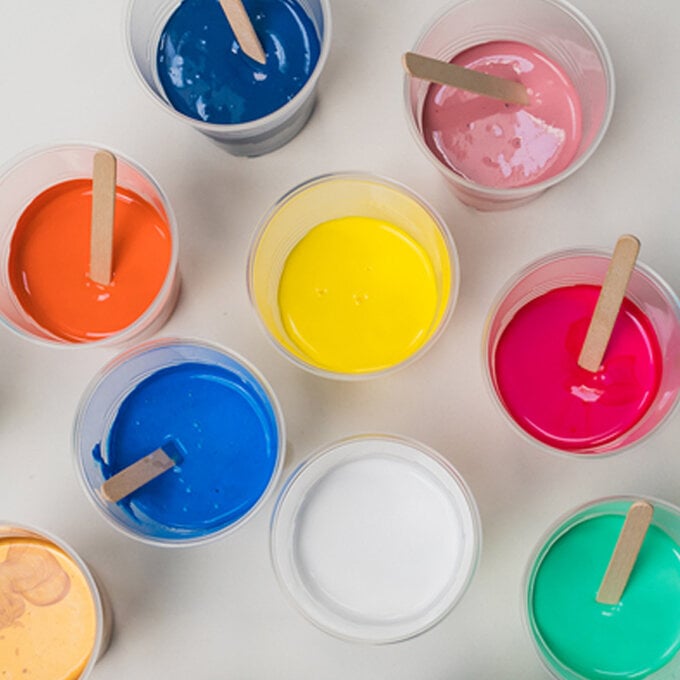
To achieve the desired results every time, consistency is key! Ensure you’ve prepped your paints just right to achieve the right thickness before you start pouring. Experiment with the consistency as paints vary slightly in density, adding more paint or less water if required. The consistency should be like warm honey and should fall from the stick in a single stream without breaking.
Mix thoroughly together one-part acrylic paint with one-part water, then mix in one-part pouring medium.
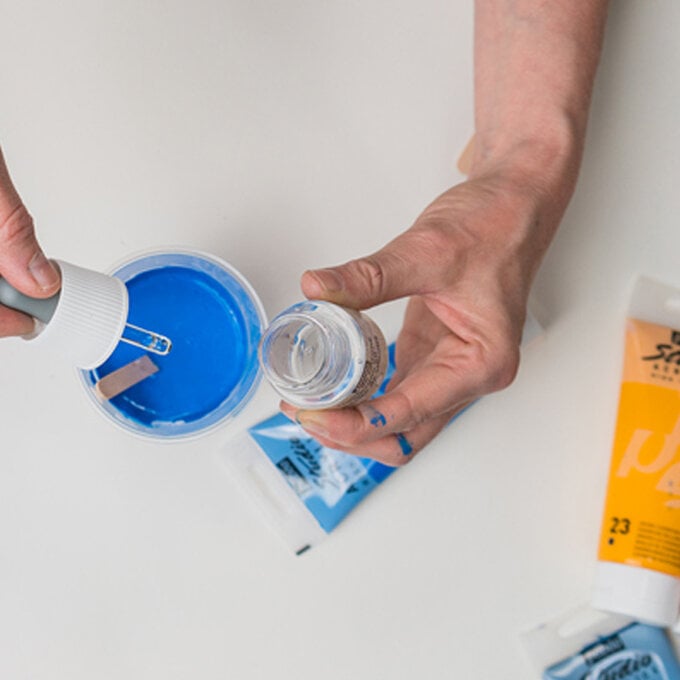
Add two to three drops of silicone oil to each colour you mix up in to encourage the creation of cells within your artwork.
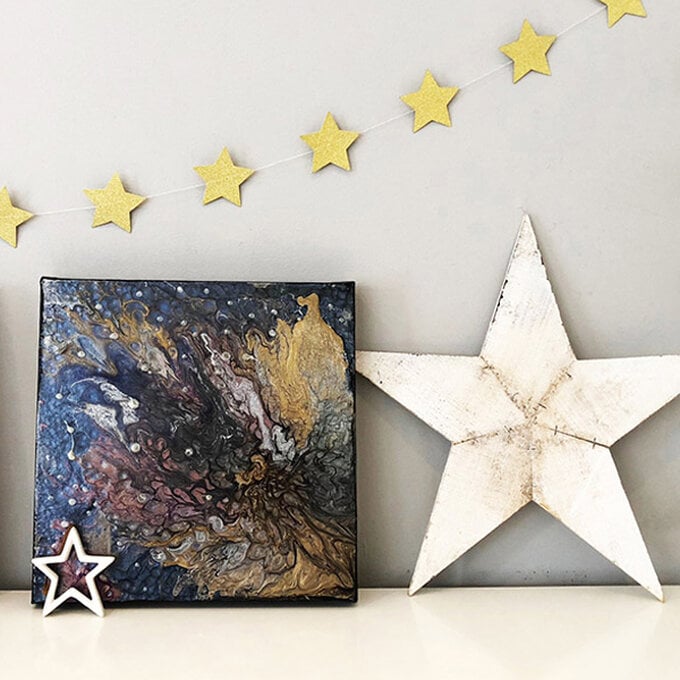
Be inspired by the midnight sky and create your very own galaxy artwork by using the technique of fluid art.
A Beginner's Guide to Fluid Pouring
Fluid art, paint pouring, acrylic pouring, flow art – this fantastic craft is known by many names!
How to Create Drip Effects with Acrylics
Create beautiful pieces of drip art using a handful of art stash essentials and acrylic paint!