Get Started in Acrylics with Charlotte Baker
Acrylic paint is the perfect medium to express yourself in a bright and bold way. Discover fantastic techniques for acrylic painting with this tutorial from expert artist Charlotte Baker. You'll be all set to showcase your creativity with acrylic colours.
Charlotte has a BA in Fine Art from the University for the Creative Arts, Farnham and explores the forms of colour, contrast and movement in her animal portraits. Follow this step-by-step guide to create a striking tiger eye, learning how to create fur texture and layer acrylics effectively along the way!
Project and instructions by Charlotte Baker
You will need
Subtotal
Is $ 6.49
Subtotal
Is $ 6.49
Subtotal
Is $ 6.49
Subtotal
Is $ 6.49
Subtotal
Is $ 6.49
Subtotal
Is $ 6.49
Subtotal
Is $ 6.49

Subtotal
Is $ 14.00
Subtotal
Is $ 10.00
Subtotal
Is $ 12.00
Subtotal
Is $ 13.00
Subtotal
Is $ 23.00
How to make
You will also need -
* Jam jar for water
* Kitchen roll
Acrylic Paint Facts -
* Acrylics are a water-based paint, which can be mixed with water to thin down the consistency
* Use water to clean brushes and paint palettes
* Acrylics dry slightly darker so mix slightly lighter colours
* They are brilliant for layering and building up intense colour
* Acrylics dry quickly so no need to wait days for a layer to dry as with oil paints
* You can mix them with mediums to change their consistency and texture
* Acrylics can be used to paint on a wide variety of surfaces: canvas, wood, paper, ceramics, fabric and more, which makes it a perfect medium to decorate objects!
There are many tools that can be used to apply acrylic paint to give you different effects! Experiment with different tools to find the effects that work best for you.
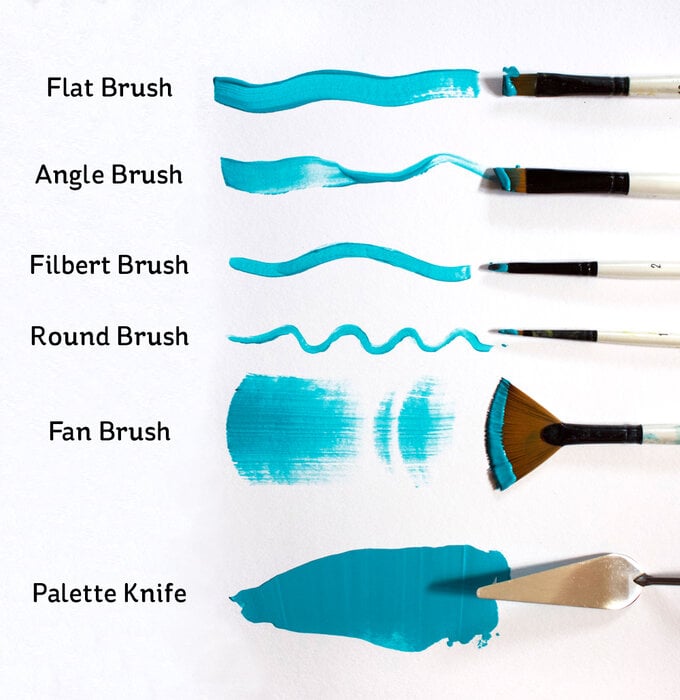
The following guide covers the different types of paintbrushes primarily and what types of marks they create.
Flat brushes: Great for painting in large sections or creating gentle washes of colour.
Angle brushes: Brilliant for precision and sharp lines, these brushes are flat brushes cut at an angle. Sword brushes are similar, but the angle is much steeper.
Filbert brushes: These brushes are rounded off flat brushes and create softer edges to your brush strokes.
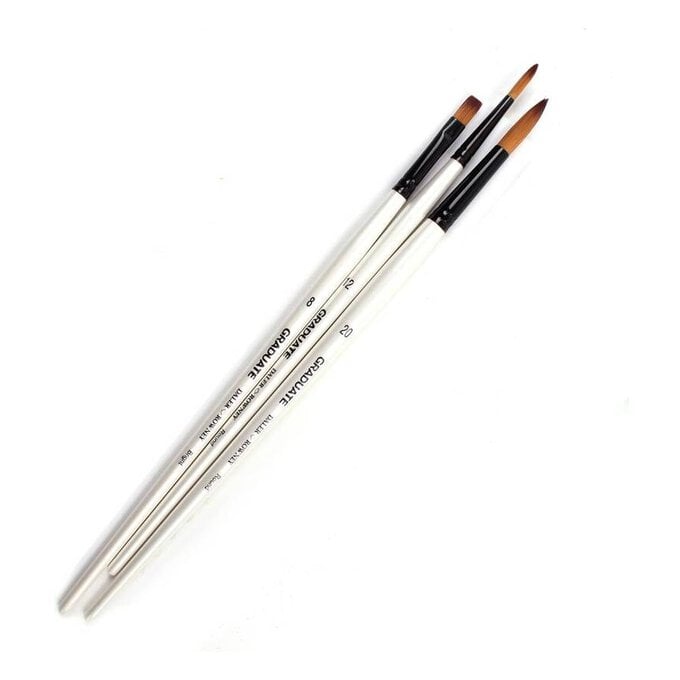
Round brushes: Perfect for fine detail and creating very rounded, soft marks. These come in even smaller brushes such as liners and spotters for really precise detail.
Fan brushes: Shaped like a fan, these brushes give texture to your paintings – perfect for foliage and landscape paintings.
Palette knives: Can be used to mix colours, saving your brushes from getting too clogged up with paint. These tools also giving striking abstract marks and can lay down thick impasto paint.
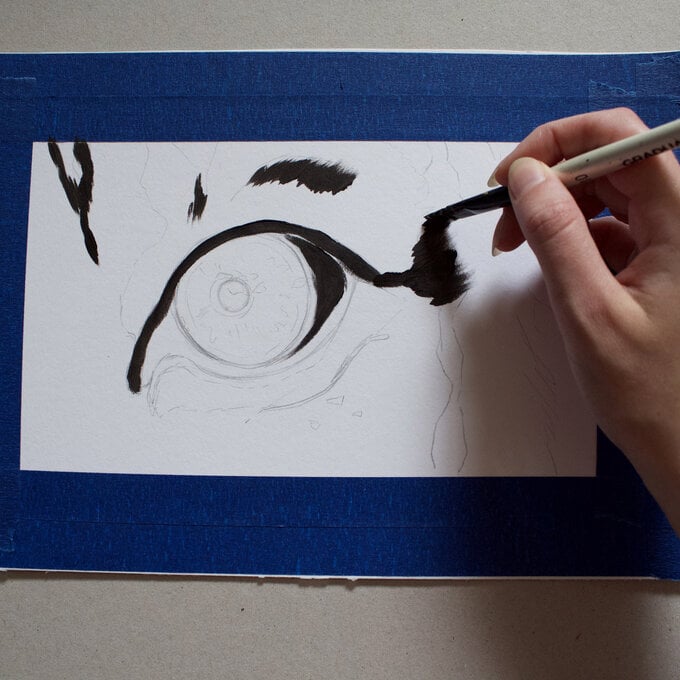
Draw out your design, using painter's tape to create clean edges if you wish. I used a HB pencil to sketch out.
Lay down dark areas first to establish your shapes using a flat brush. We want to make sure we have a striking contrast, so it is important to put down the darkest colours first.
Start painting the rest of the base using a flat brush. Acrylics can have different levels of opacity from opaque to transparent, so it is important to start with a solid base layer before layering more colours and details. This is also useful as it helps to map out the colours on your piece.
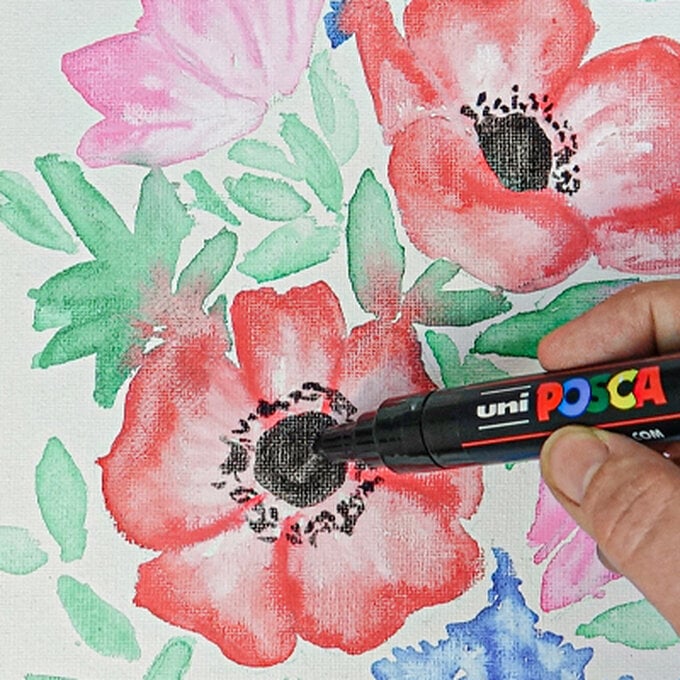
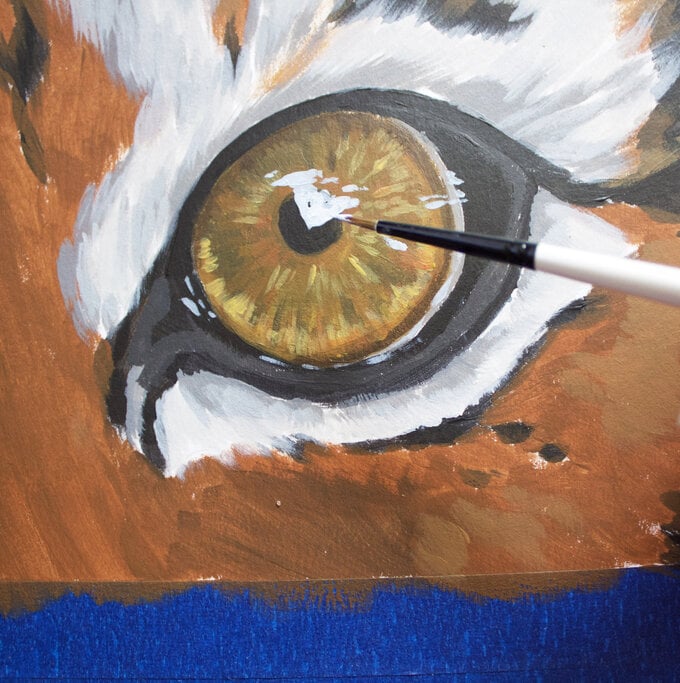
Add in detail in the eye and building up lighter colours over the top using a small round brush. Light bounces forward so we want to layer light over dark.
Top Tip: Never use pure white for highlights, always add a tiny bit of another colour in.
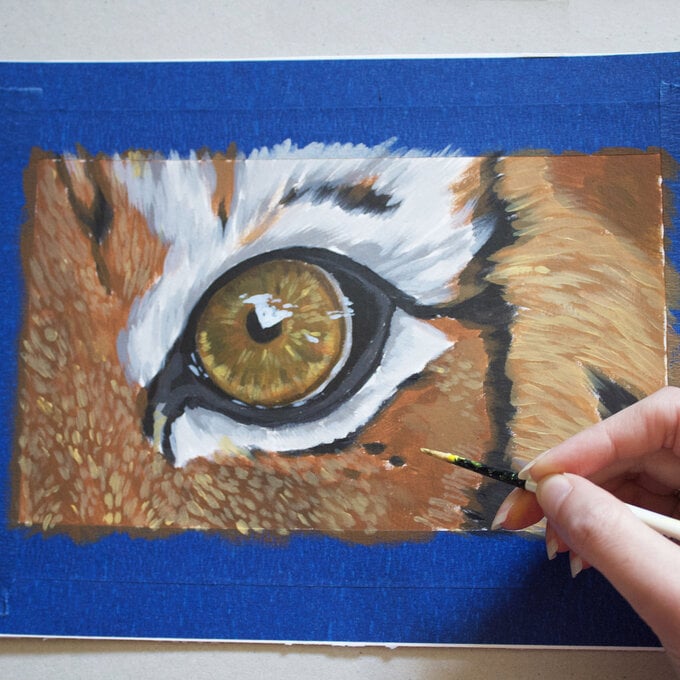
Start to apply more layers, looking more at highlights, details and the fur texture. Fur texture can be applied by thinking of three things: direction, length and texture. Paint in the direction the fur is going in, look at how long the fur is in each section and think about what sort of fur type - curled or straight. By thinking of these things, this will help to give a realistic outcome.
Apply glazes to build up layers and more colours. A glaze is a heavily watered-down acrylic that adds colour but does not take away the structure. Think of a glaze as a filter. We can use glazes to alter sections of the piece to give more depth of colour.
Keep layering the fur and details. The secret to achieving realistic paintings in acrylic is layers! Build up the layers, slowly getting progressively lighter in colour and using finer brush strokes in order to achieve a three-dimensional effect.
Peel off tape slowly at a 90-degree angle. You can then varnish the painting if you would like, using an acrylic varnish.
Related Products