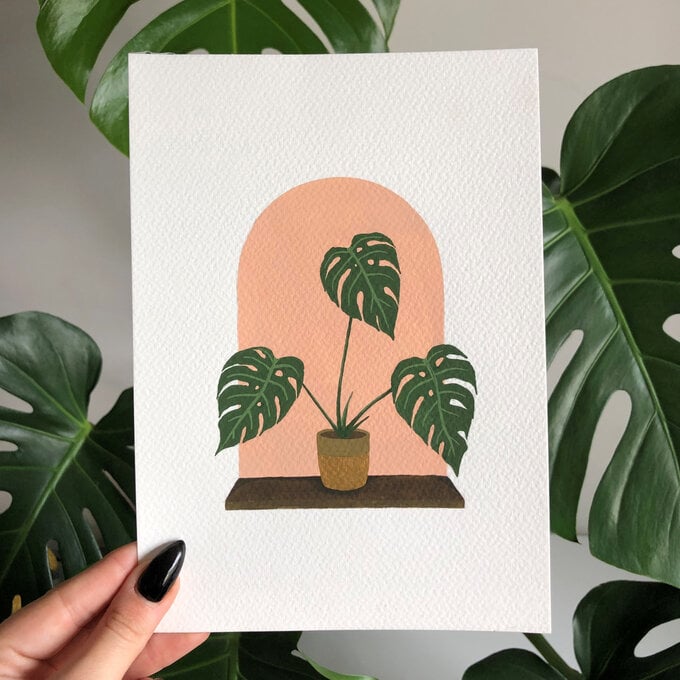
Get Started In Manga Drawing with Chie Kutsuwada and Winsor and Newton Promarkers
Master manga illustration using Winsor and Newton Promarkers with this step-by-step guide from manga creator Chie Kutsuwada. Follow along as Chie goes through every detail of how to create shadows, tone, and depth, as well as blend these must-have marker pens.
A beginner's guide, this tutorial is perfect for any budding artists!
Project and instructions by Chie Kutsuwada
You will need
Subtotal
Is $ 36.00
Subtotal
Is $ 37.00
Subtotal
Is $ 37.00
Subtotal
Is $ 24.00
Subtotal
Is $ 8.49
How to make
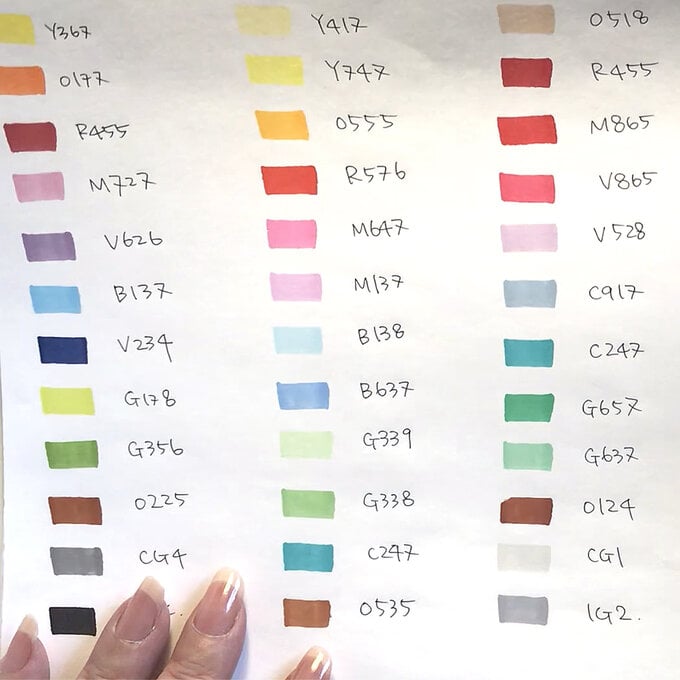
When producing manga illustations, preparation is key! I usually make a plan first and produce a colour chart of my marker pens before I start colouring.
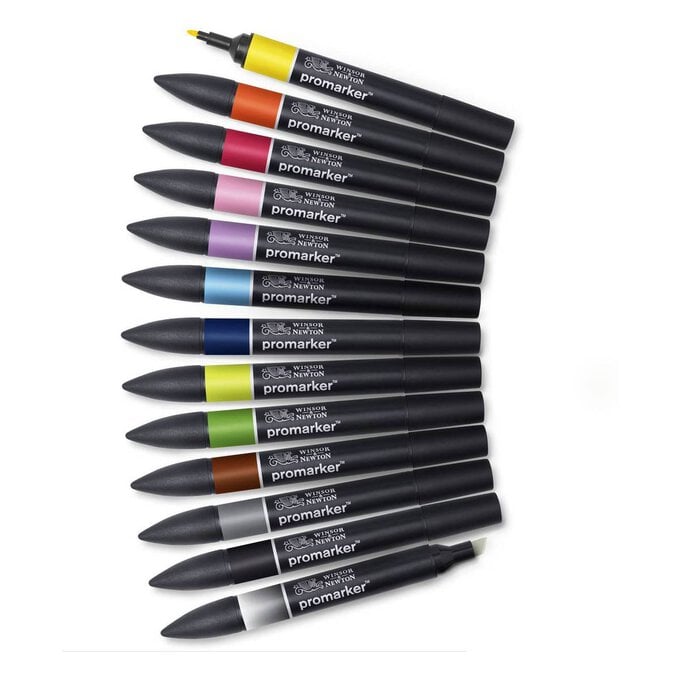
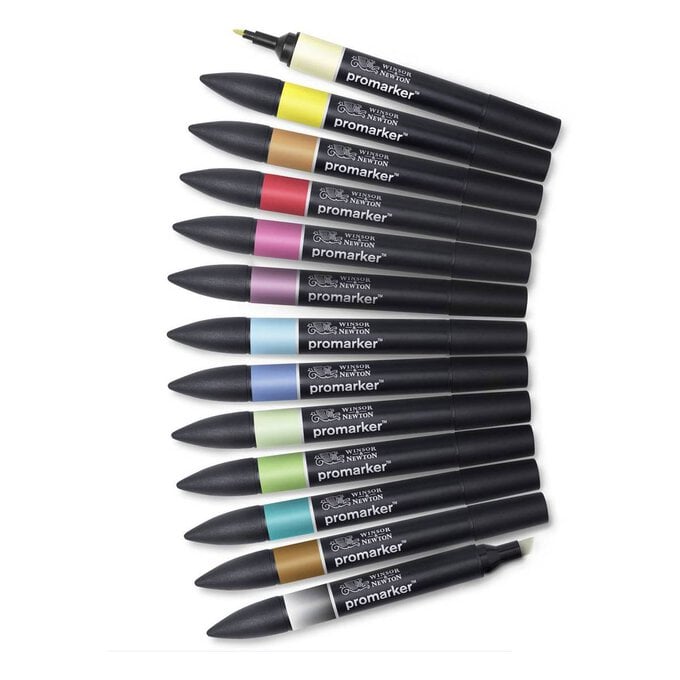
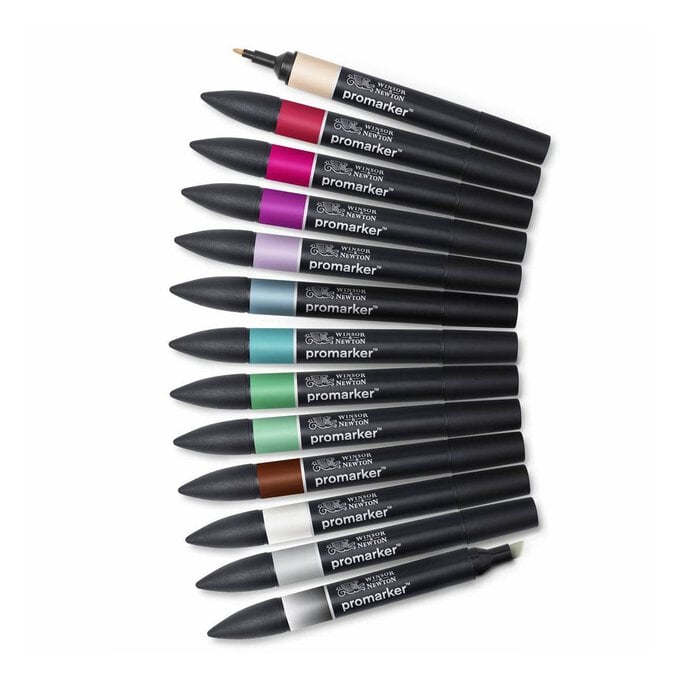
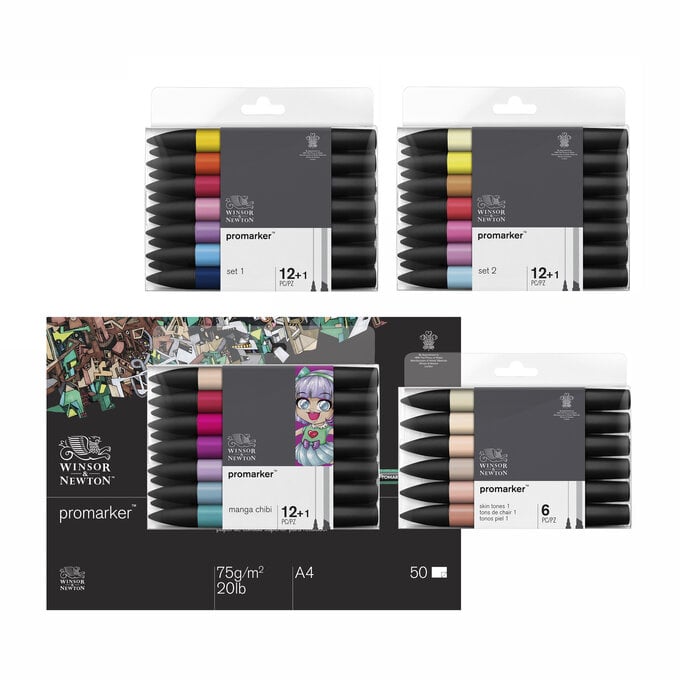
For this tutorial, I'll be using Winsor and Newton Promarker bleedproof marker paper, and a selection of colours from the Winsor and Newton Promarker sets.
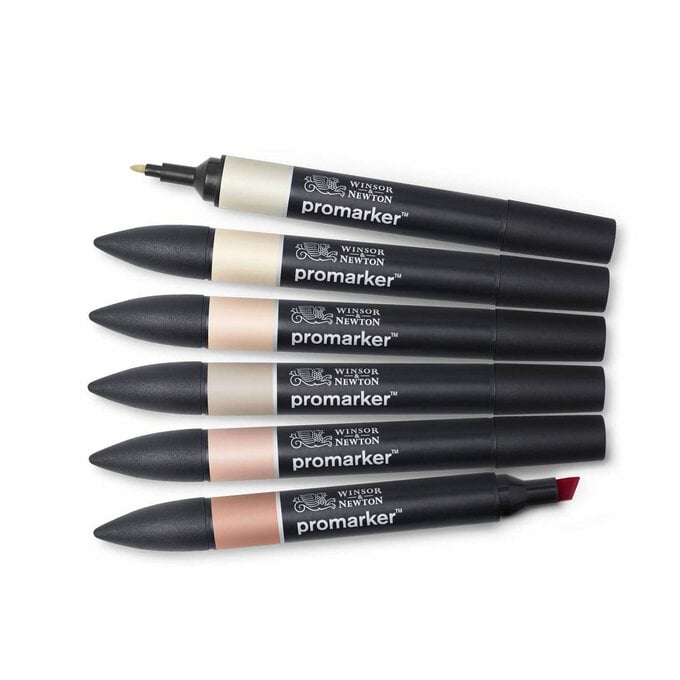
I've used a combination of colours from a few different packs, including colours from the Manga Chibi set and several colours from Promarker Set 1, Set 2 and the Skin Tone set 1.
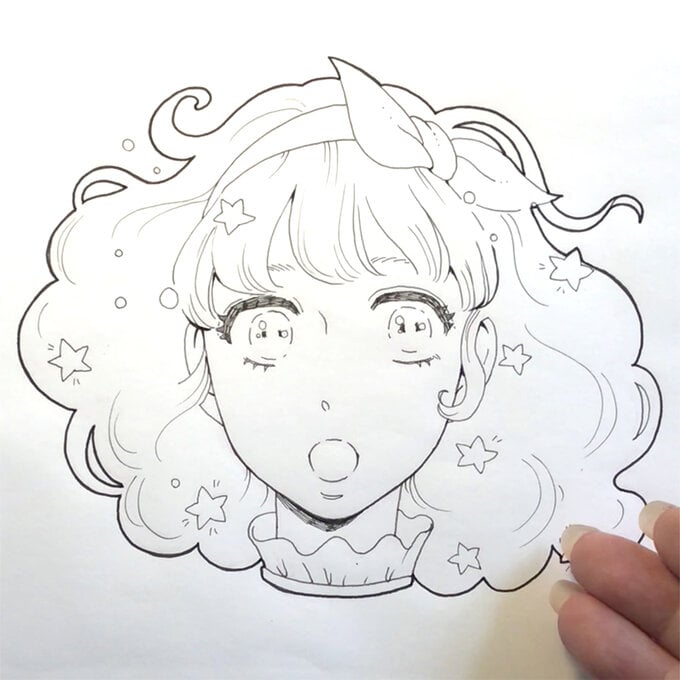
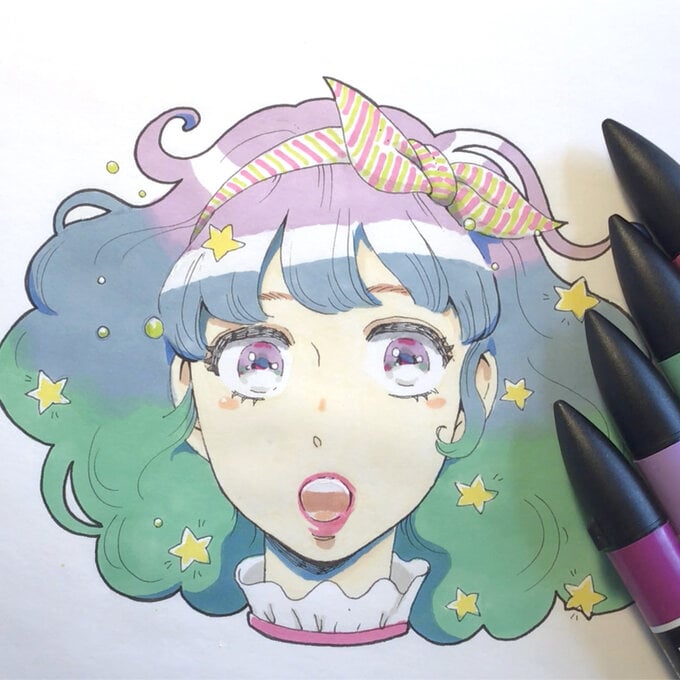
You'll need to start by drawing out your illustration; I prepared a manga line drawing.
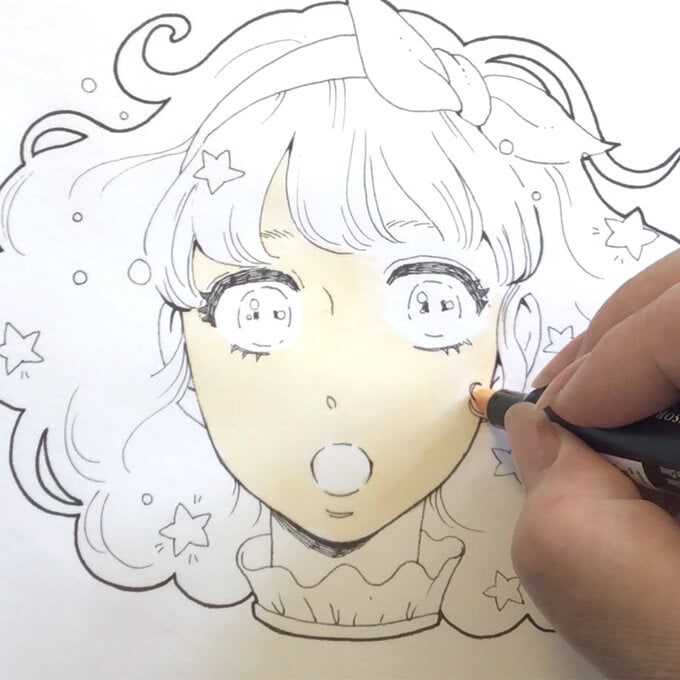
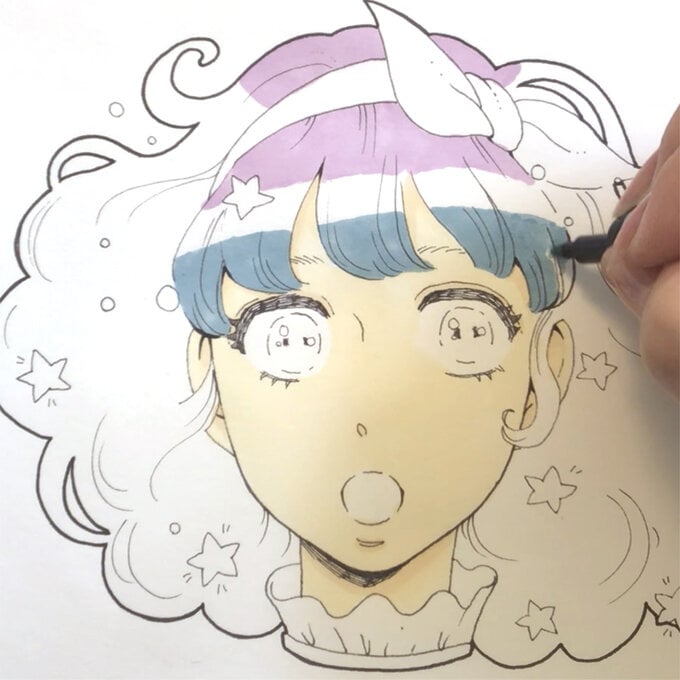
Start by colouring the face; when you want to colour a large area evenly, try to avoid putting too much pressure on the pen nib and do not work too fast, as this will leave streaks. Make sure there is a good ink flow so that it does not dry too quickly.
Tip: Sometimes a circular movement will work better to colour evenly.
Another layer of the same colour makes the area slightly darker, so this is good if you want to add subtle shadows. If you add another layer of colour when the first layer is still wet, it will blur. To create a sharper edged shadow, wait until the first layer is dry before adding the second layer.
Use a broad chisel nib for larger areas.
Use a small bullet nib to colour smaller areas.
Tip: You can also use the edge of broad chisel nib for colouring small areas.
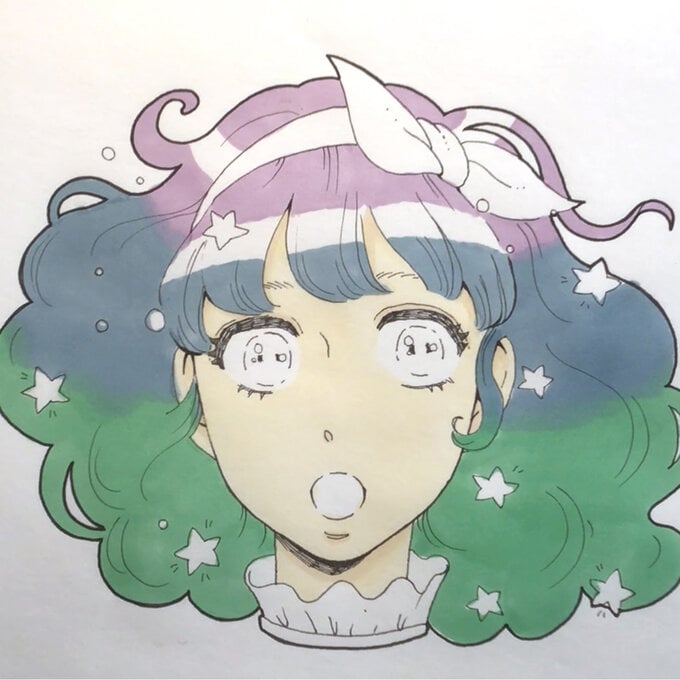
To create a nice gradation of two colours, start by using the first colour, then before the edge of the coloured area dries, add the second colour on top and blend two colours together before continuing to colour the rest of the area.

While using the first colour, make sure your stroke is not too heavy and fast, as this will prevent the ink from flowing.
If you have plenty of ink going onto the paper it will take time to dry, so you have enough time to add and blend the next colour.
When I colour outside the line, I sometimes use the blender pen to push the ink back over the line or dilute the colour so it does not look too obvious.
Add layers of colour carefully to the eyes, to create some depth.

When I colour a very small area or want to draw thin lines, I wipe excess ink with a tissue first to prevent unnecessary bleeding.
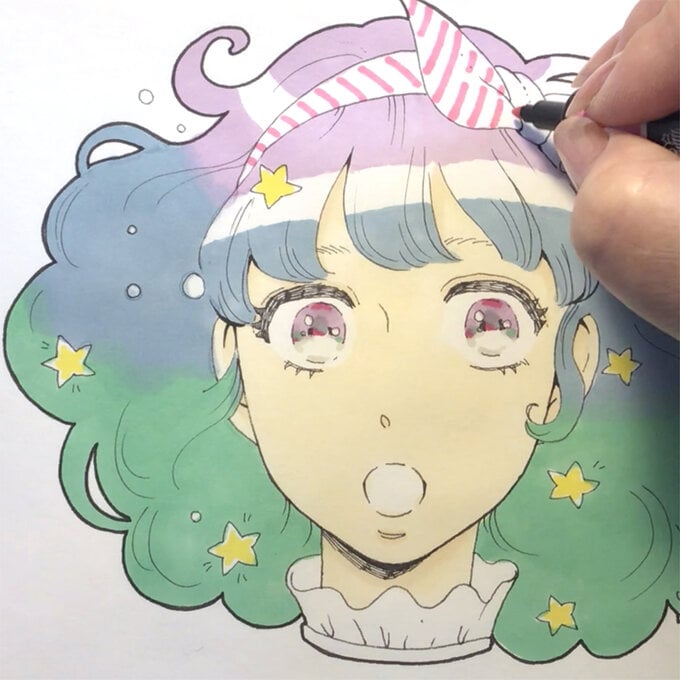
Use the blender first then add a colour while it's still wet to create a blurred effect; I used this technique when I was colouring the shadow of the eyelids here.
To create a stronger, clearer edged shadow, be sure to wait for the ink to dry completely then add the same colour, or a slightly darker colour.
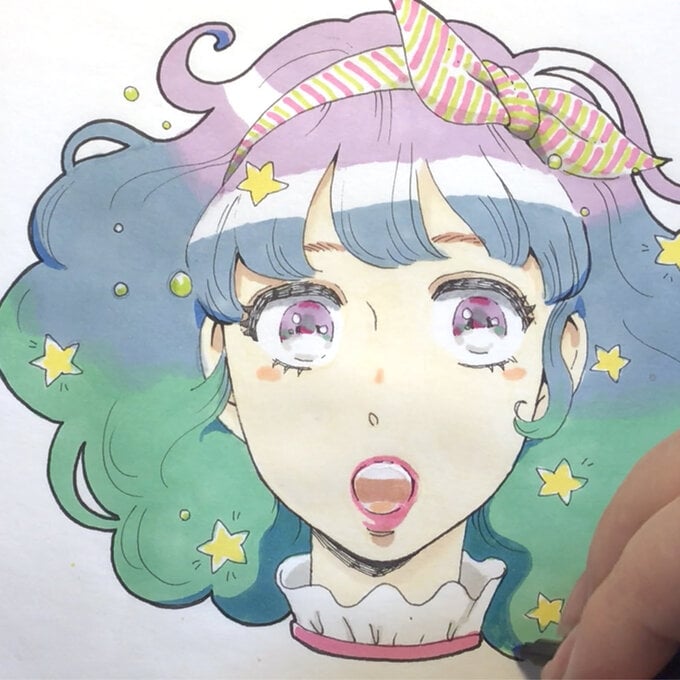
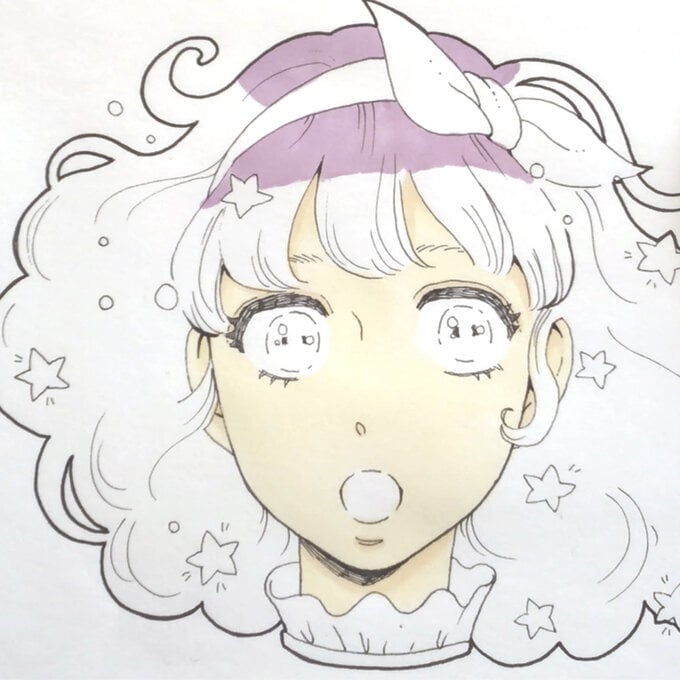
When all the base colours are done and all dry, start adding shadows.
Start with a paler colour such as Cool Grey 1, then add a darker shadow. I sometimes use an unexpected colour, in this case Cobalt Blue, in order to make the whole image more impactful.
Related Products