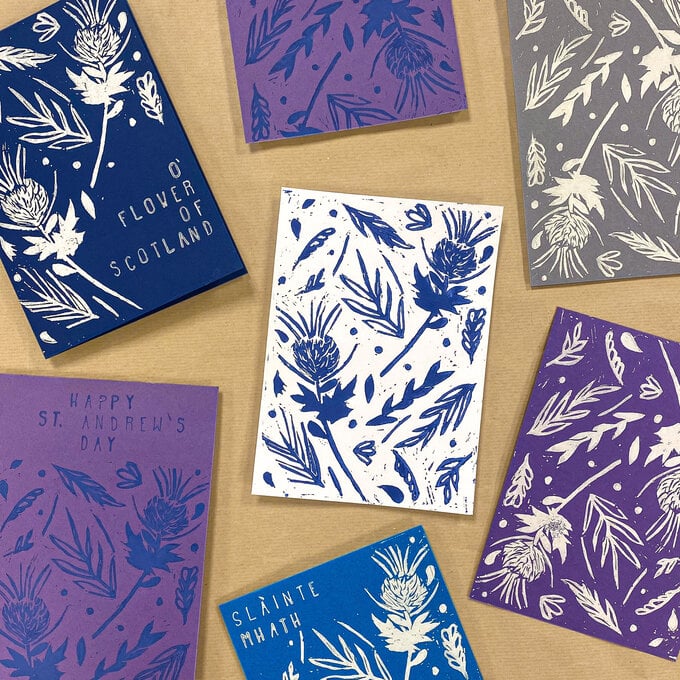
How to Make a Floral Lino Print Book Cover
Using lino to create your own stamps and printed materials enabled endless personalisation, and makes creating repeat patterns and filling up blank spaces quick and easy!
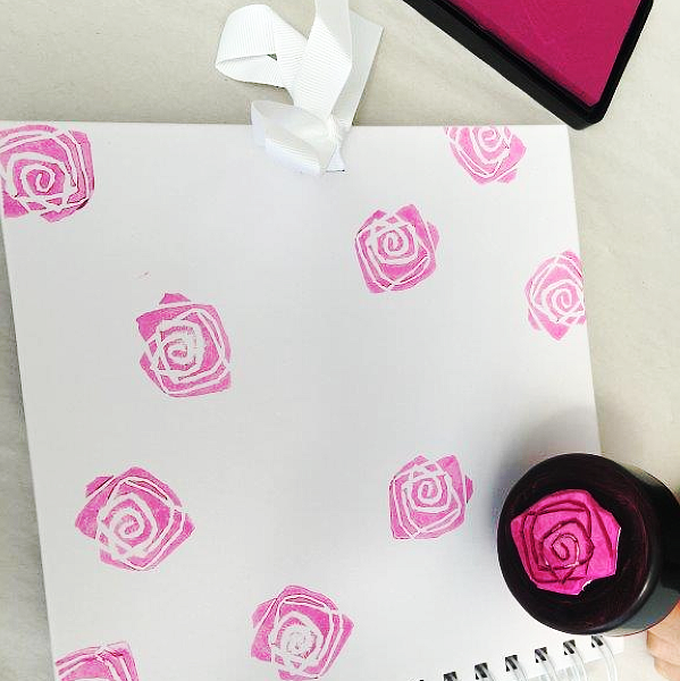
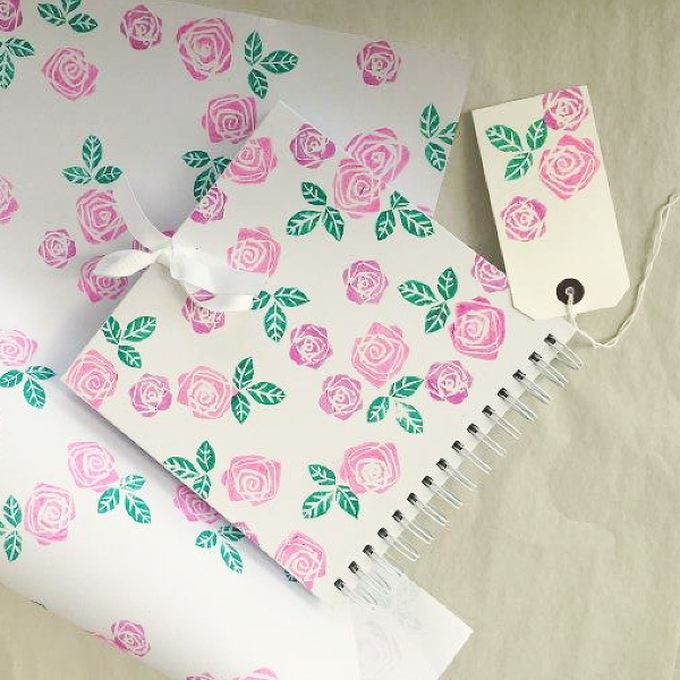
Learn how to stamp a beautiful floral rose design onto a blank white scrapbook cover. Why not use the pattern on plain paper and gift tags to create a complete gifting set?
Project by Jenny Muncaster, extracted from 'The Artist in You' Episode 5: Making an Impression available on Amazon Prime
You will need
Subtotal
Is $ 17.00

Subtotal
Is $ 3.49
Subtotal
Is $ 15.00
Subtotal
Is $ 16.00
Subtotal
Is $ 3.49
Subtotal
Is $ 3.49
How to make
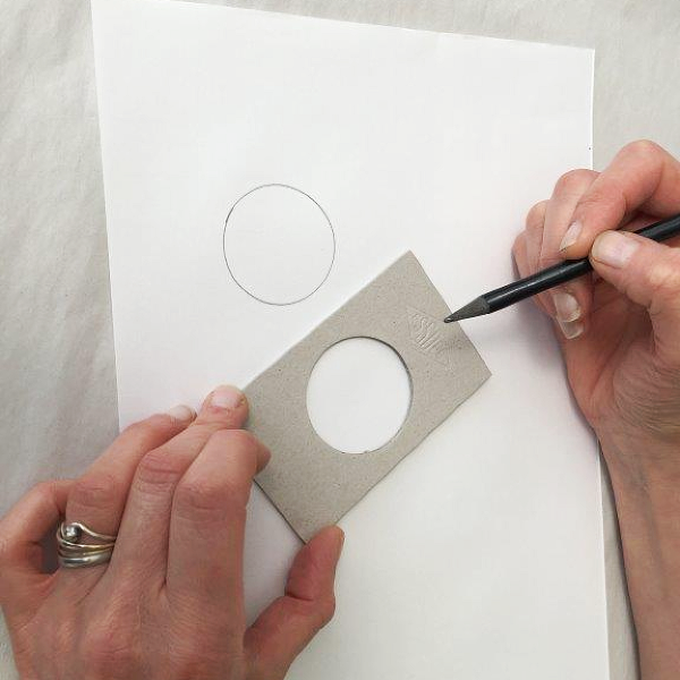
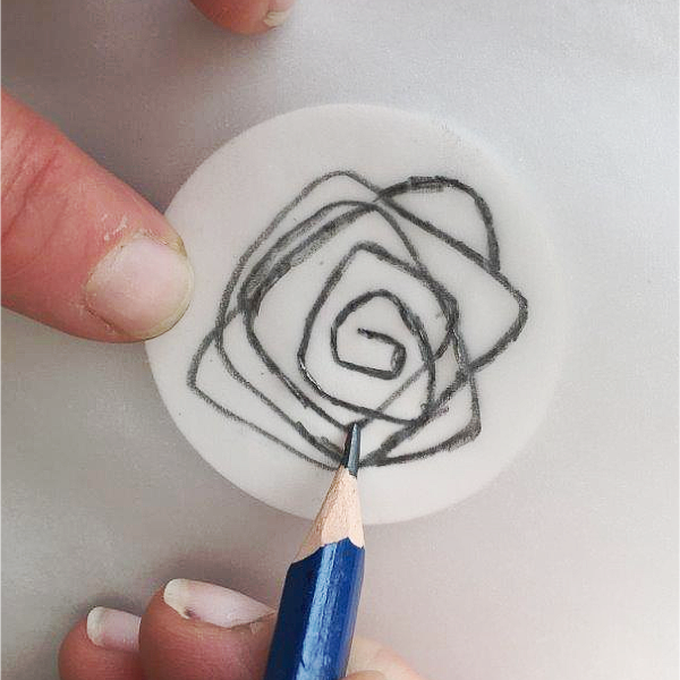
Draw a circle through the stencil on to paper. This will make sure your design will fit the softcut lino disc.
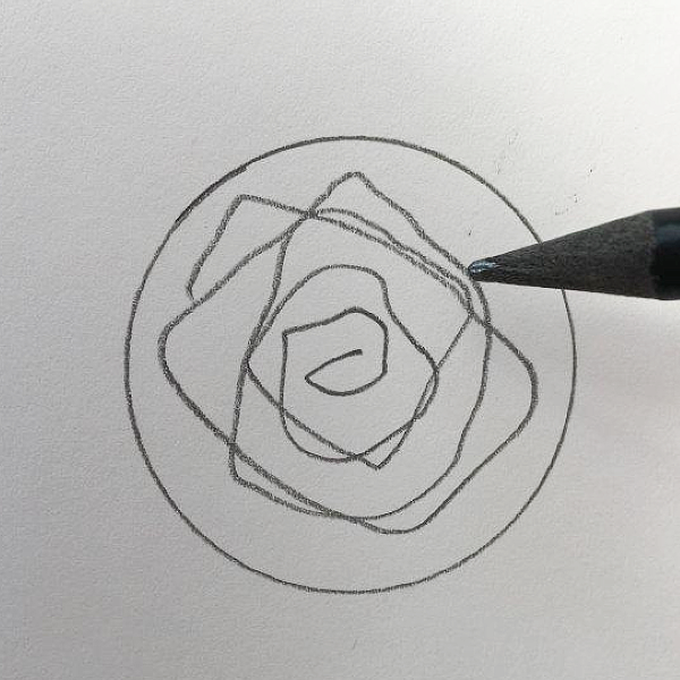
Starting at the centre of the circle draw a rose using one continuous line, a bit like a squiggle.
When happy with design trace onto tracing paper
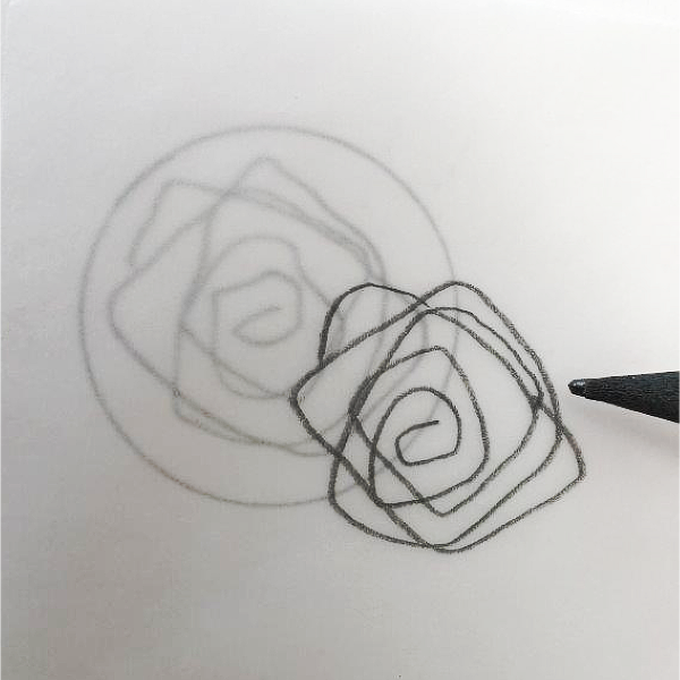
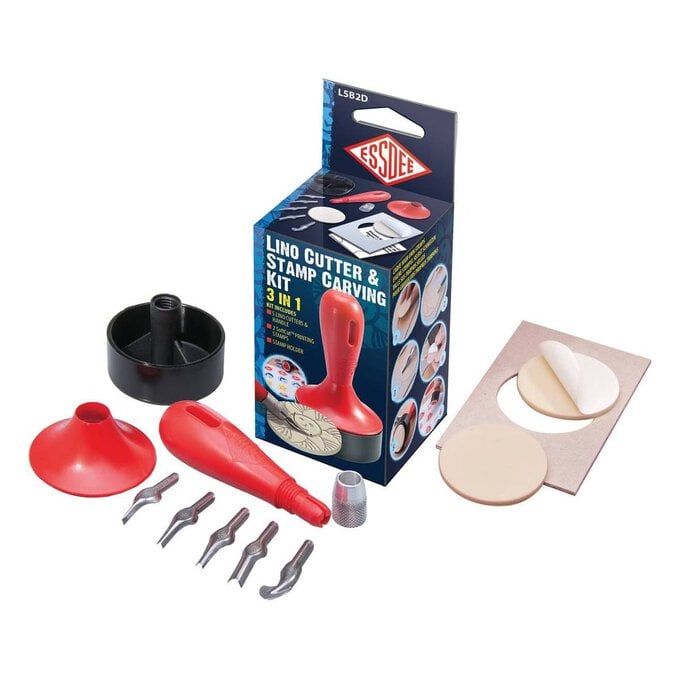
Take a softcut lino disc from the stamp kit, flip tracing paper over and transfer design onto disc using a pencil to press through the design. Make sure you do this on the rubber side and not the side with the paper backing!
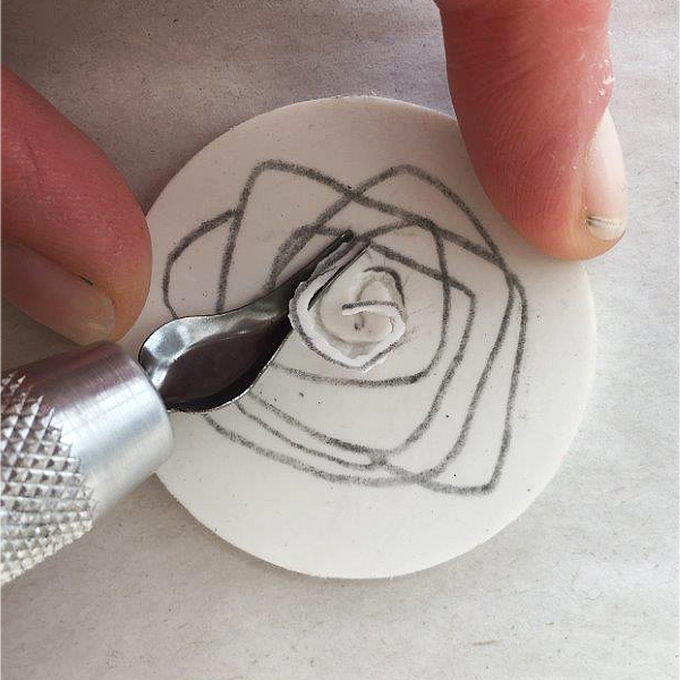
Using smallest 'v' cutting blade from the pack, follow the line of your design and cut away. You are scooping out the line, not the areas in between. Keep turning the rubber stamper – this will make it easier to cut and remember to always cut away from you.
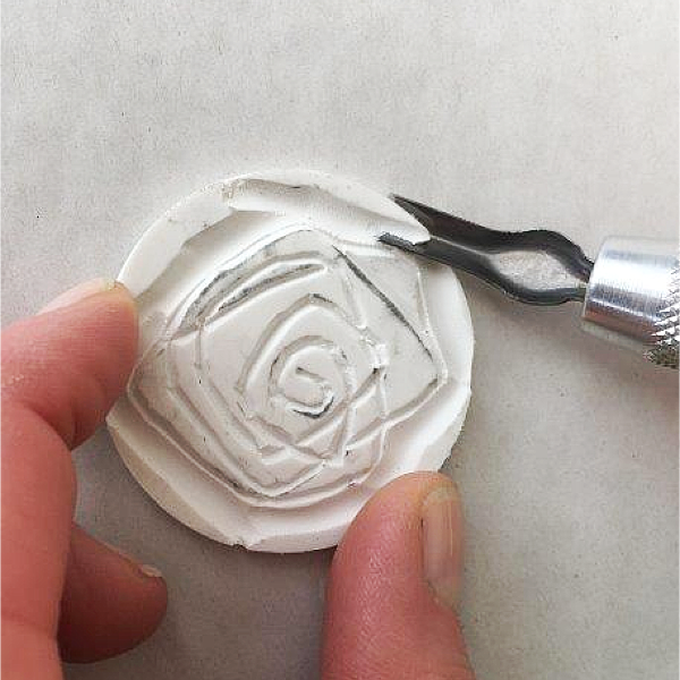
Cut along the outside of the lines that form the outer edge of the rose design, then use the large 'u' shaped cutting blade to scoop away the excess rubber.
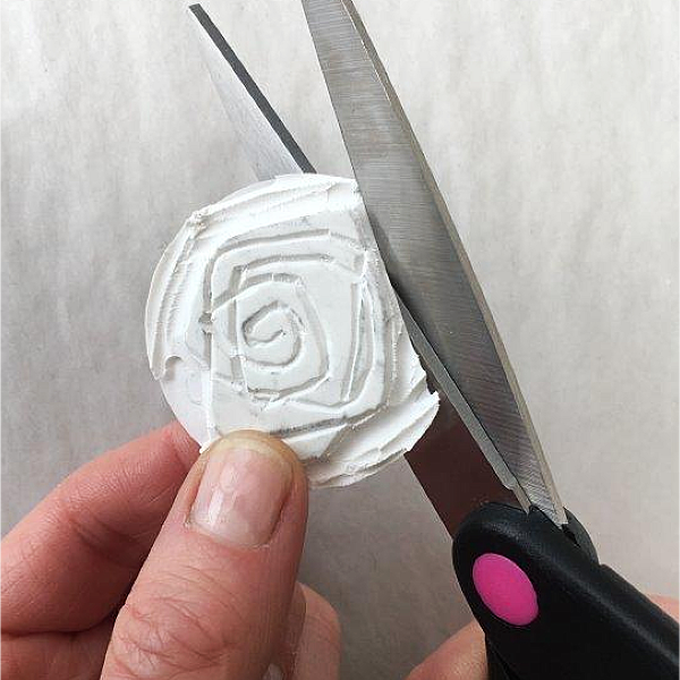
Trim away any remaining excess rubber around the outside with scissors.
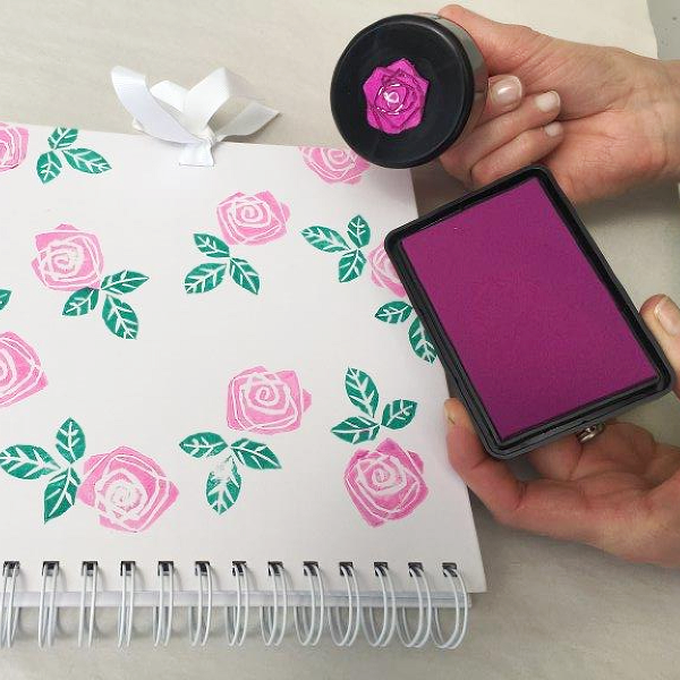
Peel off backing paper and stick rose to centre of base of the 'baren' or stamping tool.
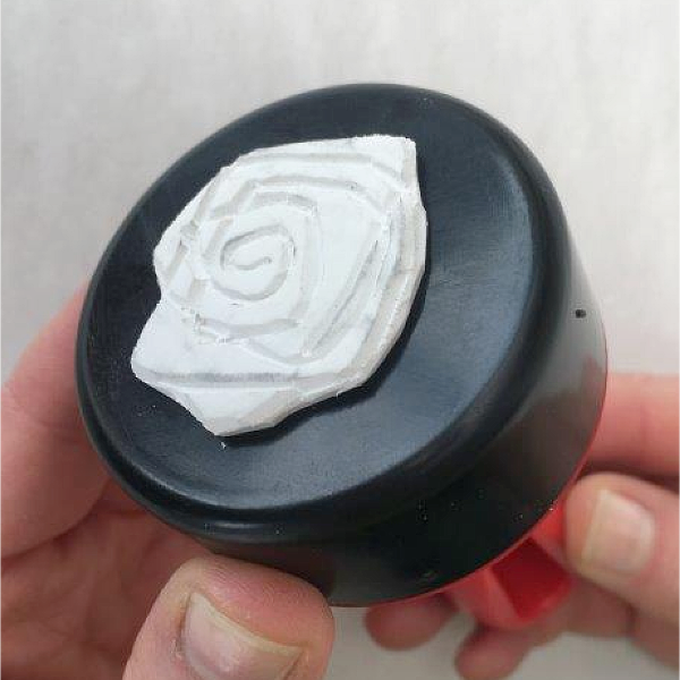
Press stamper down onto ink pad – we used 'Fuchsia'. You may need to wipe edge of tool if it has picked up any ink.

Position stamper and press down onto book cover, press the palm of your hand firmly onto top of handle to ensure that the centre prints nicely.
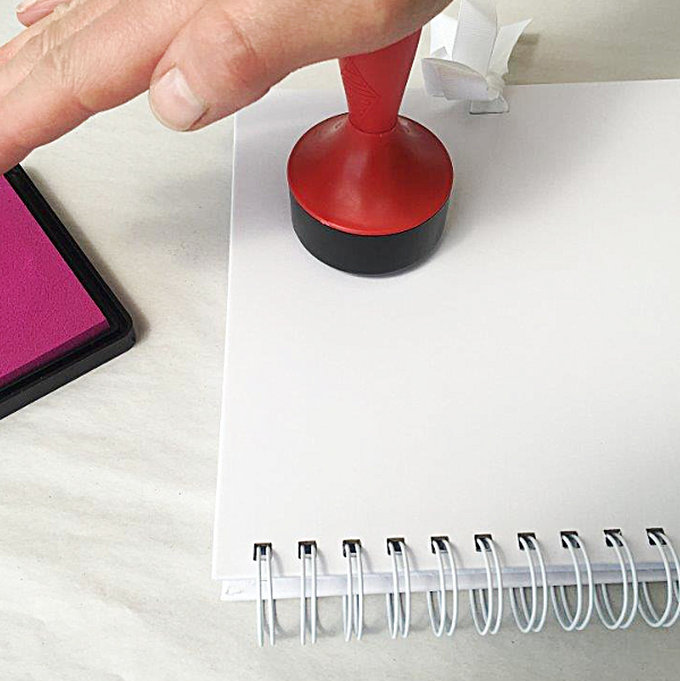
Keep going until you have your desired pattern, re- inking your stamper each time.
Repeat whole designing and cutting process with leaf shapes and a smaller rose.
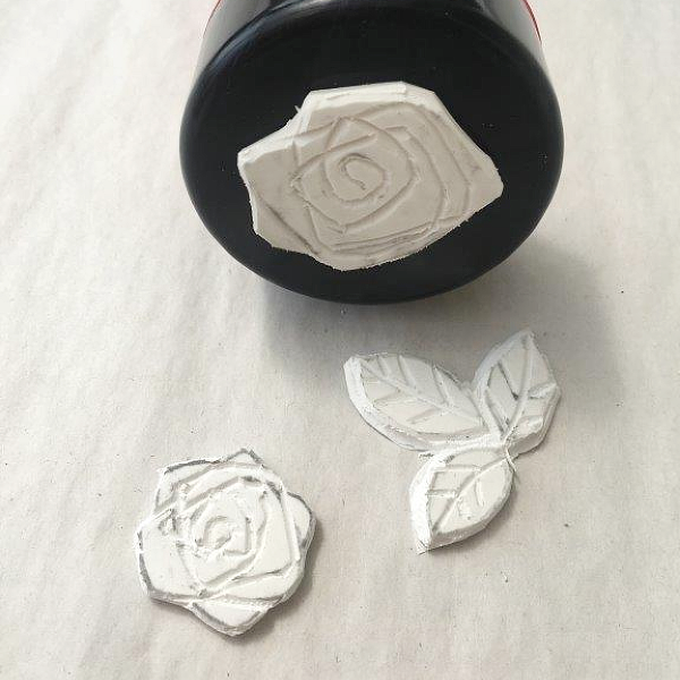
Print leaves in 'Christmas Green' and small rose in 'Aubergine'.
Related Products