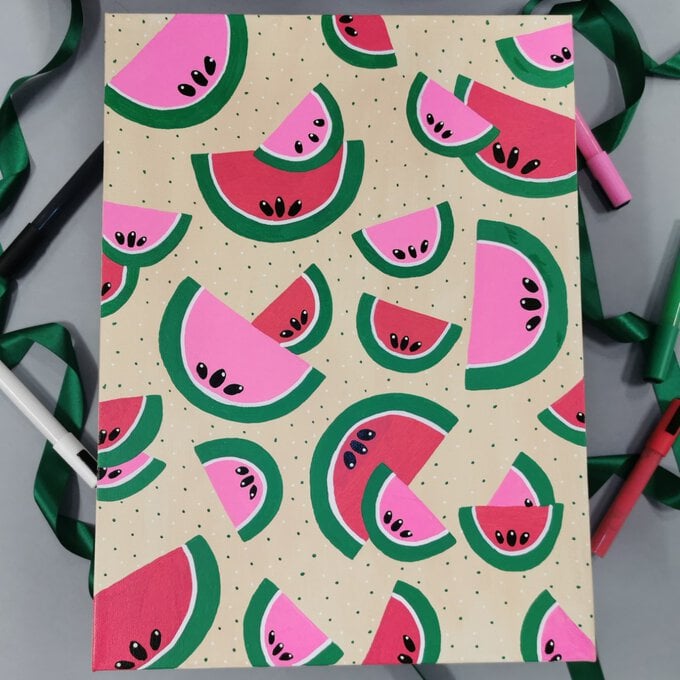
How to Make a Fruity Melon Canvas with Paint Markers
Jazz up your craft space by creating this fabulous fruity melon canvas! Create this fun, quirky wall art project using bold and bright shades from the Hobbycraft paint marker range.
This is perfect for artists of all skill levels to try their hand at – or simply for those who just want to brighten up their home décor.
Project and instructions by Sarah Irwin
You will need
Subtotal
Is $ 30.00
Subtotal
Is $ 5.49

Subtotal
Is $ 3.49
Subtotal
Is $ 12.00
How to make
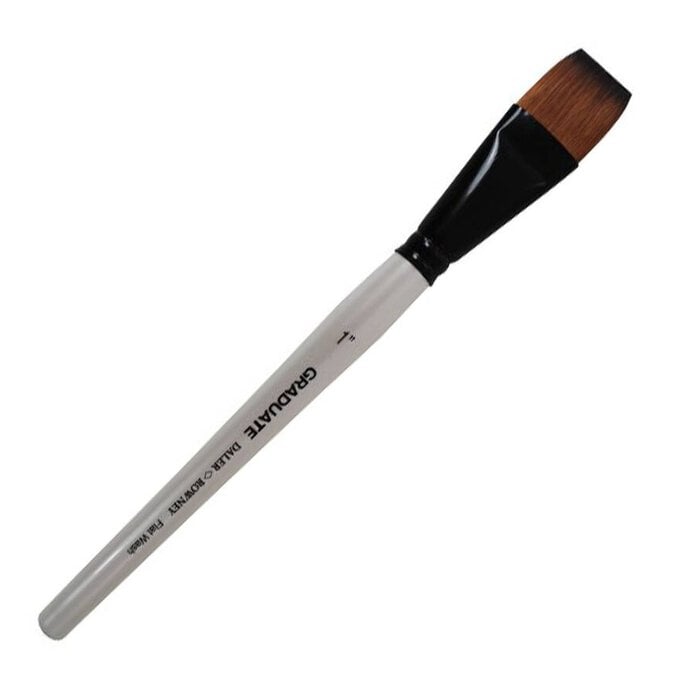
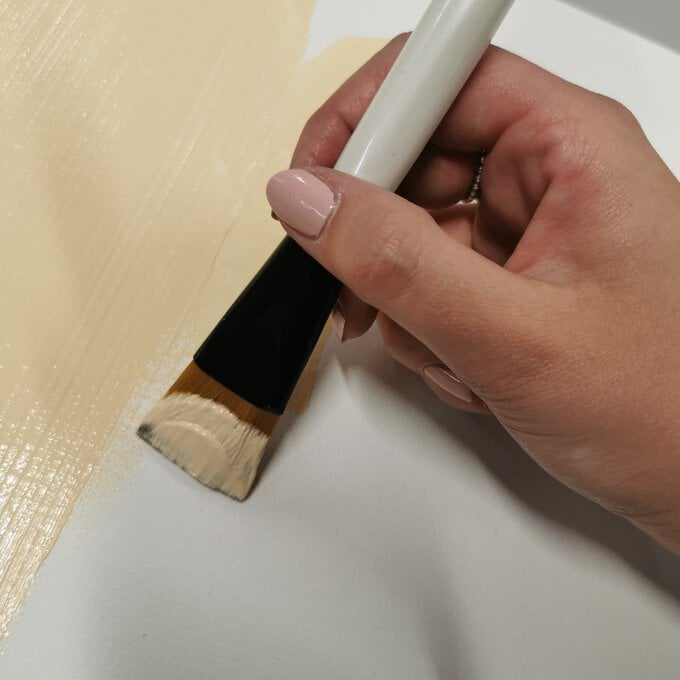
Using the Daler Rowney flat brush, cover the canvas with a layer of the parchment-coloured acrylic paint – don't forget the edges! Put it to the side to dry once you have done this.
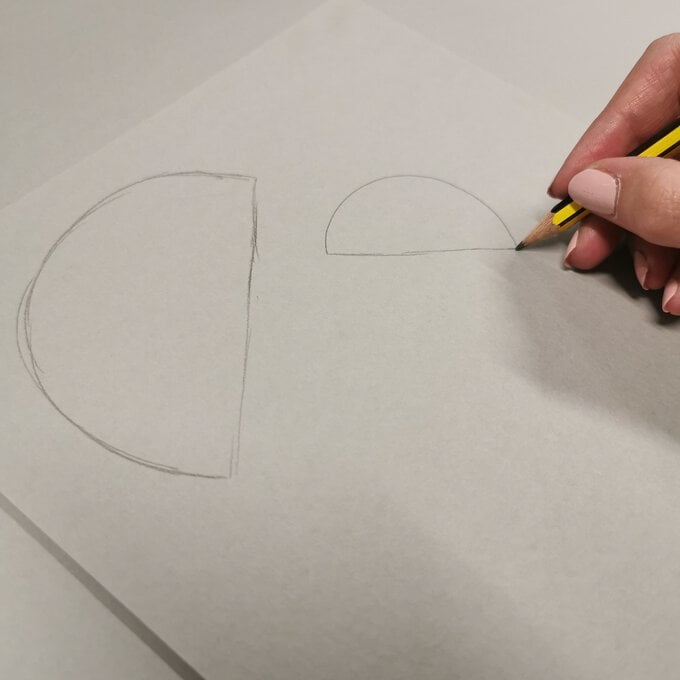
Grab your sheet of paper, and draw 2 semi-circles, whichever size you'd like. I went for one large and one small. The bigger they are, the less melon slices you will be able to fit on your canvas.
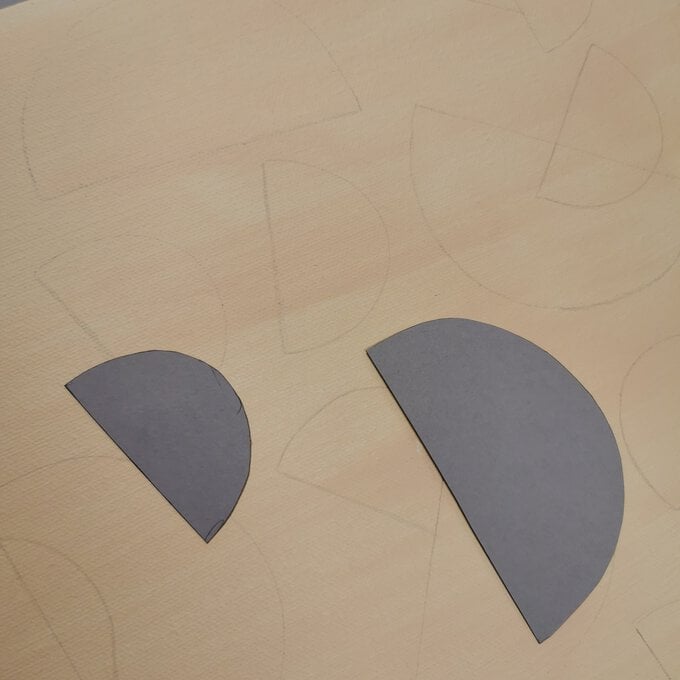
Cut these out, they will be the stencils to outline where your shapes will be.
Once the paint layer on your canvas has dried, use a pencil and your stencils that you cut out in the previous step to mark out where you want your slices to be. Whether that's a couple in the corner, or several spread out across the canvas.
Once you're happy with the placement, it's time to get the paint markers out. Unlike a lot of paint pens, these ones don't need to be depressed in order to get the paint to the nib. Just give them a light shake with the cap still on and they're ready to go.
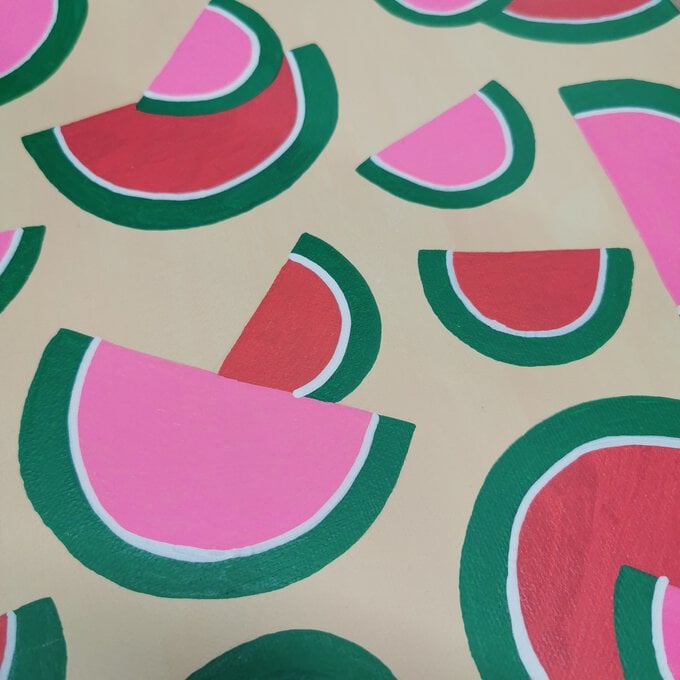
The first step to bringing these melons to life is to colour the insides.
For this, I used the red and pink Paint Markers. Leaving a 1-2cm gap around the curved edge, colour in the semi-circles.

Next, grab the green Paint Marker and colour in the 1-2cm gap you had left in the previous step.

Using the white Paint Marker, draw a curved line along the curved side of the melon, between the pink/red and the green.
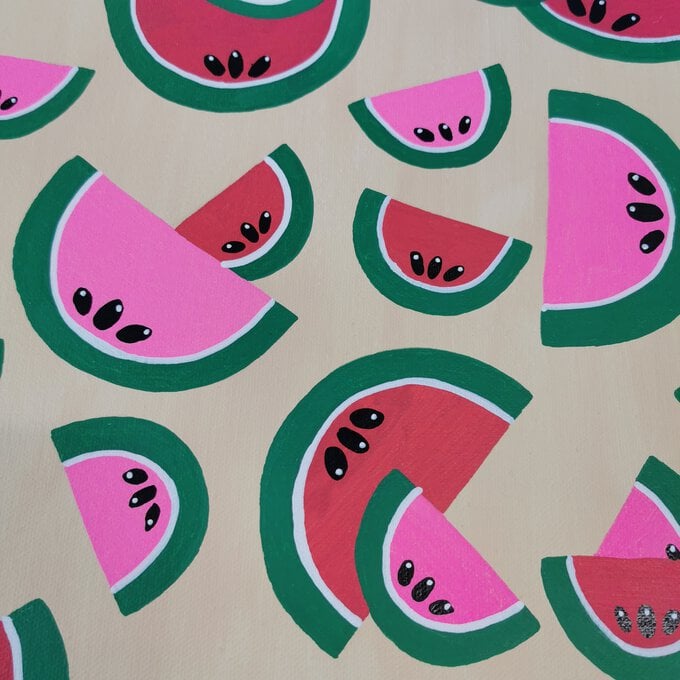
With the black Paint Marker, create 3 oval shapes in the middle of the melon on the curved side. These are the watermelon seeds so do this for every slice.
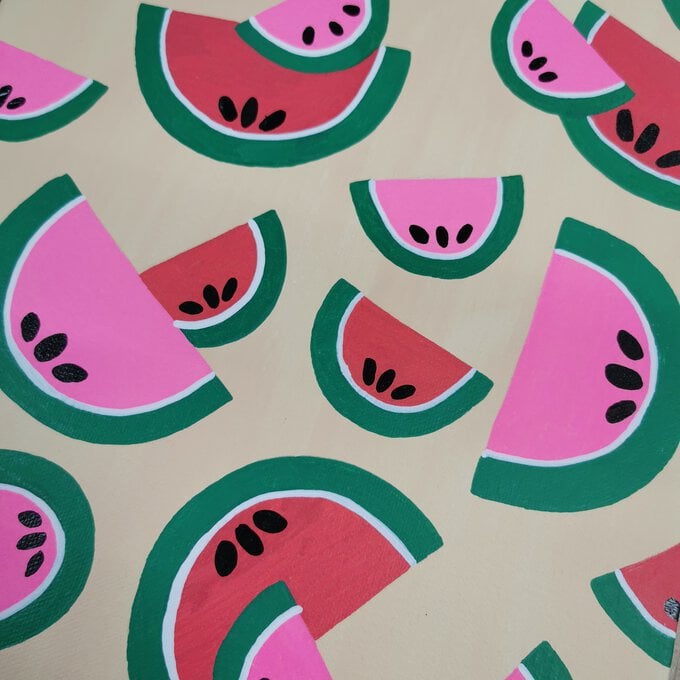
To create a highlight, add a white dot to each top corner of the black ovals (melon seeds).
For an optional touch, use the white and green Paint Markers to create a dotted pattern for the background.
Make sure to fill up the empty space if you wish to do so.
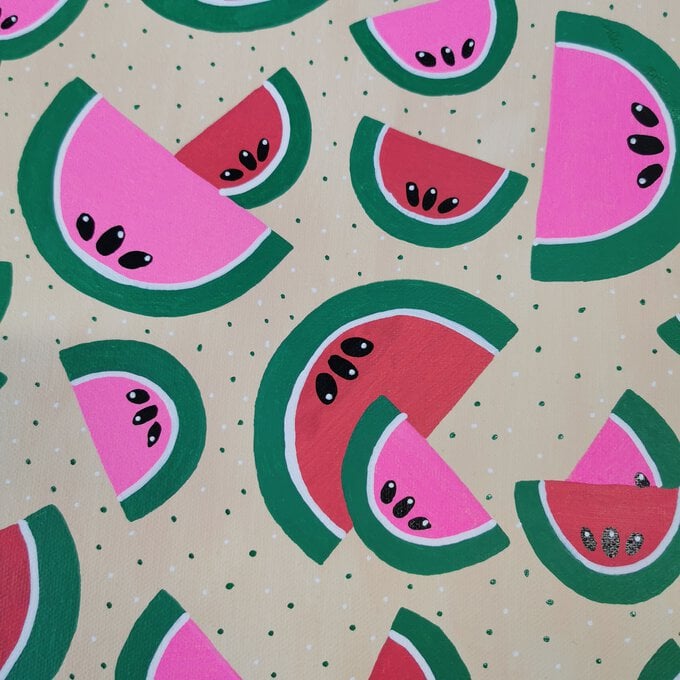
Now you have a fabulous Fruity Melon Canvas to show off to all your friends!
Related Products
Is $ 33.00

Is $ 4.49 , was $ 7.49