How to Paint a Wintery Watercolour Robin
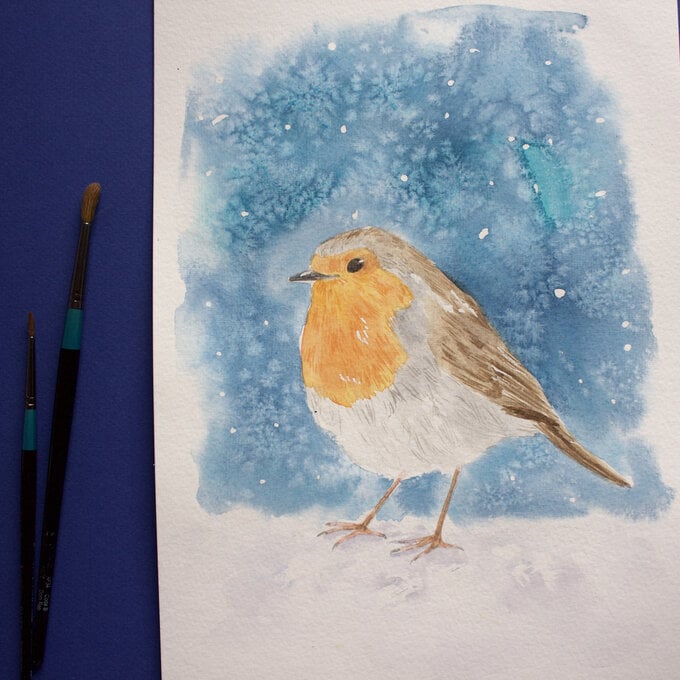
Discover how to paint a wintry watercolour robin with the help of this step-by-step guide. Perfect for beginners, this project will show you the magical icy effect of the salt technique.
Ideal for painting as a festive card for a loved one or to frame as a snowy gift, this adorable little robin painting will certainly make you smile every time you see it!
Project and instructions by Charlotte Baker
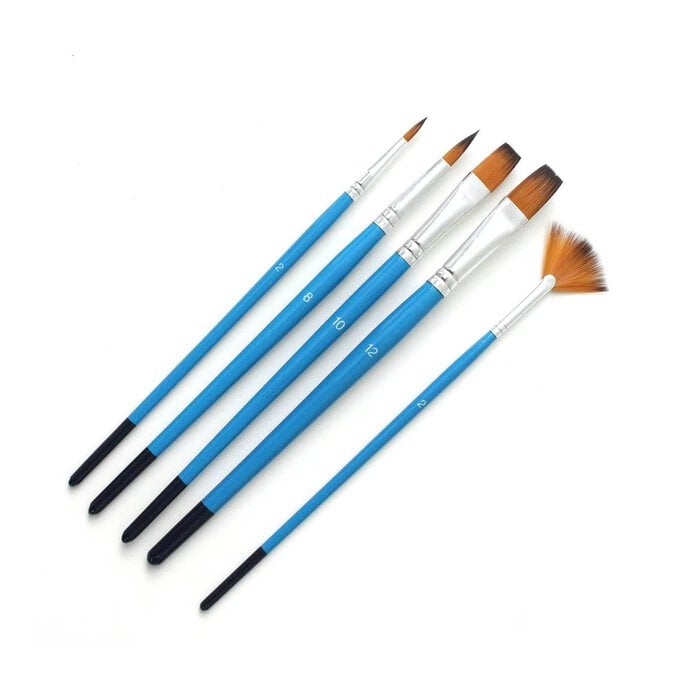
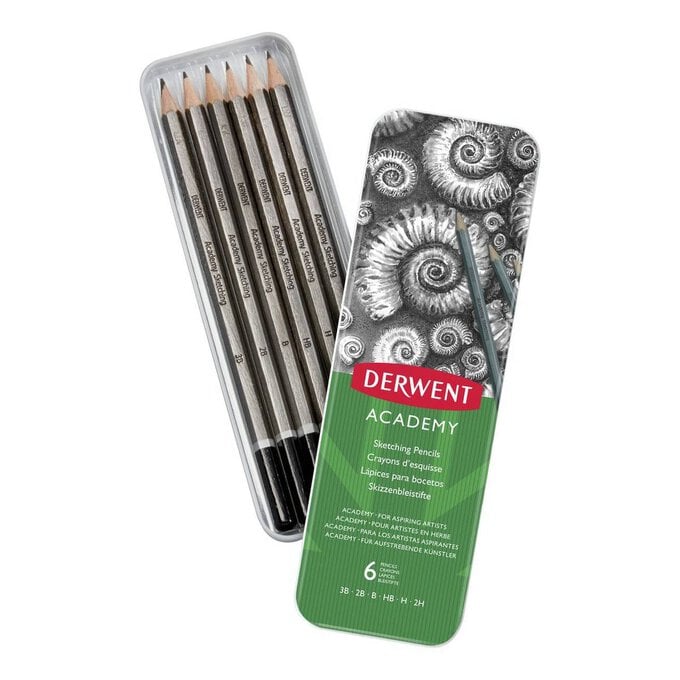
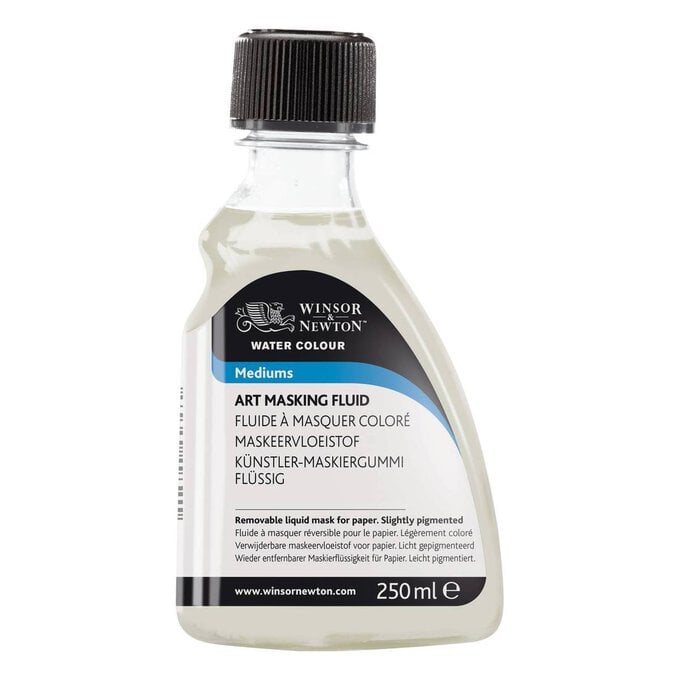
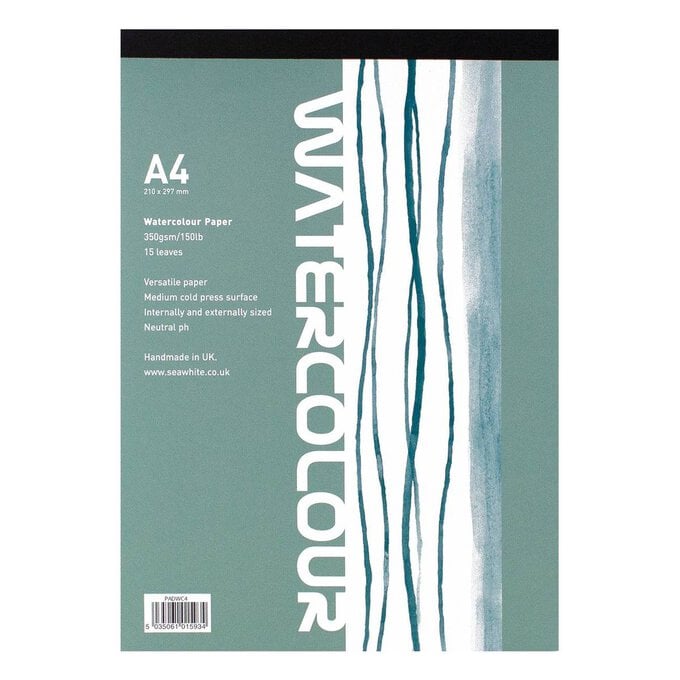
You will need
Subtotal
Is $ 10.00
Subtotal
Is $ 10.00

Subtotal
Is $ 29.00
Subtotal
Is $ 19.00
Subtotal
Is $ 15.00
You will also need:
* FREE downloadable Robin template
* Water
* Kitchen roll
* Old paint brush for masking fluid
* Table salt

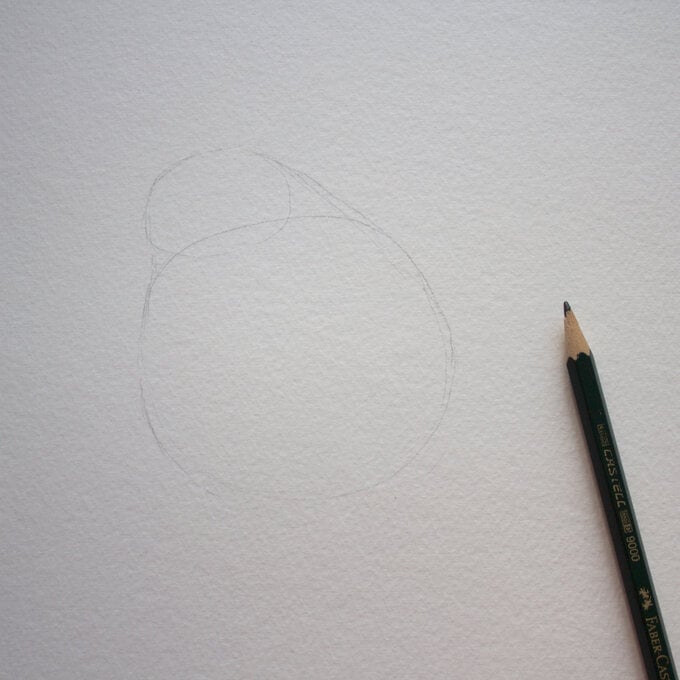
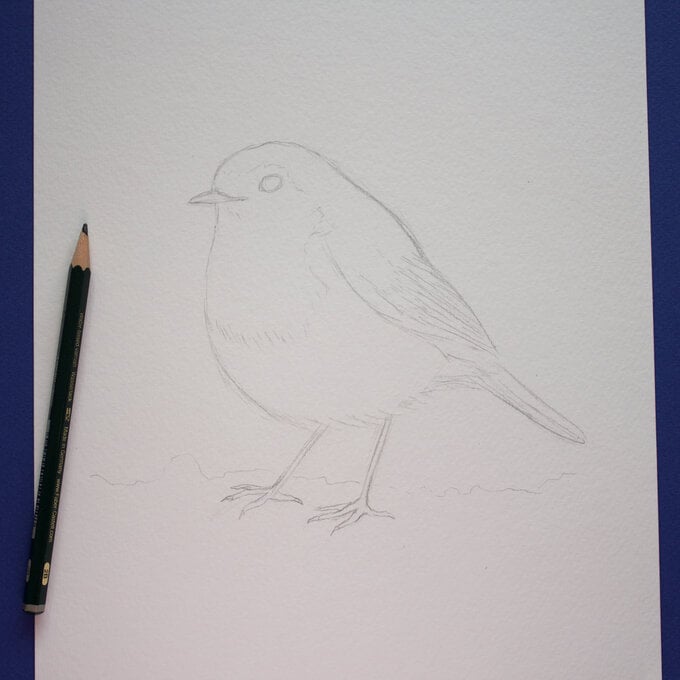
Draw out a robin using a HB pencil. Draw a small oval for the head and a bigger oval for the body, before adding in the wings, tail, and little legs.
Alternatively, download the Robin template at the bottom of the page and transfer onto your watercolour paper. To transfer, print out to the size you would like and scribble pencil on the back covering the robin. Place the template over the watercolour paper and trace over the design.
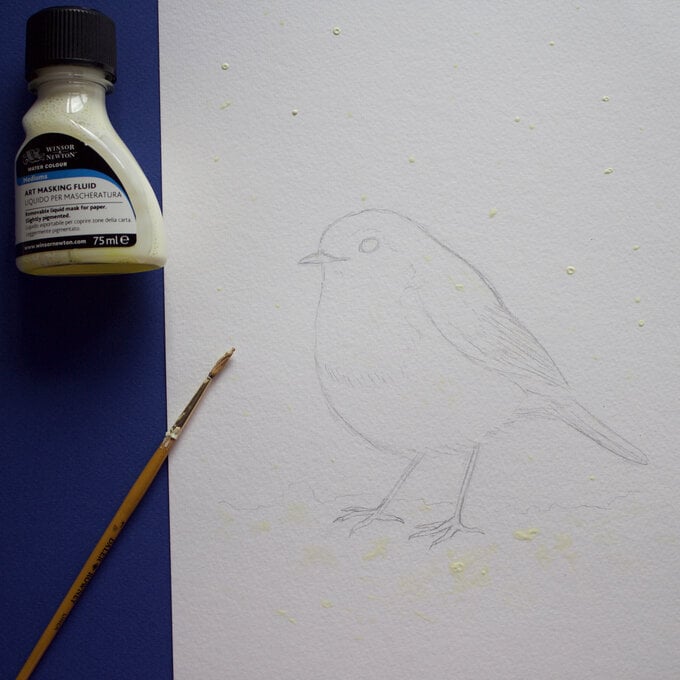
Use masking fluid to add in some snowy effects on the ground and on the robin. Make sure to use an old brush with this as it can ruin your nice brushes.
This is an optional step, and if you don't have masking fluid, you can always use white acrylic paint to add the snowy splatter effect after.
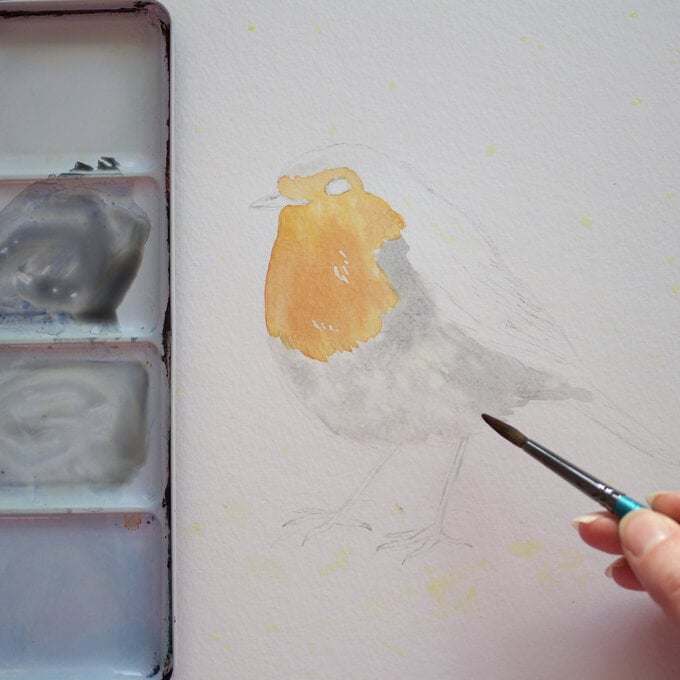
We're going to start with the wet-on-wet technique for the first layer. The wet-on-wet technique is a process where you wet the paper first with clean water and add in paint over the top, creating a blended and soft effect.
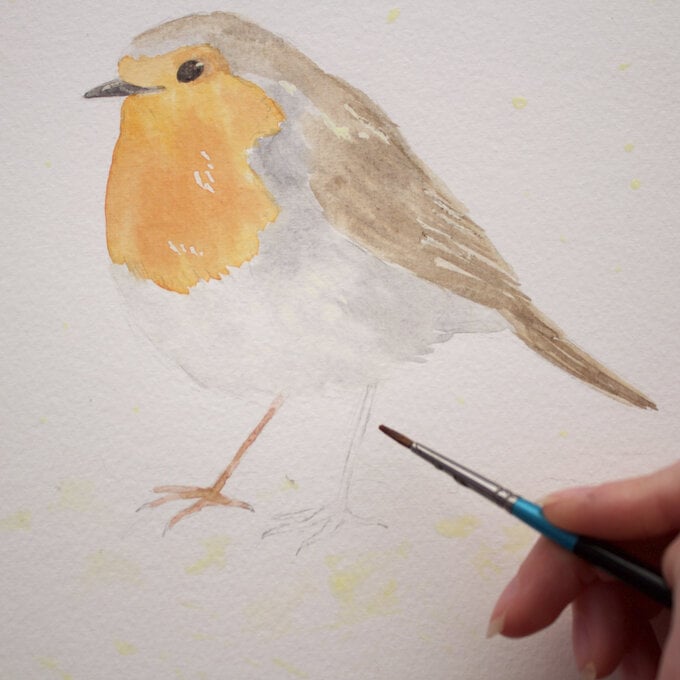
Pre-wet the chest using clean water and paint in light orange and darker orange colours.

Pre-wet the grey/white areas of the body and add in some soft light grey to these areas. Be careful not to over-do it as we want to preserve the highlights.
Tip: you can use kitchen roll to very lightly dab areas you would like to be lighter.
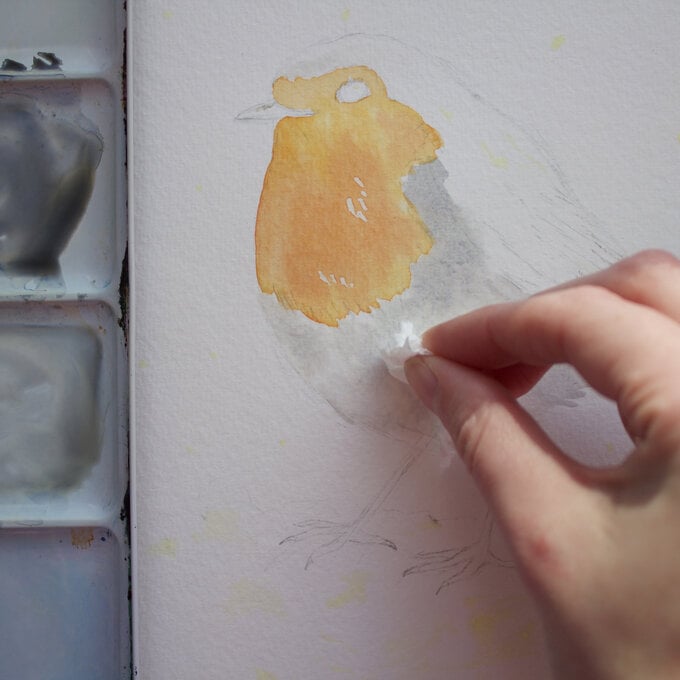
Mix together a couple of browns using a mix of burnt umber and a tiny amount of ultramarine. Repeat the same process of the wet-on-wet technique and pre-wet the head, wings and anywhere the colours are going to go before painting in these areas.
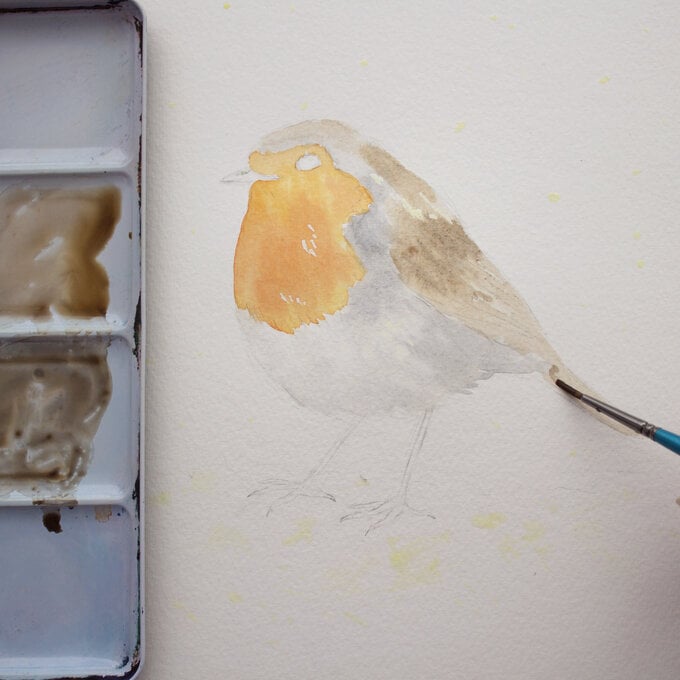
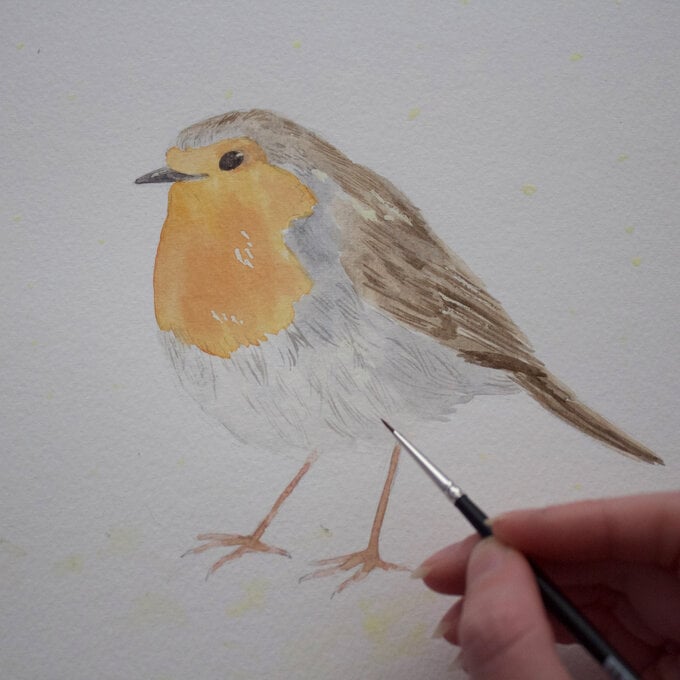
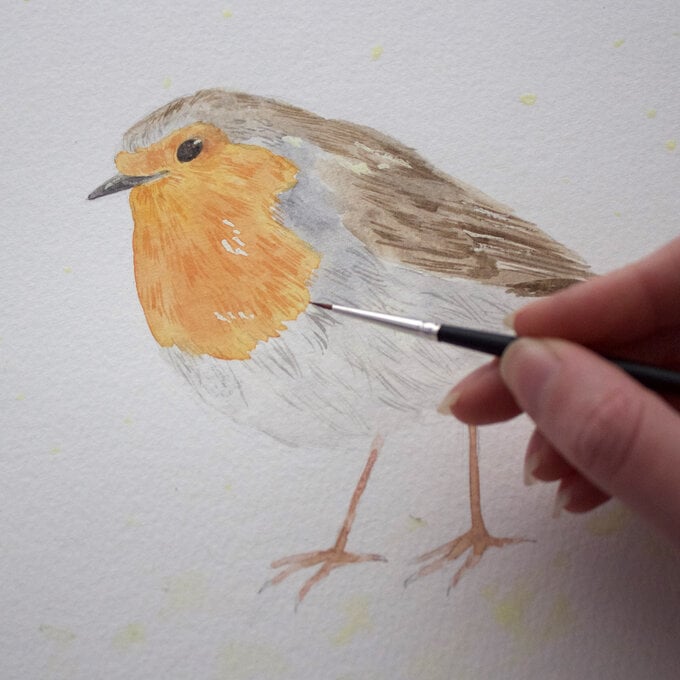
Paint in the little eye and beak using either black or a mix of burnt umber and ultramarine paint. Watercolours always dry lighter, so you can always layer the colours if the first layer is not dark enough.
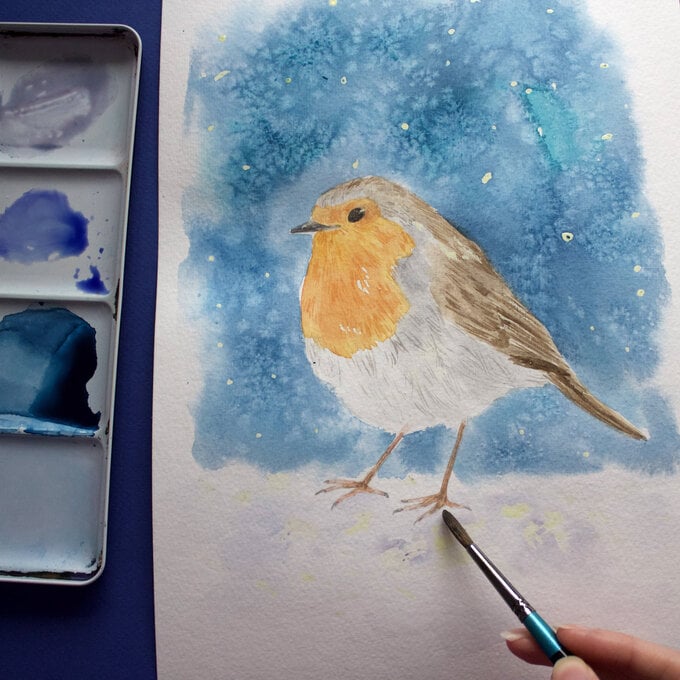
Paint the legs using a mix of brown and a pinkish colour. Make sure to use a thin brush for this. You can layer over a slightly darker colour to add some shadow to the legs once the first layer is dry.
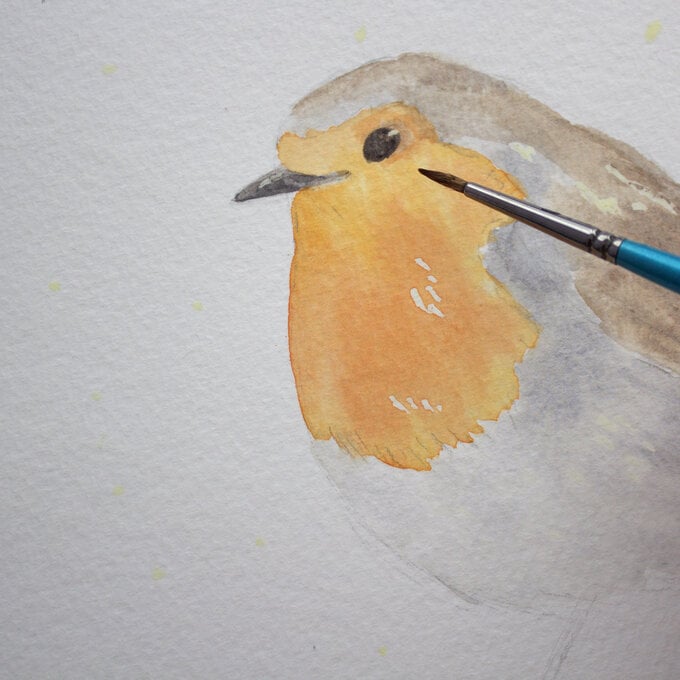
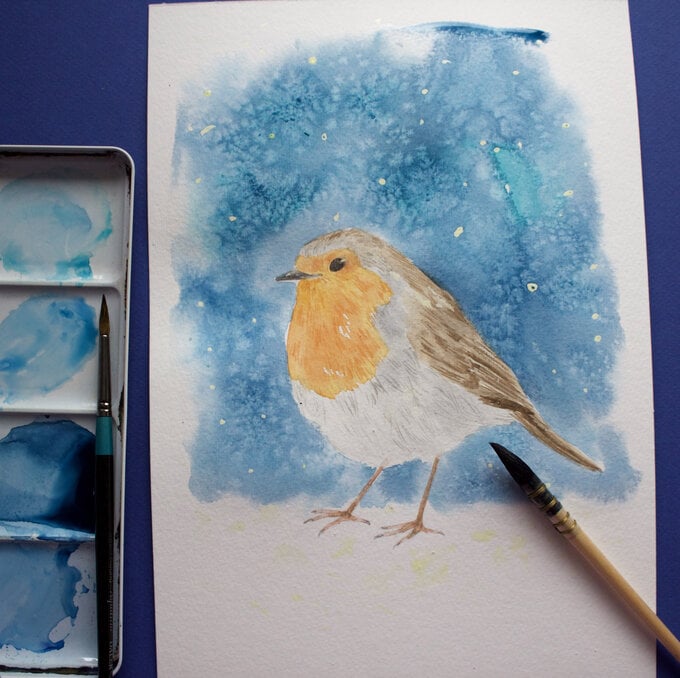
Add texture to your little robin by using a small brush and adding in flicks of feathers in darker colours to add depth to each section.
Always remember to think about the direction and the length of the feathers – the feathers are much shorter and fluffier on the chest and longer in the wings for example. The feathers on the chest criss cross over a little too.
You can use salt to create a gorgeous wintry background for your little robin. Mix up some deep blues and turquoises (or any colours you would like the sky to be) and then pre-wet the background or any areas you want to paint using clean water.
Apply your paint generously and quite quickly to make sure it does not dry. Sprinkle some table salt over the paint and you should see the paint create a gorgeous icy effect as it dries. Make sure that when you add the salt the paint is still wet, otherwise it might not create the effect.
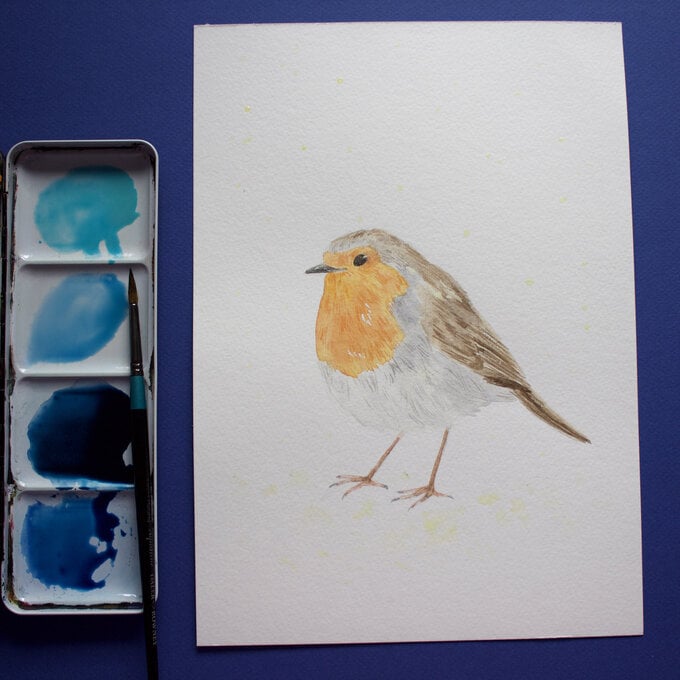
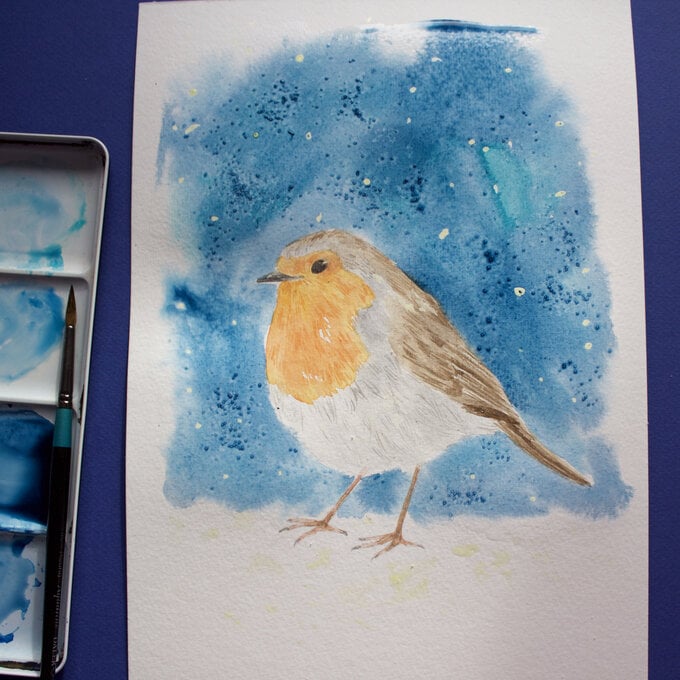
Pre wet the snow by the robin's feet and paint very light purple over some areas of the snow for an icy, soft effect. You can make your colour lighter by adding more water to the paint.
Remove all salt once fully dry and remove any masking fluid you have applied once 100% dry. If you remove the masking fluid while it is still damp, it will tear the paper. If the piece is still cold to the touch it means the paint is still wet.
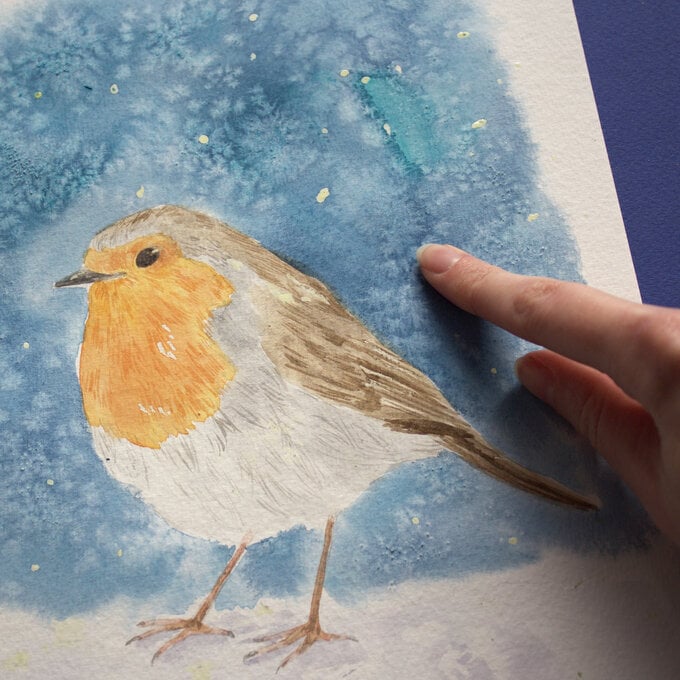
Now you have a beautiful robin painting to frame and display for all to see!
Related Products