How to Use Alcohol Inks
Discover the wonderful world of alcohol inks with Hobbycraft Artisan and illustrator Emma Hunt. Create stunning effects and experiment with different techniques to create your own alcohol ink artwork.
Master the basics of this vibrant art material and learn how you can introduce it in your own artwork, or simply have fun with the unique characteristics of the inks! Find out how to combine inks with different art mediums to get your creativity flowing.
Whether you’re an artist or you wish to incorporate this style into your card making or scrapbooking, alcohol inks will bring a unique and exciting style to any project.
Remember to always work in a well-ventilated room when using alcohol inks. If this isn't possible, then a breathing mask with a filter is important in preventing you from inhaling small amounts of colour pigments as the alcohol evaporates. It is also recommended that you wear rubber gloves and protect your working surface as the inks are very likely to stain. This will also prevent grease from getting on to your painting surface and affecting the inks.
You will need
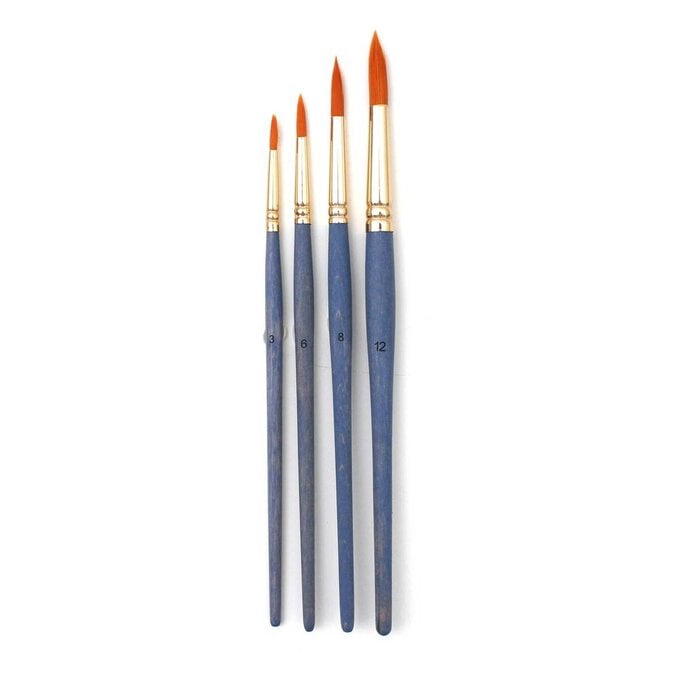
Subtotal
Is $ 4.49
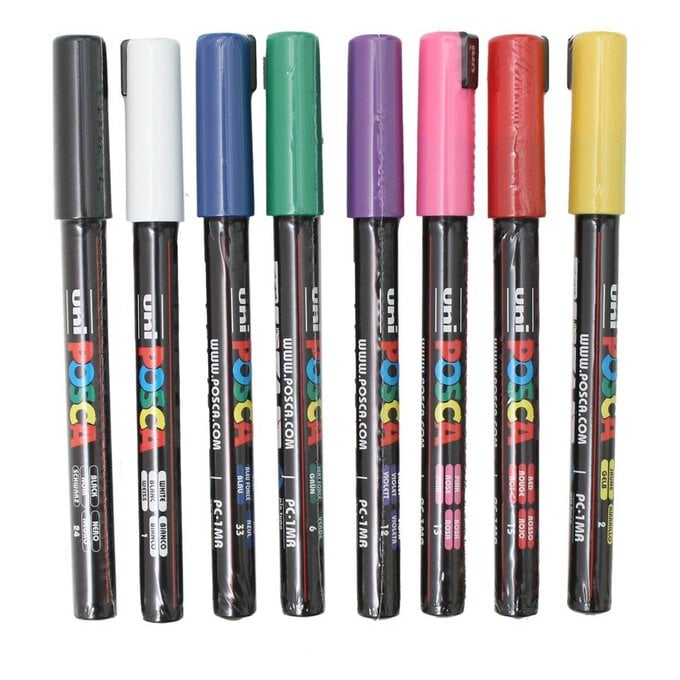
Subtotal
Is $ 26.00
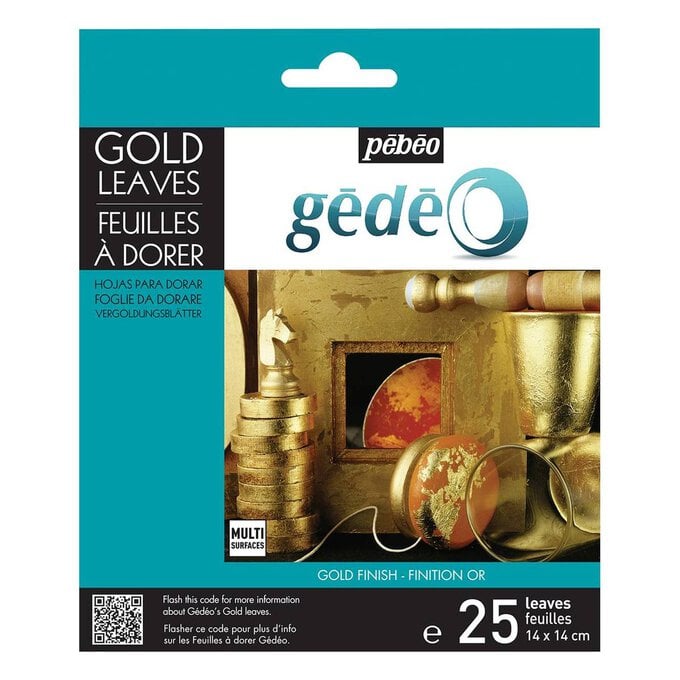
Subtotal
Is $ 19.00
Out of stock
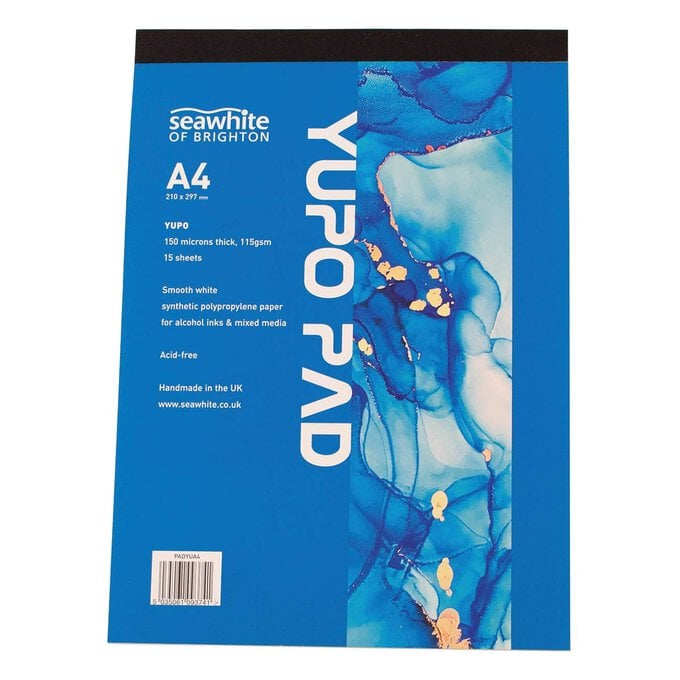
Subtotal
Is $ 14.00
Out of stock
You will also need:
* Hobbycraft Alcohol Inks - available in store only
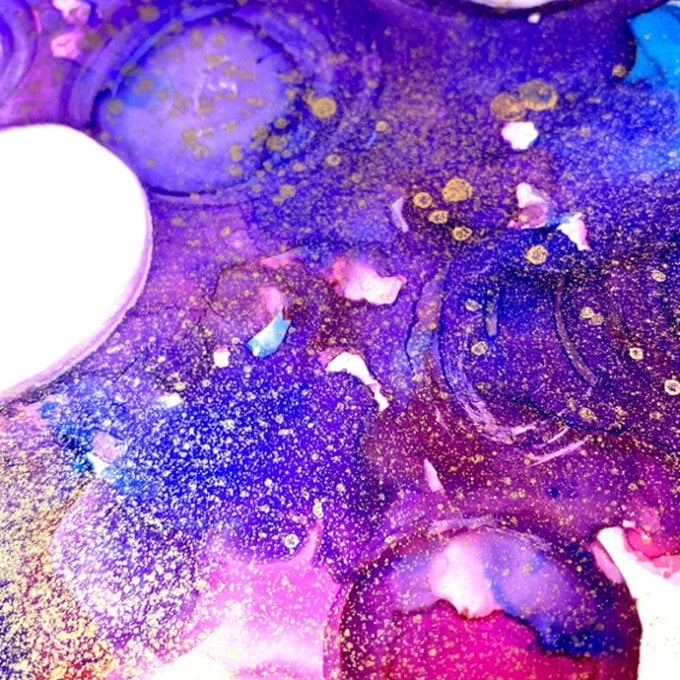
* Gilding fluid- available in store only
How to make
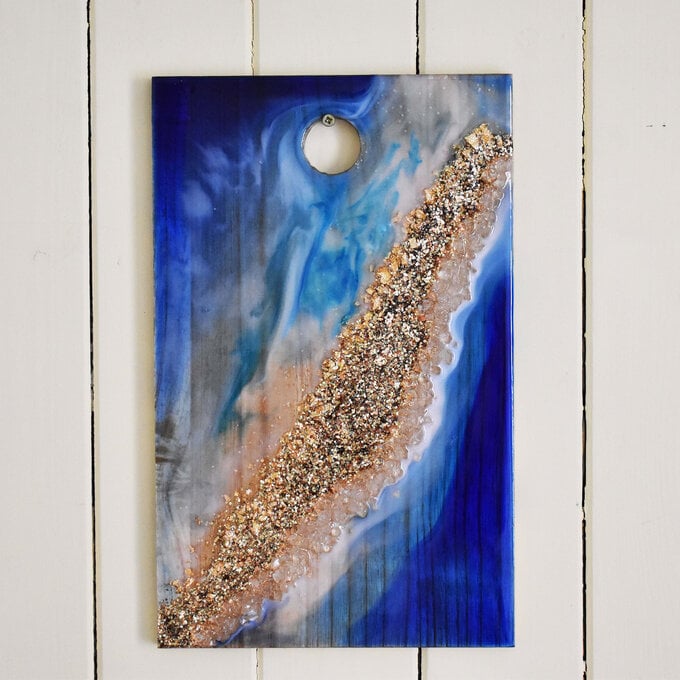
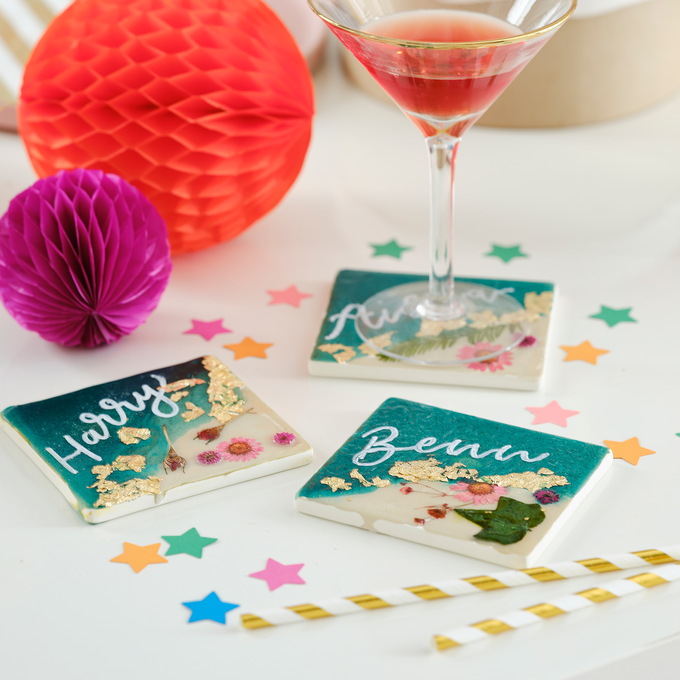
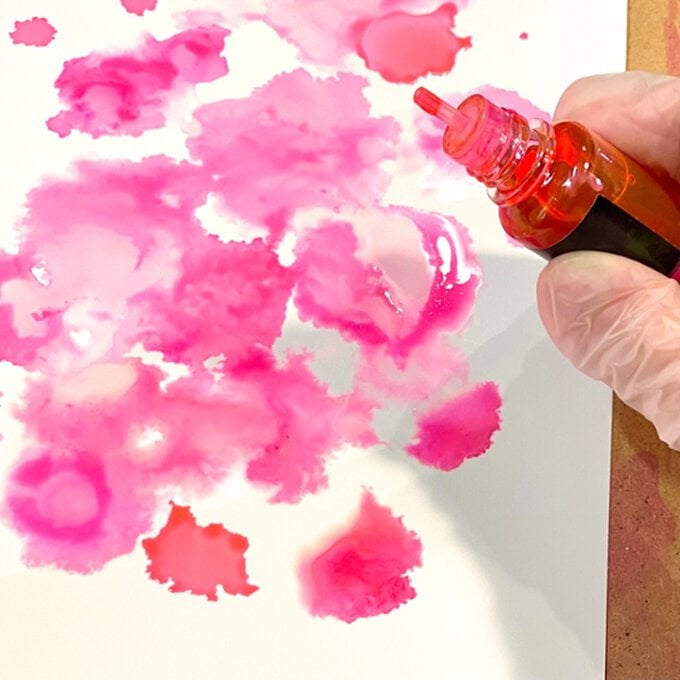
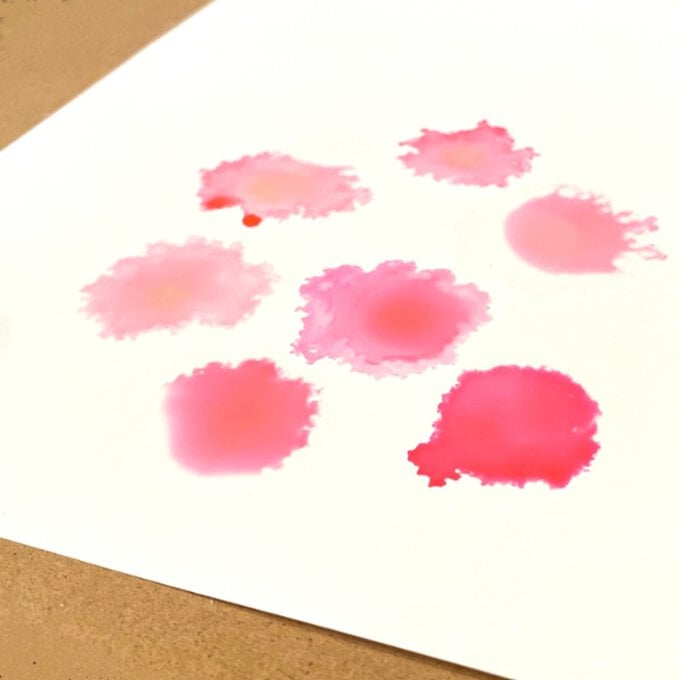
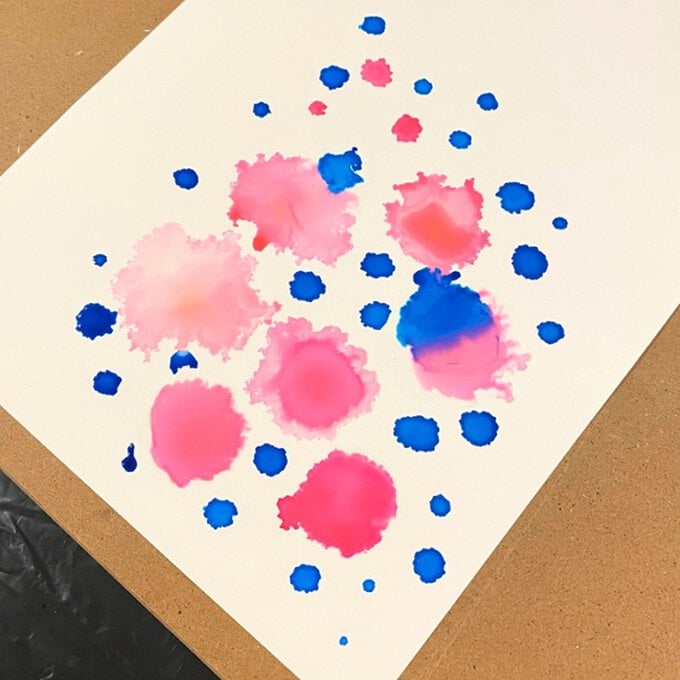
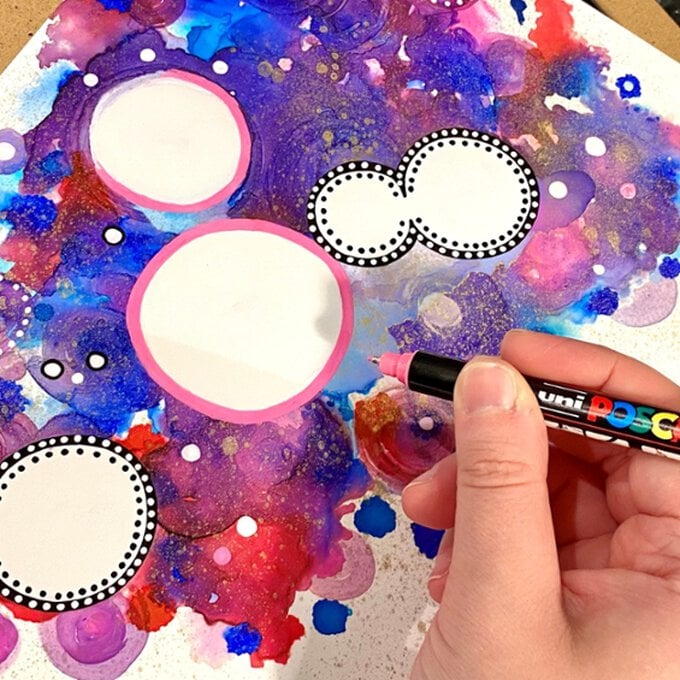
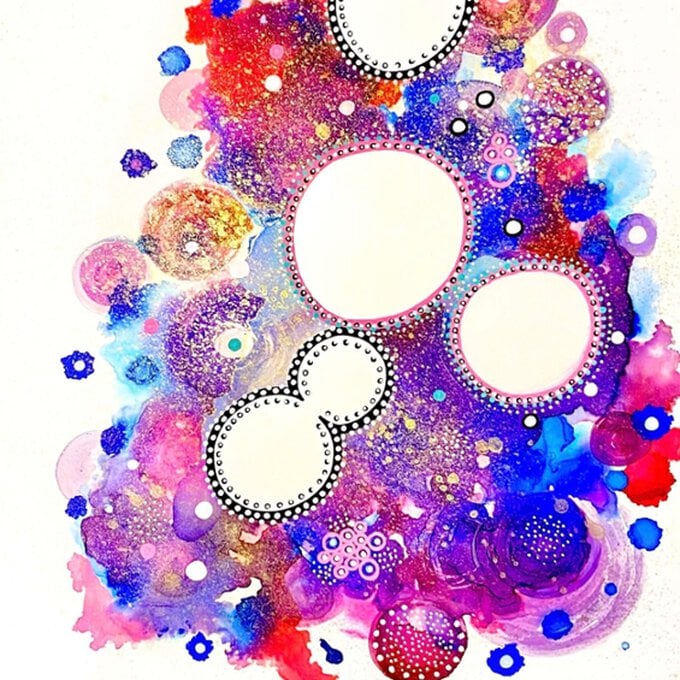
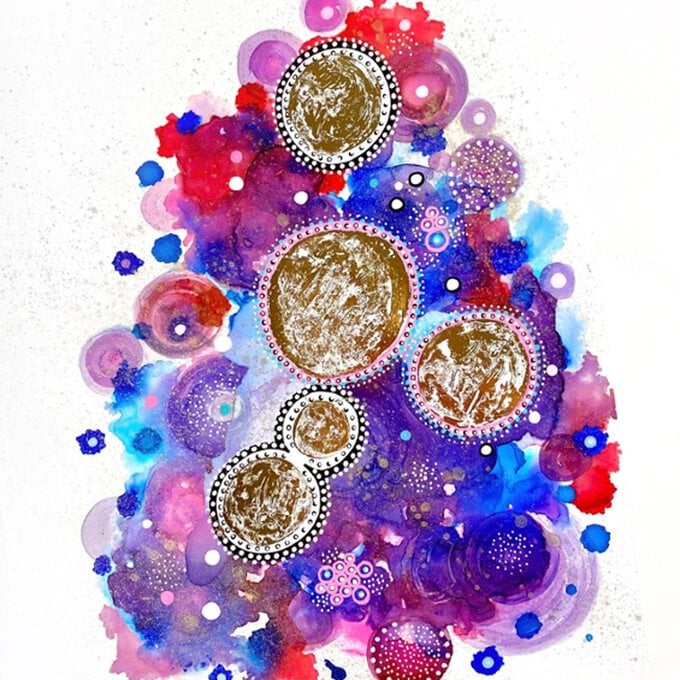
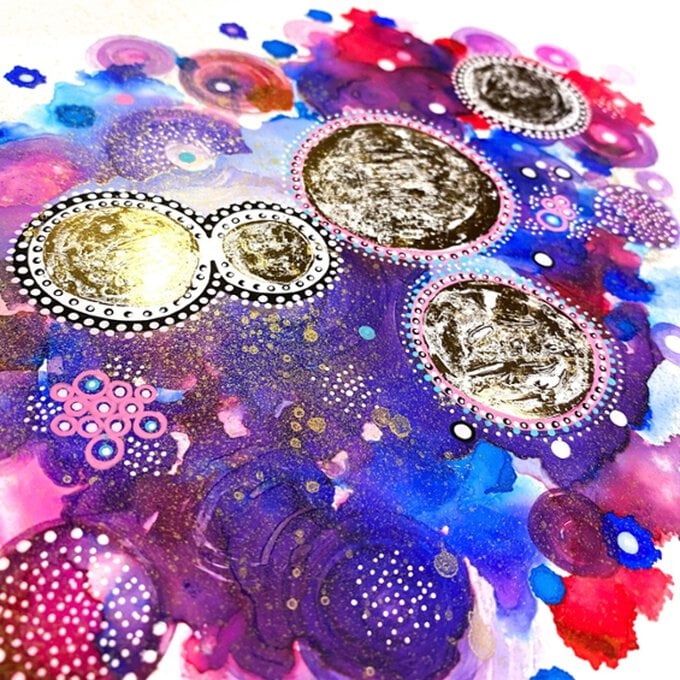
The most important thing to do when using alcohol inks for the first time is to experiment with them. It's great to get an idea of how the inks move across the page and how you can manipulate them. You can use them on all kinds of surfaces including Yupo paper, glass, ceramic, clay, resin and so much more.
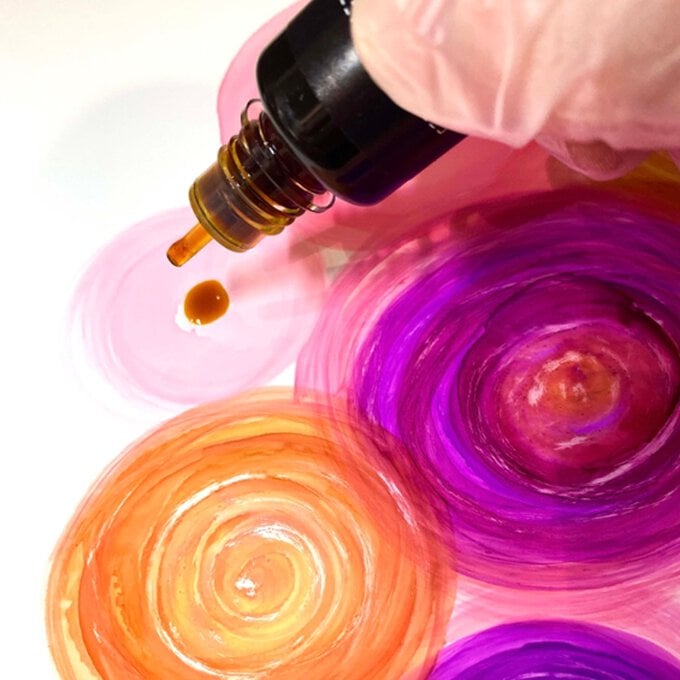
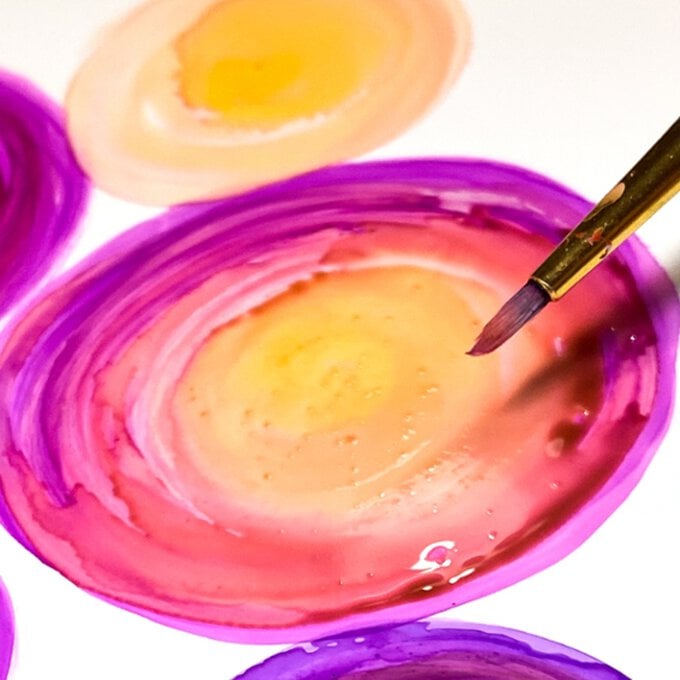
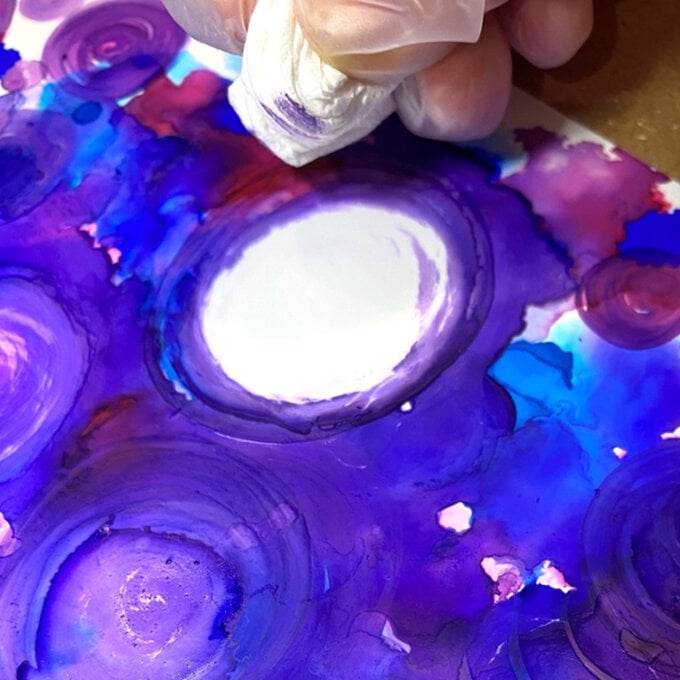
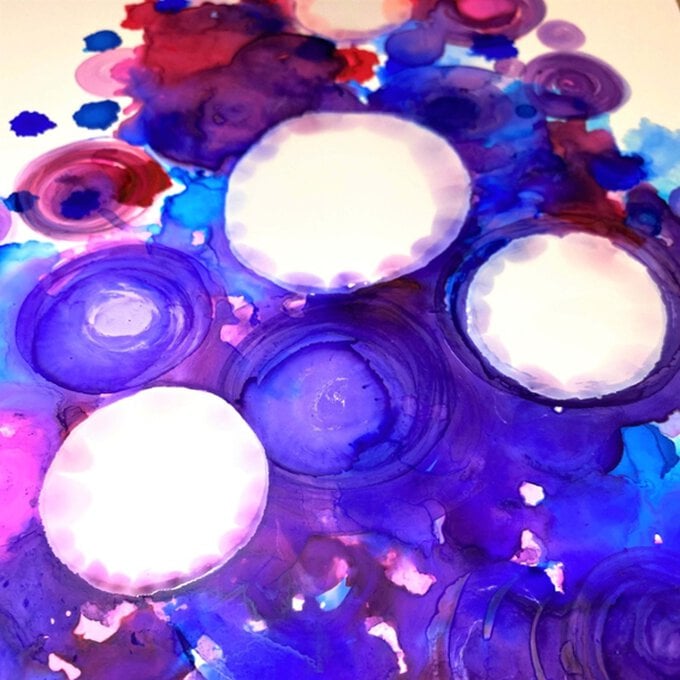
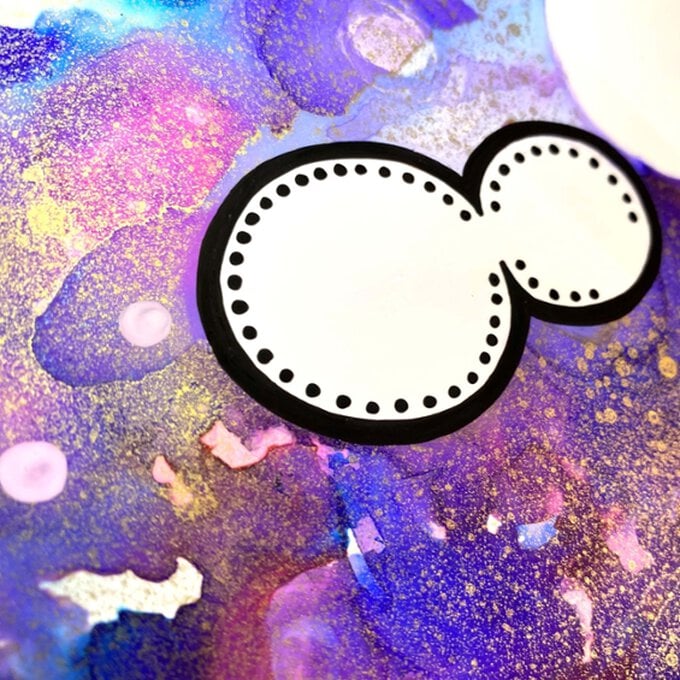
Use a scrap piece of Yupo paper to have a play and try out different techniques. You'll notice as the first drop hits the page, how quickly it spreads out in a circle. Adding more drops and different colours will allow the circles to move into one another. When you drip blending solution over the top you will create a colourless circle that displaces the colours creating darker edges to you circles.
You can also use a drinking straw to wave your colours or create individual colour gradients. By using a hair dryer or blower on a cool setting, you could also achieve this effect.
Remember to always work in a well-ventilated room when using alcohol inks. If this isn't possible then a breathing mask with a filter is important in preventing you from inhaling small amounts of colour pigments as the alcohol evaporates.
It is also recommended to wear rubber gloves and to protect your working surface as the inks are very likely to stain. This will also prevent grease from getting on to your painting surface and effecting the inks.
To protect your artwork, you will need to use a UV light sealer as alcohol inks are very light sensitive and will likely fade over time if not protected.

Related Products