How to Use Oil Paints
Oil paints are renowned for their versatility as a medium, but are also notorious for their very long drying time, which makes them easier to manipulate than quick-drying acrylics. However, when starting an oil painting you should consider that it could sometimes take weeks for a thick layer to fully dry!
Charlotte will be taking you through how to use oil paints, her layering process step-by-step and giving tips and tricks to create a successful painting.
You can discover more about Artist Charlotte Baker through her Website, Instagram or Facebook.
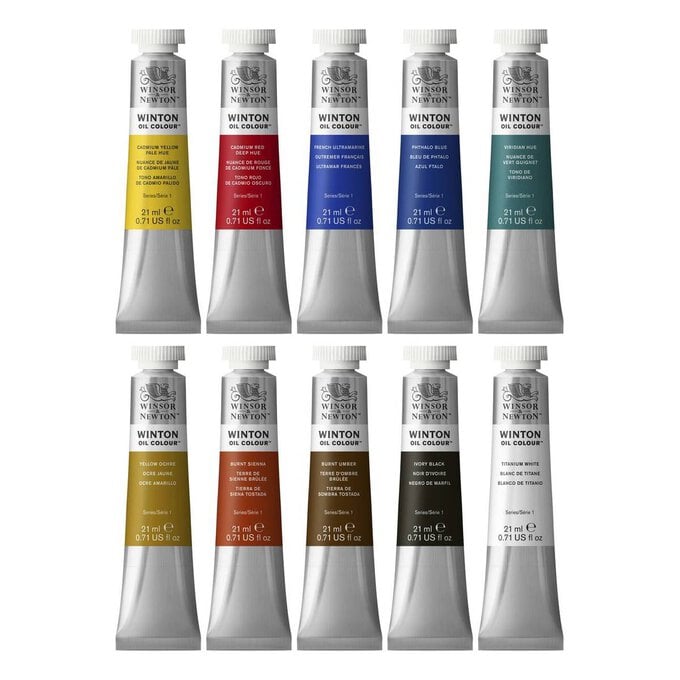
You will need

Subtotal
Is $ 14.00
Subtotal
Is $ 47.00
Subtotal
Is $ 8.49 , was $ 16.00
Subtotal
Is $ 13.00
Subtotal
Is $ 13.00
Subtotal
Is $ 14.00
Subtotal
Is $ 6.49
Subtotal
Is $ 7.49
How to make
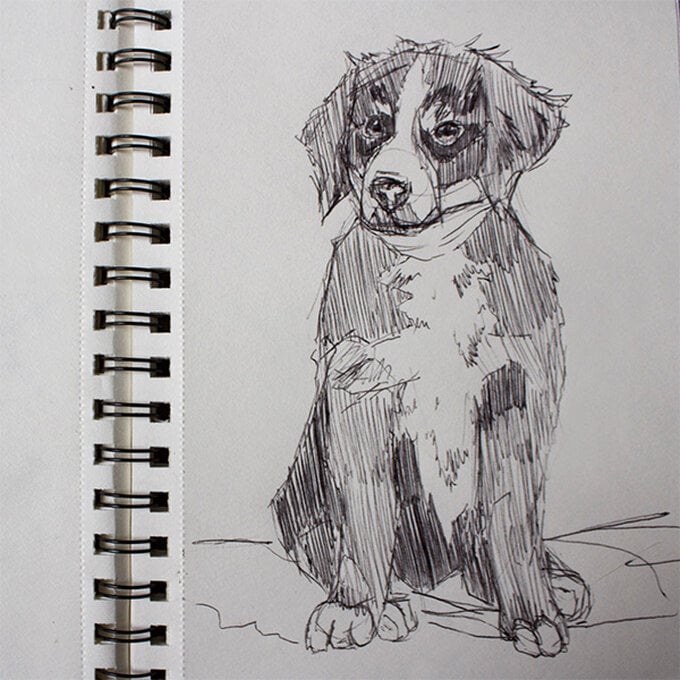
Before you start painting, roughly sketch your picture to establish a guideline which can be followed when applying your paints. This pre-production process lets you play with composition and the scale.
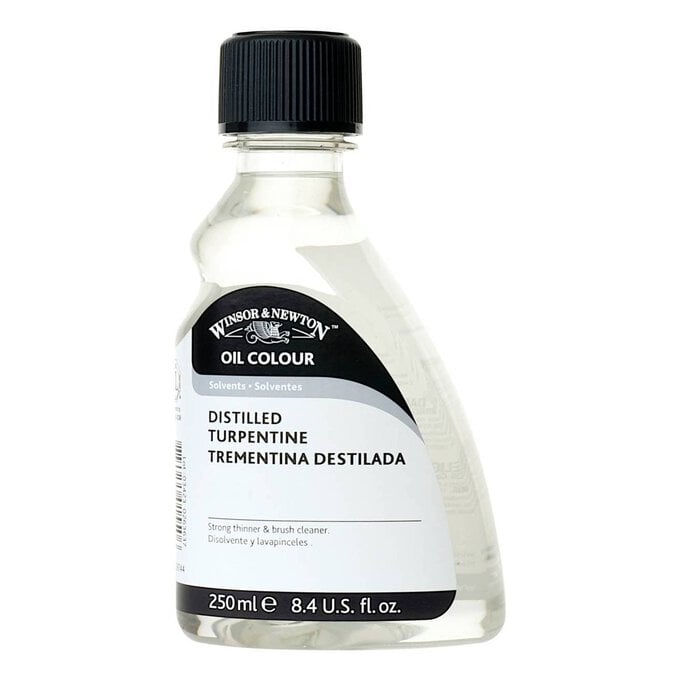
Before you start sketching, create a wash. I find this helps brushstrokes feel more natural while also helping the oil paint to adhere to the canvas more evenly. In this case, I chose to thin down Raw Umber with turpentine.
What is turpentine? Turpentine is a low odor thinner, which is used to thin down the consistency of oil paints. White spirit may also be used for the same purpose, but this is better suited to washing oil paint off of brushes. Washes made from white spirit and oil paint may result in a 'fizzy' or broken appearance.

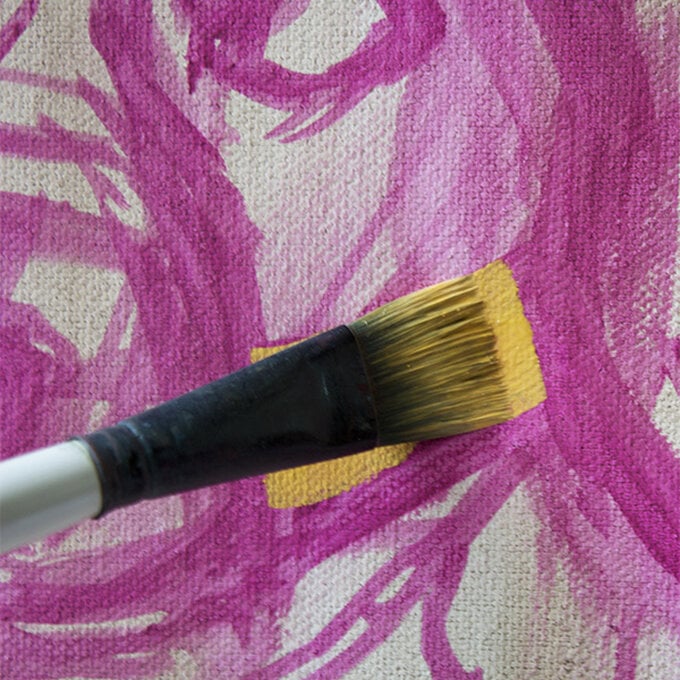
Sketch out the picture on the canvas using an oil paint colour of your choosing. However, you should thin this colour down with turpentine, so that you can easily paint over this outline afterwards.
Magenta is my go-to colour as it's vibrant and punchy and I can still see it when painting the first layer.
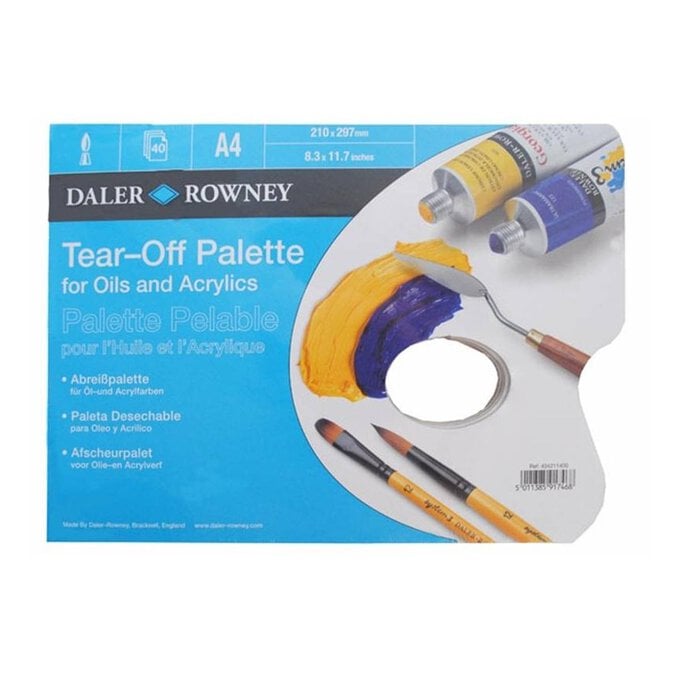
To limit the amount of interruptions, prepare all your paints ready. I use a tear-off palette to put my oil paints on for ease.
When starting your first layer, thin the paints with a small amount of turpentine so that it can dry quickly. With each new layer, you should then increase the thickness of the paint to add depth and richness.
Tip: Always paint thick over thin paint. If you apply lots of thin over thick, the paint may crack – ruining your painting!
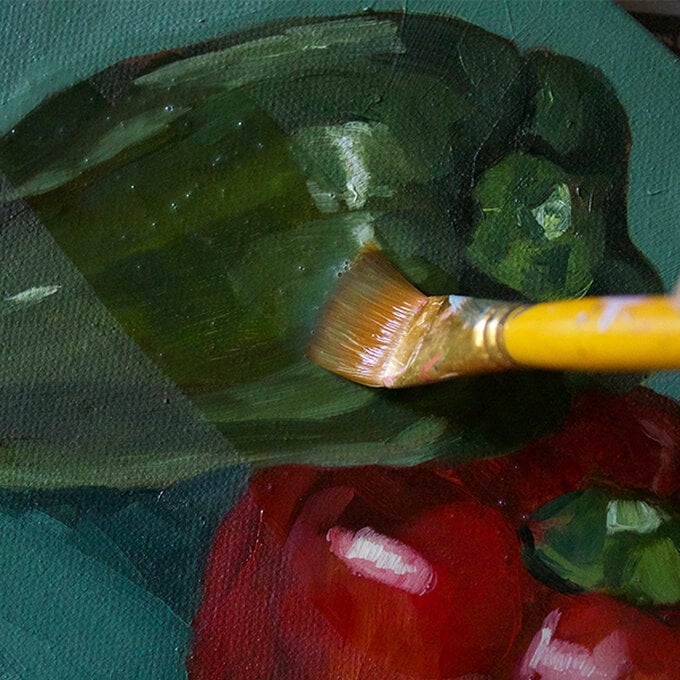
I applied the lighter colours first, followed by the deeper, darker shades. This ensured that the lighter ones wouldn't mix too much, ultimately to retain the outlines of the shapes.
Using Titanium White, I blocked out the areas of the belly and face, and followed this step by filling the honey-coloured areas of the puppy's body with a mixture of Yellow Ochre and Titanium White. I also used soft shades of grey to create shadows, for a more three-dimensional effect.
The background was created using a blend of Titanium White, Prussian Blue and Naples Yellow. To apply colour to the darker areas of the puppy, I used a blend of Prussian Blue and Raw Umber.
Tip: Avoid using black straight from the tube, as this can make your painting look very flat. Instead, try a mix of Raw Umber, Prussian Blue and/or Payne's Grey, if you want a dark and cool-toned (blue) colour. Raw Umber, Prussian Blue and Alizarin Crimson will form a warmer-toned (purple) colour.
This layer should take about a day to touch-dry.

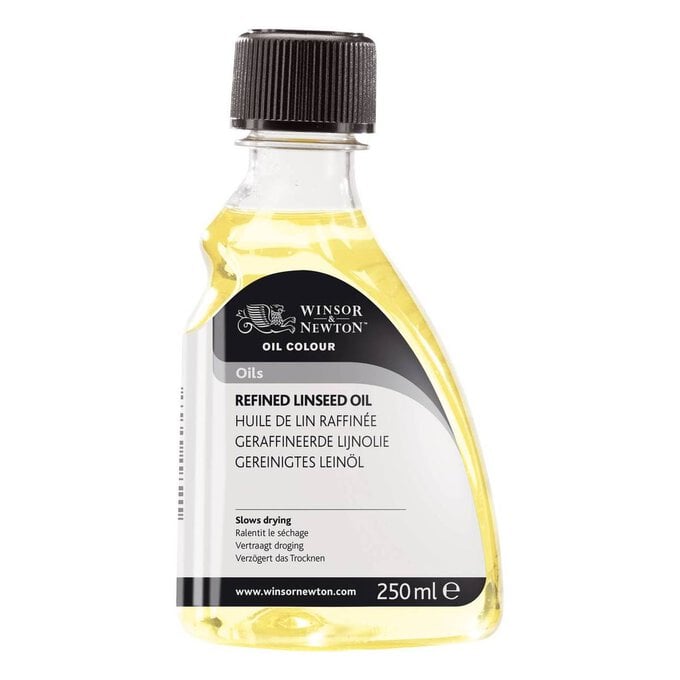
Once the previous layer has dried, it's time to apply the next layer! Now that we have our base, we can start using mediums to add effects and to manipulate the consistency of the paints. I use linseed oil and liquin the most.
Linseed oil enhances the glossiness of the paint, and makes it appear more transparent. This medium also slows the drying time, giving you more time to experiment and mix.
Liquin improves gloss and transparency and it speeds up drying time. This means that you can apply the next layers sooner!
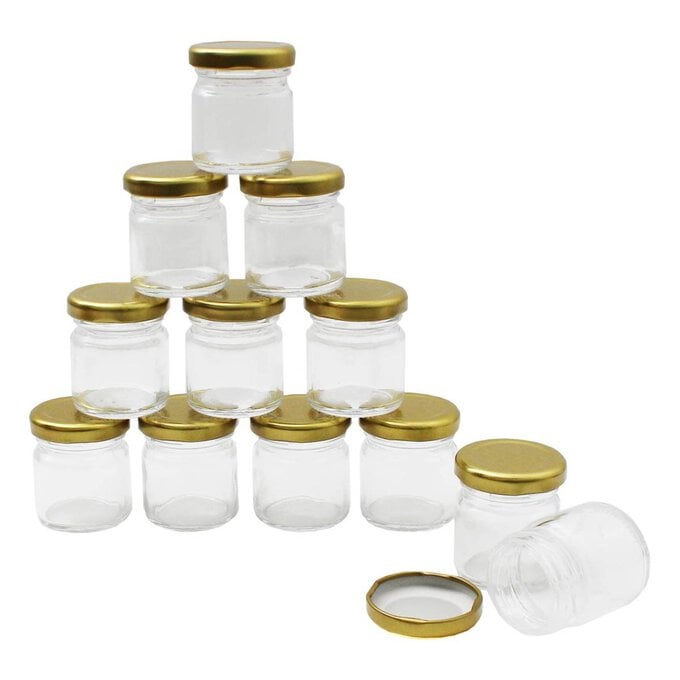
Tip: When mixing mediums in with paint, pour some of the medium into a jam jar lid for easy use. Apply a little, with a ratio of 3:1 paint/medium. Using too much medium can weaken the paint structure, which may form cracks.
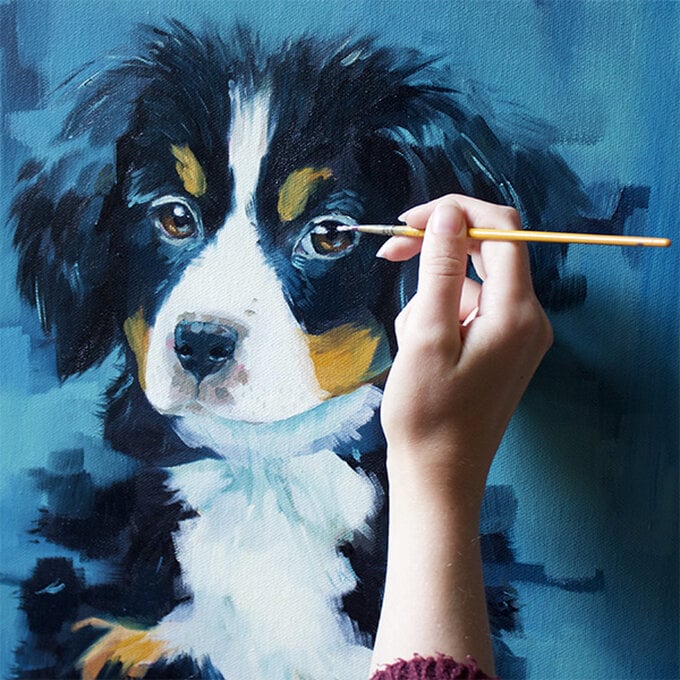
Using the same process as the previous layer, start to add some finer details. In this case, this included creating the texture of fur and adding the eyes and nose in greater detail.
I love to incorporate the background colour into my subject, to give the form movement and life. I achieve this by using more expressive brush marks, so that the subject is positioned in the scene and seems a part of it.
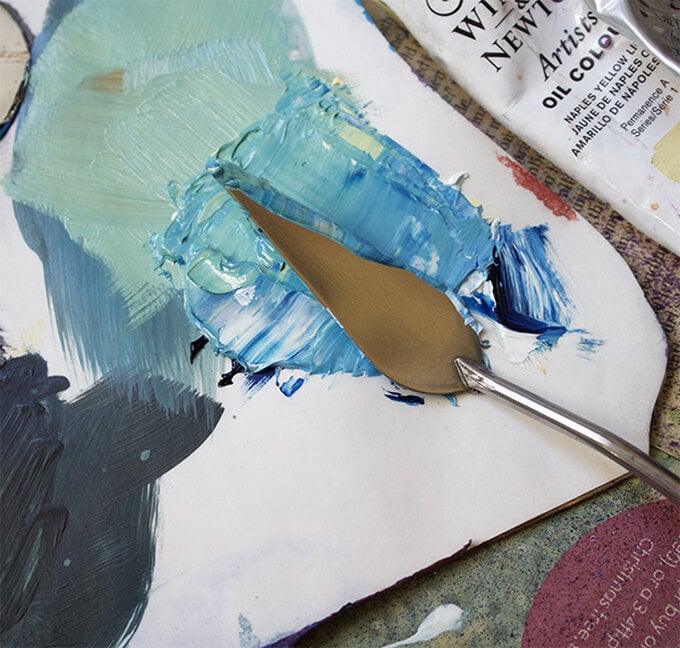
Tip: If you're mixing a large amount of paint use a palette knife instead of a paint brush. This saves paint getting trapped in the bristles and going to waste!
This layer will take approximately a week to touch-dry depending on how much oil paint you applied.
The last layer is where the piece comes to life! In the past steps I mostly use a ¾” flat brush to block the layers out. However when I am nearing the finished piece, I switch to smaller brushes to get the level of detail in. Small round brushes with a sharp point are great for getting highlights in the eyes and fine things like whiskers.
Tip: Always make sure to get all the oil paint out of your brushes at the end of painting otherwise your brushes will turn rock solid!
Make sure you store your oil painting in a safe place while it dries – it may be wet for weeks! Red oil paints especially take the longest to dry because of the pigments and can be slightly wet for months.
Once the oil painting is completely touch-dry, you can apply a varnish over the top to seal everything in, however this is completely optional.

Related Products