How to Make 6 Essential Picnic Projects
After months of dark, cold weather, at the first glimpse of Spring everyone is desperate to get outdoors. Whether dining outside, sitting out and reading a book, or even if you fancy camping out, be prepared to do it in style with our selection of smart and simple picnic projects. There's everything from pretty cushions, place mats and napkins to picnic throws and tray cloths!
You will need
Subtotal
Is $ 244.00
Subtotal
Is $ 20.00

Subtotal
Is $ 24.00
Subtotal
Is $ 7.49

Subtotal
Is $ 8.49
Subtotal
Is $ 6.49
Subtotal
Is $ 5.49
Subtotal
Is $ 4.49
Subtotal
Is $ 15.00
Subtotal
Is $ 22.00
Subtotal
Is $ 22.00
Subtotal
Is $ 1.49
Subtotal
Is $ 22.00
Subtotal
Is $ 2.49
Subtotal
Is N/A
Subtotal
Is $ 4.49
Subtotal
Is $ 4.49
Subtotal
Is N/A
Subtotal
Is $ 3.49
Subtotal
Is $ 7.49
You will also need:
For the Scalloped-edge Cushion:
50x50cm fabric
For the Button Cushion:
50x50 fabric
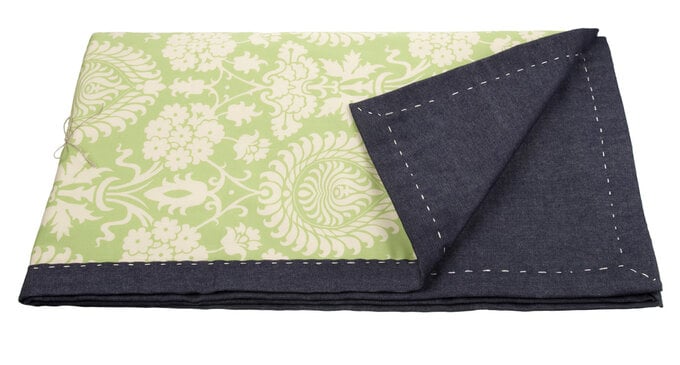
For the Picnic Throw:
1.4 metres fabric x2
1.4 metres interfacing
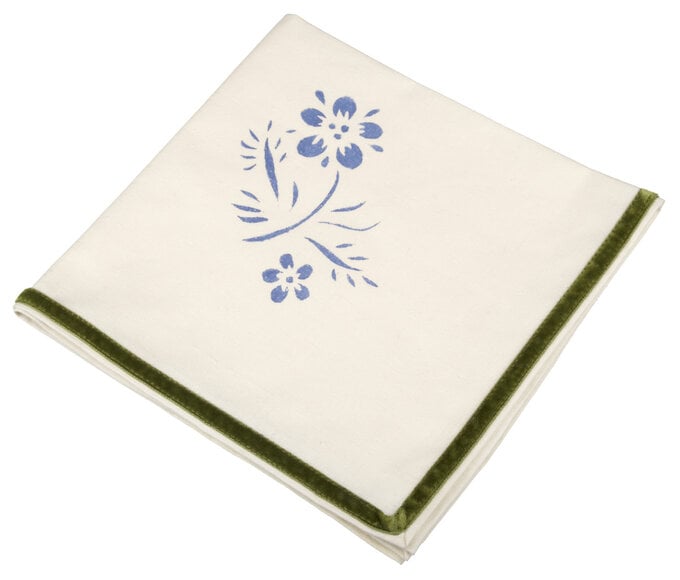
For the stencilled napkin:
velvet ribbon
For the tray cloths:
50cm fabric x3
40cm fabric
scalloped edging tape
For the plaited place mat:
A selection of fabric in contrasting colours (1.5m L x 4cm W)
How to make
1. To make your scalloped pattern, fold the paper in half and put it down on a work surface with the folded edge on your left. Draw a wavy line from the left, starting halfway through a 'valley', then up, down, and end in the corner of the paper with a curve.
2. Cut through the two layers of paper along the line you have drawn. Then, open out the paper and you have your symmetrical template.
3. Cut out a 50 centimetre square of fabric and two more pieces 50 centimetres by 35 centimetres. Hem along the 50 centimetres edge of these. Lay them right sides facing up so they measure 50 centimetres by 50 centimetres in total. Place the other main piece on top, right side facing down, and pin them together. Pin the template on to each side and cut away to create the wavy edge.
4. Sew around the fabric, 1 centimetre from the edge. Snip into the seam to ease the curves. Turn right side out and press.
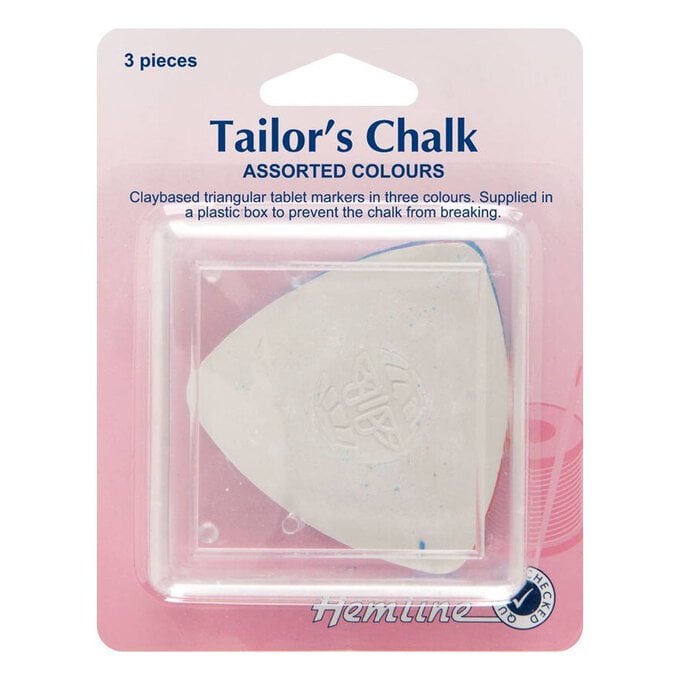
5. Use a light-coloured tailor's chalk to mark a line 5 centimetres from the edge. Sew along this to create the scalloped edge.
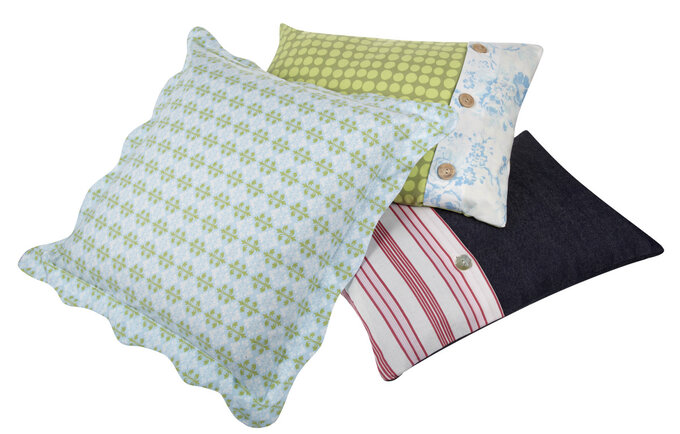
1. Cut out three pieces of fabric – 32 centimetres by 42 centimetres, 32 centimetres by 12 centimetres and 32 centimetres by 45 centimetres (or enlarge to create an over-sized cushion). Hem the third piece at one end so it measures 32 centimetres by 42 centimetres. Then hem the smallest piece along one edge and make two or three buttonholes along that edge.
2.Lay the unhemmed piece, right side facing up. Put the smaller buttonholed piece, right side facing down, along one edge with the corners lining up, these will form an envelope flap. Now put the other big piece, right side down, on top with the hemmed edge at the same end as the shorter bit. Pin together and sew along both long sides and across the end, 1 centimetre in.
3. Turn inside out and press. Sew buttons on.
1. Put your backing fabric (1.4m) right side down and lay the interlining (1.4) over it. Finish with the 'front' fabric (1.4m) on top, right side facing up. Line up all the edges and trim if necessary.
2. Turn under about 4cm on each edge with a double hem, pin and press.
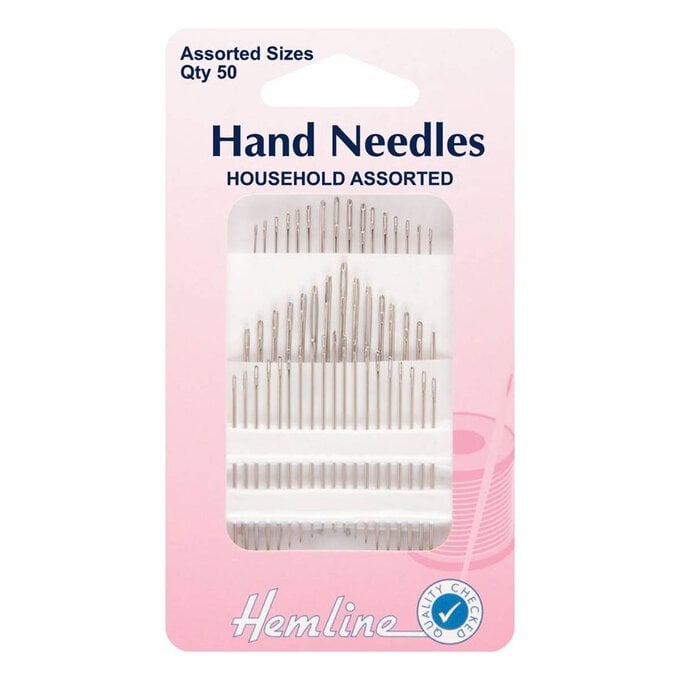
3. Using a large needle and embroidery thread, do a running stitch all the way around, making sure you catch all the layers together. Sew a few extra stitches at the corners to make sure it's secure.
1. Draw your design out on to the card. Cut away the pattern using the craft knife, keeping the edges as clean as possible.
2. Press the fabric and lay it on a flat surface. Put the stencil on the corner of the fabric, about 7 centimetres from the edge.
3. Use the stencil brush to dab on the paint. Make sure you don't 'brush' the paint on the stencil as it will seep under the card. Remove the stencil and leave to dry.
4. Press a small double hem around the edge of the fabric, cutting a small triangle out of each corner if it's too bulky. Sew velvet ribbon around the napkin, sewing the hem down at the same time.
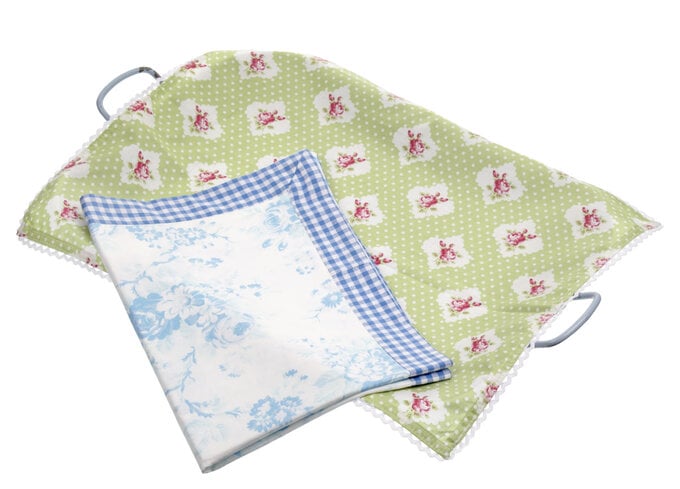
1. Cut two pieces of fabric 48 centimetres by 36 centimetres and scalloped tape to go around the edges. Put the pieces right sides down together with the tape in the middle and sew along three of the sides.
2. Clip corners to lose bulk and turn the right way round. Press and seal gap with hemming web.
1. Cut fabric 25 centimetres by 35 centimetres, two strips 50 centimetres by 6 centimetres and two strips 40 centimetres by 6 centimetres.
2. Sew strips along the four edges – short ones along widths and long ones along lengths – leaving fabric at ends. Press seams.
3. Make a mitred join in each corner by folding the cloth over itself diagonally, sewing across the strip at a 45 degree angle.
4. Press. Put right sides down together with another piece the same size. Pin and sew the edges, leaving 10 centimetres. Turn right sides out. Press. Seal gap using hemming tape.
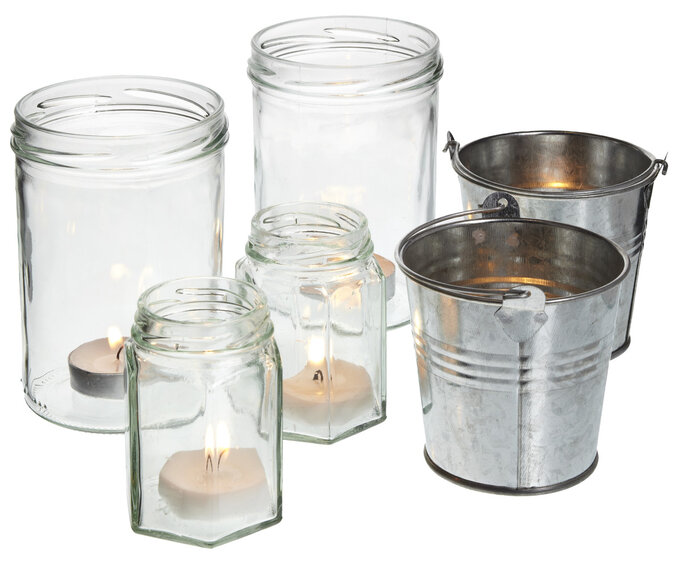
One of the real pleasures of outdoor living is sitting surrounded by lots of lights as it starts to get dark! An eclectic mix of glass jars and mini metal buckets looks great in a garden, the more sizes the better. Simply put a tea light in the bottom . Remember… Never leave a lit candle unattended. If you have small children why not try battery-operated tealights or candles instead?
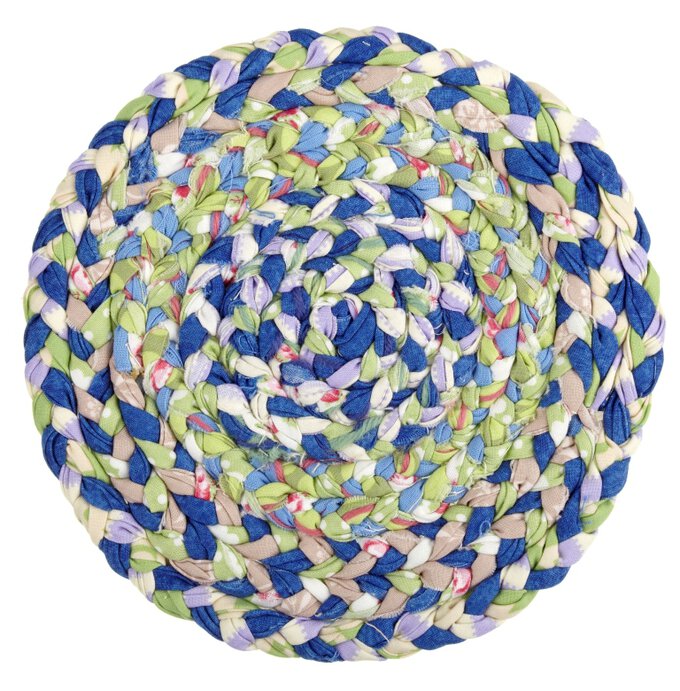
1. Cut three strips of fabric about 1.5 metres long and four centimetres wide.
2. Press the long sides inwards on each side to make narrow but thick strips.
3. With a couple of stitches, join the strips at one end. Firmly plait the strips together and secure at the end with more stitches. Repeat this a few more times. Start to coil the lengths together to create a circle using simple stitches to catch them together at the back.
4. When you've made a mat the size you want, secure it neatly with a few more stitches. Cut a circle of fabric or felt and glue it to the back of the mat to cover the stitching and keep it flat. Press with a hot iron.
Related Products