How to Make a Pancake Illusion Cake
It's nearly pancake day! Why not serve up this mouth-watering cake that will make everyone think it looks just like a stack of real pancakes!
Project and how-to make instructions by Hobbycraft Artisan Chloe Edwards.
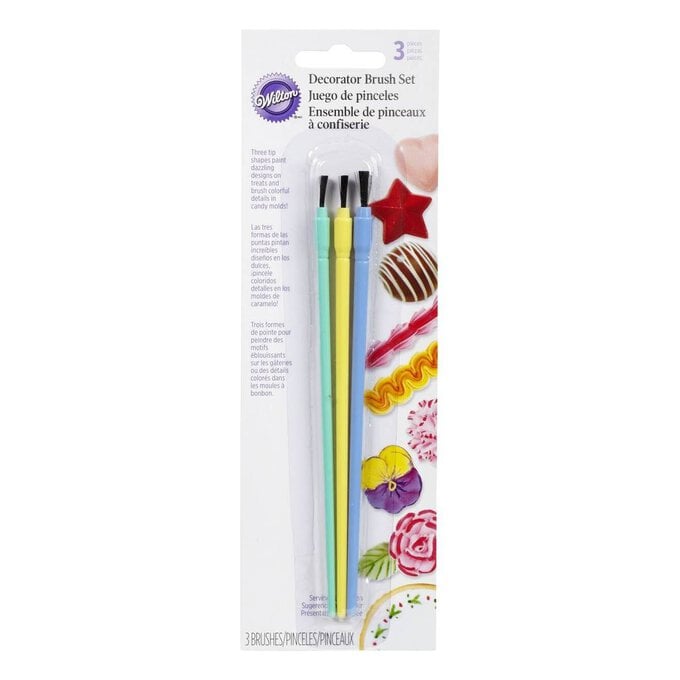
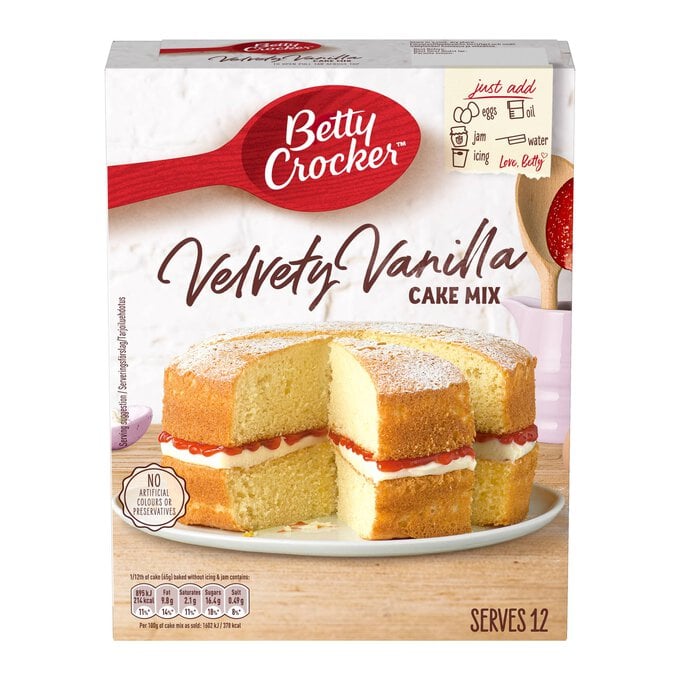
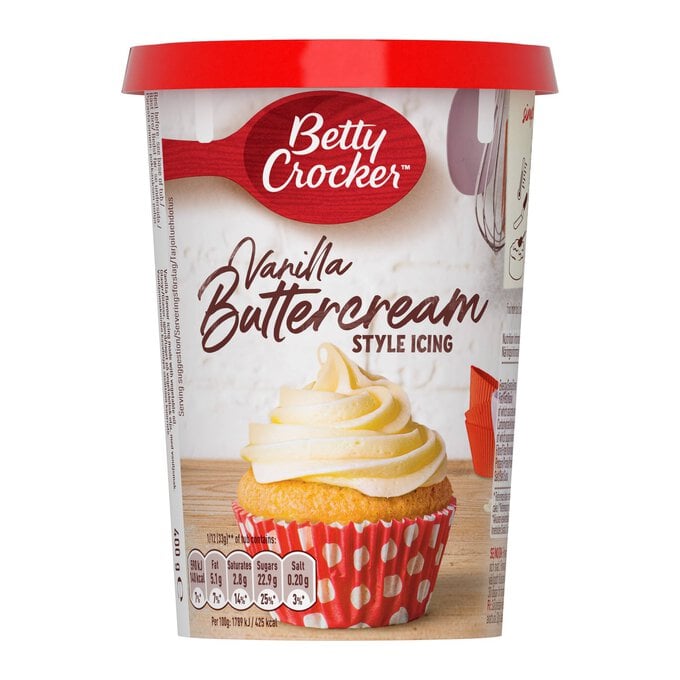
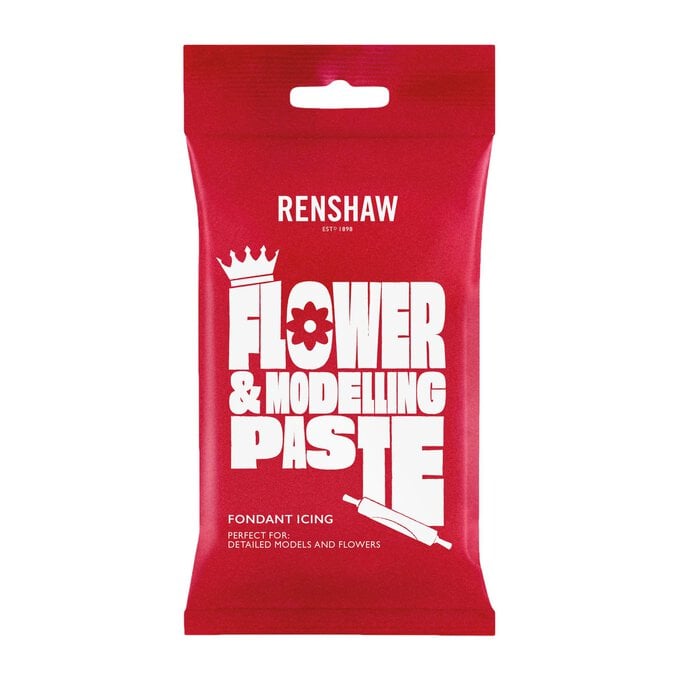
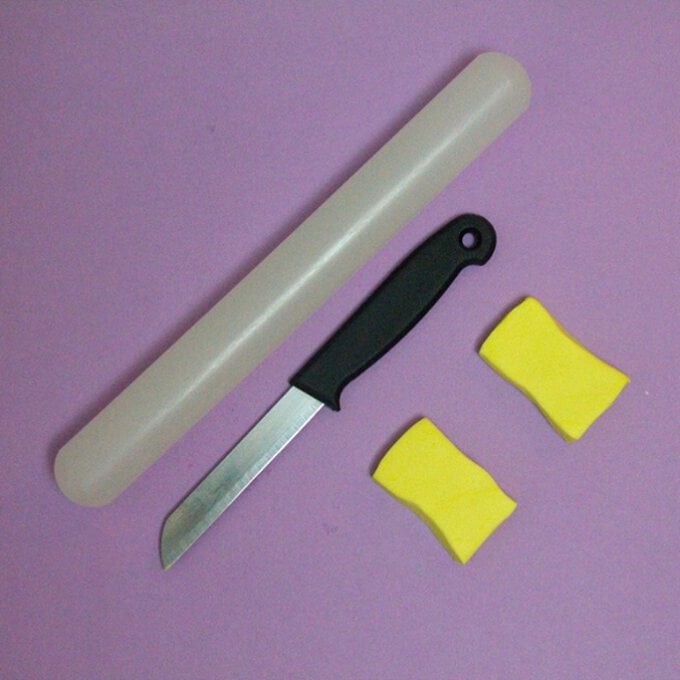
You will need
Subtotal
Is $ 12.00
Subtotal
Is $ 4.49
Subtotal
Is $ 4.49
Subtotal
Is $ 4.49
Subtotal
Is $ 4.49

Subtotal
Is $ 6.49
Subtotal
Is $ 5.49
Subtotal
Is $ 4.49
Subtotal
Is $ 4.49
Subtotal
Is $ 4.49
Subtotal
Is $ 4.49
Subtotal
Is $ 6.49
Subtotal
Is $ 4.49
Subtotal
Is $ 2.49
Subtotal
Is $ 3.49 , was $ 4.49
How to make
You will also need;
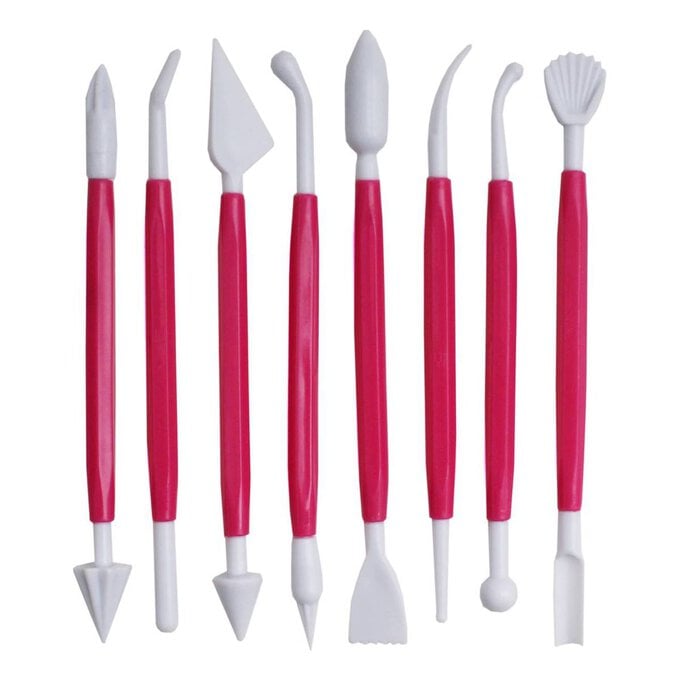
A Knife
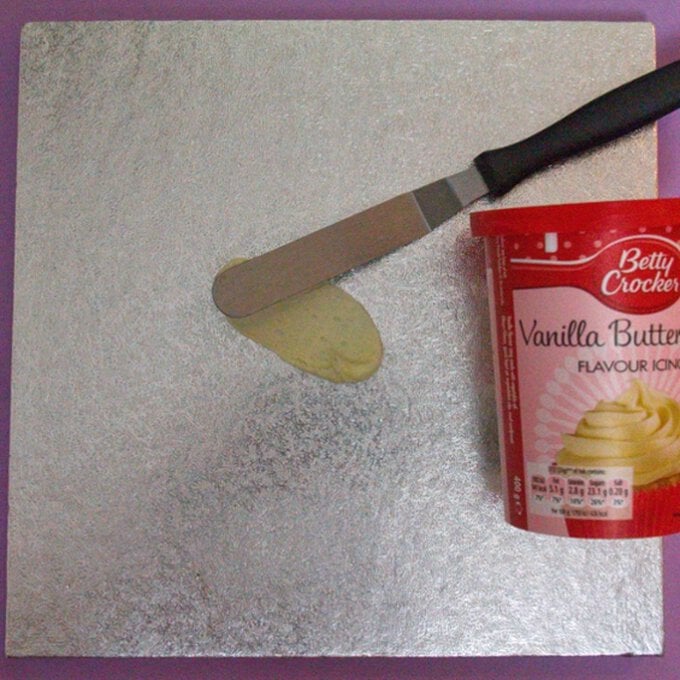
Take a small amount of buttercream and cover the centre of your cake board to secure your pre stacked cake using a pallet knife. I used the Betty Crocker Vanilla sponge cake mix for my sponges and filled them with Jam and Betty Crocker Vanilla Buttercream. Ensure that you cover the outside of your sponges with a thin layer of buttercream to prevent the filling from coming out.
Once your cake has been iced with the thin layer of buttercream on the outside, place your sponge into the fridge to chill for 15-20 minutes.
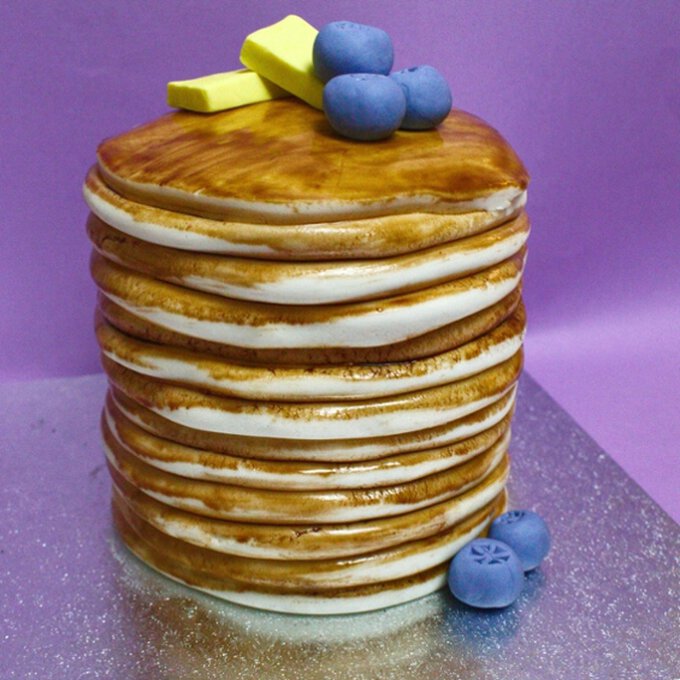
Whilst the cake is chilling in the fridge, begin to make the slices of butter for on top of the cake.
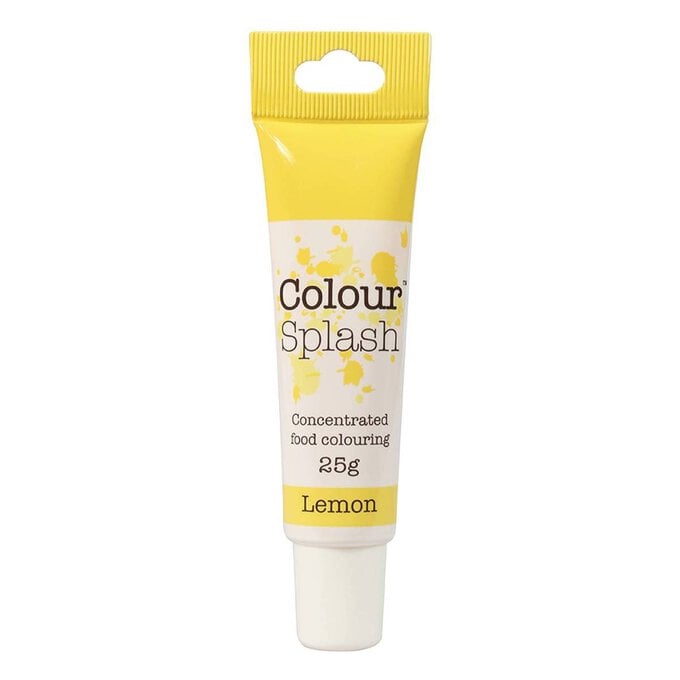
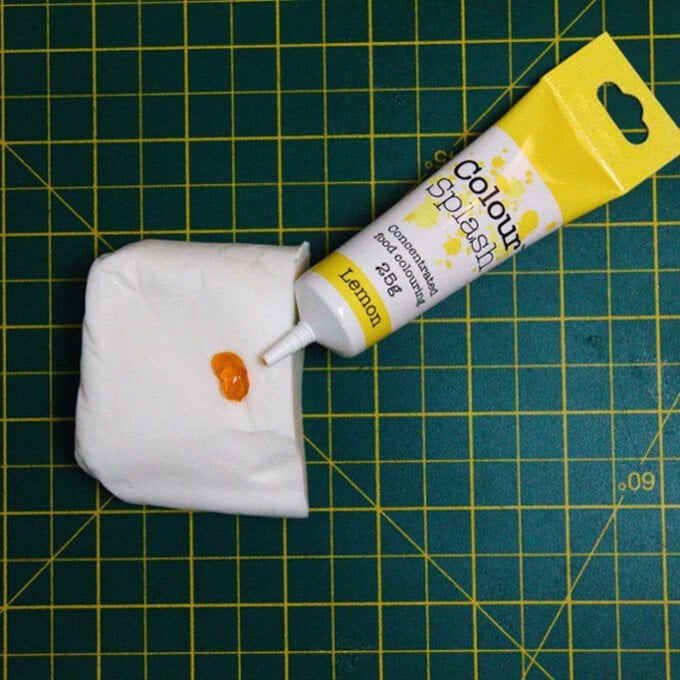
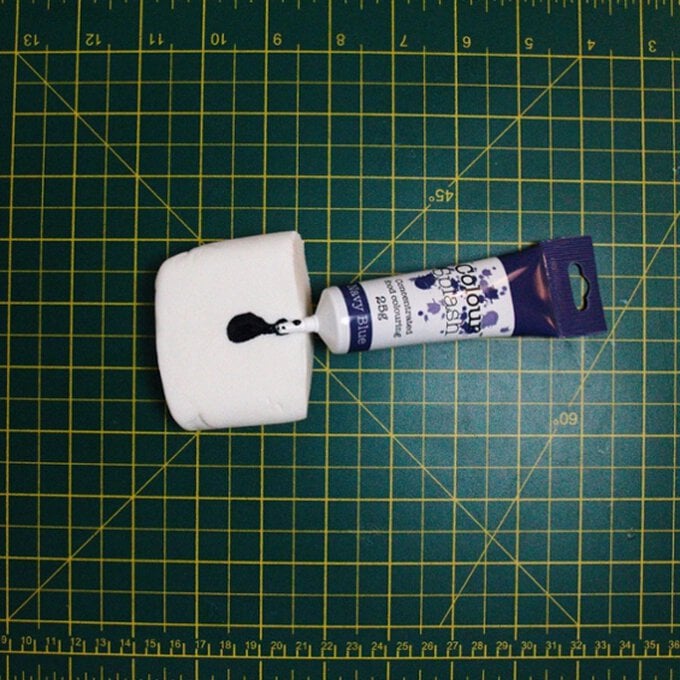
To make the butter, cut ¼ of the white flower and modelling paste. Using the lemon colour splash gel, squeeze a pea size amount onto the sugar paste and knead together to get a butter like colour. (Pale Yellow colour)
Once happy with the colour, roll out the sugar paste until it is around 1cm/ ½ inch. Using a knife, cut out two rectangles that are 3cm X 5cm in size. Leave them aside to harden whilst you are decorating the rest of the cake.
Bring out your cake from the fridge and cover with a final layer of buttercream on the outside. (*Do not place it back into the fridge) Leave the cake aside whilst you create the blueberries for on top.
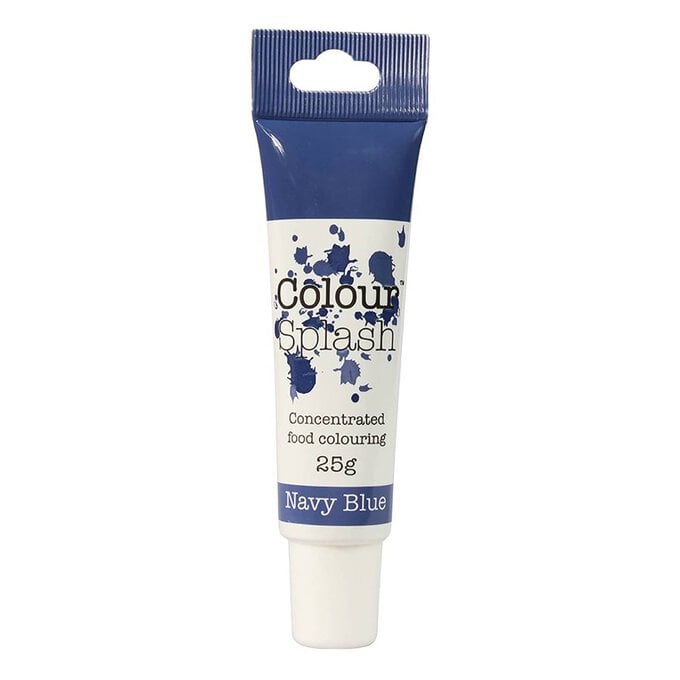
To create the berries, squeeze a small amount of the navy food colouring gel onto 125g of the flower and modelling sugar paste. Knead together until the colour is blended in. Add more amounts of food gel if required.
Roll out 5 balls roughly 1 inch in diameter. Using a closed star piping nozzle, press the end into the top of the navy ball to create the top of the blueberry. *You can also use a modelling tool to create the same effect. Place aside to harden whilst you decorate the rest of the cake.

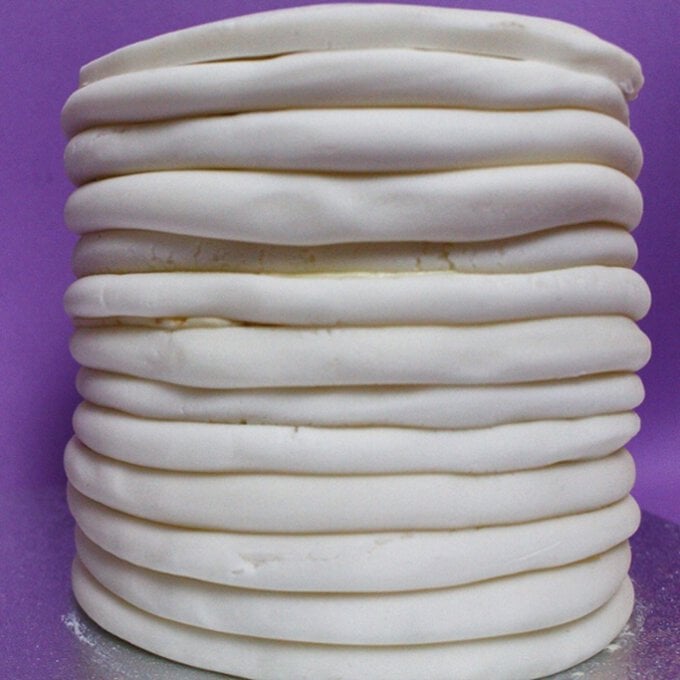
To make the “stack of pancakes” roll out long 'sausages' using the ivory coloured fondant icing. You can use a piece of string to measure the circumference of your sponges to ensure that the 'sausages' are the correct length.
Next using some edible glue, begin to wrap each 'sausage' around the cake starting from closest to the board. Using a food safe paint brush, brush a small amount of glue on top of each strip and continue to add the rest of top until it is flush with the top of the cake.
Next to create the final pancake on top, roll out a small ball of the ivory fondant icing. Using a rolling pin, roll the ball out forwards once then backwards once, then turn the icing 90 degrees anti-clockwise to ensure that it remains in a circle shape and to prevent it from sticking to the surface. Repeat this process until the pancake is big enough to sit on top of the surface of the cake. * Don't worry if your pancake isn't a perfect circle as not every pancake is perfect!
Use a small amount of edible glue to position it on place on top.
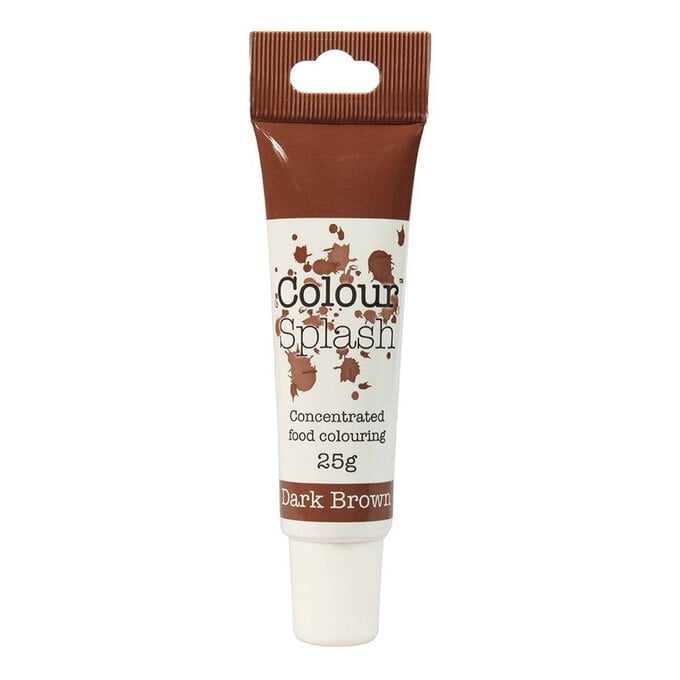
In order to bring the pancake to life, in a separate bowl mix together brown food colouring gel with a small amount of water to create a liquid that will be painted onto the cake. Next, begin from the bottom layer and brush on a small amount of the liquid at a time to the top of each strip. Repeat this process for the rest of the strips including the top layer of the pancake stack.
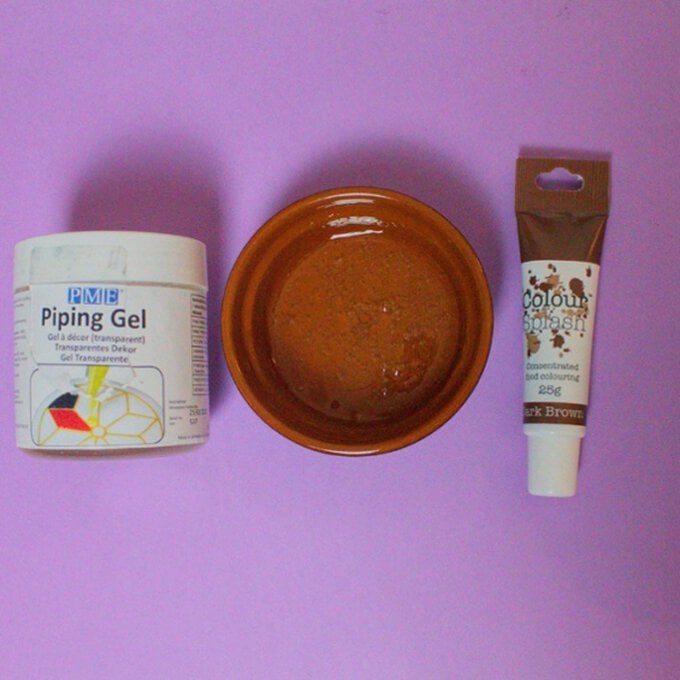
To create the 'syrup' in a separate bowl, add one spoonful of piping gel and mix together a small drop of brown food colouring gel. Mix together until a syrup colour is created. (You may need to gradually add more food gel until your chosen colour is achieved).
To finish, place the slices of butter on top of the cake and arrange the blueberries all around the cake.
Related Products