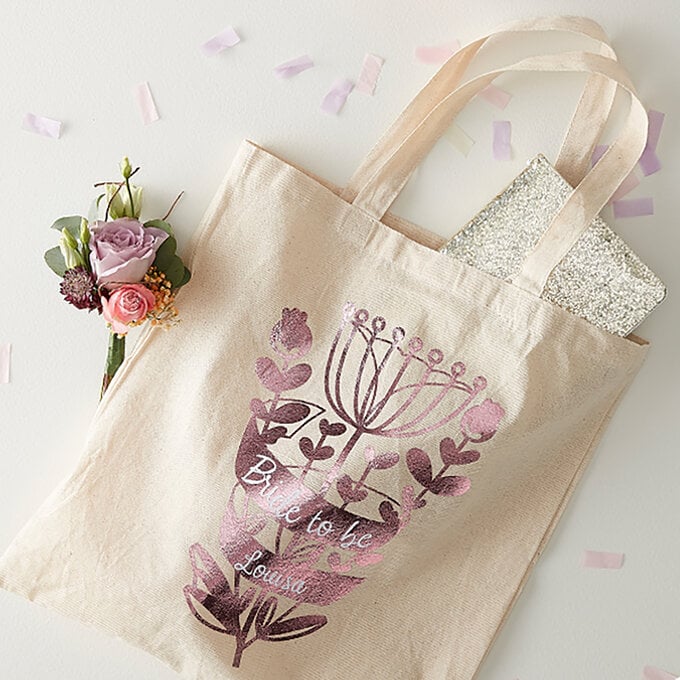
Cricut: How to Make an Infusible Ink Bottle Bag
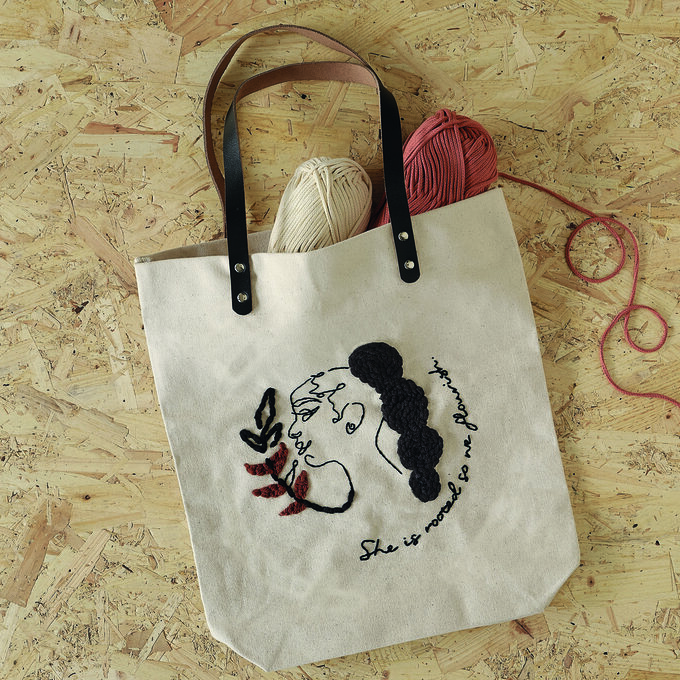
Put a personalised spin on your gift wrap by designing a custom bottle bag with Cricut. It's a great way to wrap up a bottle of your loved one's favourite drink, and they're sure to treasure it long after the bottle's been emptied.
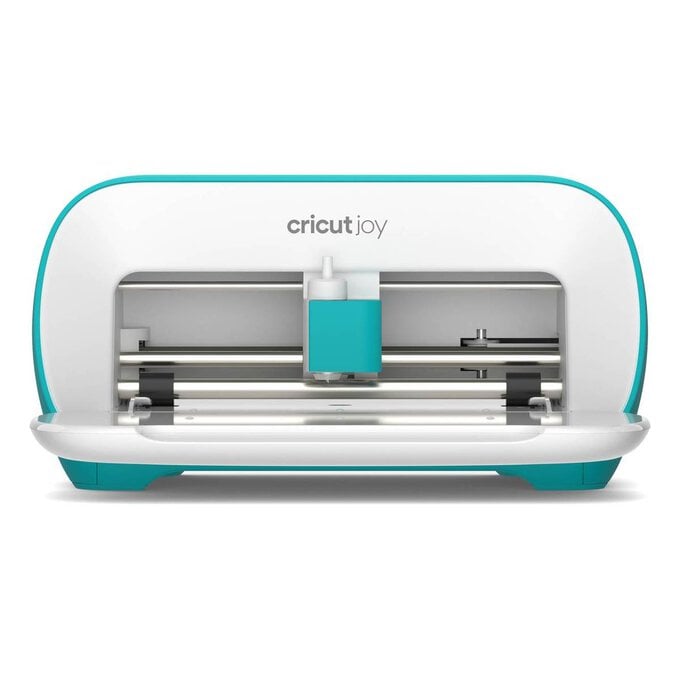
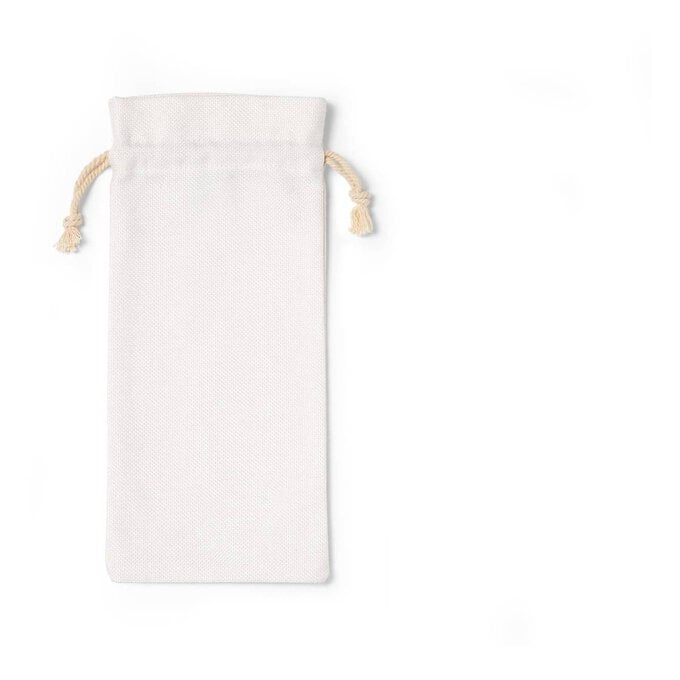
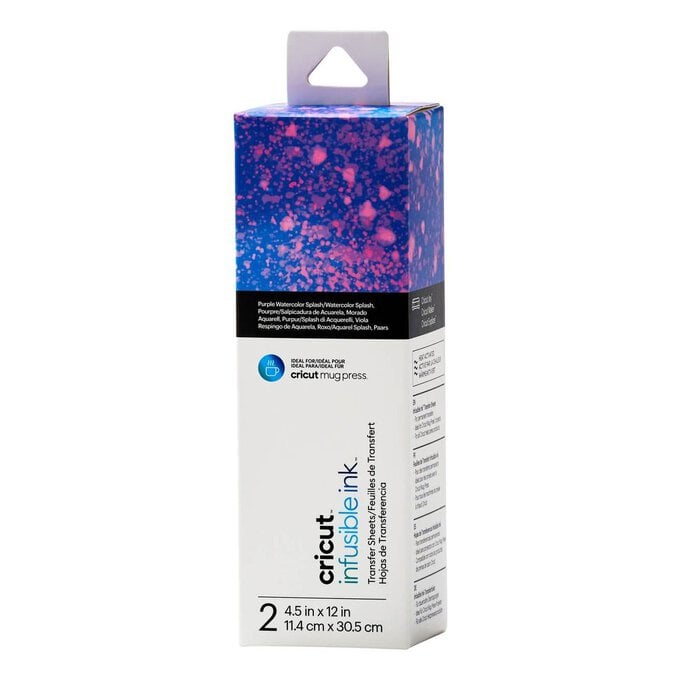
This bottle bag is a great project for beginners looking to take their Design Space skills that one step further. All you'll need to make this Infusible Ink bottle bag is your Cricut machine, Infusible Ink Transfer Sheets, a black Infusible Ink Pen and the Cricut Infusible Bottle Bag.
This project has been created using the Cricut Joy; however, it can also be created on the Cricut Explore and Maker machines.
Project and Instructions by Hobbycraft Artisan Vicky Boyns
Discover more Cricut projects here >
Please note: This project contains paid-for content from Cricut's Design Space app. Screen reference images are taken from the desktop version of Design Space.
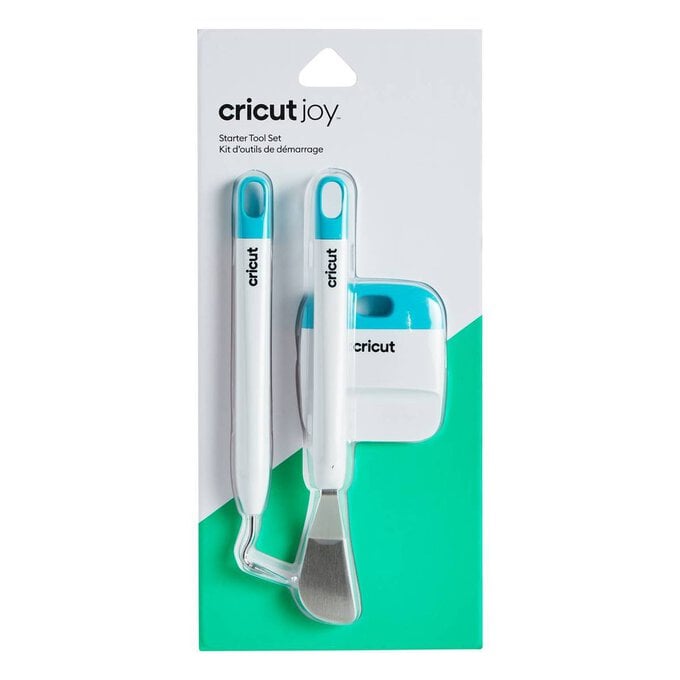
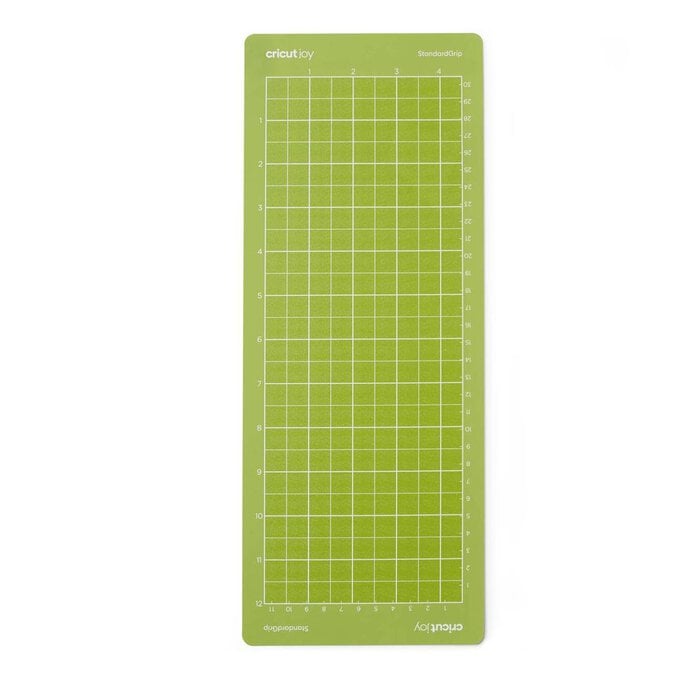
You will need
Subtotal
Is $ 267.00
Subtotal
Is $ 11.00
Subtotal
Is $ 24.00
Subtotal
Is $ 16.00
Subtotal
Is $ 37.00
Subtotal
Is $ 12.00
Subtotal
Is $ 12.00
Subtotal
Is $ 253.00 , was $ 261.00
How to make
You will also need:
* Cricut Design Space app installed on a laptop, PC, Tablet or mobile device
Open the Cricut Design Space app and start a new project, open up the 'Dear John' font and type your chosen name into the box that appears.
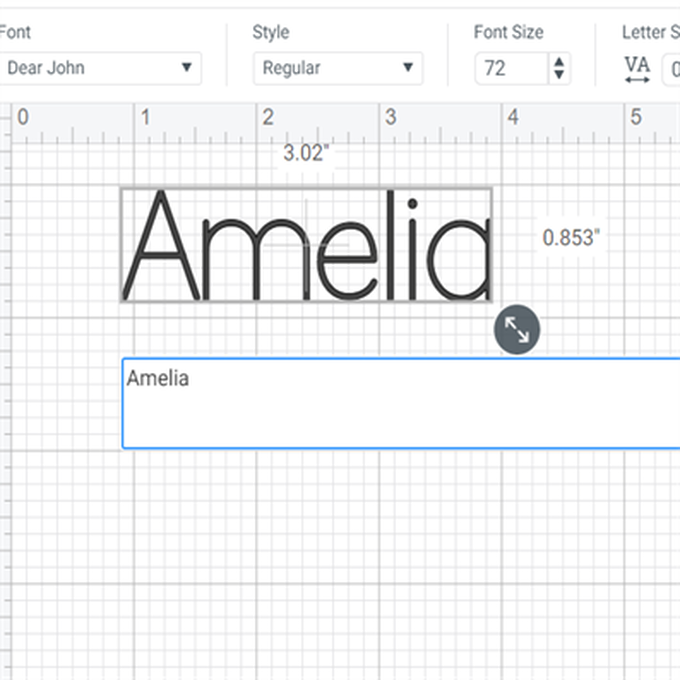
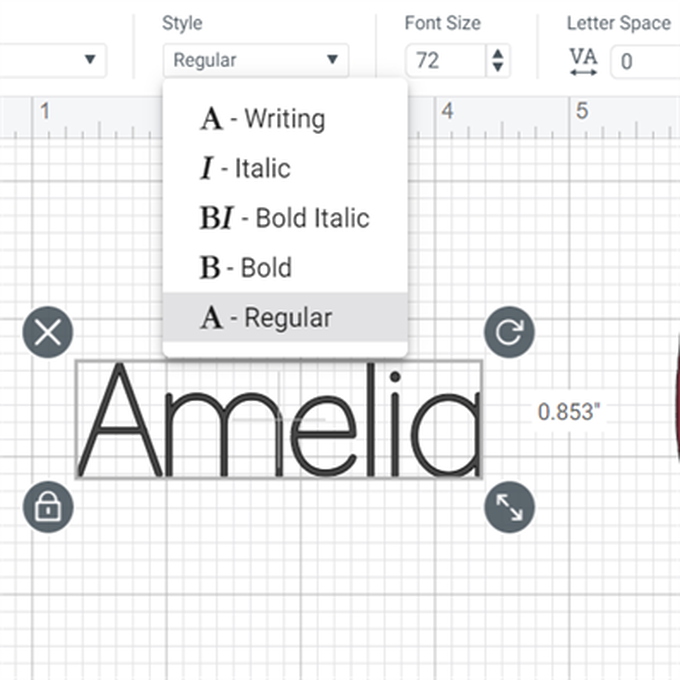
Change the font to a 'writing' style.
Find and insert the image #M13BA429C
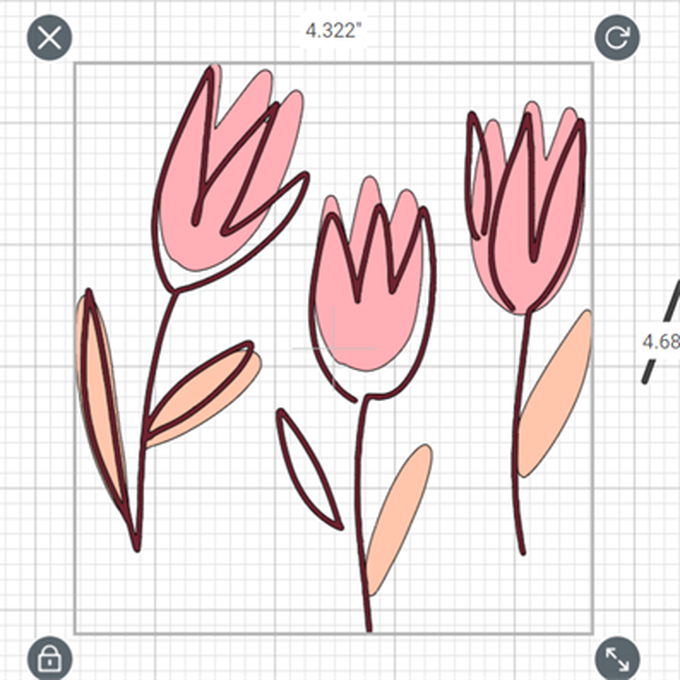
Highlight the image and select 'ungroup'
Separate the two layers.
Select one of the layers and select the 'Contour' function.
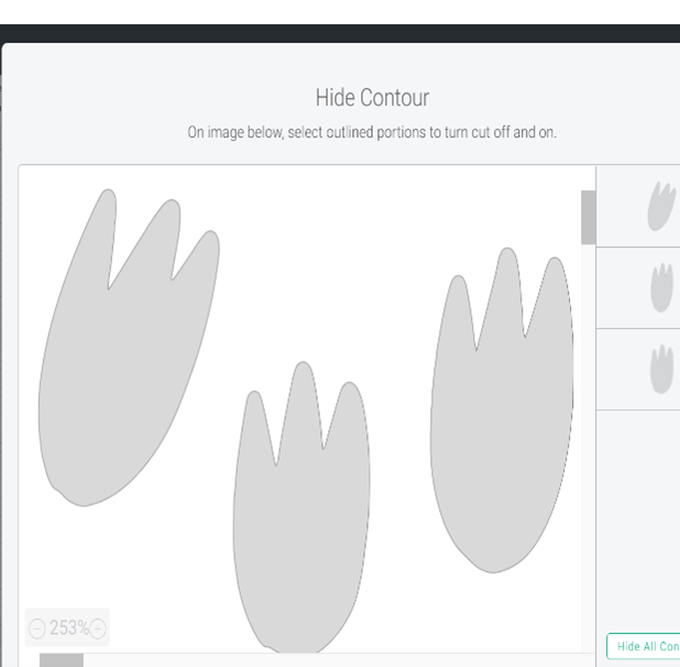
Click on the two outside images to remove them leaving only your chosen flower – do this with all of the layers for the flower.
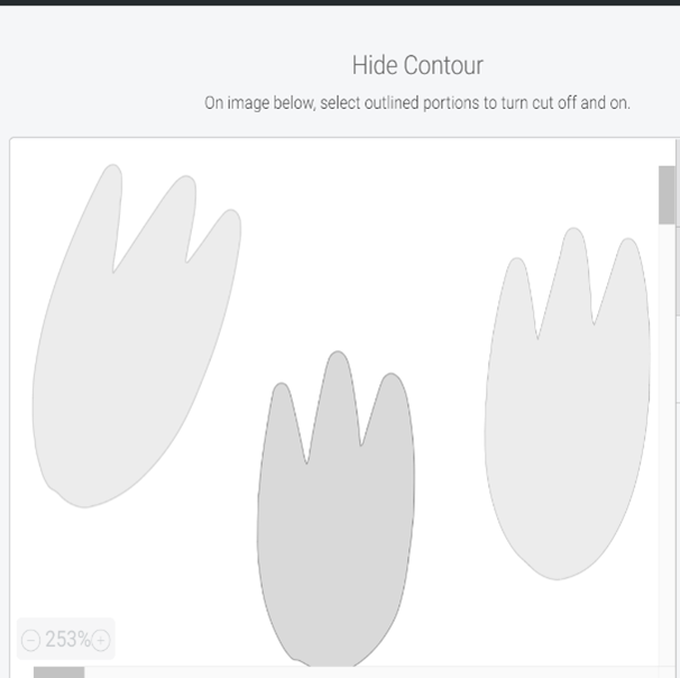
You should now have a single flower in two parts.
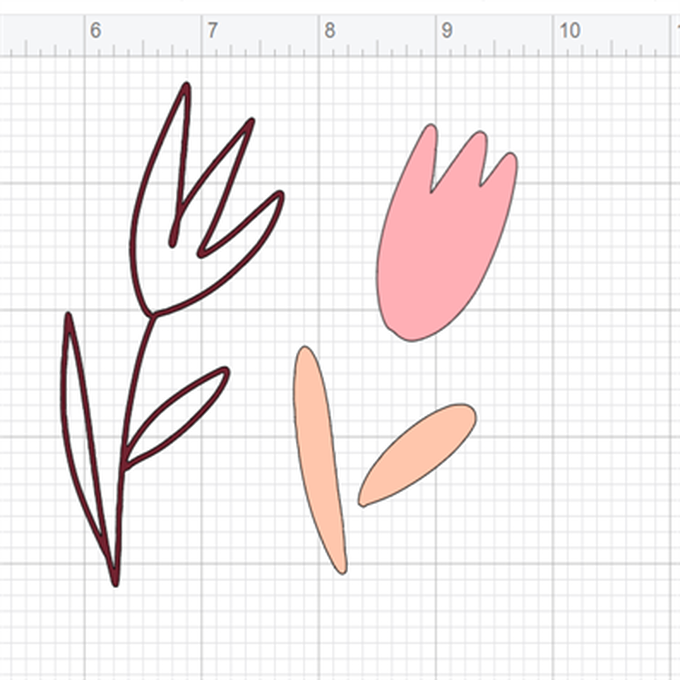
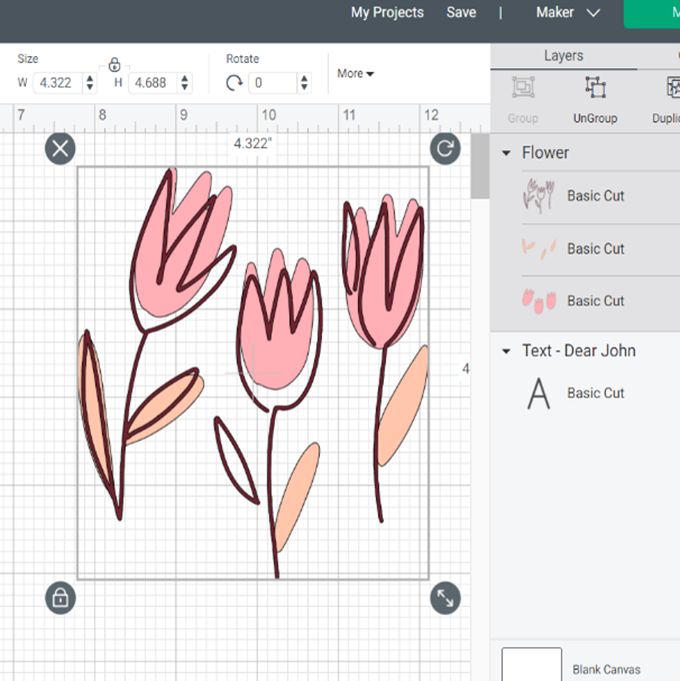
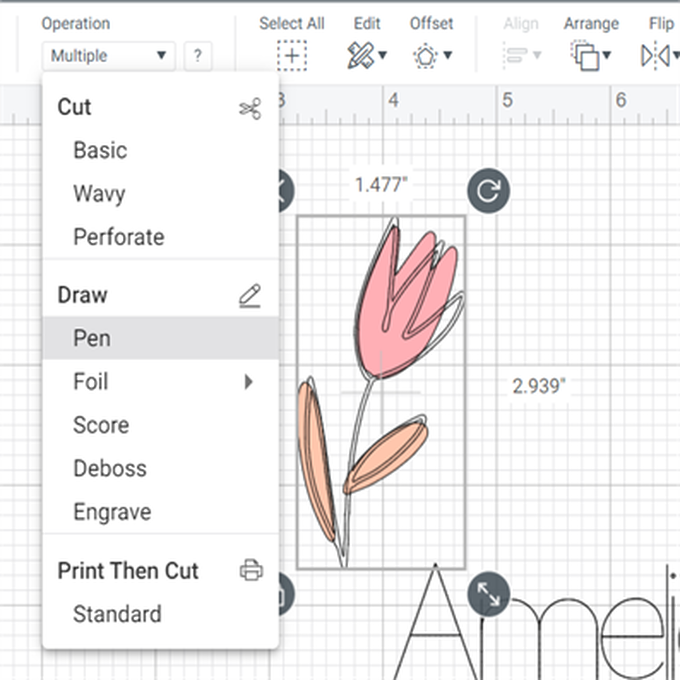
Replace the outline layer over the flower and group so you can resize it. Highlight the outline layer and change to 'draw' and 'pen'
Ungroup the flower again move the outline and place it next to your chosen name. When you are happy with the placement, select 'Attach'.

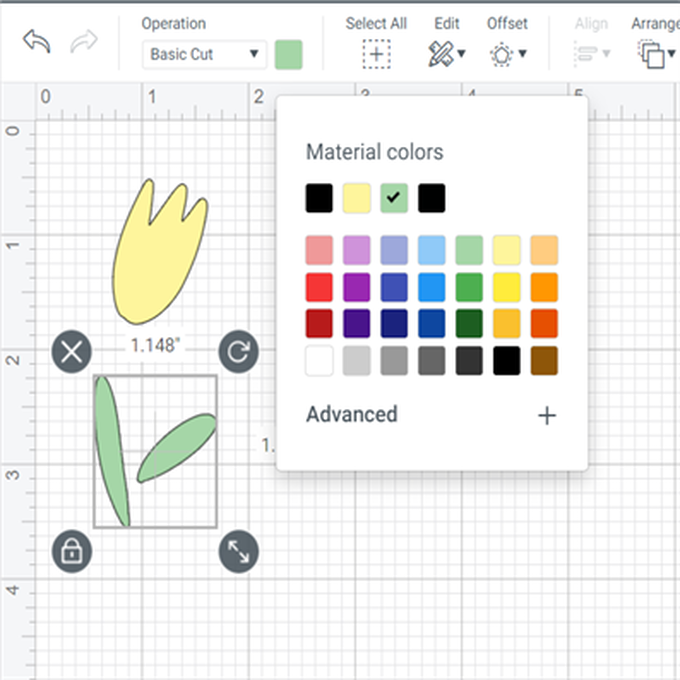
If you want to you can highlight and change to colour of the flower components to match the colours of your Infusible Ink Sheets using the colour swatch.
When you are happy with your design select 'Make it'
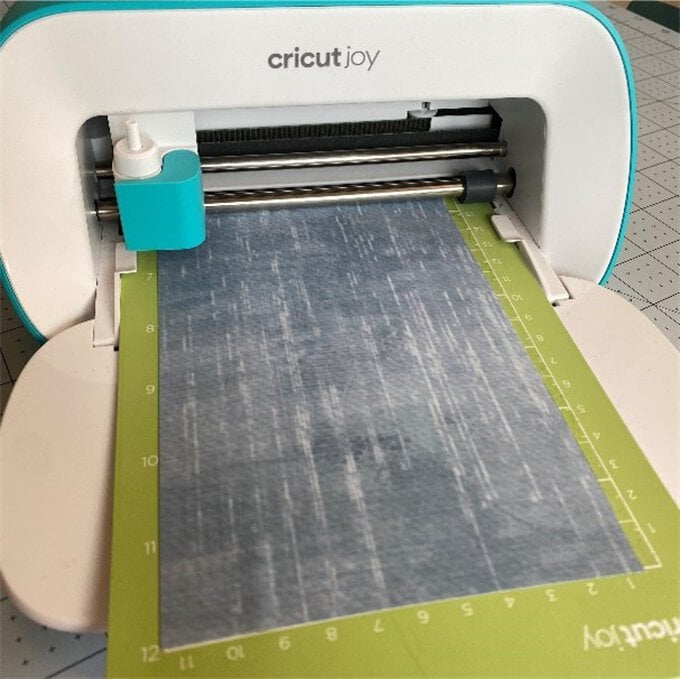
If you are using the Cricut Joy – select 'on mat'
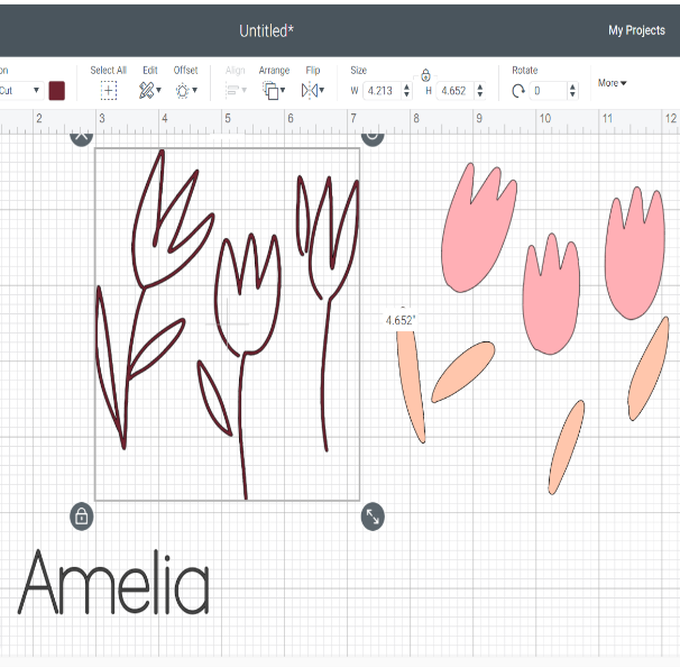
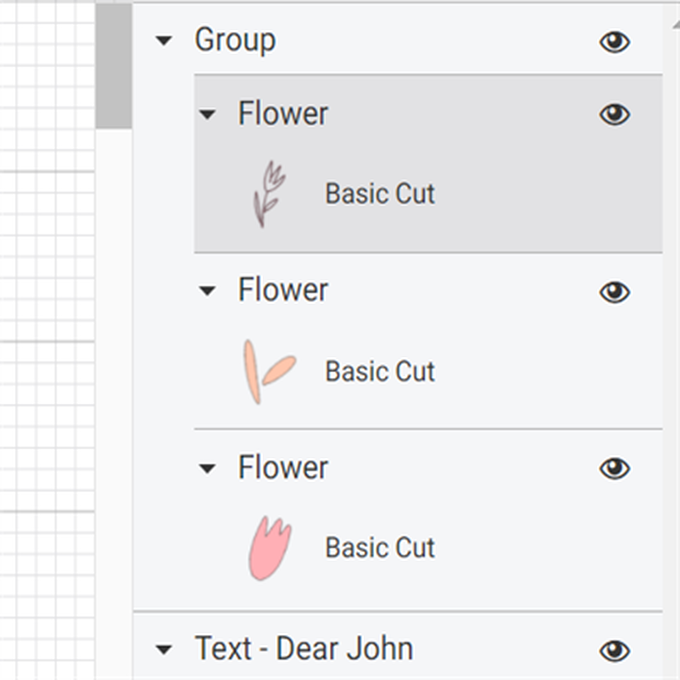
You should now have three mats, one for the name and flower outline, one for the flower head and one for the leaves.
Now you need to MIRROR on all mats.

Cut and draw your layers. For your drawn layer you can use ordinary laser copy paper.
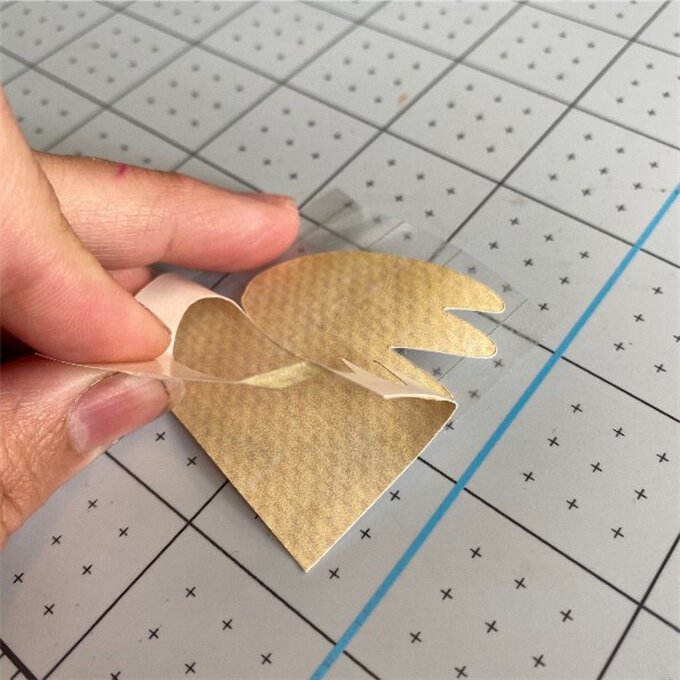
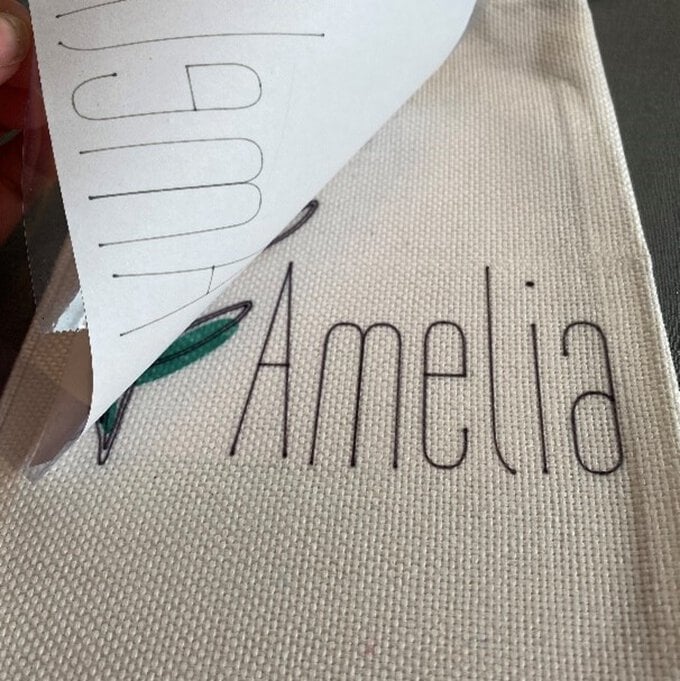
Weed your floral elements.
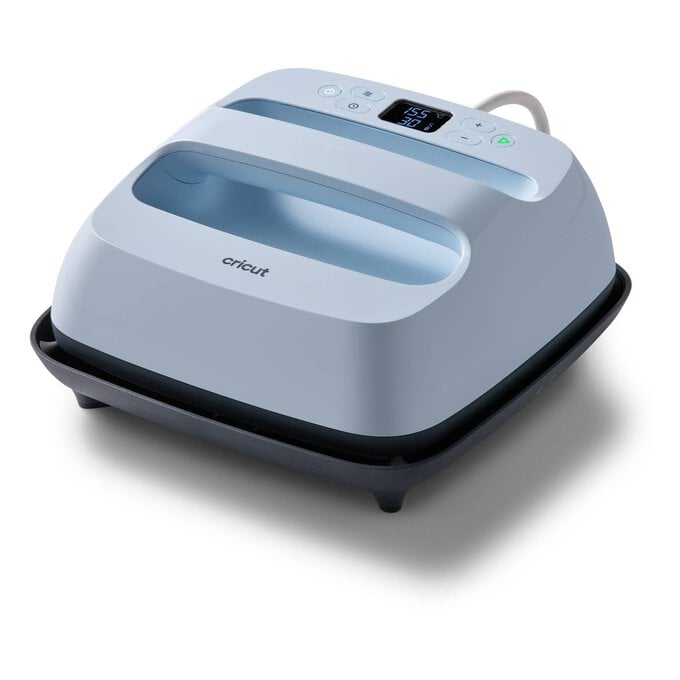
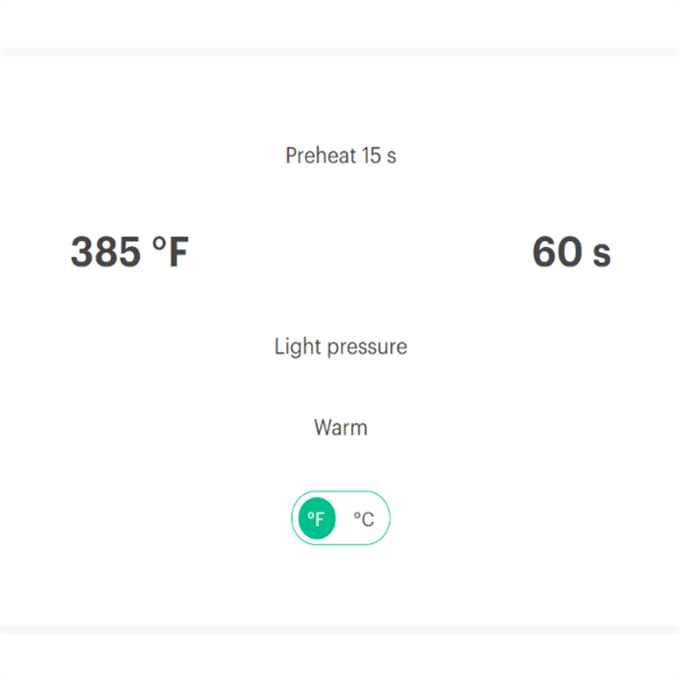
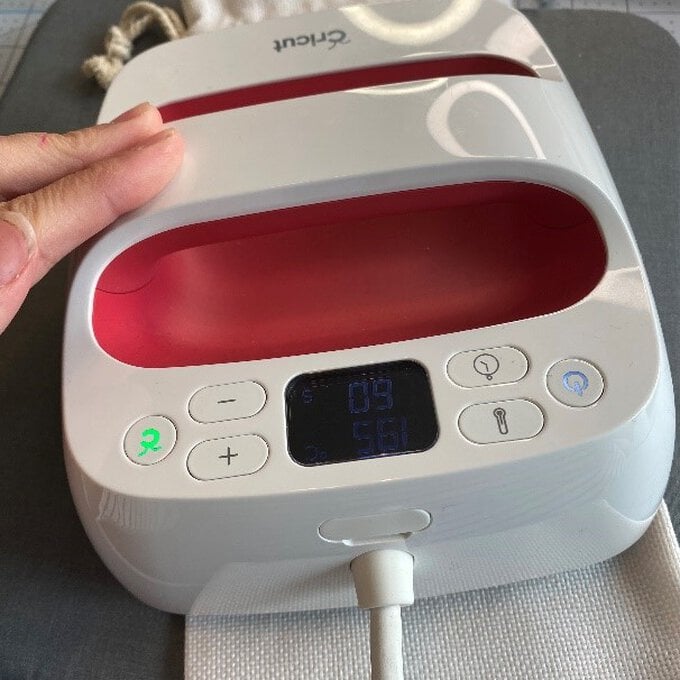
Pre warm your bag using the EasyPress and then place your floral elements colour side down on to the bag- place these carefully so they line up with your drawn element.
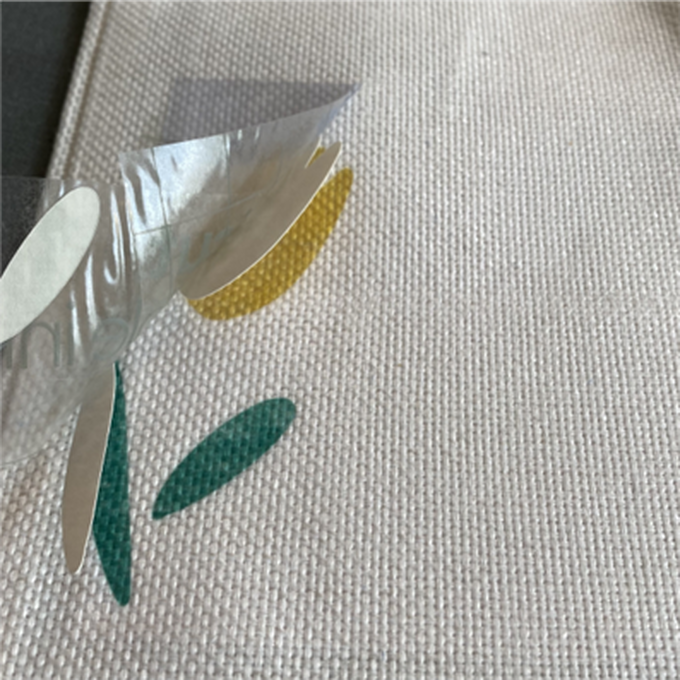
Use the Cricut Heat guide so you have the correct temperature and layer order for application.
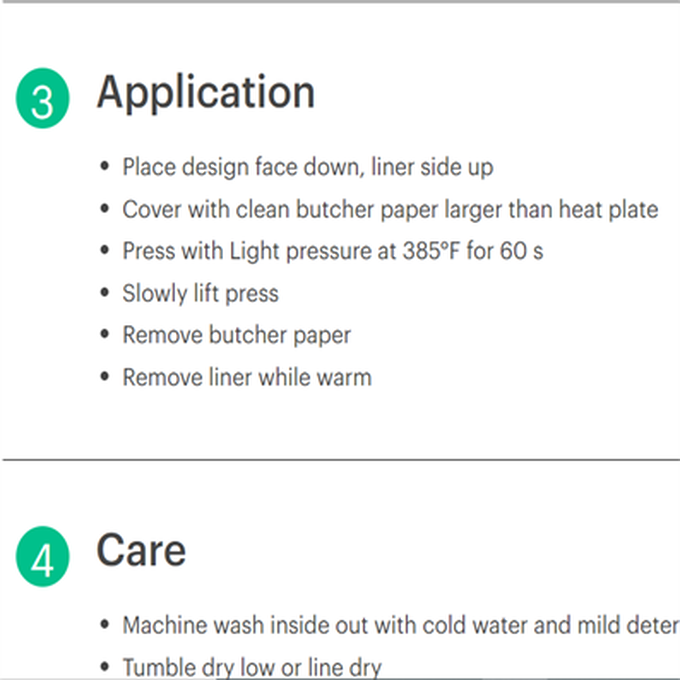

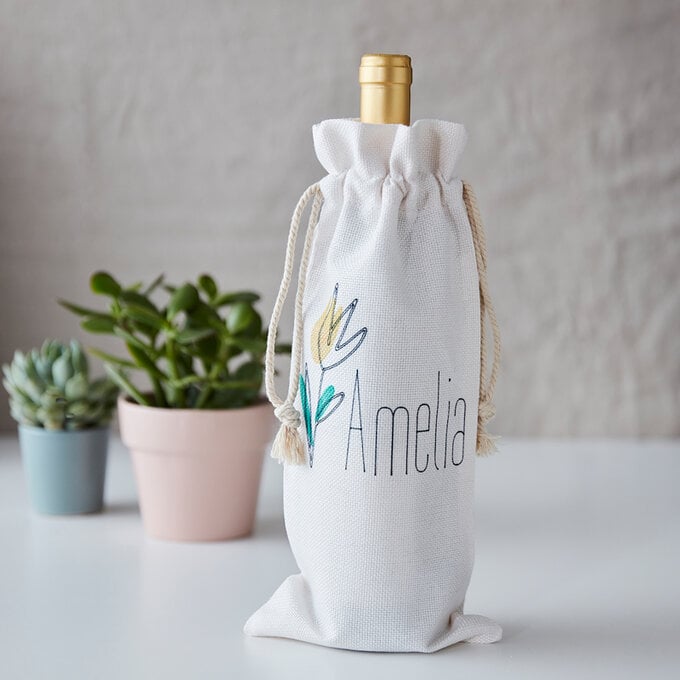
Remove the drawn layer paper and you have finished your personalised wine bag.
The bag is then ready to be filled anf gifted!
Related Products