Skip to Content (Press Enter) Skip to Footer (Press Enter)

Cricut: 5 Ways to Make Paper Flowers

Level
Intermediate
Time
1 hour
Budget
10 - 30

Create stunning, lifelike paper flowers with your Cricut machine. This tutorial shows you how to make five colourful flowers, including paper daffodils, roses, lilies, carnations and poppies. It's the perfect way to let your papercraft skills bloom!

Project and instructions by Emma Jewell.

This project contains paid-for content from Cricut's Design Space app.

You will need

Is $ 5.49 , was $ 7.49

Quantity: 1

Subtotal

Is $ 5.49 , was $ 7.49

Is $ 7.49

Quantity: 1

Subtotal

Is $ 7.49

Is $ 4.49

Quantity: 1

Subtotal

Is $ 4.49

Is $ 7.49

Quantity: 1

Subtotal

Is $ 7.49

Is $ 601.00

Quantity: 1

Subtotal

Is $ 601.00

You’ve viewed 2 of 5 products

You’ve viewed 4 of 5 products

Total:

How to make

Rose Step 1

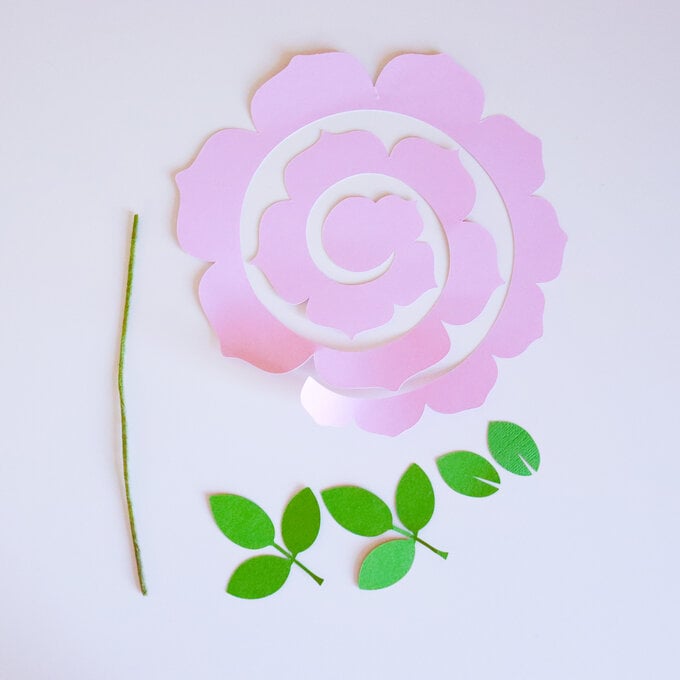
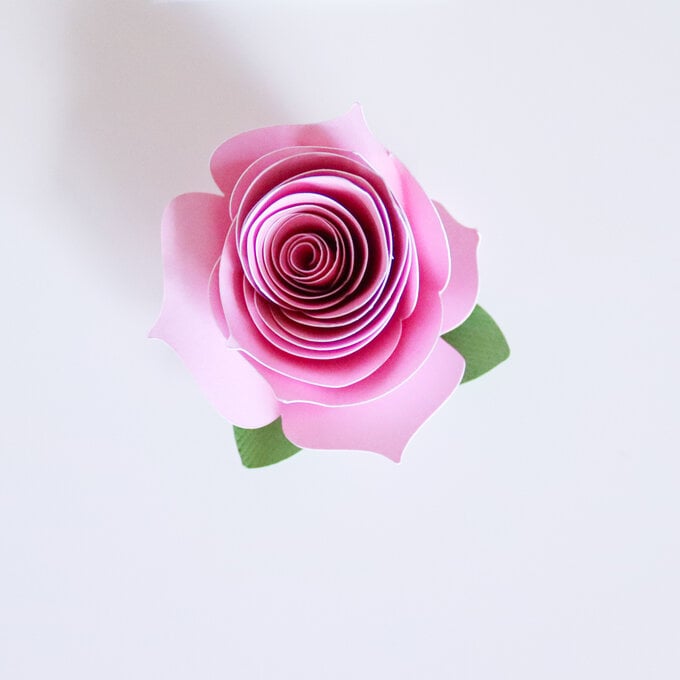
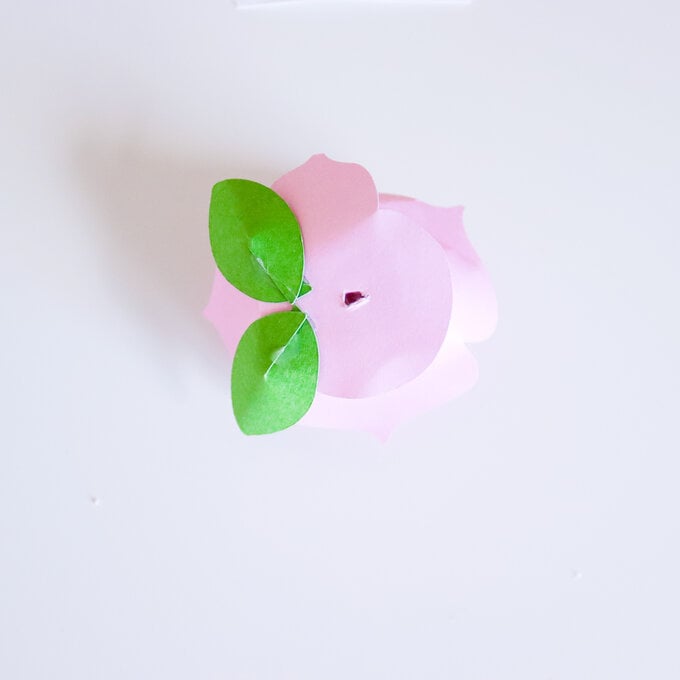
Open a new project in Cricut Design Space, then add the image 'Rose #MC8B7E1' to a new canvas. Resize to your liking. I sized my flower spiral to 7x7 inches which gave me a rose around 2 inches wide once rolled up.

Cut the pieces for the rose using a medium weight cardstock (around 180gsm). Once cut, remove carefully from the mat by flipping it over and removing the mat from the cut card sheet.

cricut-5-flowers-rose-step1-.jpg?sw=680&q=85
Step 2

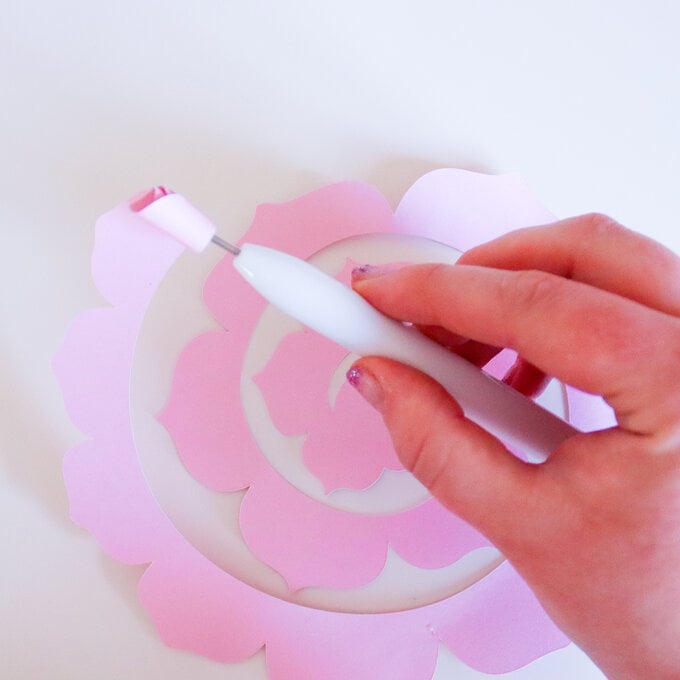
To create the flower, use a quilling tool or pair of tweezers holding on to the end and roll the flower up. Think of the flower spiral like a snake with a tail and a head, the head is at the centre of the spiral so start rolling at the tail. Roll as tight as you can, keeping the flat edge of the flower lined up. As the flower gets bigger, remove the tool or tweezers and roll by hand.

cricut-5-flowers-rose-step-2.jpg?sw=680&q=85
Step 3
Once rolled, hold the flower in your palm and allow it to unroll until it looks flower shaped. Add hot glue to the circle at the bottom of the flower and glue this to the rolled section to keep the flower in place. Use fingers to curl the leaves to give it a realistic effect. Glue the singular leaves to the base, pinching them between your fingers to give them shape.
cricut-5-flowers-rose-step-3.jpg?sw=680&q=85
Step 4
Wrap wire with floristry tape to create a stem. Then use scissors to add a hole to the bottom of the rose by stabbing them through the base. Add a little hot glue to the stem, then push the stem into the hole.
cricut-5-flowers-rose-step4.jpg?sw=680&q=85
Step 5
To finish Glue the remaining leaves to the stem.
cricut-5-flowers-rose-step-5.jpg?sw=680&q=85
Lily Step 1

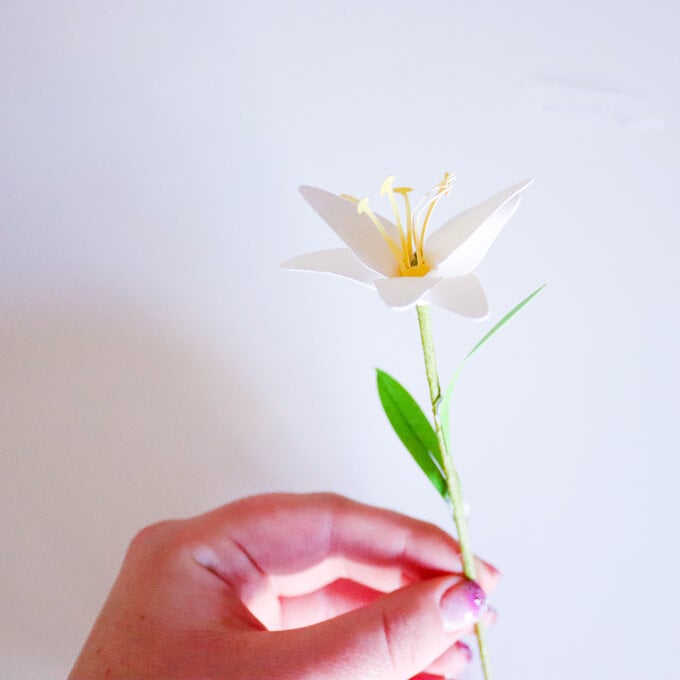
Search for and add the image 'Lily #MA3E15' onto the Cricut Design Space canvas. Resize to your liking then head to make it. Cut the pieces, I find at least 180gsm is a good paper weight to use, although you could go for a thinner paper for the lily petals.

cricut-5-flowers-lily-step-1.jpg?sw=680&q=85
Step 2
Prepare the wire to create a stem by wrapping it with green floristry tape. Then wrap the yellow centre around the tip of the stem, gluing it at the start then at the end with hot glue.
cricut-5-flowers-lily-step2.jpg?sw=680&q=85
Step 3
Wrap the white petals around the yellow centre and glue into place by adding glue to the flap. Gently curl petals around a pen so that they unfurl from the centre. Next, Add the green leaves onto the stem by adding a dab of glue onto the base of each leaf.
cricut-5-flowers-lily-step-3.jpg?sw=680&q=85
Poppy Step 1

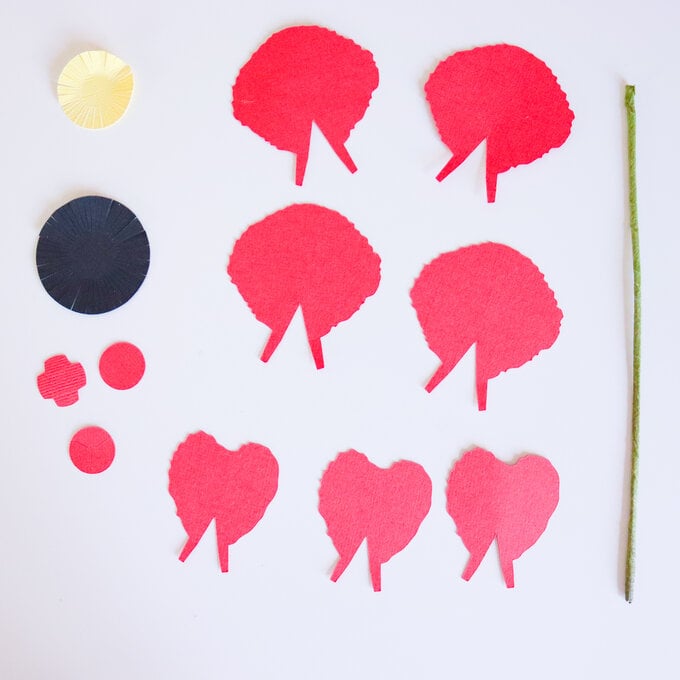
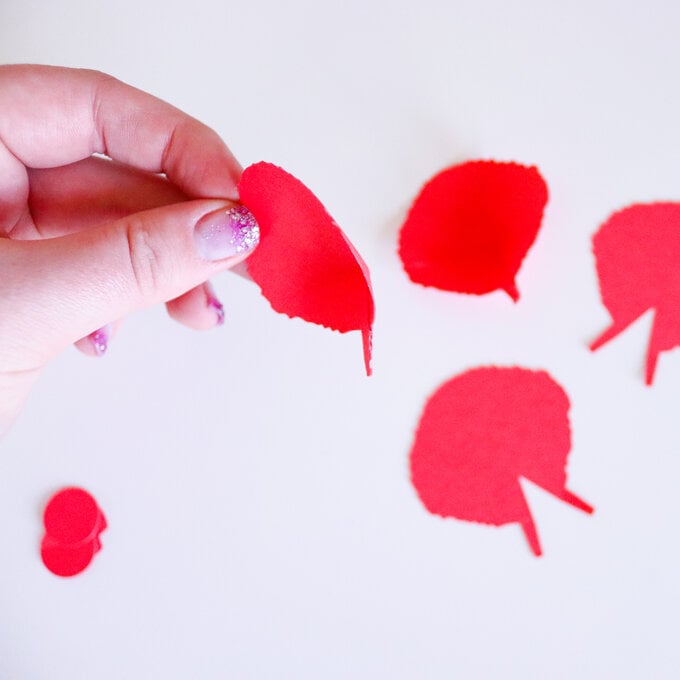
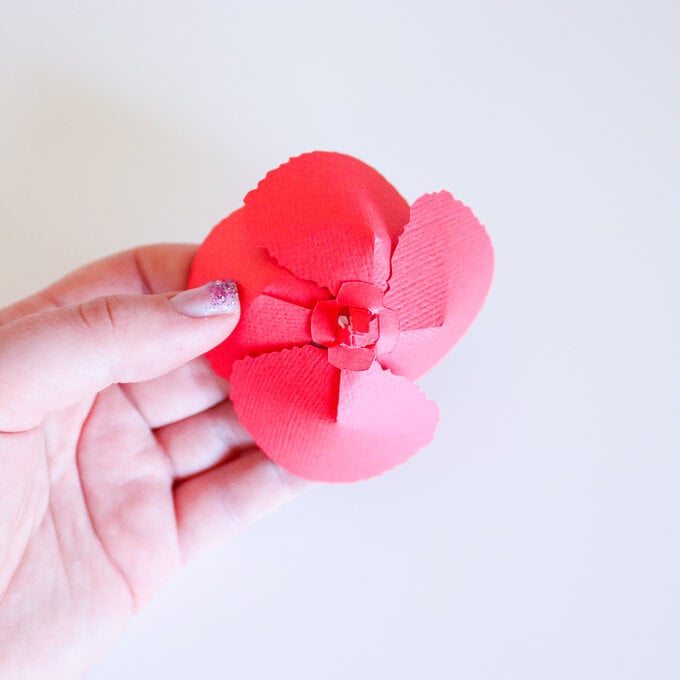
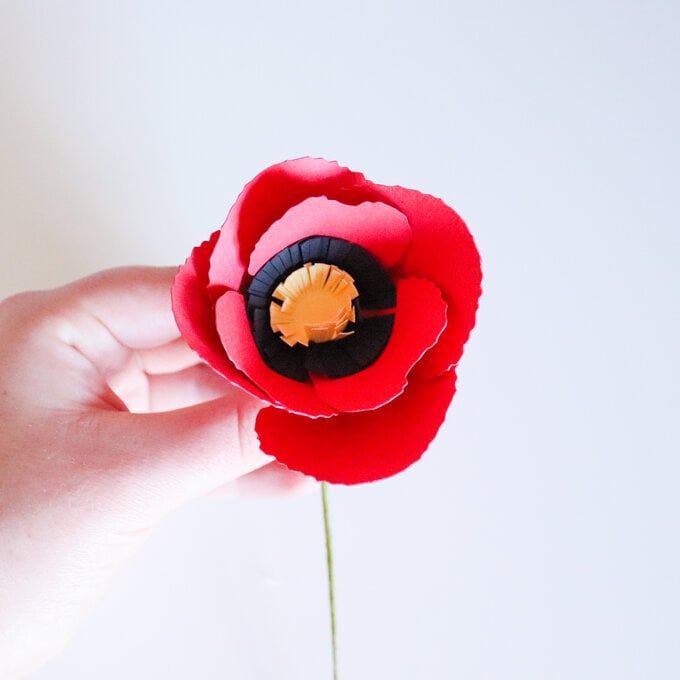
Seach for the image '3D Poppy #M3FFBE' in the Cricut Design Space library. Add the image to the canvas, then resize. Use the black poppy centre as a rough guide for the size of the finished poppy. Head to make it to cut the poppy pieces from coloured card.

cricut-5-flowers-poppy-step1-.jpg?sw=680&q=85
Step 2
Select the four largest red petals, each petal has two ‘legs’. Glue the legs together, one on top of the other to create the rounded shape of the petal.
cricut-5-flowers-poppy-step-2.jpg?sw=680&q=85
Step 3
Stick the four petals into the slots in the large disc and glue into place. Repeat this process for the trio of small petals, slotting them into the smaller disc. Glue the trio of small petals inside the large petals. Then add the black then yellow centres into the centre of the poppy. Take some time to fold up the centres, so they look like stamen.
cricut-5-flowers-poppy-step3.jpg?sw=680&q=85
Step 4
Prepare the stem by wrapping a piece of wire with floristry tape. Then glue the poppy head onto the stem to finish it off.
cricut-5-flowers-poppy-step4.jpg?sw=680&q=85
Carnation Step 1

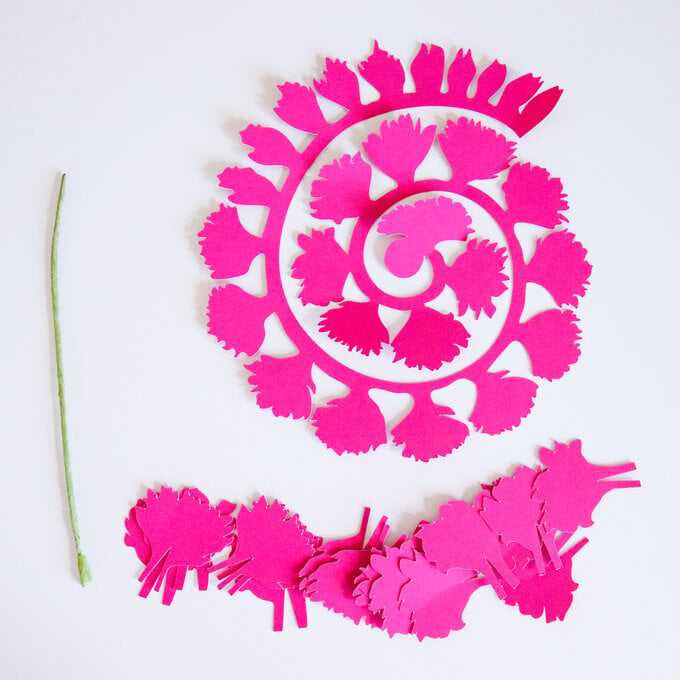
Add the image 'Carnation #M100445F5' to your Cricut Design Space canvas. Resize to create the size of flower you would like; I sized the spiral to 6x7 inches to create a 3 inch sized flower once finished.

Head to make it and cut the flower pieces from coloured cardstock.

cricut-5-flowers-carnation-step-1.jpg?sw=680&q=85
Step 2
Once cut, remove the pieces from the mat. Use a quilling tool to hold the end of the flower spiral in place as you roll up the spiral. Once rolled allow the spiral to loosen, then curl some of the petals. Add hot glue to the circle at the base of the flower and stick it to the rolled section of the flower.
cricut-5-flowers-carnation-step2.jpg?sw=680&q=85
Step 3
You can then add extra petals onto the outside of the flower to add more volume. For these petals, glue the ‘legs’ of petals together and glue to the base of the flower.
cricut-5-flowers-carnation-step-3.jpg?sw=680&q=85
Step 4
Prepare a stem by wrapping floristry tape around wire, then add a hole to the base of the flower and add the stem into the hole to finish the flower.
cricut-5-flowers-carnation-step4.jpg?sw=680&q=85
Daffodil Step 1

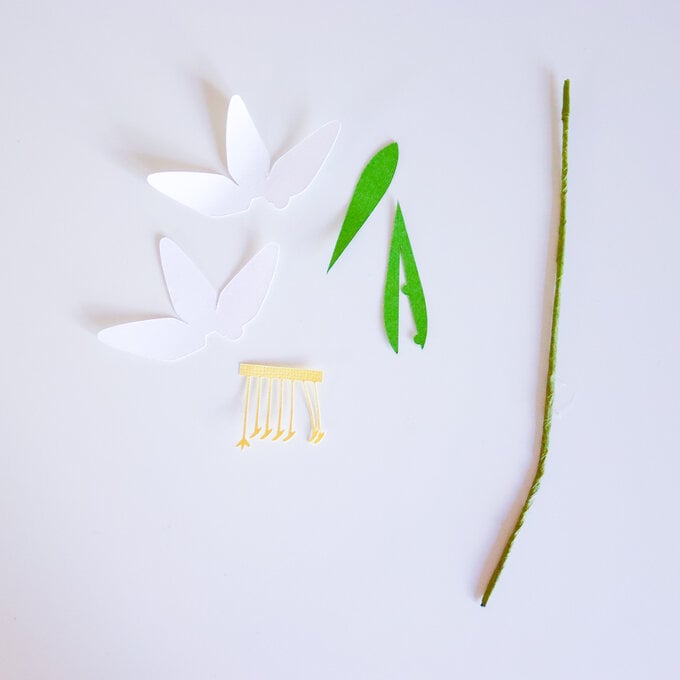
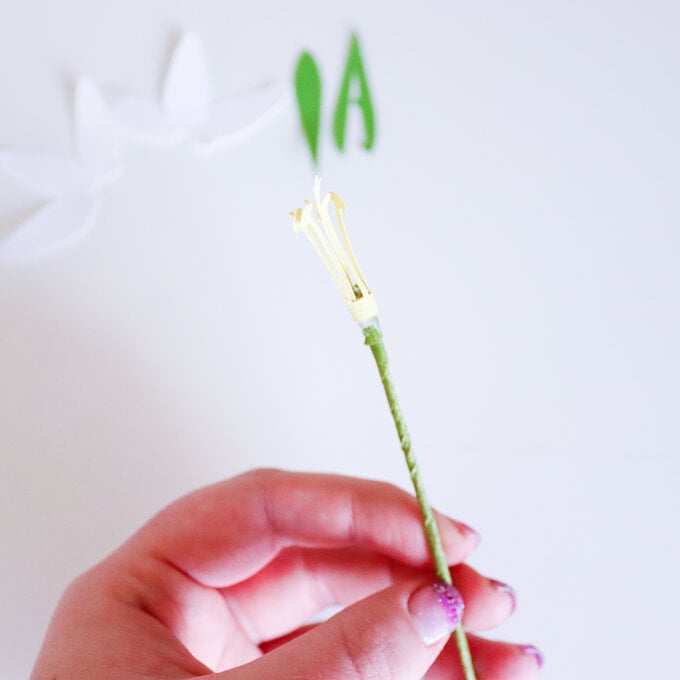
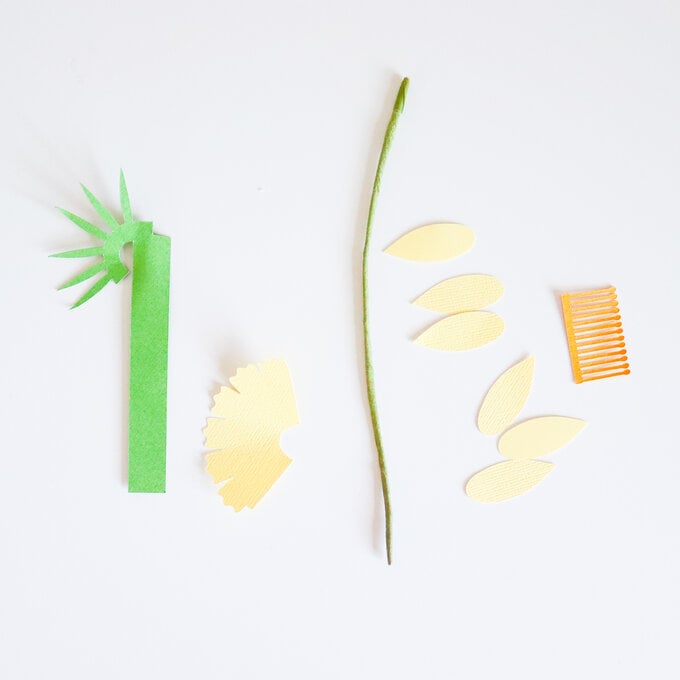
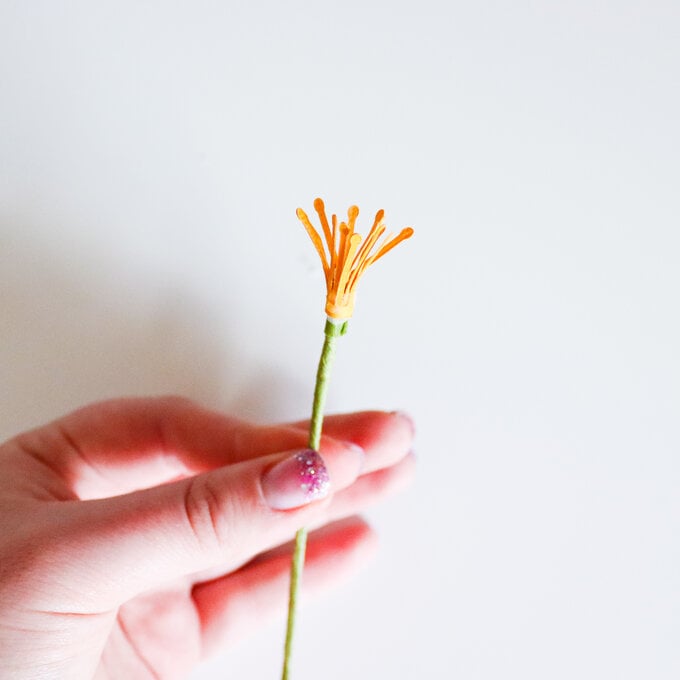
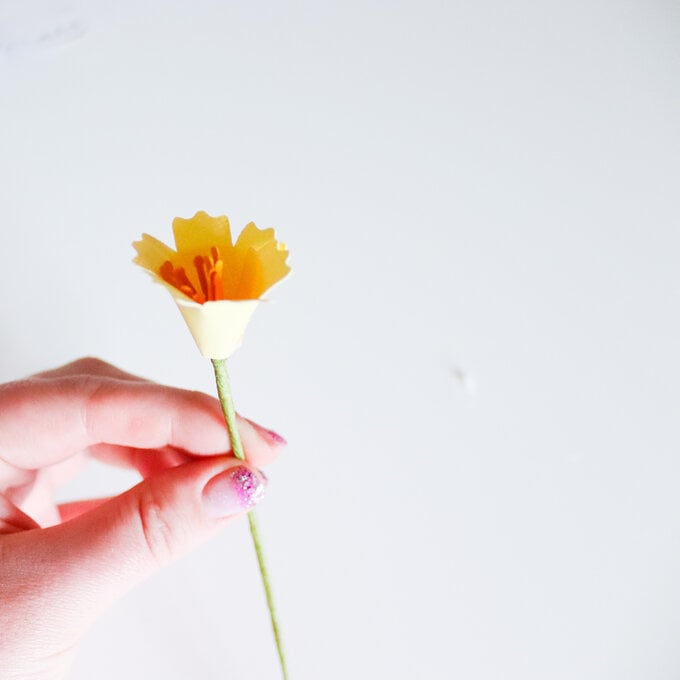
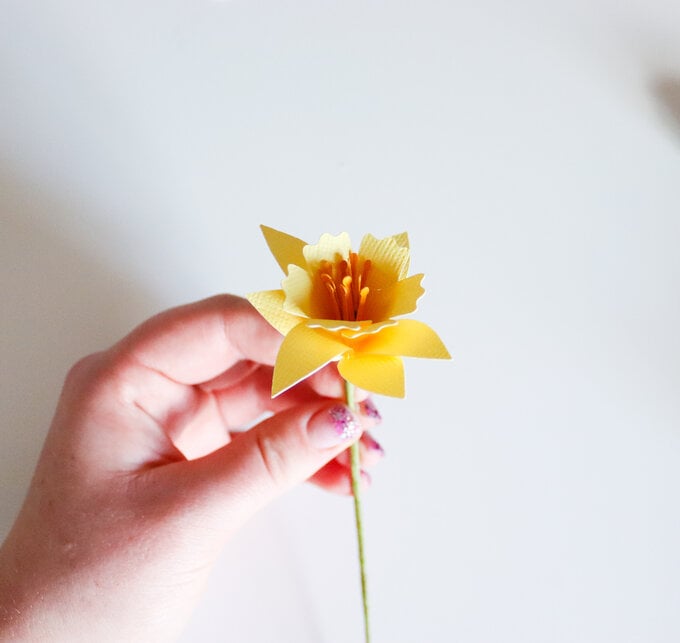
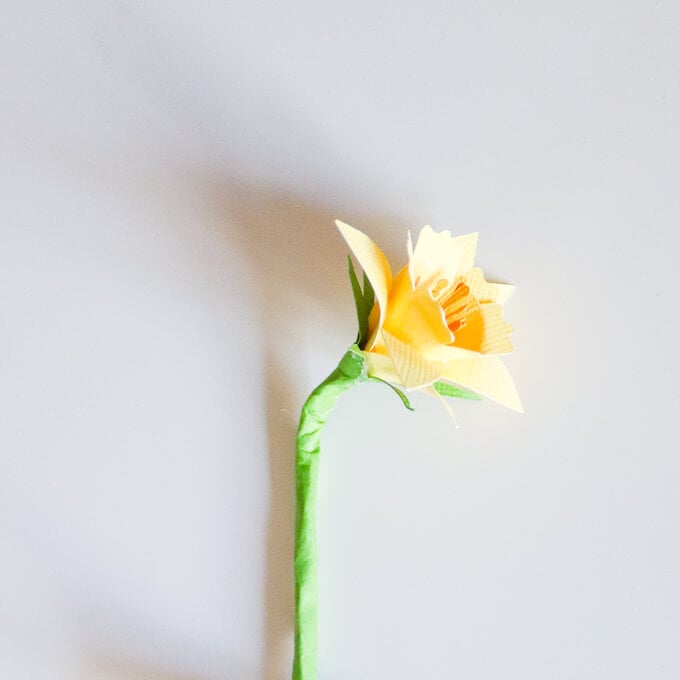
Search for the daffodil image 'Daffodil #M10045375' in the Cricut Design Space library and add to the canvas. Resize if needed. Then proceed to cut the pieces out of a medium weight cardstock.

cricut-5-flowers-daffodil-step-1.jpg?sw=680&q=85
Step 2
Create a stem from wire and floristry tape, then add the yellow centre by gluing one end to the tip of the stem and wrapping it around then gluing the end in place.
cricut-5-flowers-daffodil-step-2.jpg?sw=680&q=85
Step 3
Next add the trumpet shape, glue the flat sides together, wrapping it around the tip of the stem.
cricut-5-flowers-daffodil-step-3.jpg?sw=680&q=85
Step 4
Next add petals, adding a blob of glue to the curved base of the petal then layering them around the base of the trumpet petals.
cricut-5-flowers-daffodil-step-4.jpg?sw=680&q=85
Step 5
Then take the green piece and roll the green spikes around the base of the flower and secure in place with glue. Wrap the rectangle shape around the stem adding glue to secure it.
cricut-5-flowers-daffodil-step-5.jpg?sw=680&q=85

Related Products

  • bvseo_sdk, dw_cartridge, 18.2.0, p_sdk_3.2.0
  • CLOUD, getReviews, 19ms
  • reviews, product
  • bvseo-msg: Unsuccessful GET. status = 'ERROR', msg = 'Not Found.'; Unsuccessful GET. status = 'ERROR', msg = 'Not Found.';
Top