Cricut: How to Create a Paper Wreath
Armed with your Cricut machine and the Design Space software, there's no end to what can be created to adorn your home this Christmas! This lush foliage paper wreath would look great hung above the fireplace at any time of year, not just for the festive season.
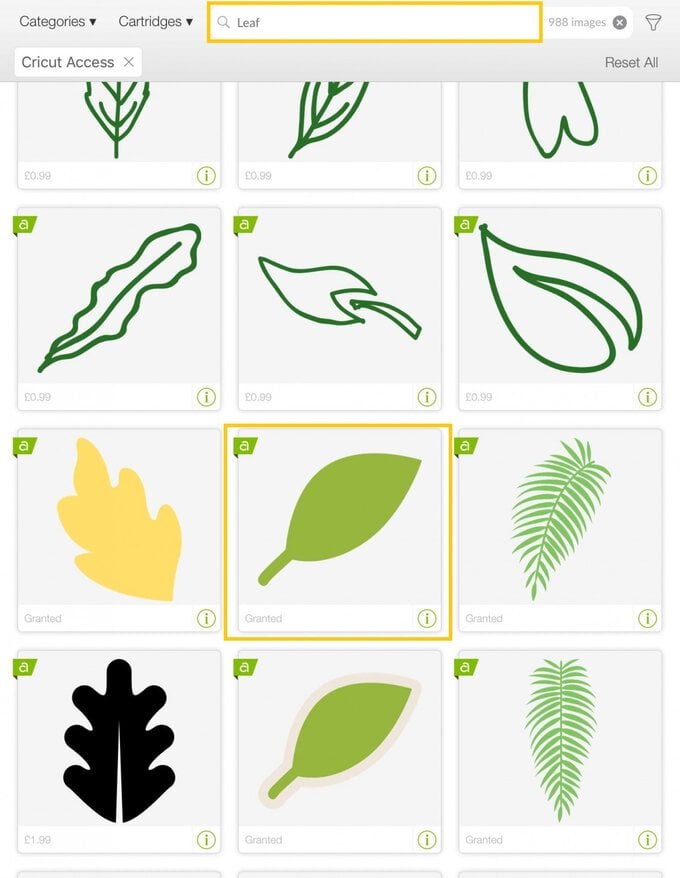
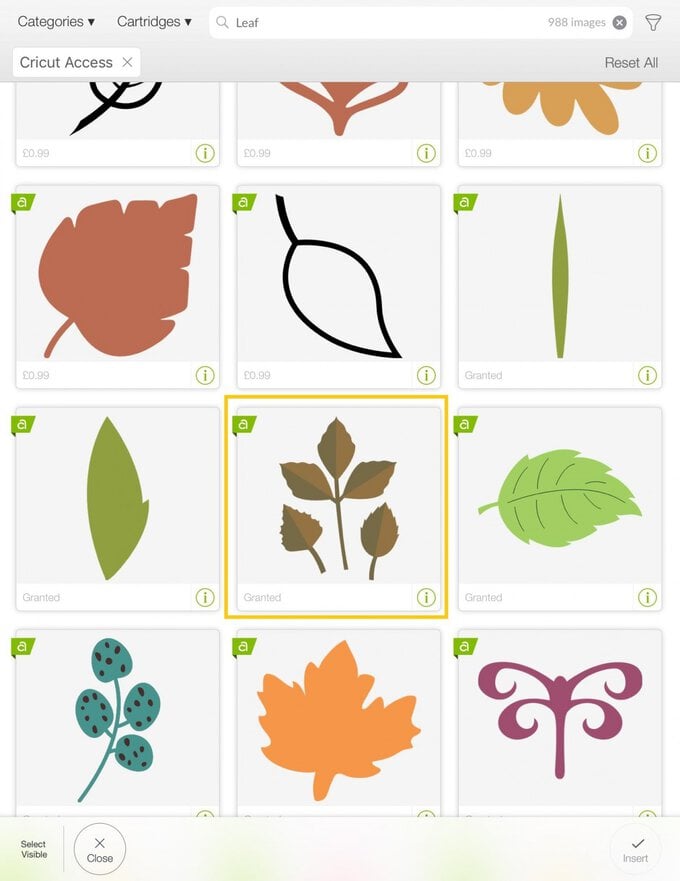
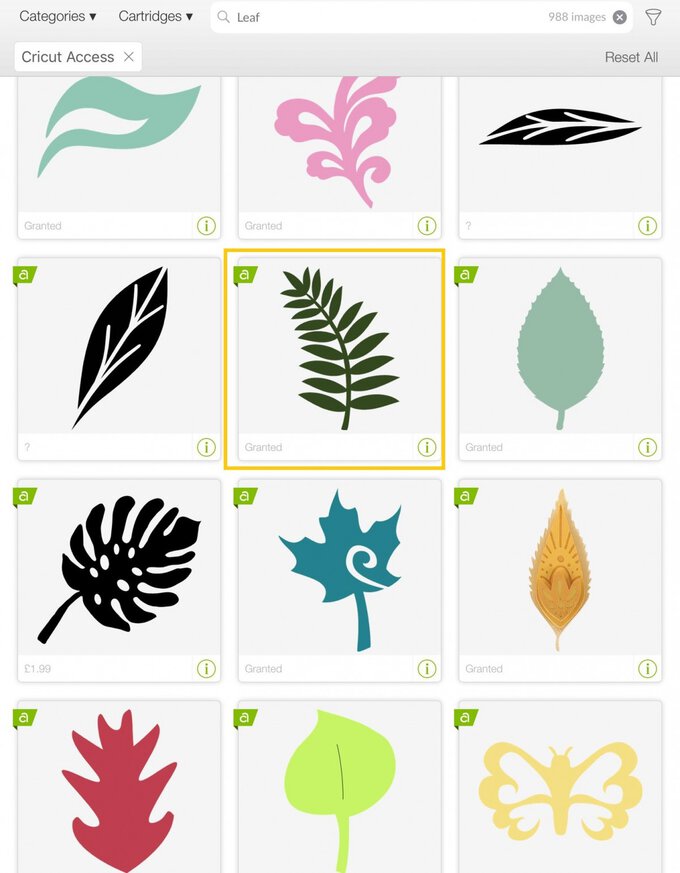
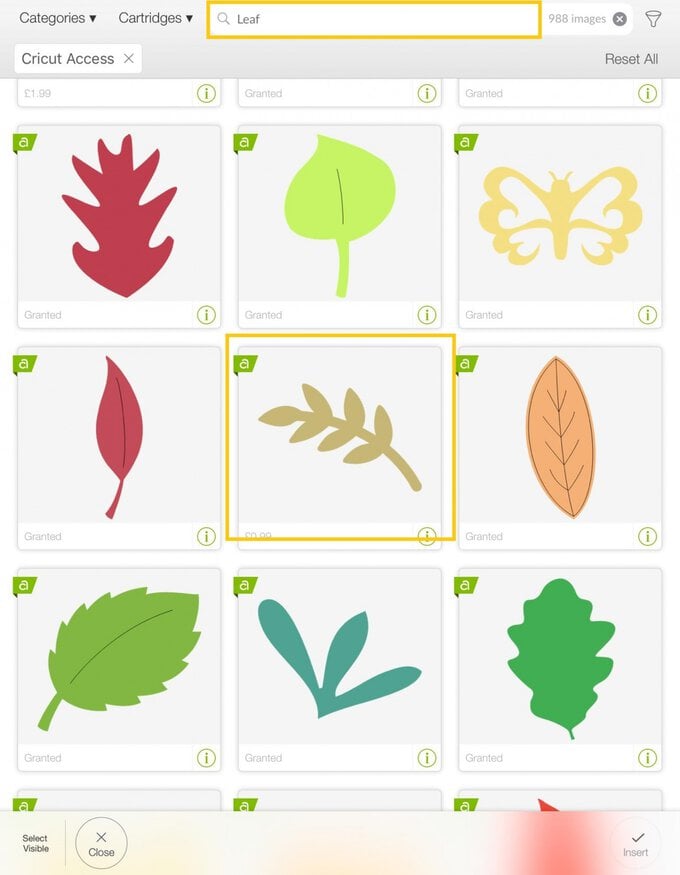
You will need

Subtotal
Is $ 9.49

Subtotal
Is $ 5.49

Subtotal
Is $ 3.49
Subtotal
Is $ 2.49
Subtotal
Is $ 4.49
Subtotal
Is $ 419.00
How to make
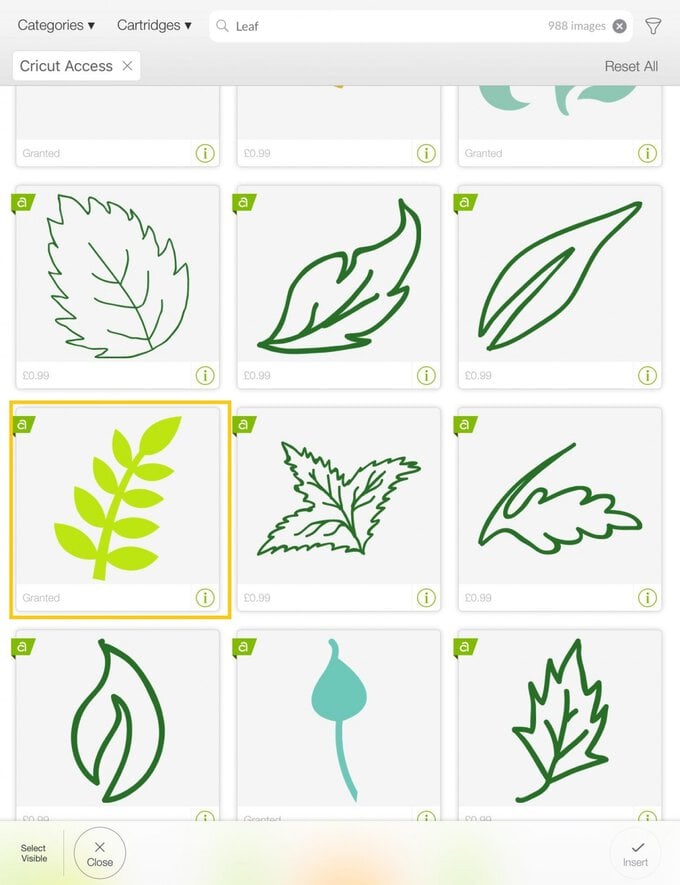
Resize the components in Design Space to suit the size of wreath you are intending to use, the smaller the wreath the smaller the components will need to be therefore you will need larger components for a bigger wreath. Open the 'Edit' menu from the bottom toolbar and amend the size using the width and height dimensions. Duplicate the shapes to create different sized components (the 'Duplicate' button can be found in the 'Actions' menu).
After all of the paper foliage has been cut, gently pinch the leaves to almost fold them in half. This will give the leaves a natural dimensional look. You could use a paper creaser to do this if you prefer. Use a paper creaser to gently curl the larger leaves
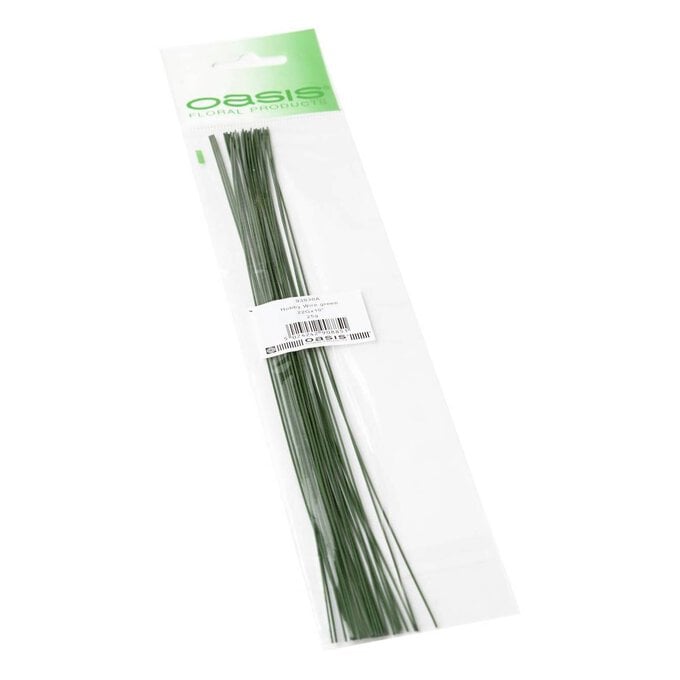
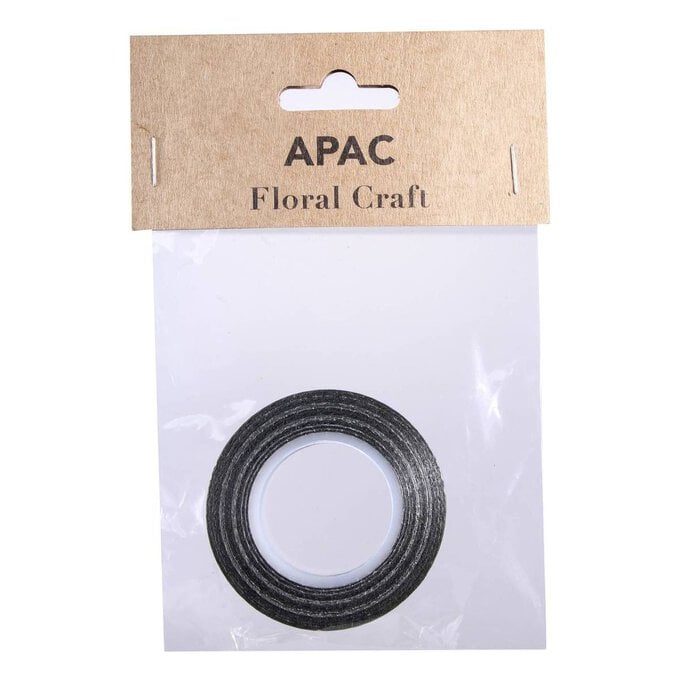
To begin construction… Remove one piece of wire from the pack, take a selection of leaves and secure to the hobby wire with green florist tape, making sure to wrap the tape around the leaf stem and wire tightly – as you work the tape the tackier it will become and therefore the better it will hold the cut components in place.

Related Products