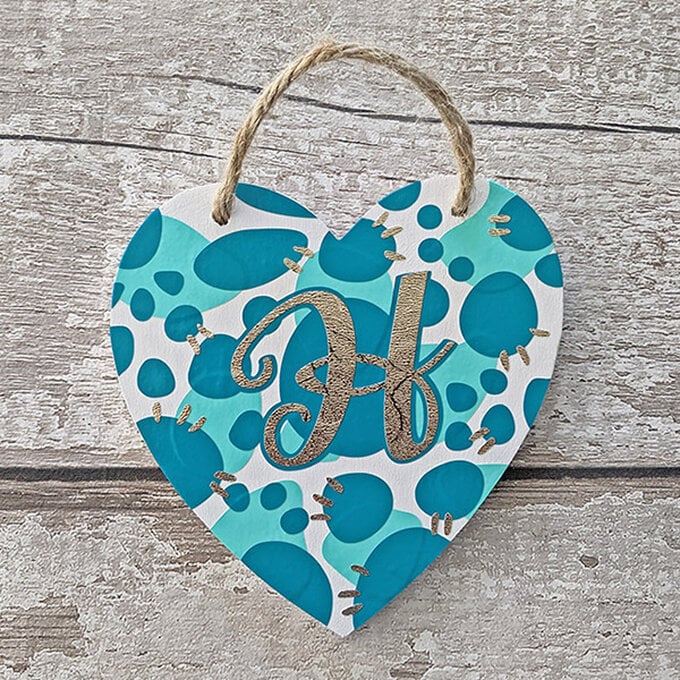
Cricut: How to Decorate a Wooden Heart
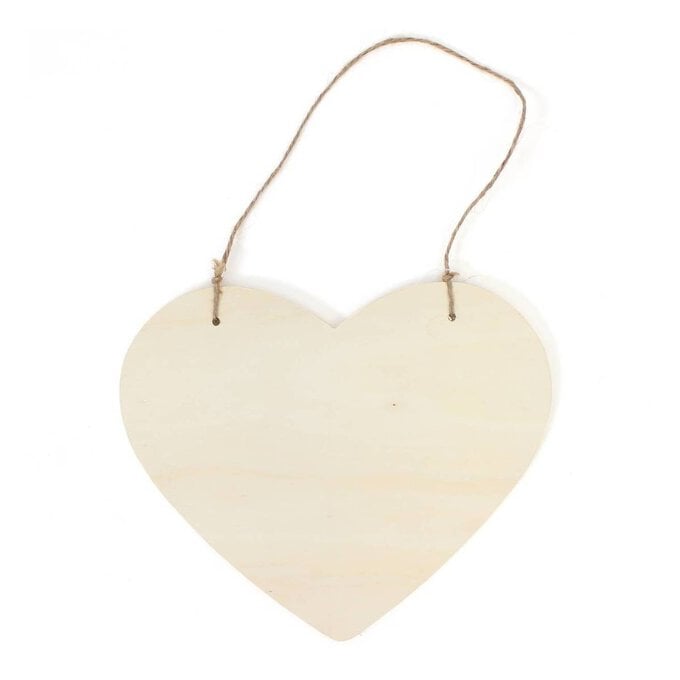
This personalised wooden heart would look great in an office or bedroom and will also make a great gift for a friend this Valentine's Day. It's the perfect way to add a romantic detail to your décor!
Using Cricut vinyl, customise the design by using different fonts and coloured vinyl.
Project and instructions by Caroline Shard.
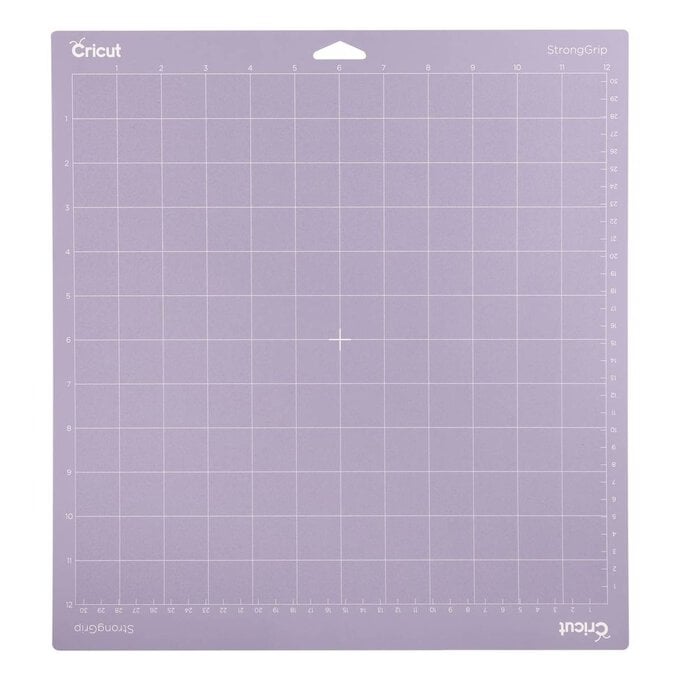
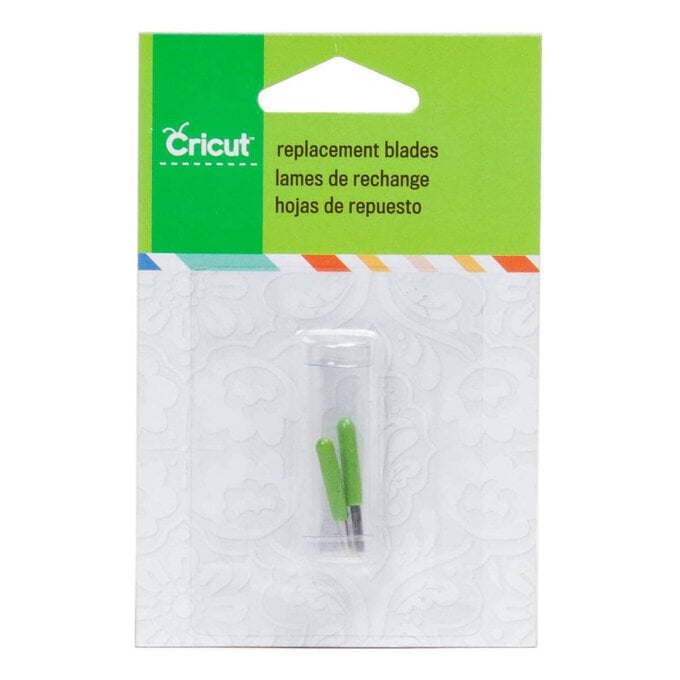
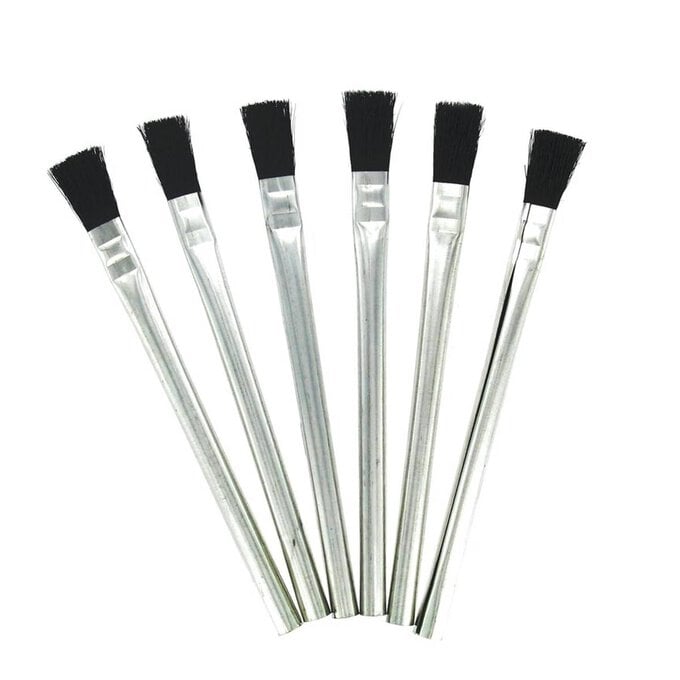
You will need
Subtotal
Is $ 12.00
Subtotal
Is $ 13.00

Subtotal
Is $ 40.00
Subtotal
Is $ 3.49
Subtotal
Is $ 17.00
Subtotal
Is $ 12.00
Subtotal
Is $ 12.00
Subtotal
Is $ 12.00
Subtotal
Is $ 12.00
Subtotal
Is $ 6.49

Subtotal
Is $ 601.00
How to make
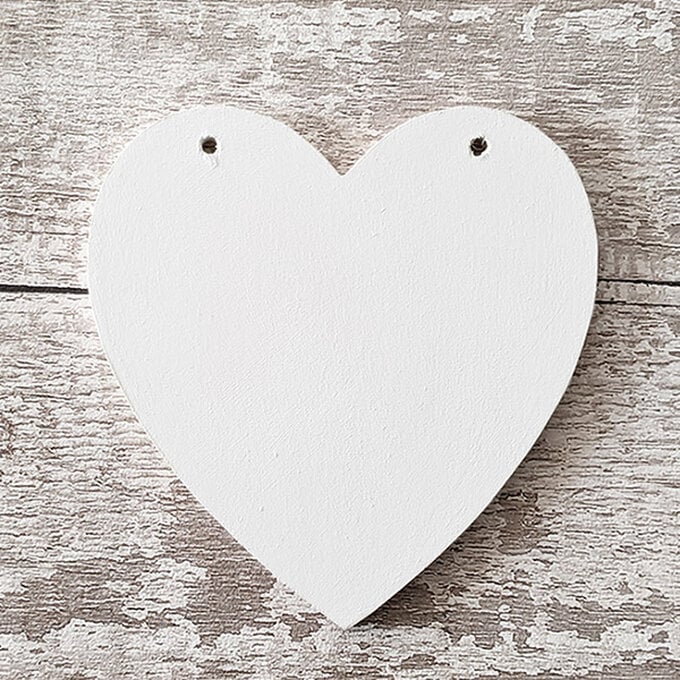
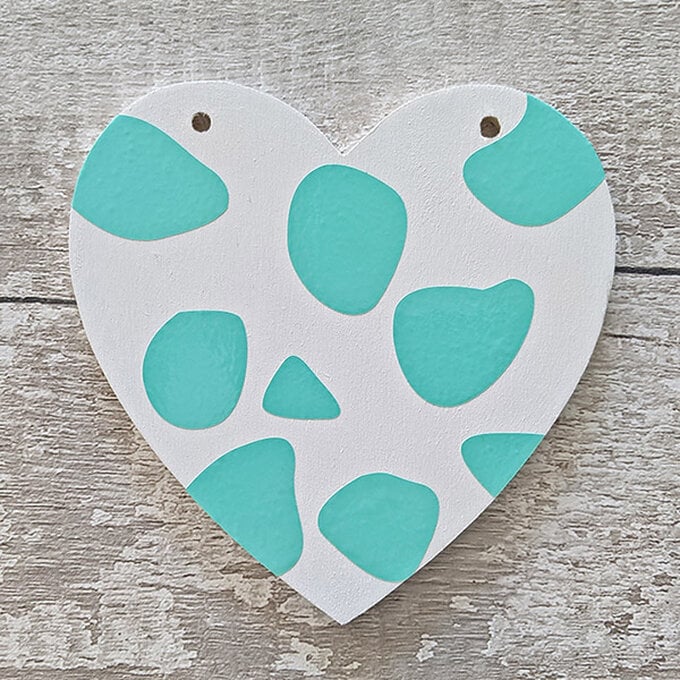
Carefully untie and remove the hanging string. Paint the front and side of the heart with the base colour and leave to dry.
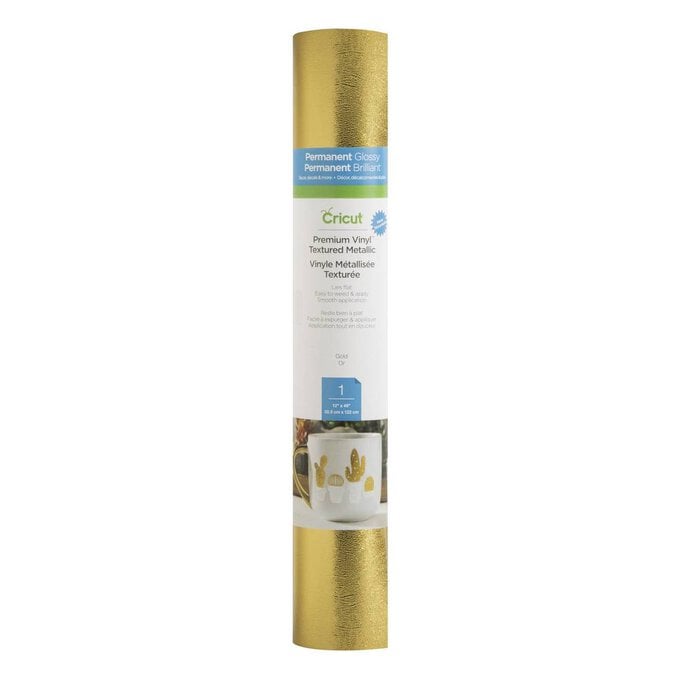
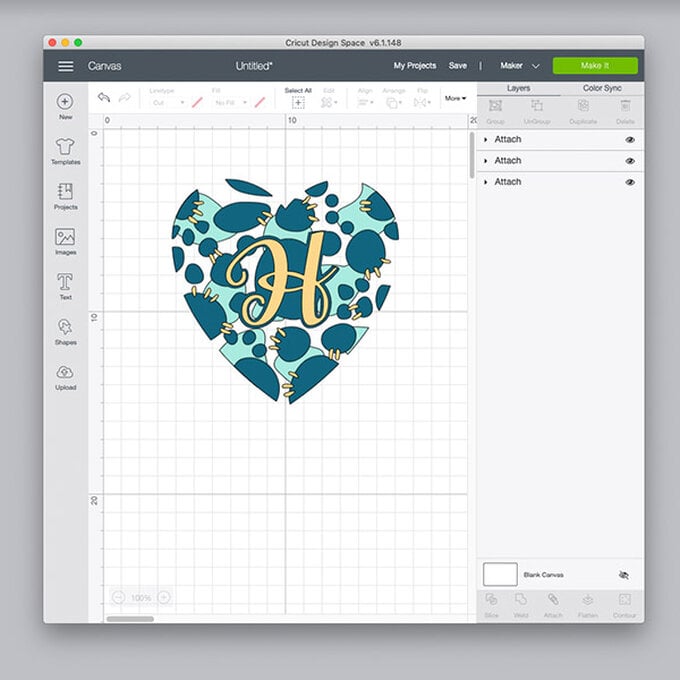
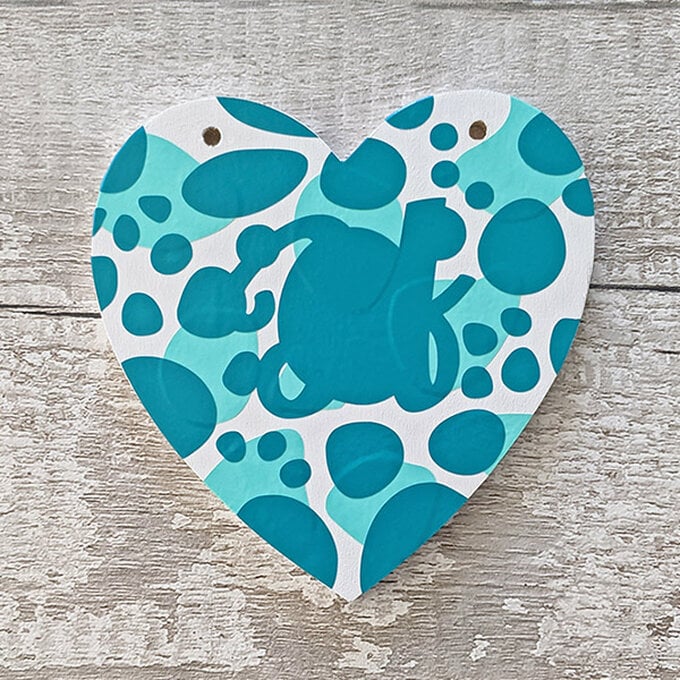
On Cricut Design Space, upload and add the template file into a new project. Add the initial or letter you wish to use with the Text tool (font shown is “Friday” style regular at size 150) and then using the materials colour or colour sync panel change the letter to the gold colour.
If you don't wish to create an outline shape around the letter skip to step 5.
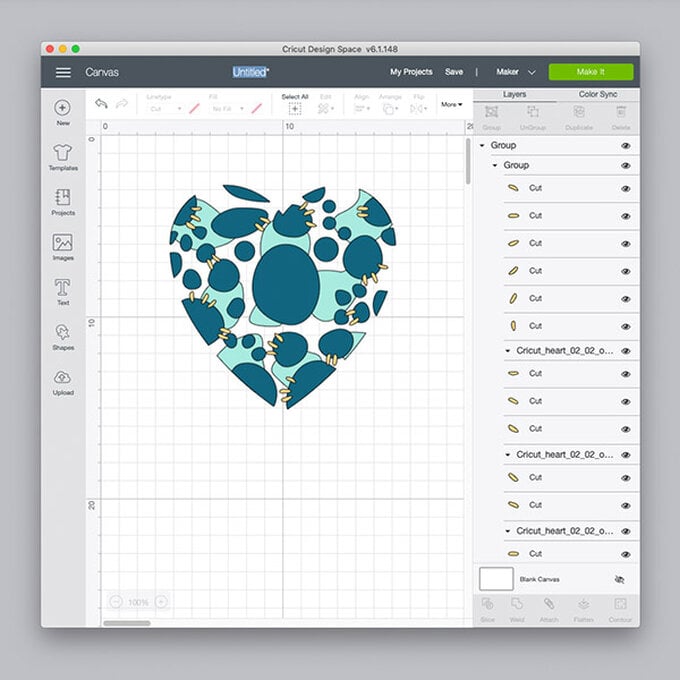
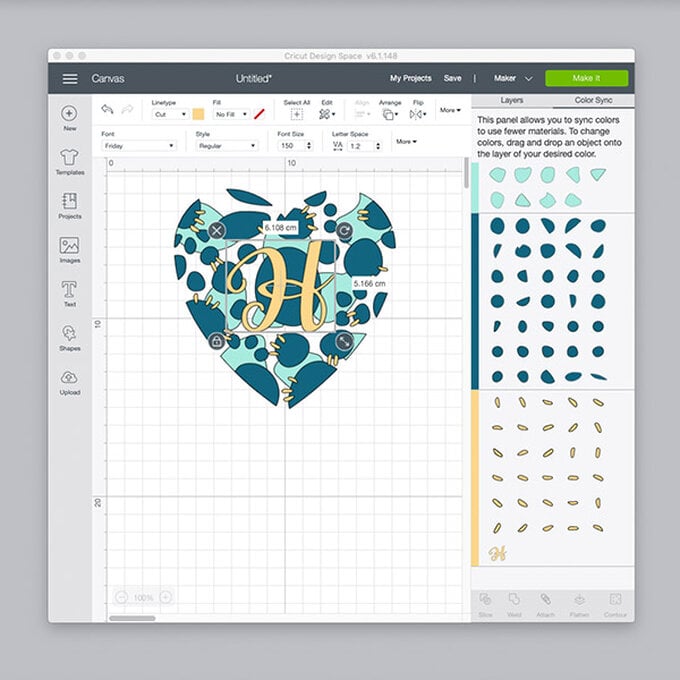
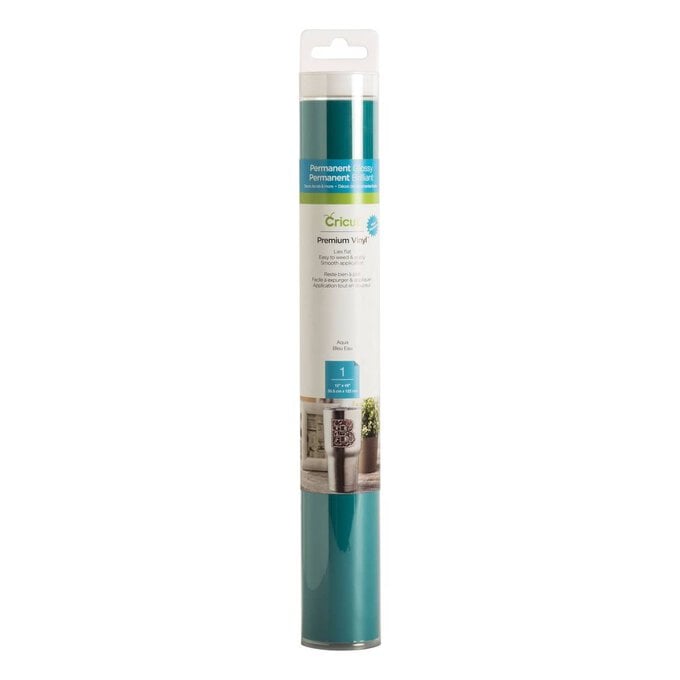
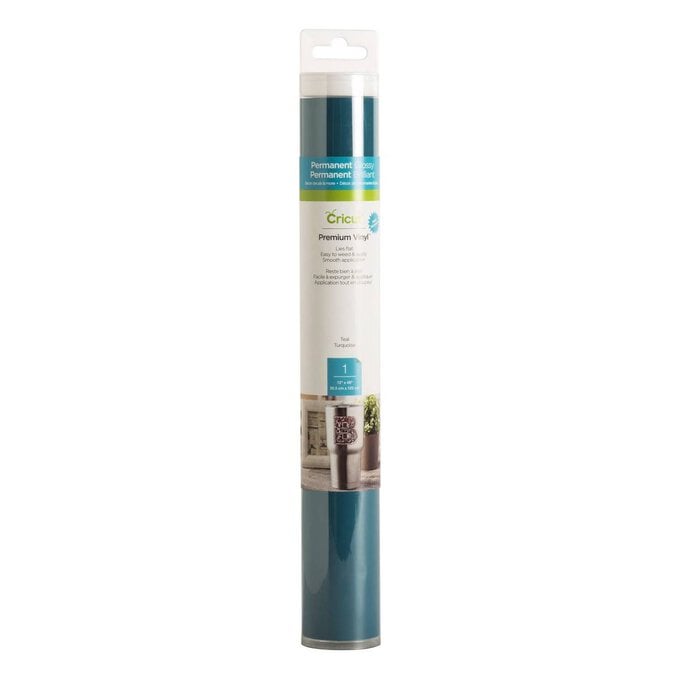
To create the outline shape, duplicate the existing letter and change to style to bold, increase the size to 160 and change to the darker teal colour.
Use the align tool or position manually the two letter shapes so they sit on top of each other. Select them both and center them inside the heart shape.
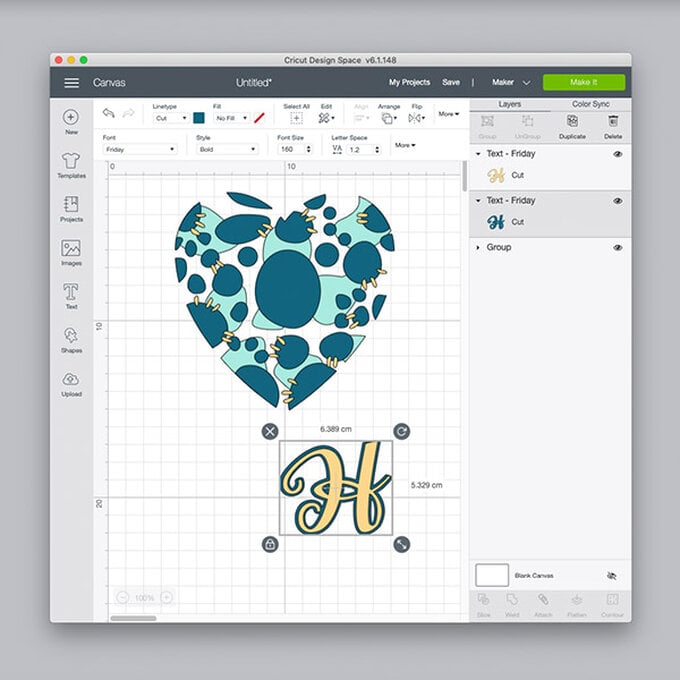
Ungroup the darker teal elements and select the ones that intersect with the dark teal latter shape. Combine these into one shape using the weld tool.
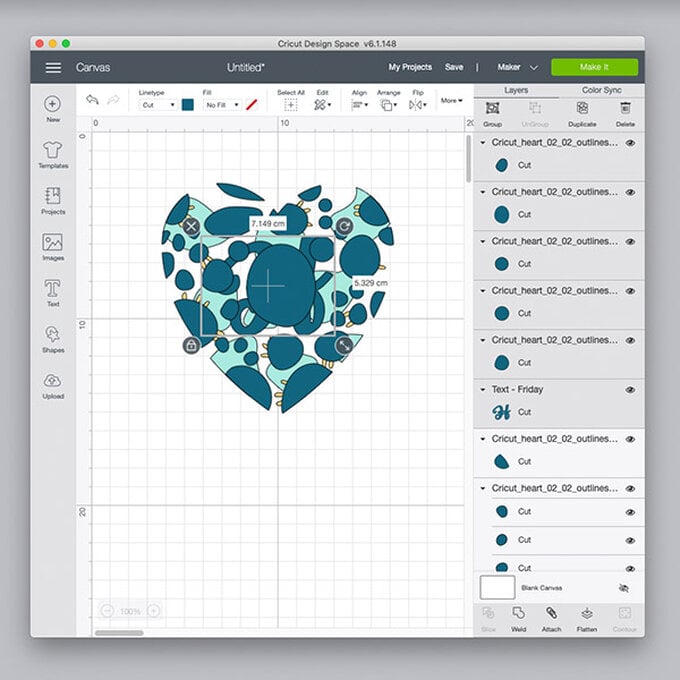
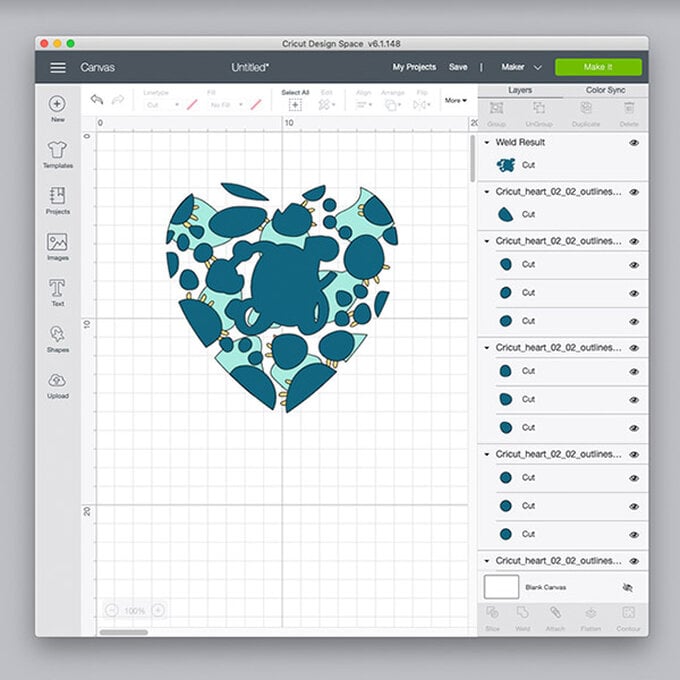
Group and attach each of the three colours together; the gold letter with the rest of the gold elements, then th dark teal elements together, and then the light teal elements.
The panel should show three layers that are grouped and attached.
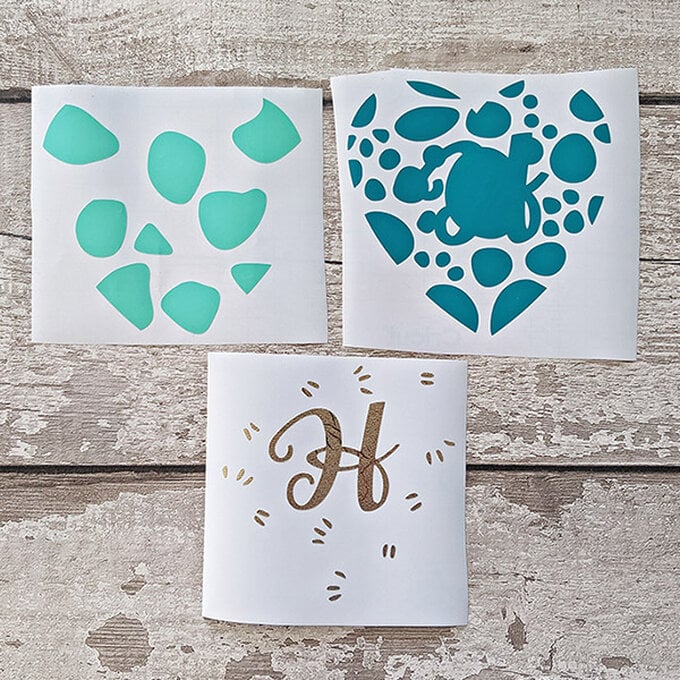
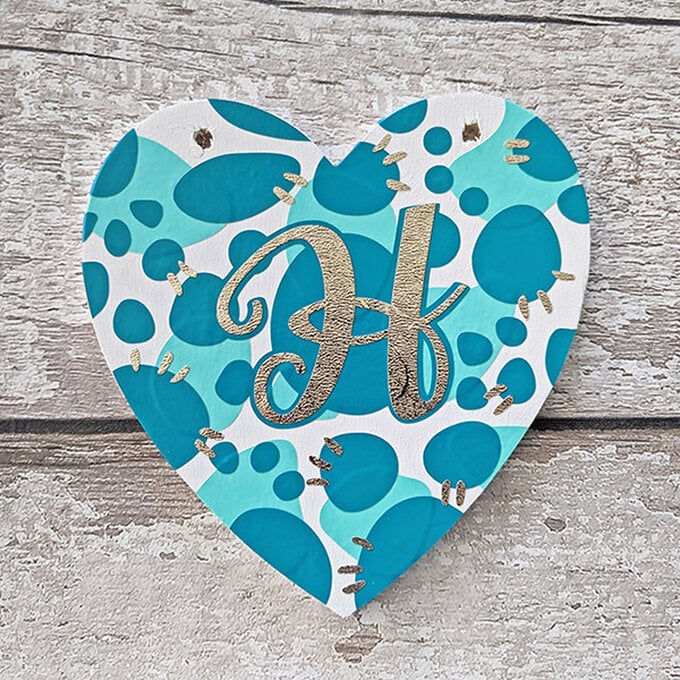
Cut each layer out of a different colour vinyl, changing the cricut settings as needed for each type of vinyl used.
Carefully remove the excess vinyl from the backing paper so you are just left with the design. Use a weeding tool if available.
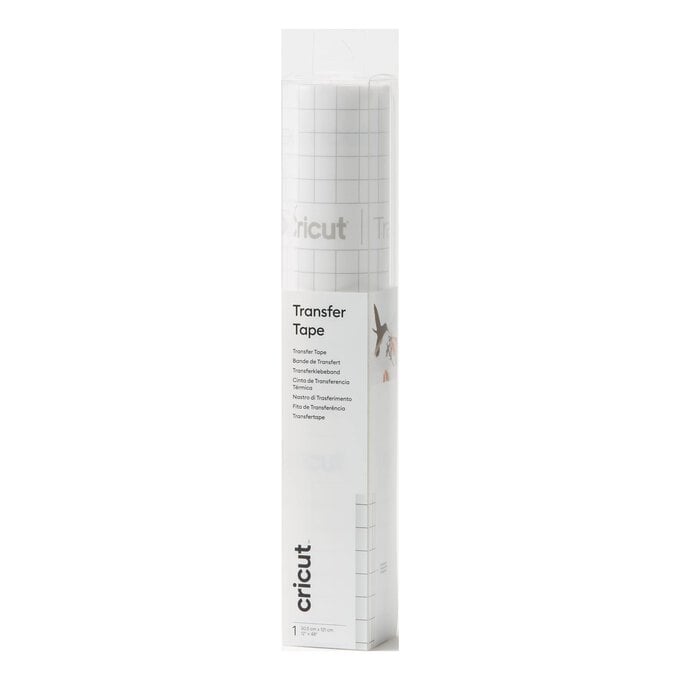
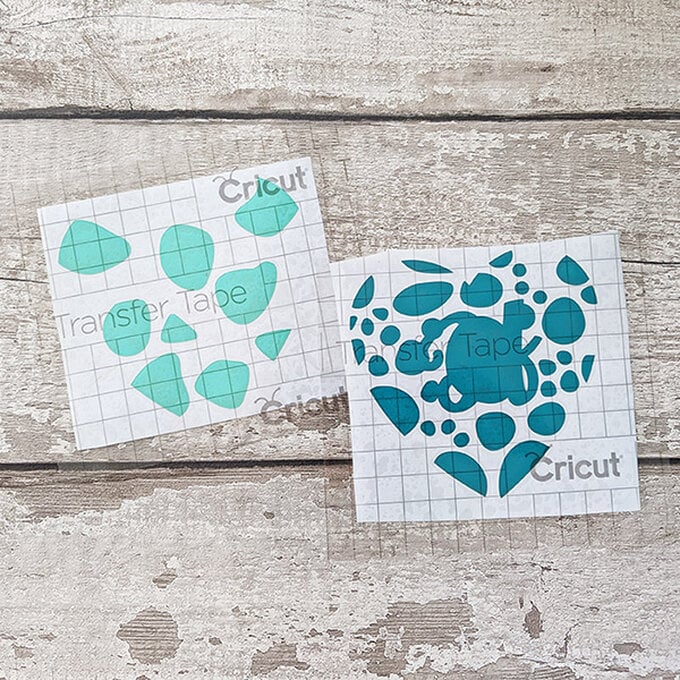
Cut three sections of clear transfer tape slightly larger than the wooden heart and place over each of the three layers carefully and smooth over avoiding any large air bubbles.
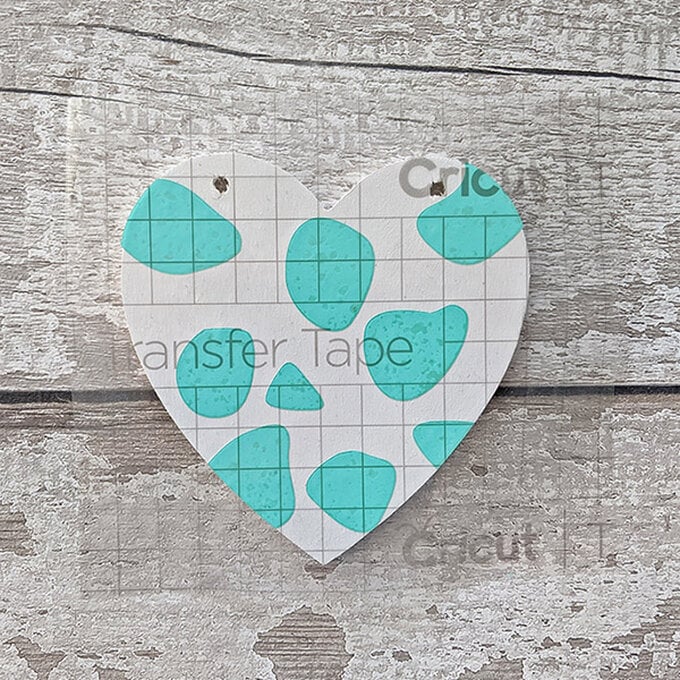
Line up the first layer and carefully place down onto the wooden heart.
Rub over the layer firmly or use a roller if available.
Carefully peel back the transfer tape leaving the vinyl on the heart.
Complete this process with the darker teal layer and then the gold layer.
If there are sections of the vinyl that hang over the edge of the wooden heart these could either be carefully trimmed or just folded down over the side edges.
Reattach the hanging string.