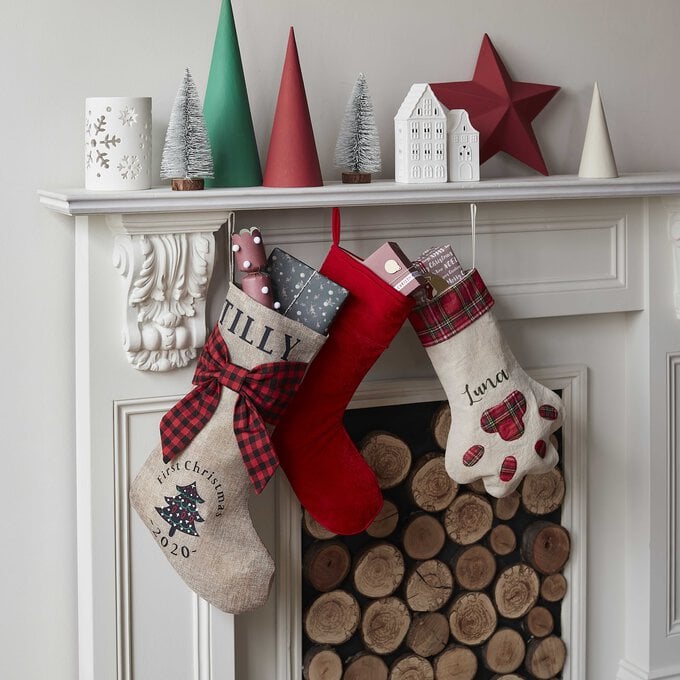
Cricut: How to Make a Baby's First Christmas Stocking
They might be too tiny to know it, but a baby's first Christmas is a very special occasion! This personalised stocking is perfect for holding treats from Santa and makes a wonderful keepsake for years to come.
This is the perfect project for beginners who are ready to take their crafting to the next level by learning how to layer iron-on vinyl.
Why not make a stocking for every member of the family while you're at it?
Project and instructions by Jen Harper.
Please note: This project contains paid-for content from Cricut's Design Space app. Screen grab references images are taken from the desktop version of Design Space
You will need

Subtotal
Is $ 12.00

Subtotal
Is $ 40.00
Subtotal
Is $ 179.00
Subtotal
Is $ 37.00
Subtotal
Is $ 17.00
Subtotal
Is $ 17.00

Subtotal
Is $ 604.00
Subtotal
Is $ 20.00
Subtotal
Is $ 20.00
How to make
You will also need:
* Cricut Design Space app installed on your Mac, PC, laptop, tablet or mobile device.
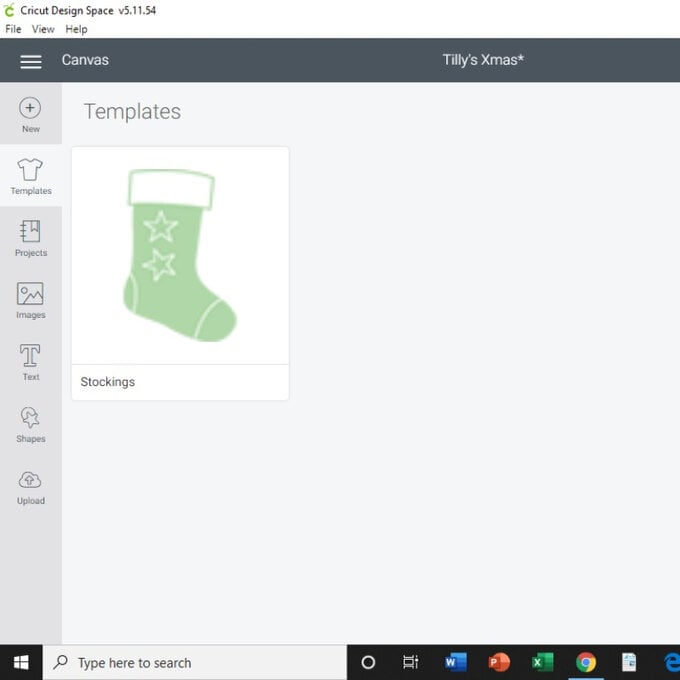
Open the Cricut Design Space app and search for 'stocking' under the templates tab. This template will not be cut as part of your final project but will allow you to visualise how your design will look when finished.
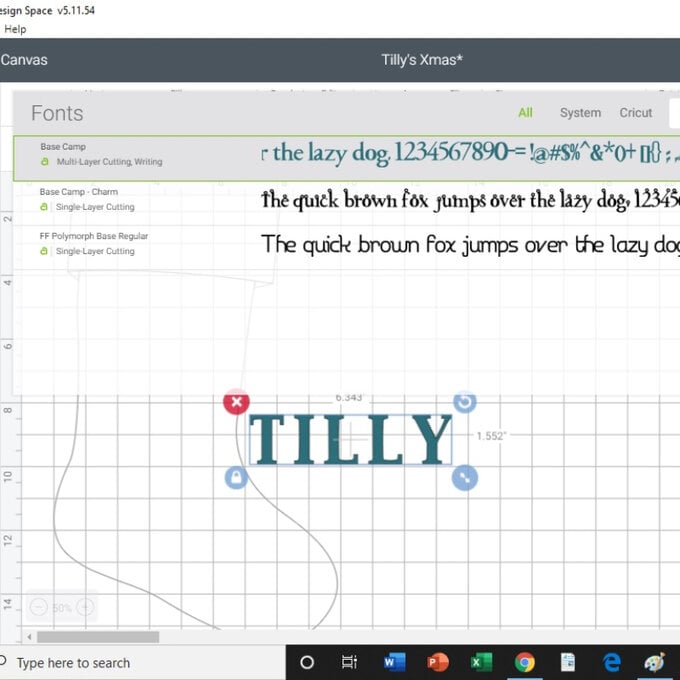
Insert a text box and type the name of the recipient. Select 'Base Camp' from the dropdown font menu and use the arrow to the bottom right of your text to adjust the size.
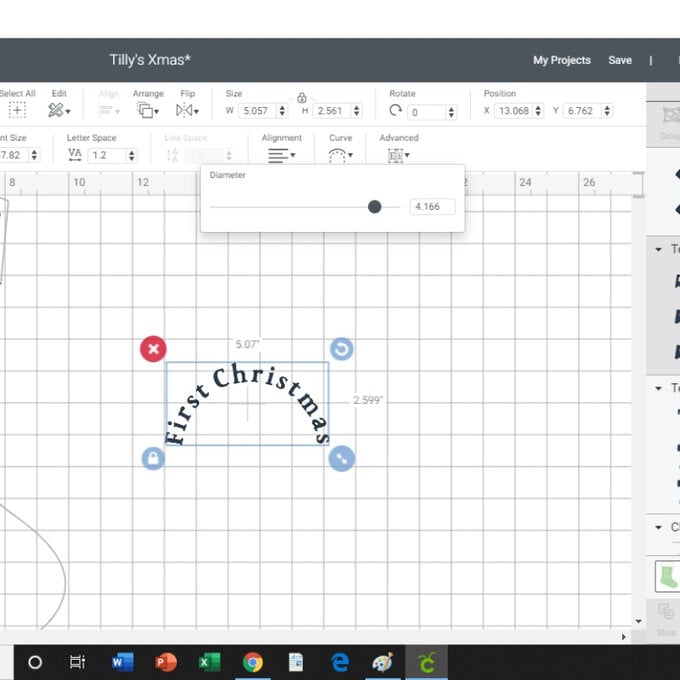
Insert additional text boxes for 'First Christmas' and one for the year, in this case '2020'.
This text will circle an image; use the slider under the 'curve' tab to adjust the text to your liking.
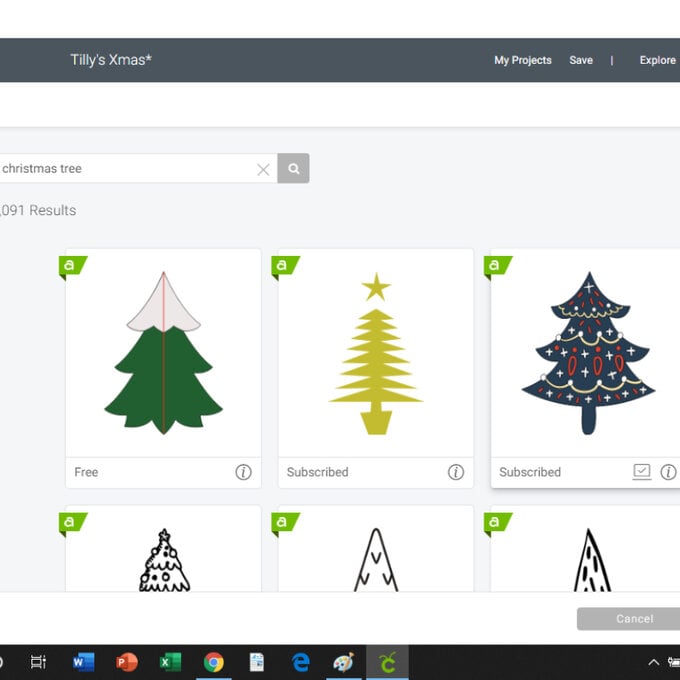
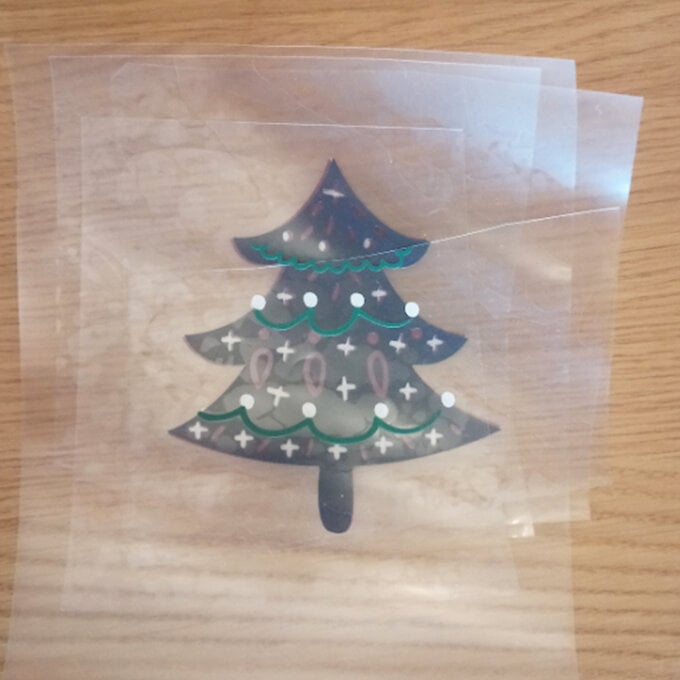
Open the 'Images' tab and search for 'Christmas tree' or #M116692F6 to use this exact same image as we have (this image has been created from several layers).
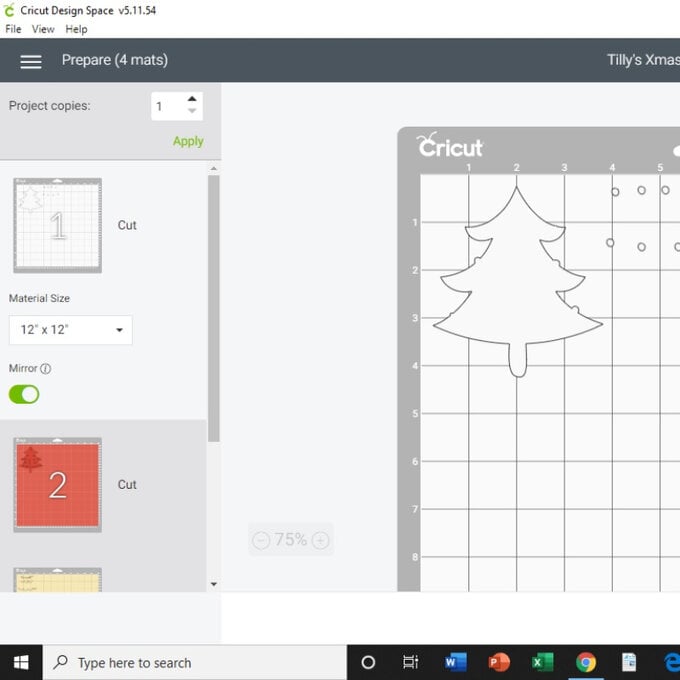
Once you have positioned your images on your canvas and have checked that the sizes will fit your stocking, click 'Make it' to begin cutting your project.
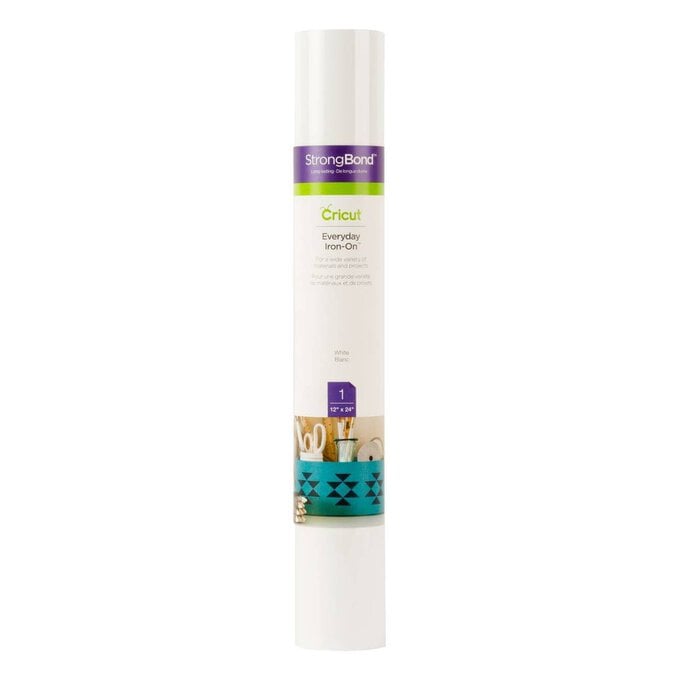
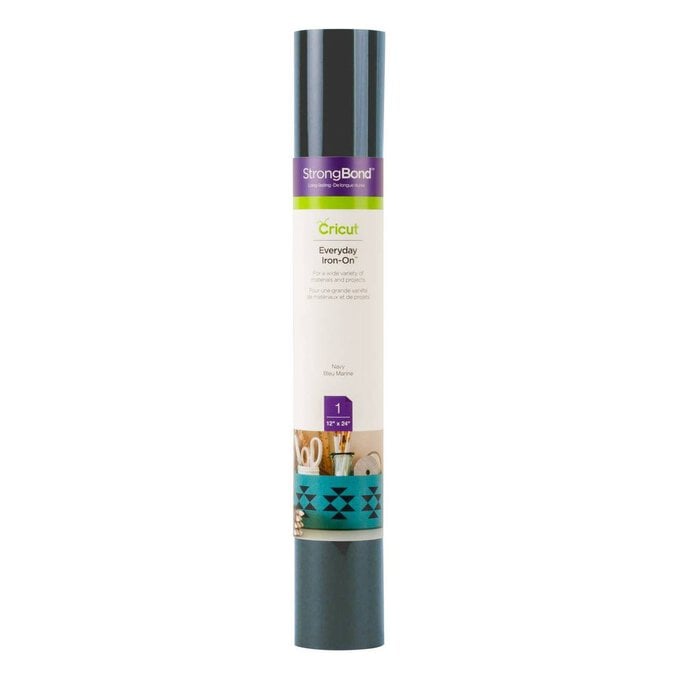
You will need to set each mat to 'mirror on' and put your vinyl onto your Cricut mat shiny side down.
Your machine should be set to 'iron on' in the cut settings, then follow the instructions on your screen to cut each mat.
Use your Cricut tools to weed your design. As this design contains several layers, it may be helpful to have the digital image on your screen to use as a reference.
You should pull away any vinyl that you do not want to appear on your finished project.
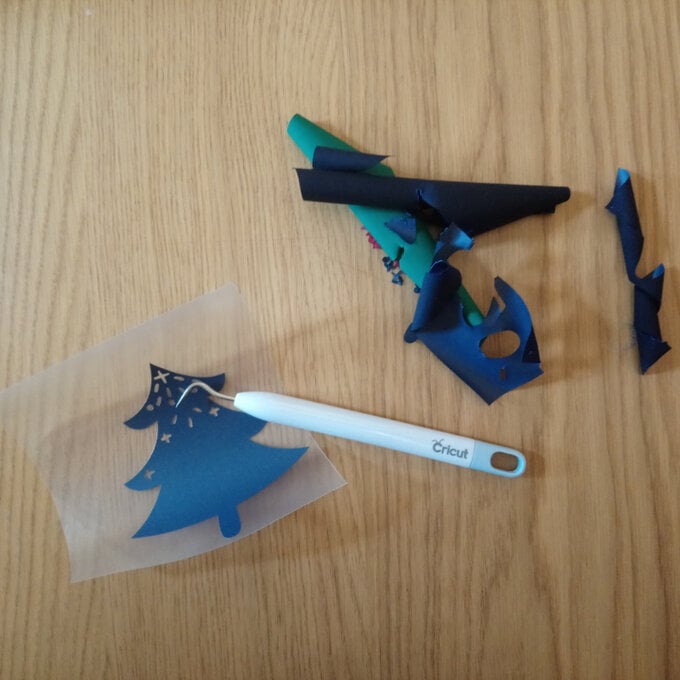
To help you layer your vinyl in the correct order, place the weeded pieces on top of each other; keeping them stacked in this way will help you to reach for the correct piece at each stage of ironing on your project.
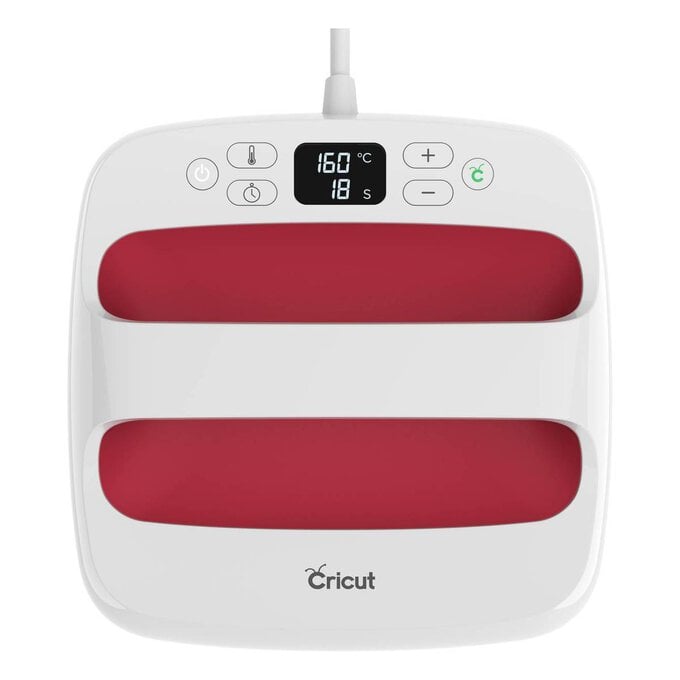
Adhere each piece individually, with your heat press for 30 seconds, applying firm pressure and keeping the iron still.
Once cooled, carefully peel back the clear carrier sheet. If the vinyl hasn't completely stuck, apply heat for a further 15 seconds.
Make sure each layer has completely cooled before carefully lining up and heating the next layer of your project.
Continue working in this way unitl the etire design is secured onto the stocking.
Related Products