Cricut: How to Make a Bee Wall Hanging
This wooden bee wall hanging brings bee-autiful décor into your home, with honeycomb detail and a 3D finish. The wall art will also make a wonderful gift for a loved one, whether as a housewarming or for a special occasion.
This project requires a Cricut Maker to create and uses free shapes in Cricut Design Space, making this design free to use!
Project and instructions by Rebecca Marie Creative.
You will need
Subtotal
Is $ 12.00
Subtotal
Is $ 12.00
Subtotal
Is $ 12.00
Subtotal
Is $ 64.00

Subtotal
Is $ 4.49

Subtotal
Is $ 606.00
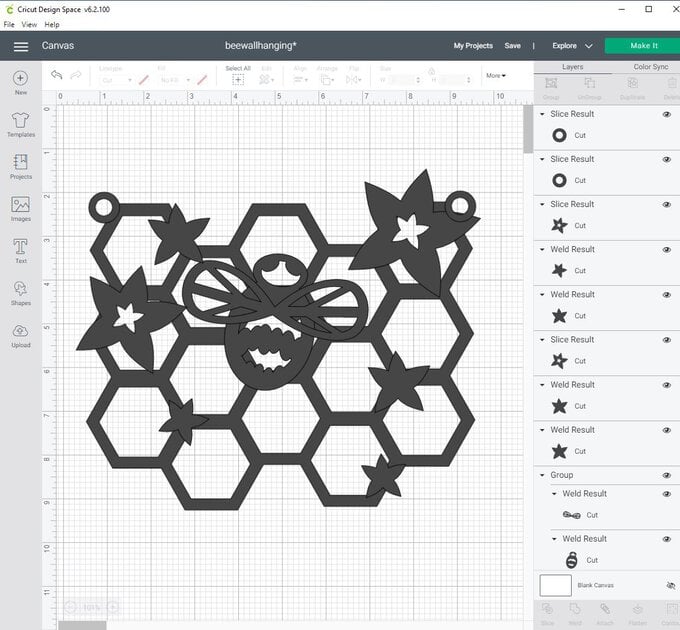
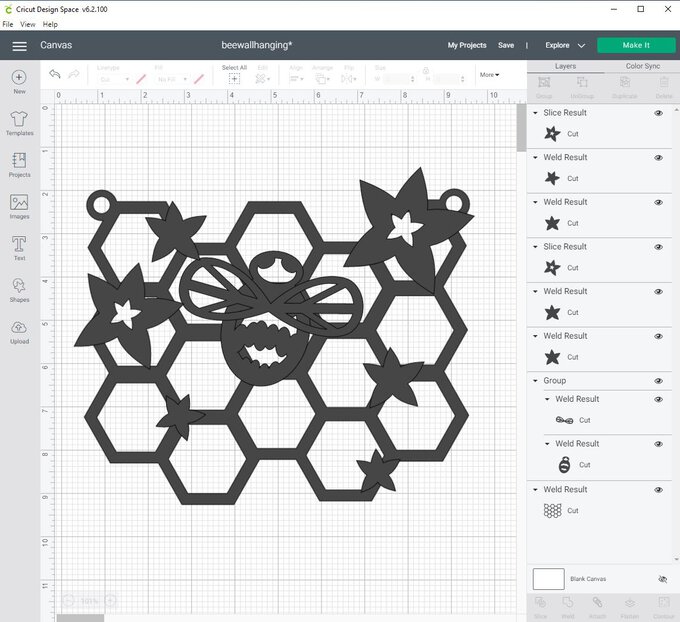
How to make
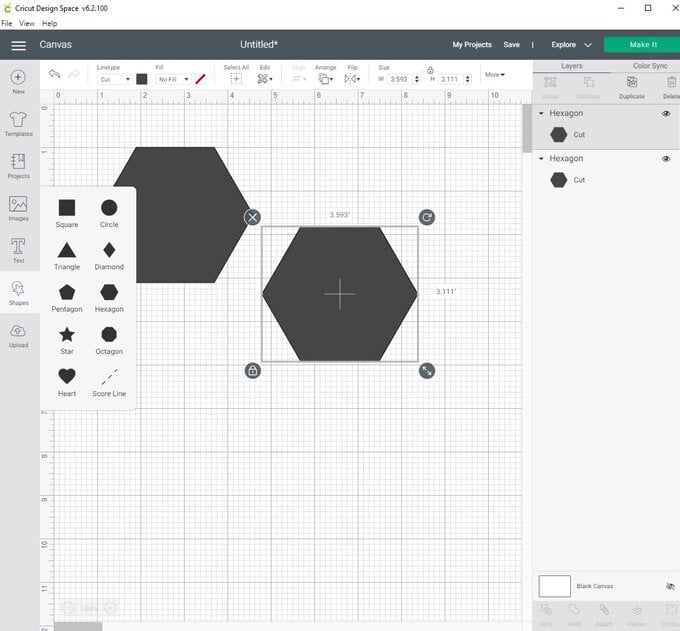
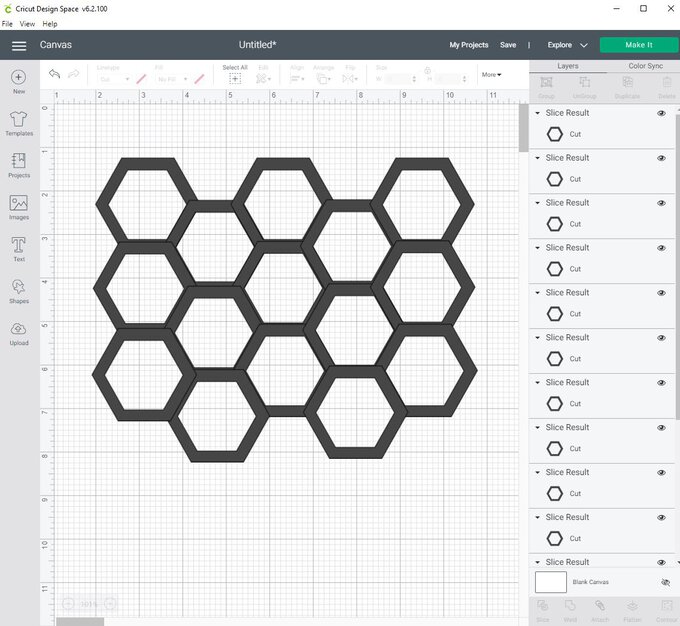
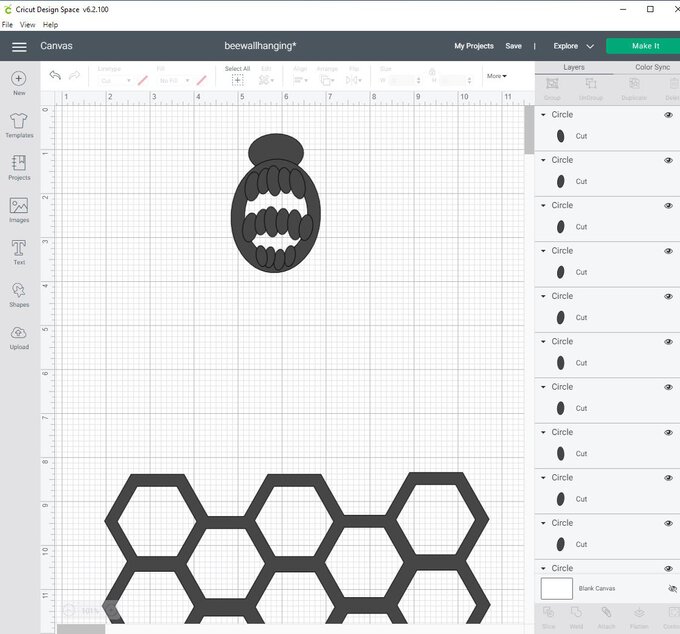
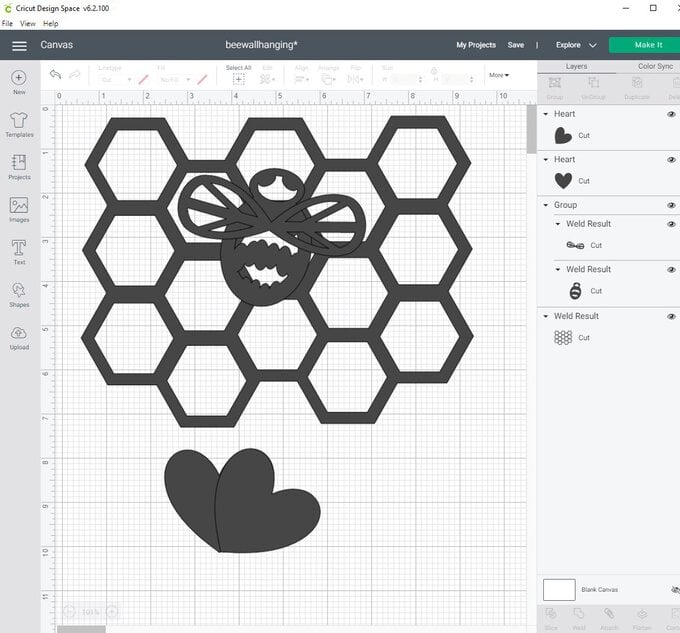
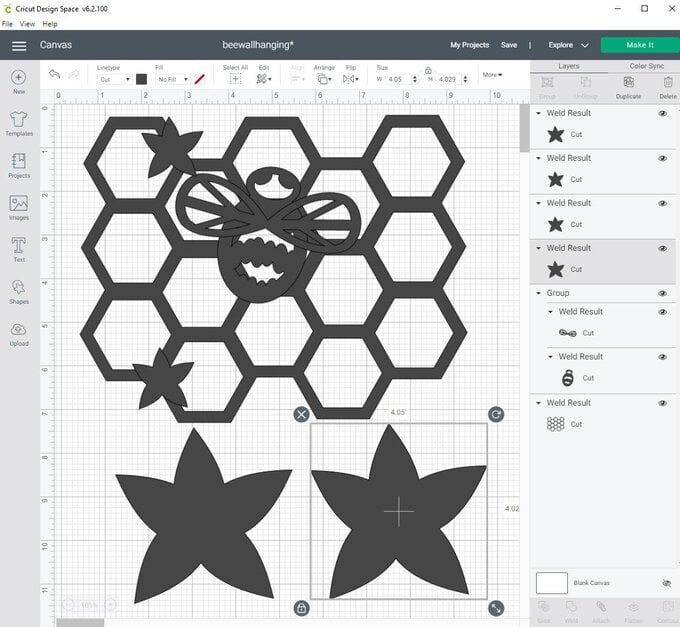
Select a hexagon shape from the shapes section on the left-hand bar within Cricut Design Space. Make one smaller and place this over the top of the other hexagon in the centre. Select both and use the slice tool. Keep the outline shape.
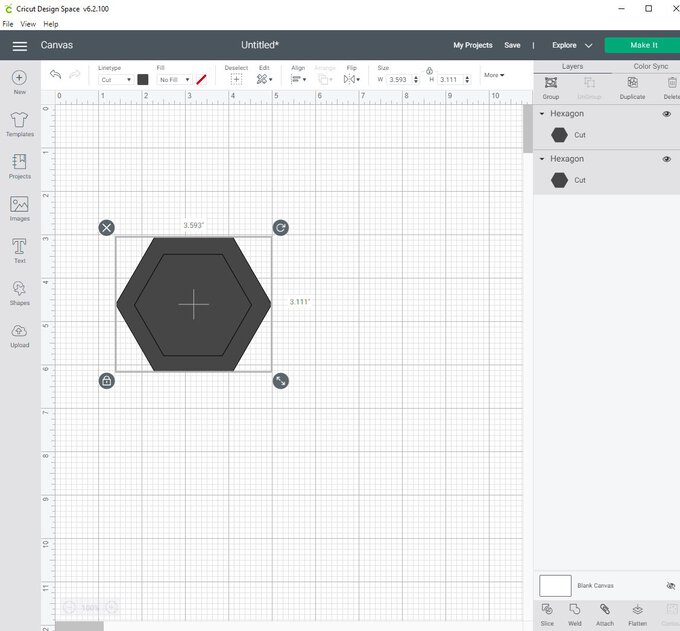

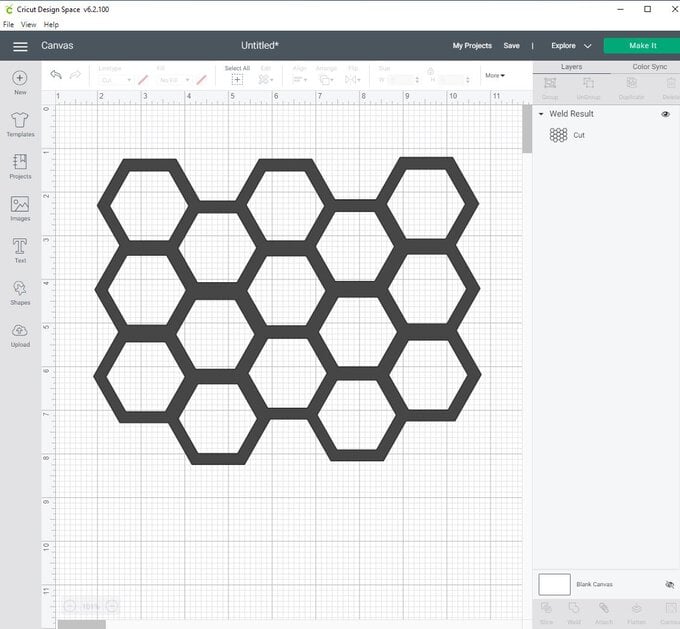
Duplicate the hexagon outline and create a beehive effect like the example shown. Ensure the outlines overlap. Select all and weld together.
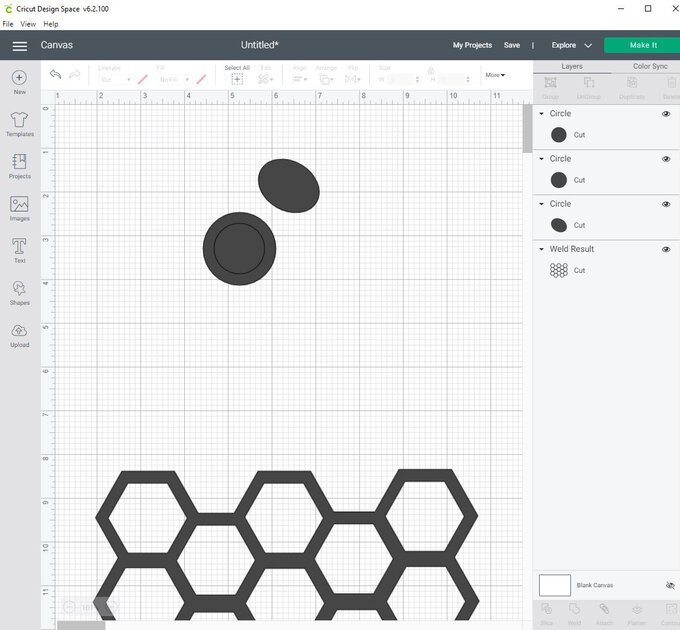
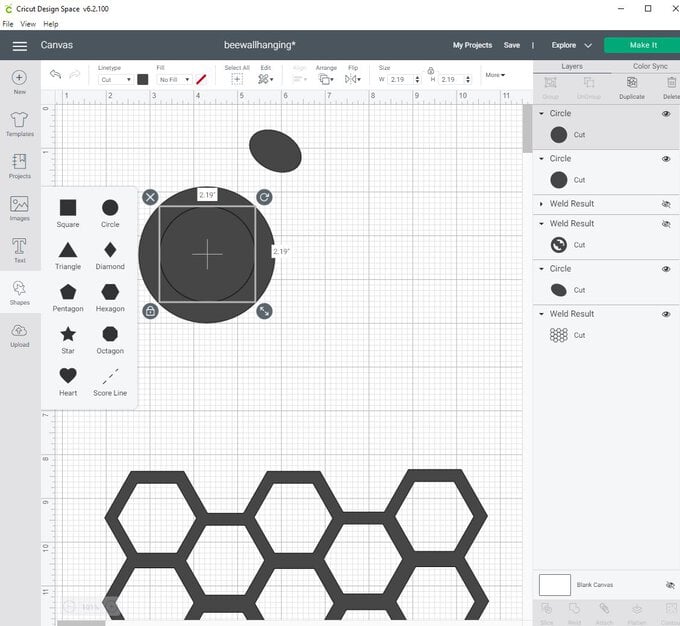
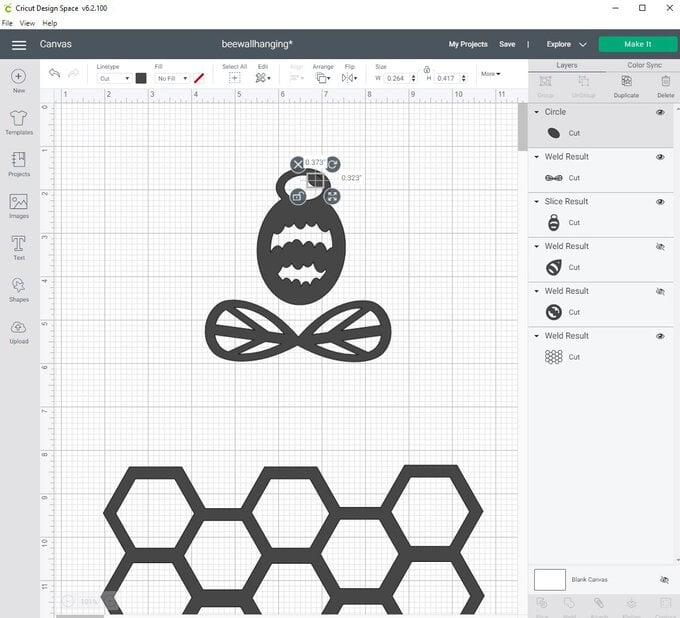
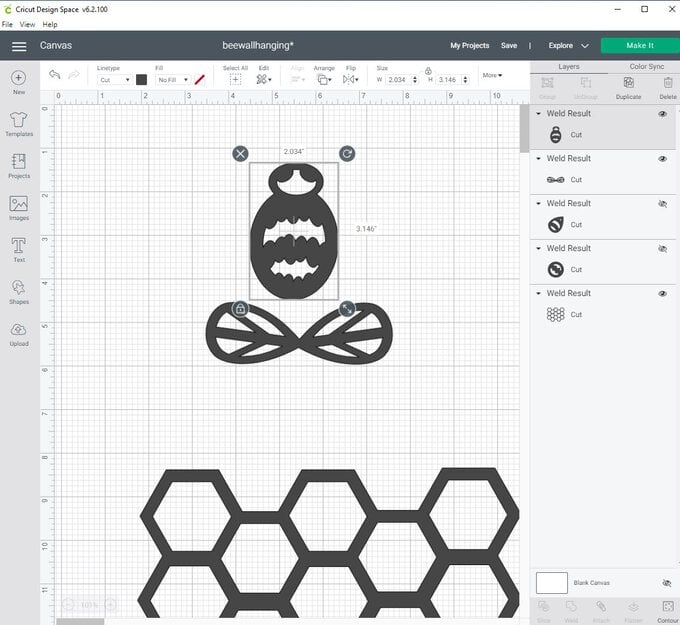
Select a circle shape and click on the circle. Select the lock icon to unlock. Reshape to an oval. Then select 2 circles and make one smaller than the other. Overlap both circles and use the slice tool. Keep the circle outline. Unlock the circle outline and reshape to an oval. Place the outline as the body and the original oval at the top as the head of the bee.
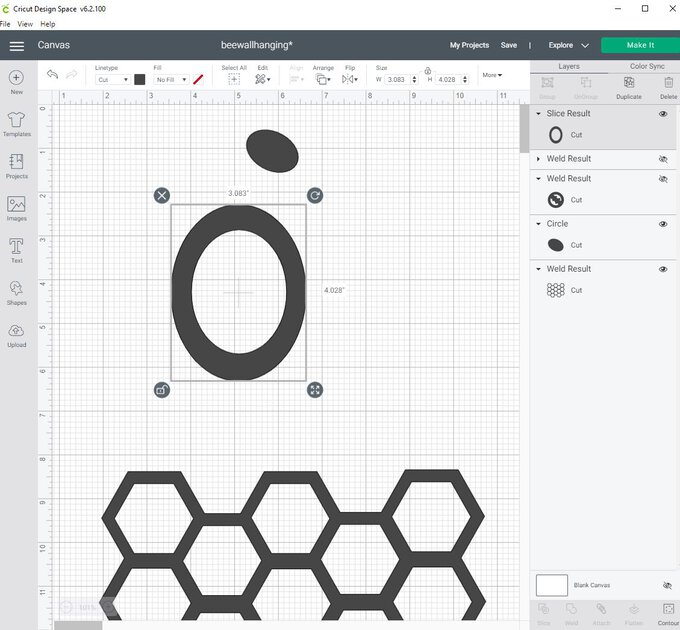
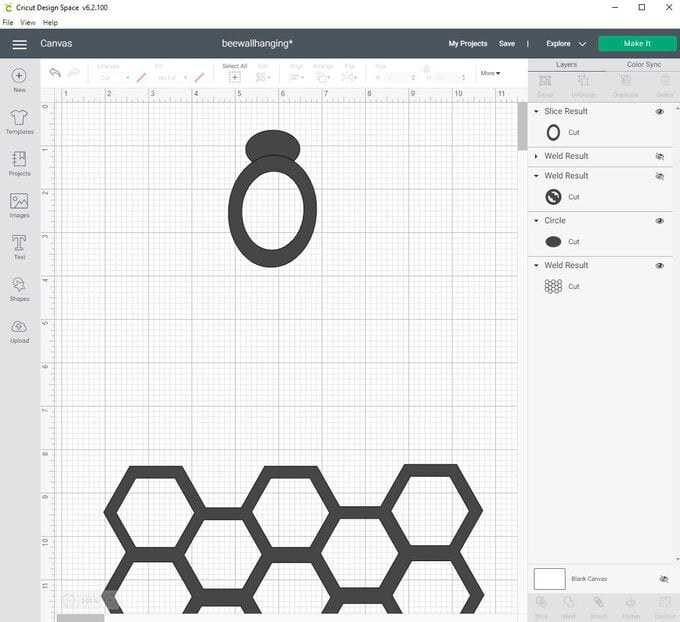
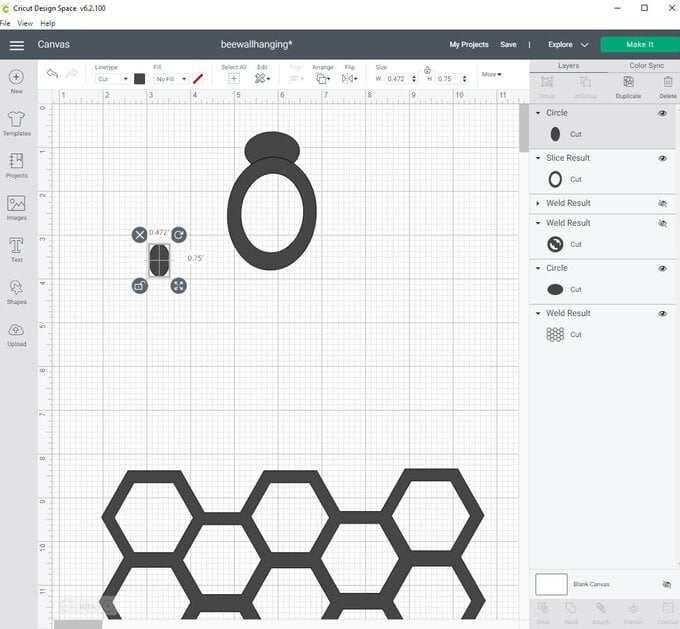
Select a circle shape and unlock. Reshape to a small oval. Position this inside the oval outline (bee body) at the top of the oval overlapping the outline to create the bee stripes. Duplicate the oval enough times to have made a line across the oval outline. Repeat this in the middle of the oval and at the bottom for the stripes.
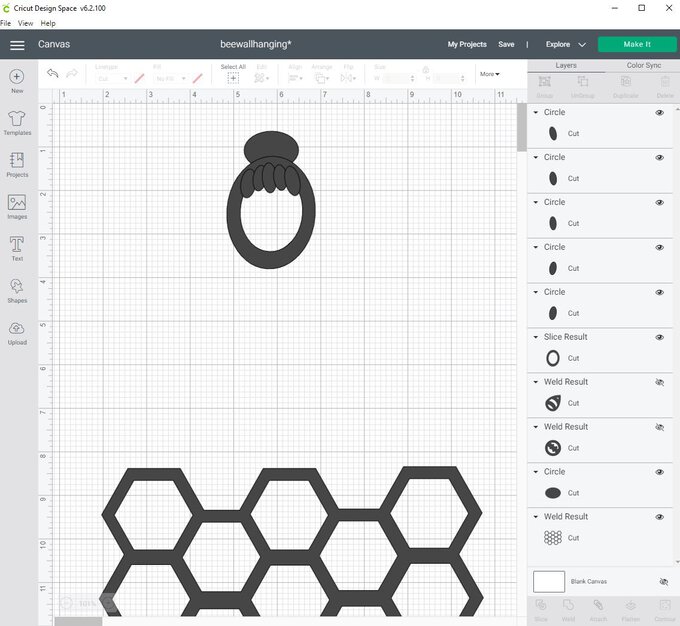
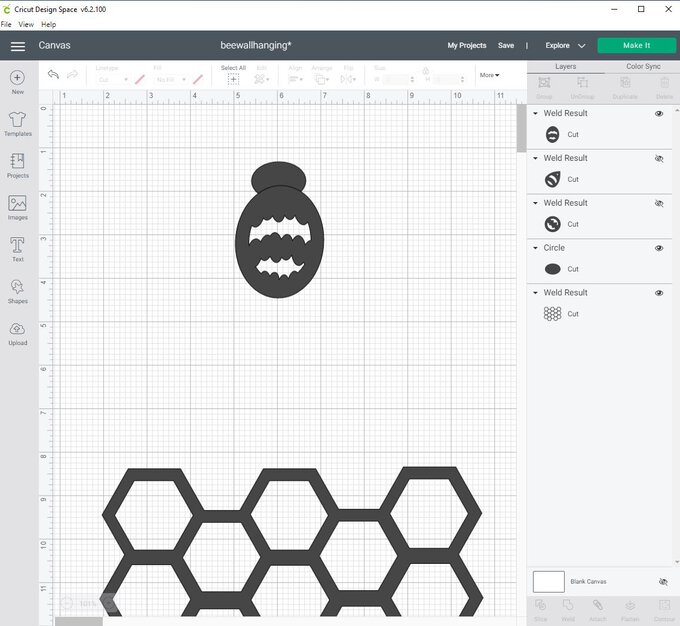
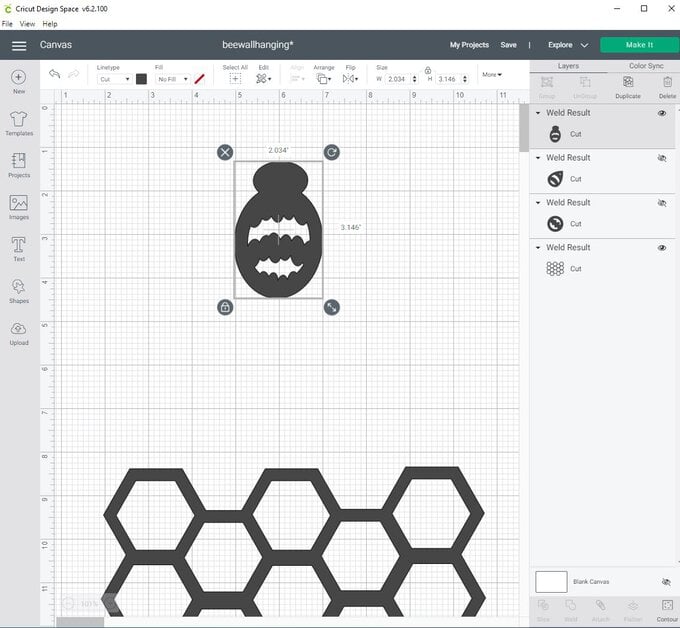
Select all and weld together.
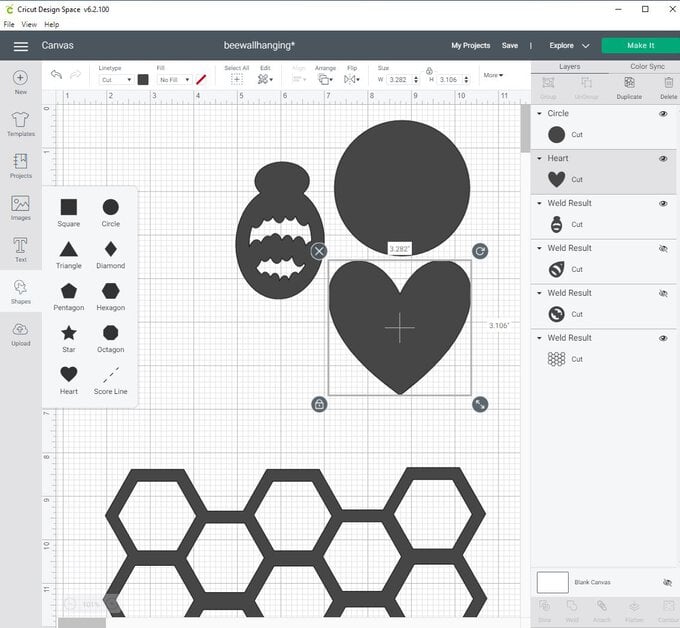
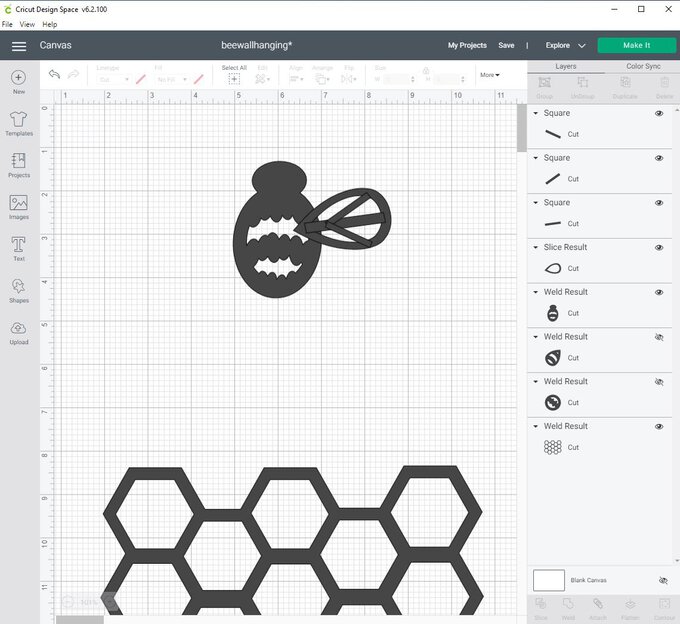
Now it's time to make the wings. Select from the shapes area a heart and circle shape. Unlock the circle to reshape into an oval. Position the oval over the top half of the heart where it arches. Shape so that the outer lines of the heart and oval smoothly flow together. Select both shapes and weld together. Duplicate the shape and make the top one smaller. Position in the centre so that you can see a strip all around it. Select both layers and use the slice tool. Keep the outline. This is one of the bees wings.
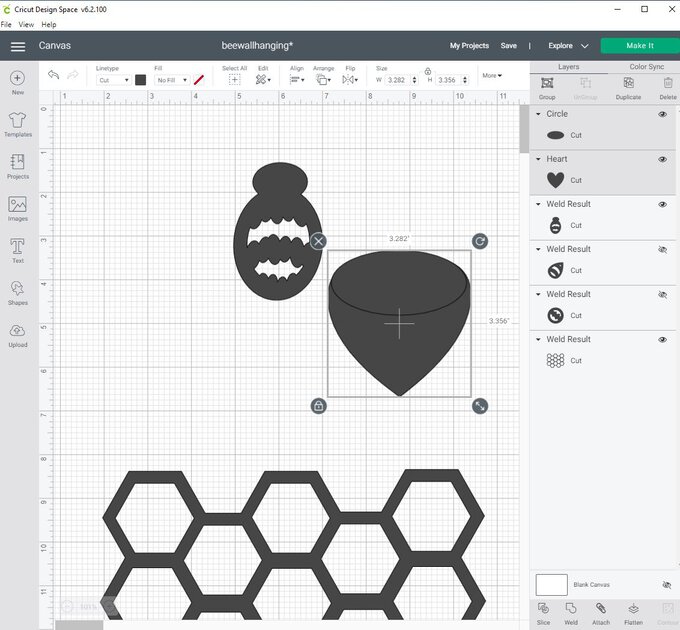
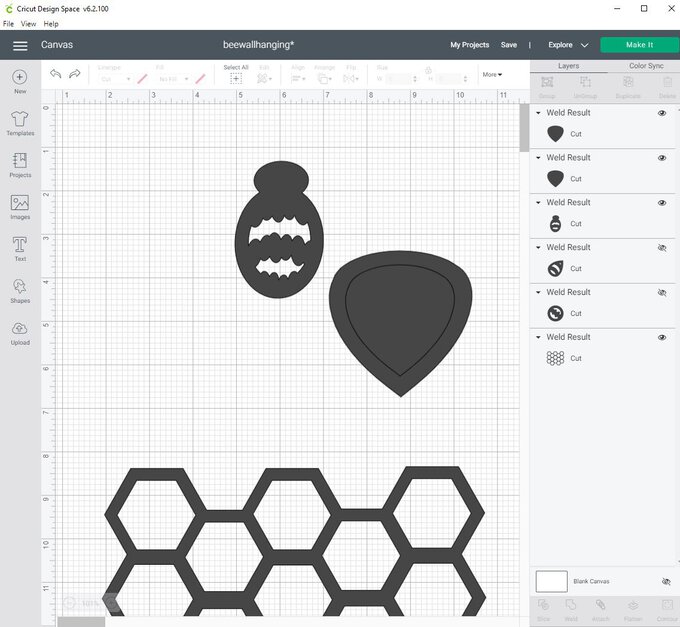
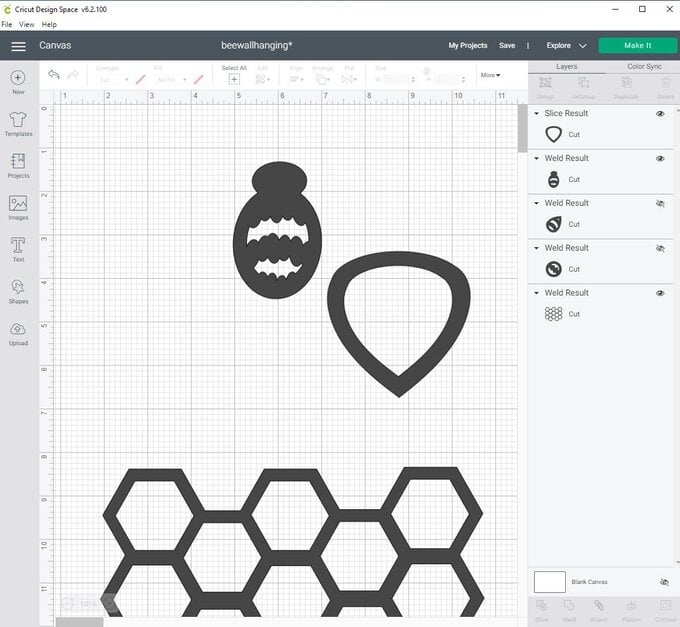
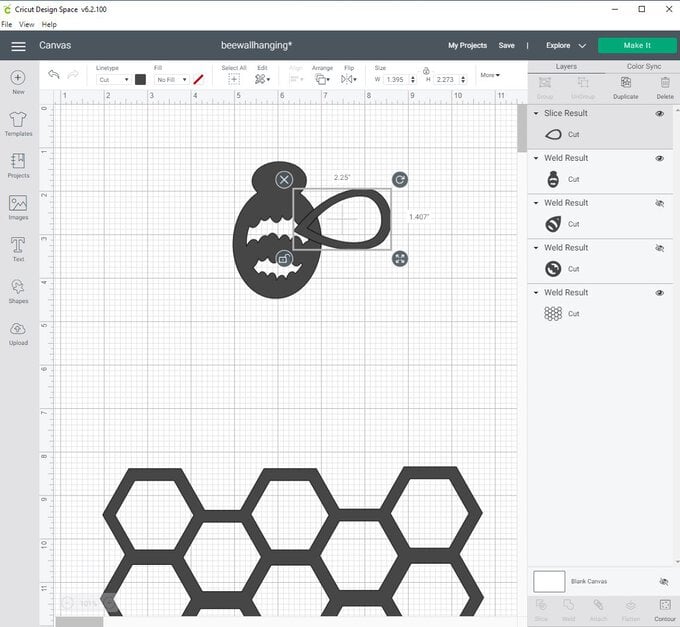
Position the point of the wing on the centre of the body. Take a square and unlock the shape. Reshape to a thin stip. Position this in the centre of the wing ensuring the ends overlap the wing outline. Duplicate the strip and place at an angle on either side of the centre strip. Duplicate the wing outline and strips and flip horizontally. Position so that the wing outlines overlap where the points are. Select both wing outlines and strips and weld together. This completes the bee's wings.
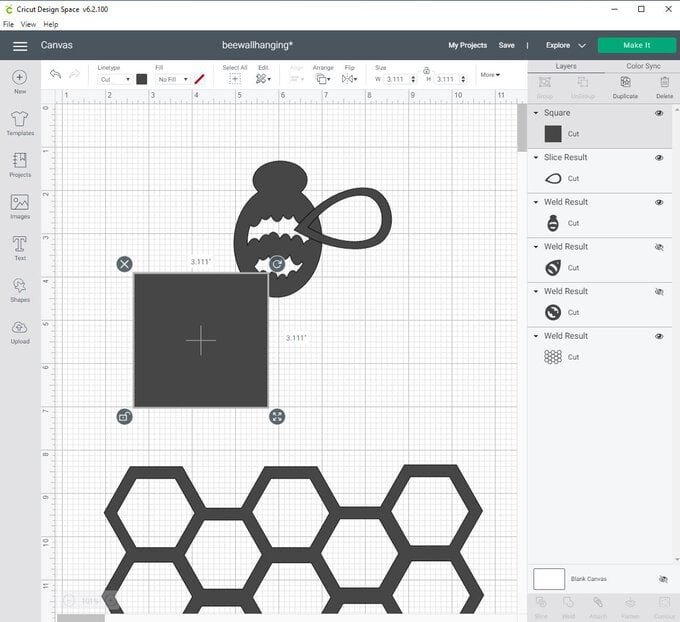
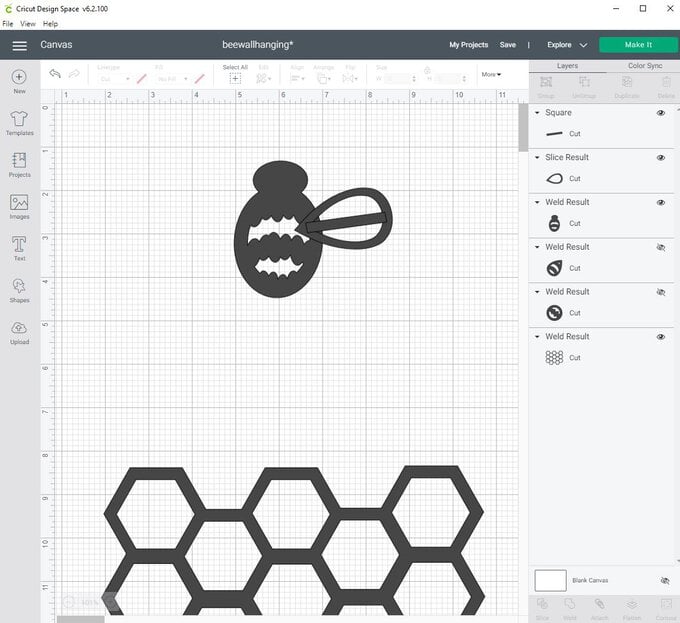
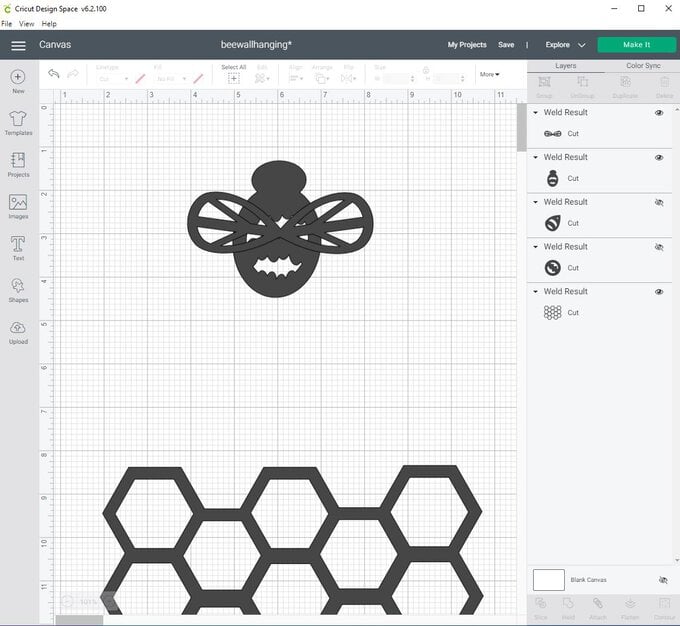
Now back to the bee's head. Select a circle and reshape into an oval that fits inside the bee's head leaving an even strip all around. Select the bee and the oval and use the slice tool. To make the bees eyes create a small oval from a circle and add to the top of the head outline (inside the oval) duplicate and flip horizontally to create the other eye. Select the bee body layer and the eye layers and weld together.
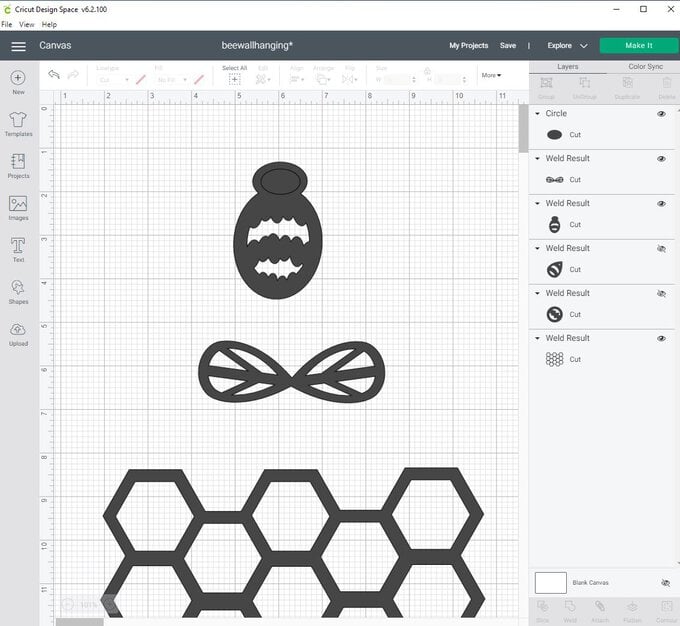
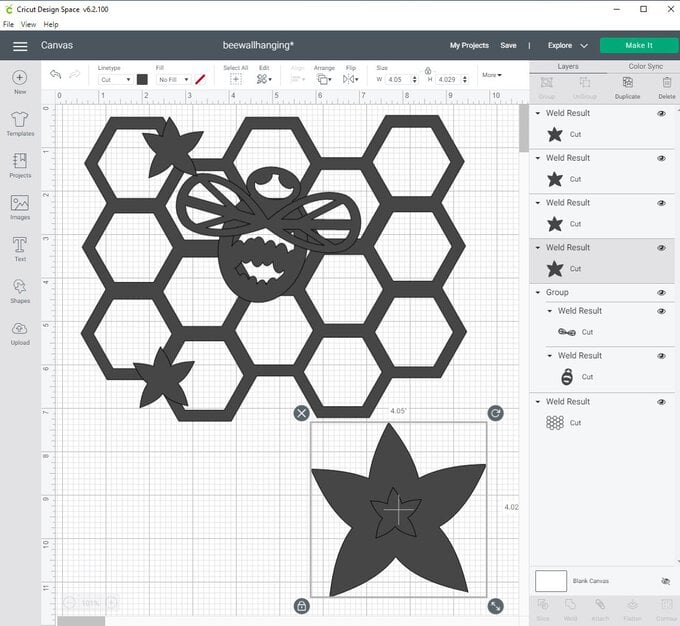
Now it's time to make flowers. Take 2 heart shapes and overlap so that one side of each heart overlaps. Select both hearts and use the slice tool. Keep the centre shapes that are shaped like a leaf. Duplicate the leaf shape and position into a flower so that the points face outwards and the round ends overlap in the centre. Select all and weld together.
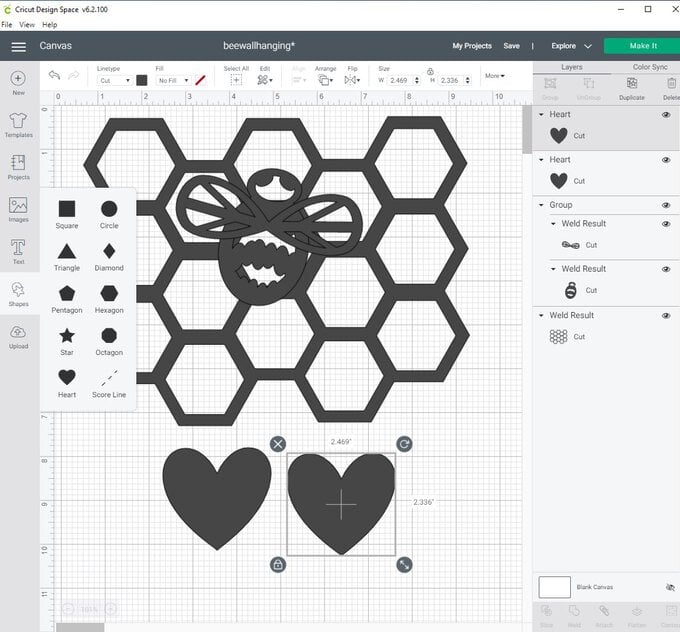
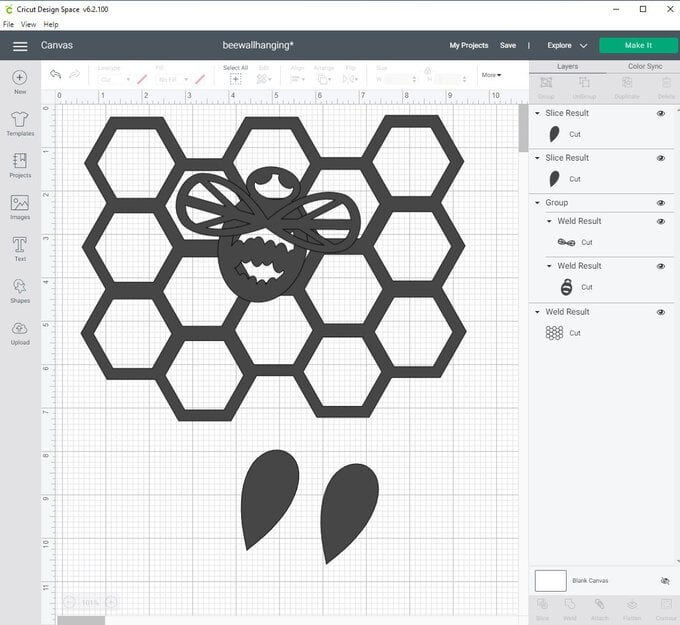
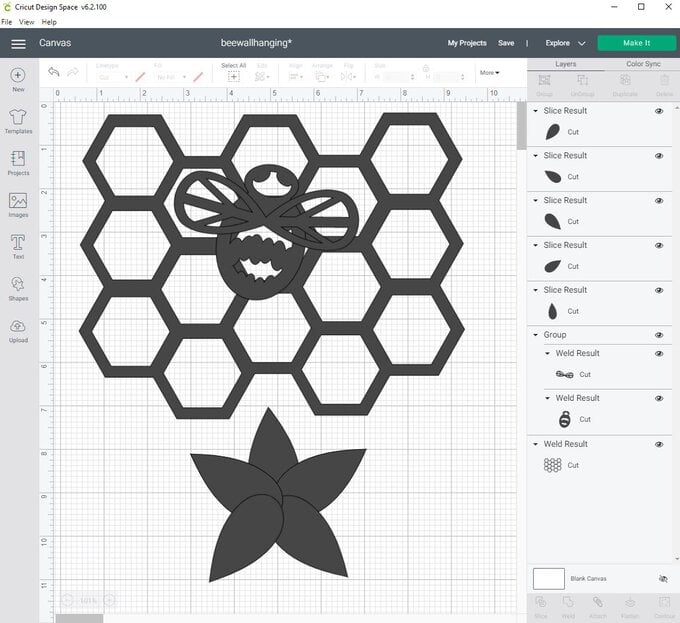
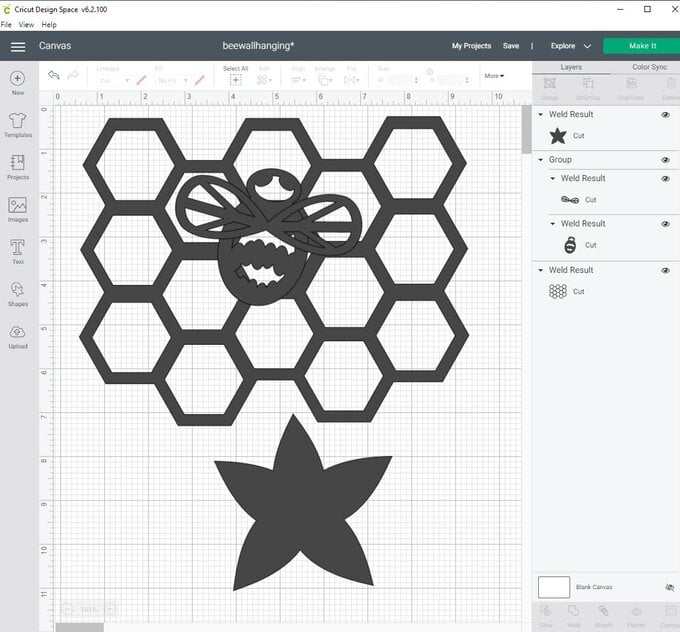
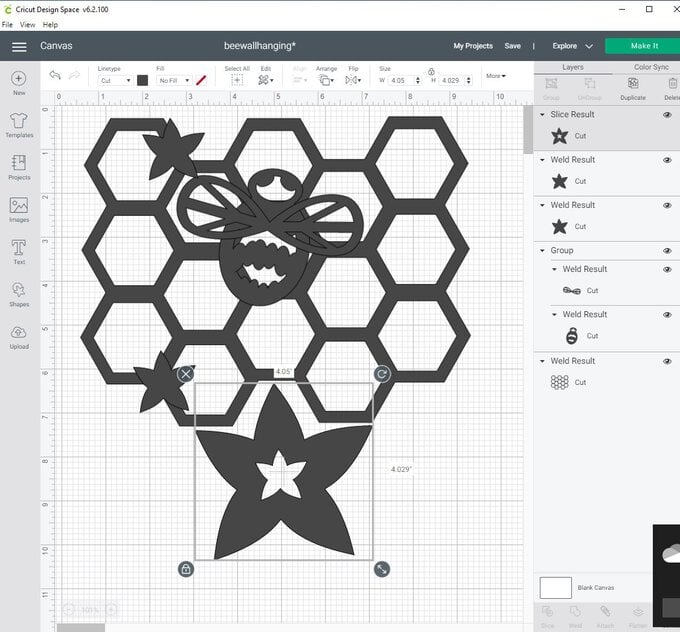
Duplicate the flower shape and position the smaller flowers on the hexagons. To create the larger flower, duplicate the flower shape and resize smaller so it fits inside the original flower. Select both layers and slice, keeping the outer layer.
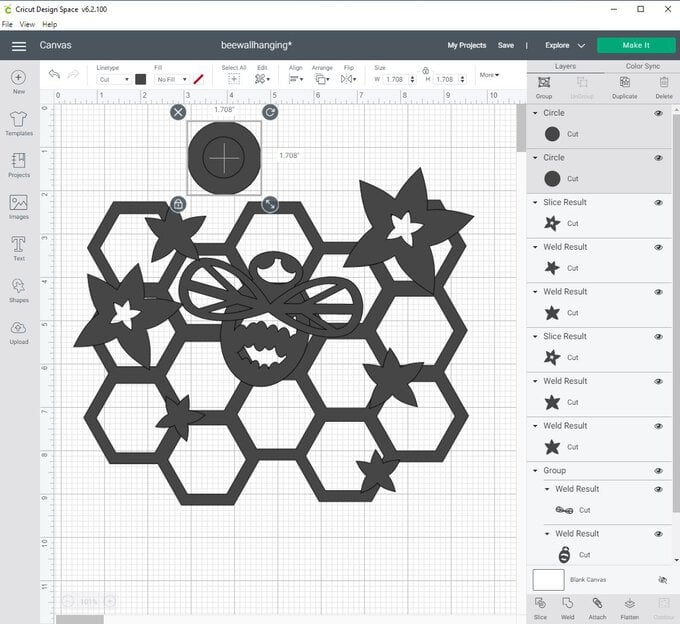
Next, create the hooks to allow you to hang the decoration up. Take two circles and size one so that it is smaller than the other. Position in the centre. Select both circles and use the slice tool. Position the outer circle outline at the top on the left-hand side of the hexagon so that the circle and hexagon outline overlap. Duplicate the circle outline and place on the right side at the top overlapping again. Select the hexagons and both circle outlines and weld together.
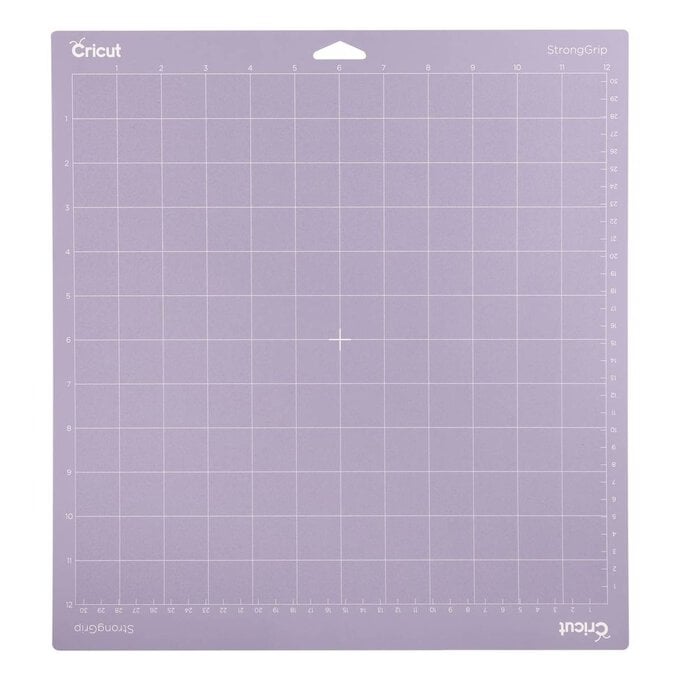
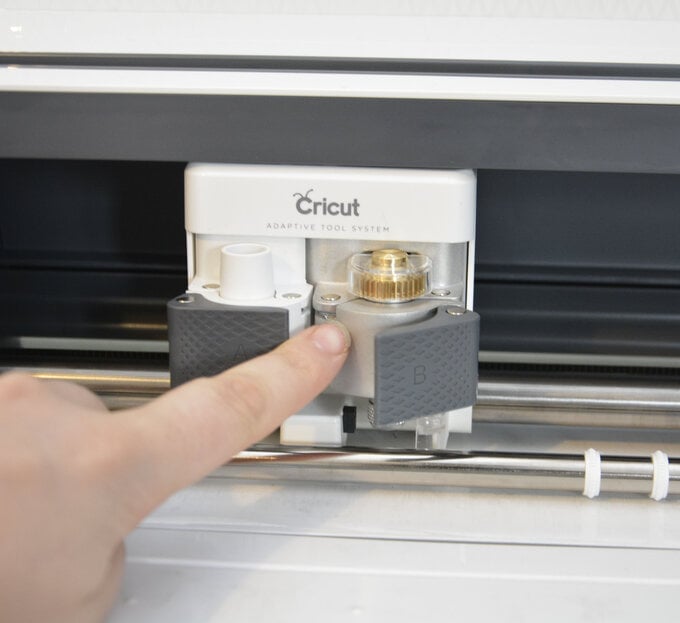
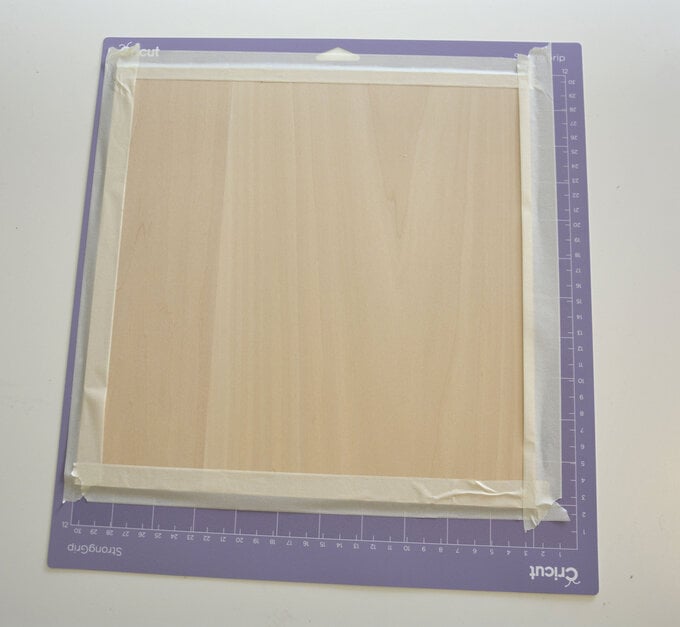
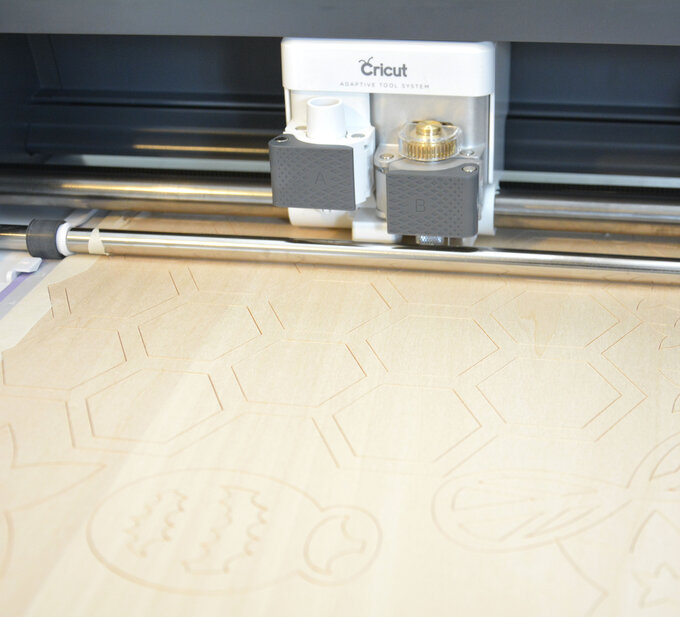
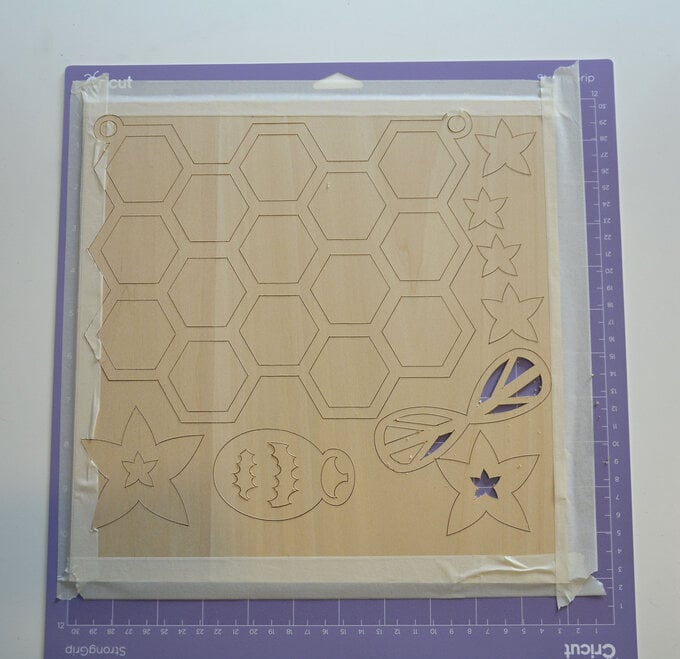
Ensure the correct blade is in your machine. For the Maker this will be the knife blade and knife blade housing. Place the basswood onto a StrongGrip mat and use masking tape around the edges of the wood for extra security.
Cut your design out. This will take a number of passes to complete.
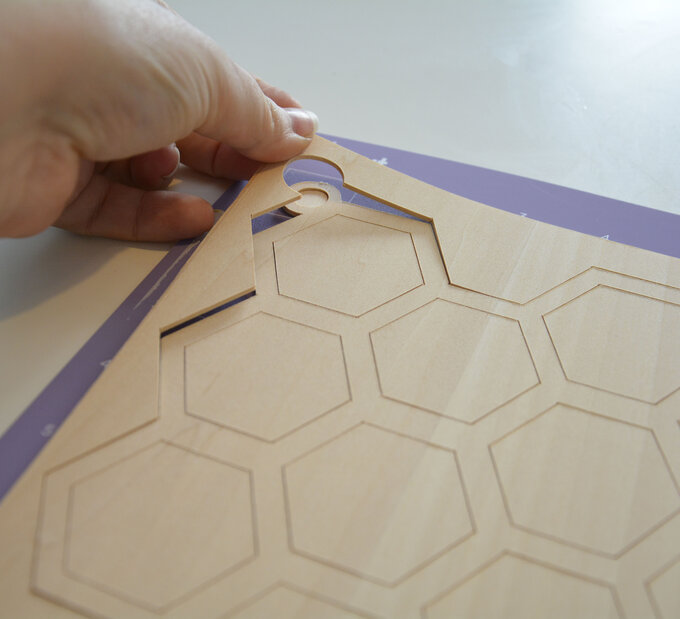
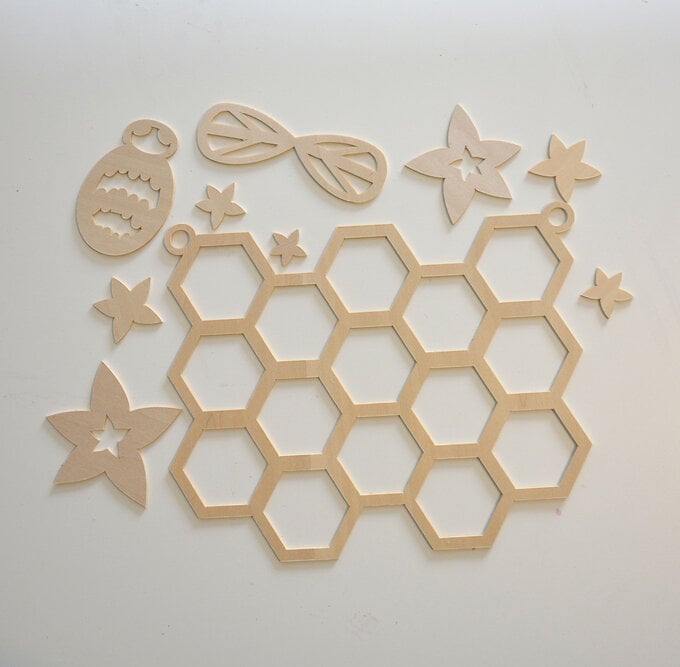
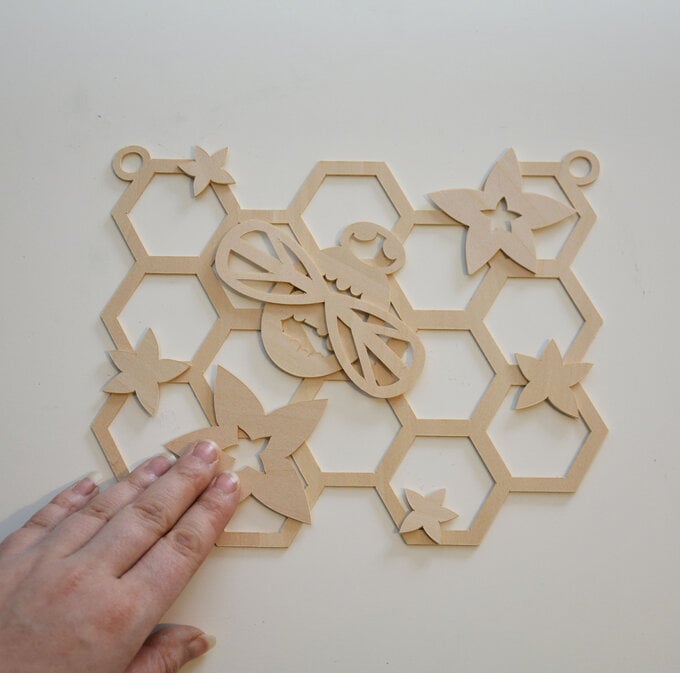
Once cut out gently remove the excess wood from the mat and then the cut-out pieces for the project.
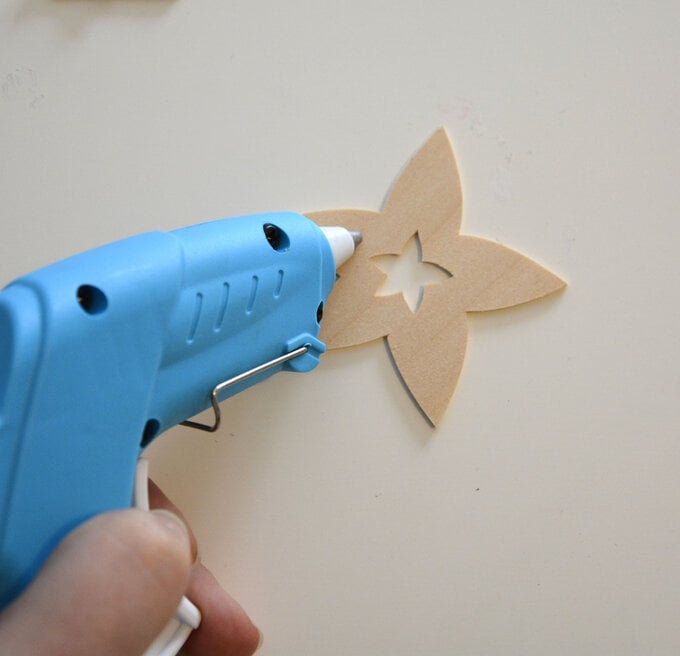
Using hot glue to adhere the flowers, bee and bee wings to the hexagon cut out piece.
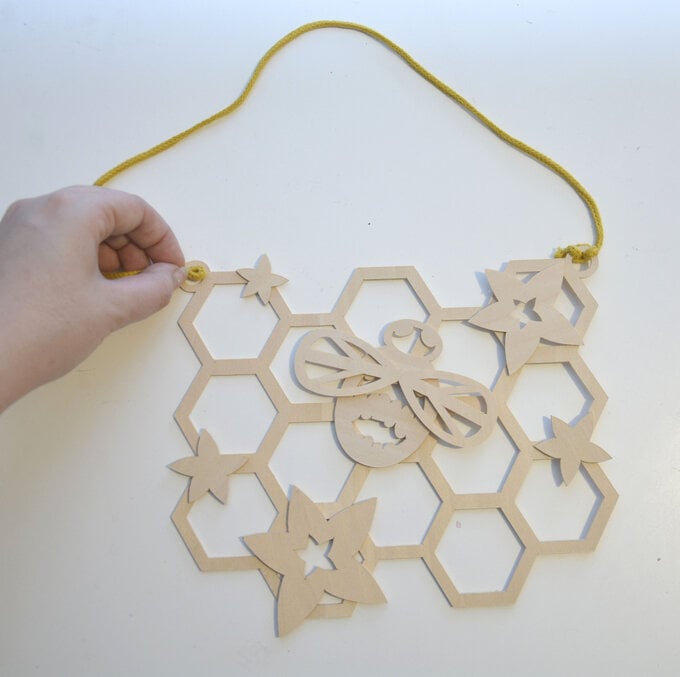
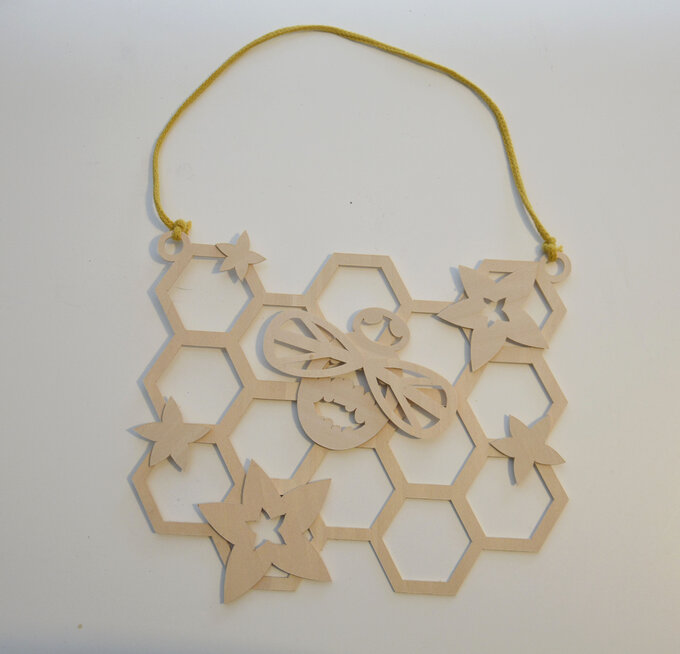
Thread some cord through the holes at the top and secure. Now your gorgeous wall hanging is complete.
Related Products