Cricut: How to Make a Botanical Wedding Cake Topper
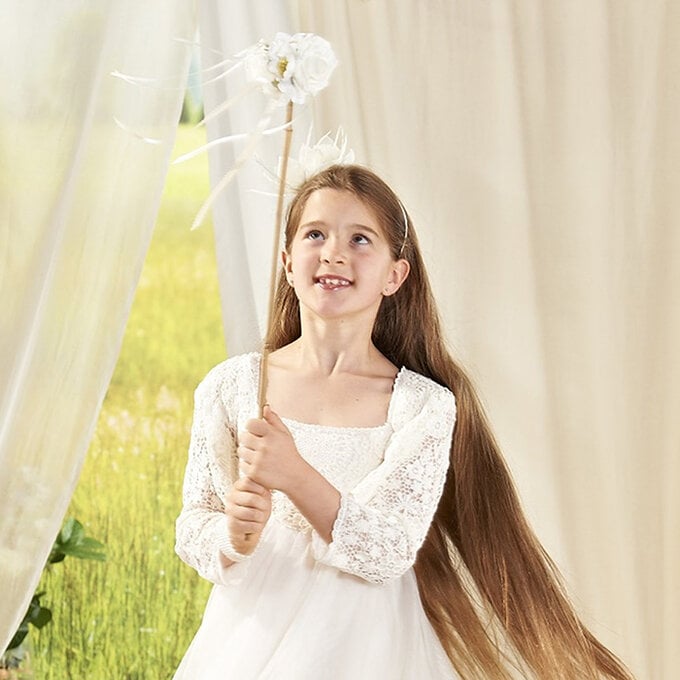
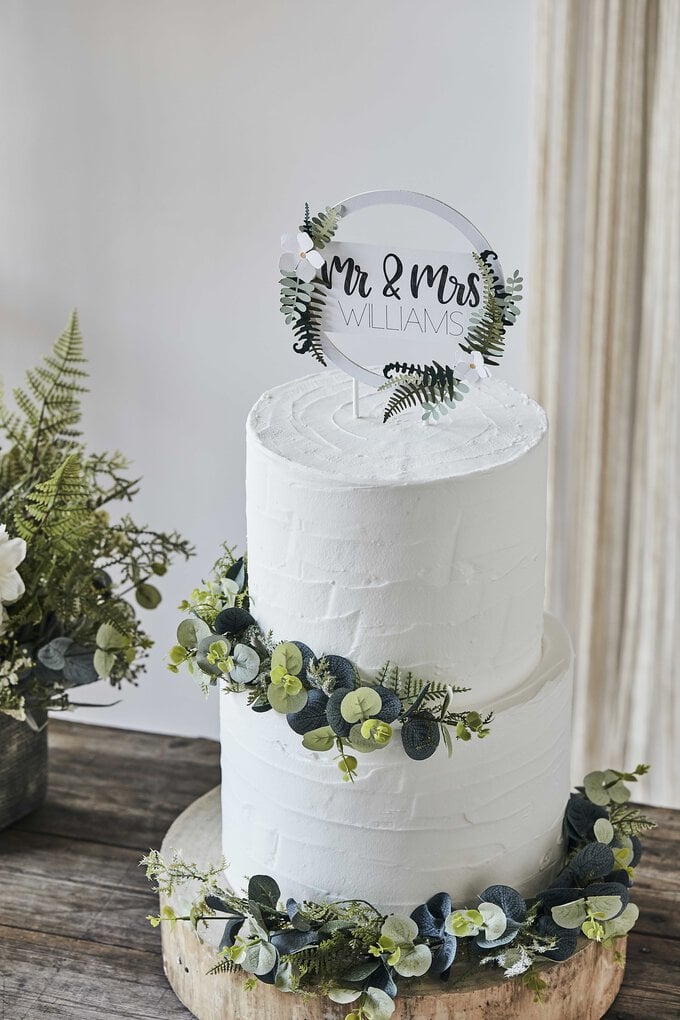
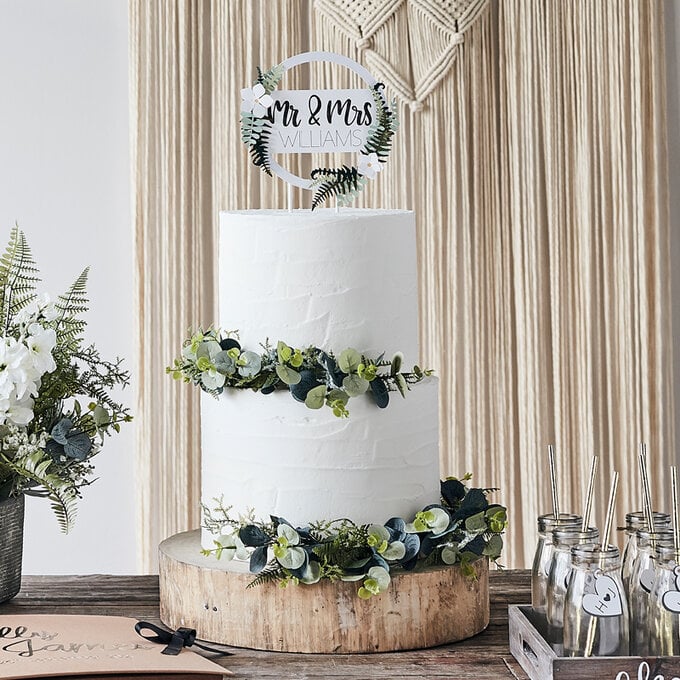
Custom cake toppers can transform any cake into a showstopper! This unique, personalised wedding cake topper is the perfect choice for celebrating a botanical-themed big day.
Use your Cricut machine to create the design in any size you like, with lots of leaf and floral images to choose from that will help make it your own. You can even choose the flowers to match your wedding flowers.
This project can be created in the Cricut Explore Air 2 or the Cricut Maker.
Project and instructions by Aisha Cluitt.
Please note: This project contains paid-for content from Cricut's Design Space app. Screen reference images are taken from the iPad version of Design Space.
You will need
Subtotal
Is $ 23.00
Subtotal
Is $ 21.00
Subtotal
Is $ 4.49

Subtotal
Is $ 40.00

Subtotal
Is $ 3.49
Subtotal
Is $ 4.49
Subtotal
Is $ 3.49 , was $ 4.49
Subtotal
Is $ 419.00
How to make
You will also need:
Cricut Design Space app installed on a laptop, PC, Tablet or mobile device
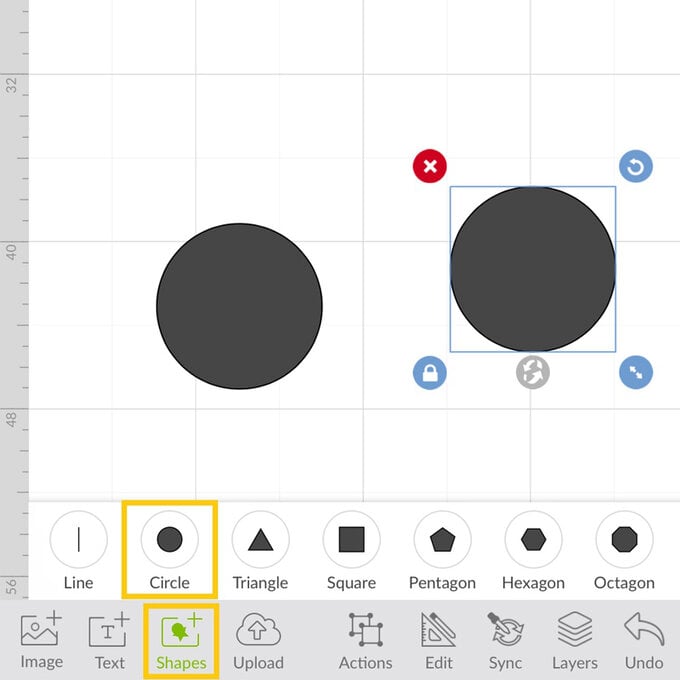
Open the Cricut Design Space app and start a new project. Open the shapes menu and insert two circles.
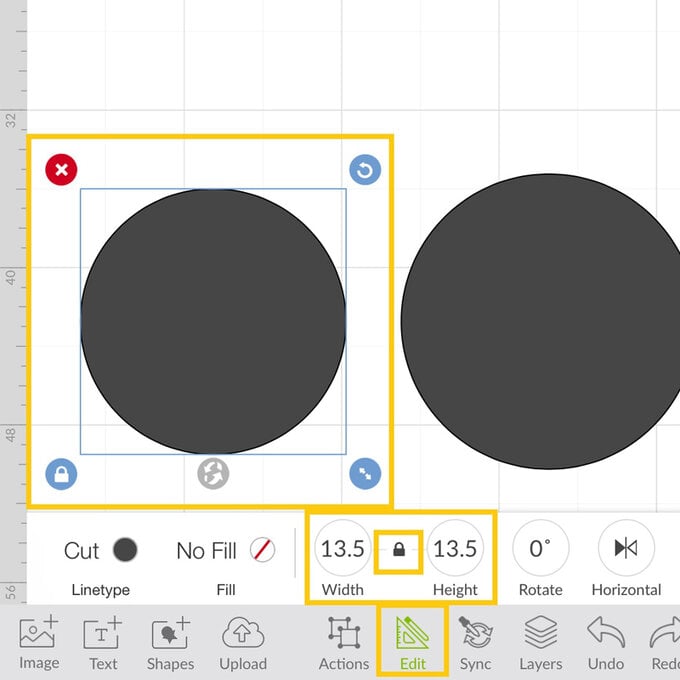
Amend the size of one of the circles to suit the size of cake you're intending to display the cake topper in - ours mesaured 15cm.
Amend the size of the second circle so that it is 1.5cm smaller than that of the first circle.
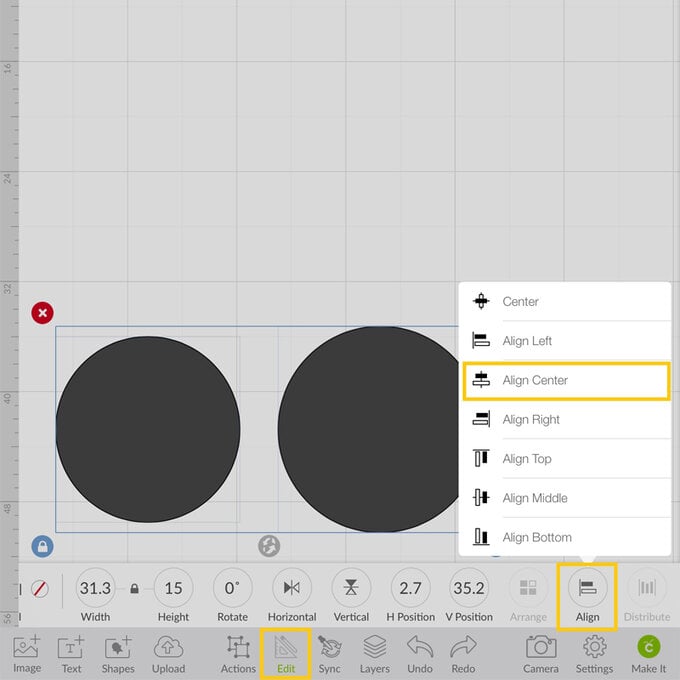
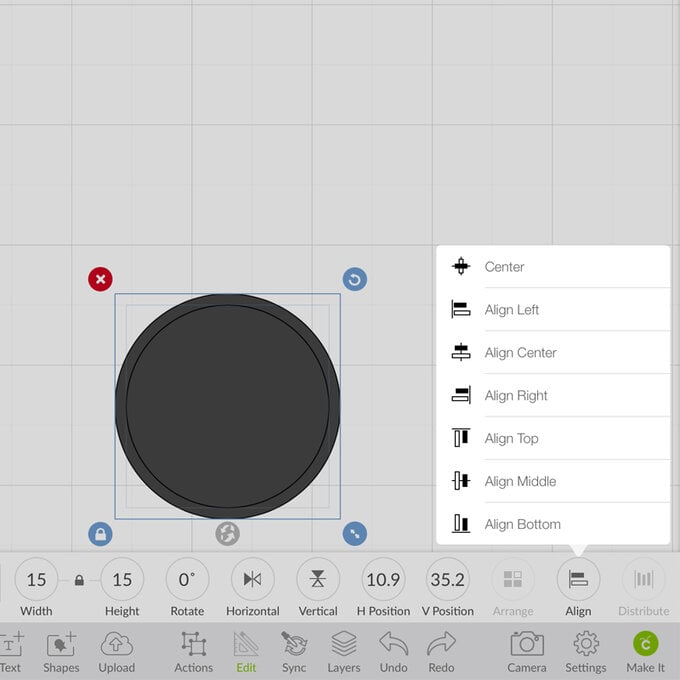
Drag a selection box over both of the circles, then open the "Edit" menu and selcect "Align" followed by "Centre".
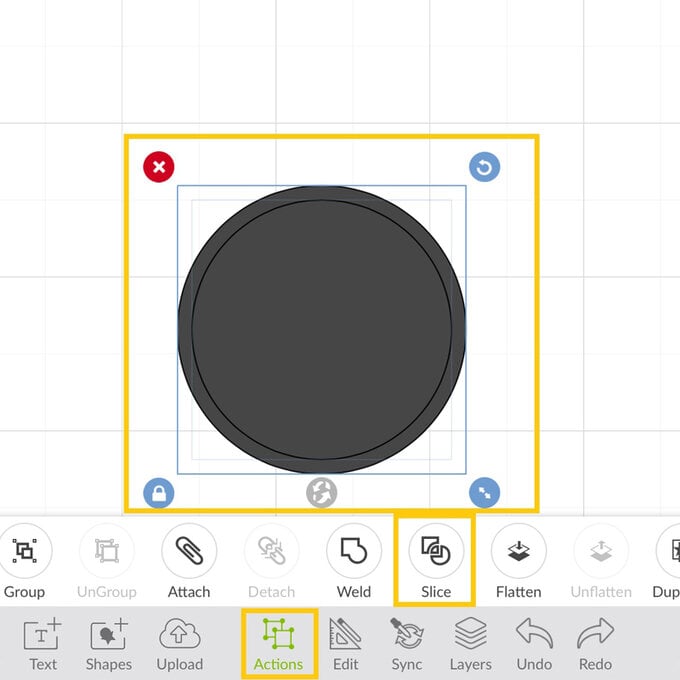
With both circles still selected, open the "Actions" menu and select the "Slice" function.
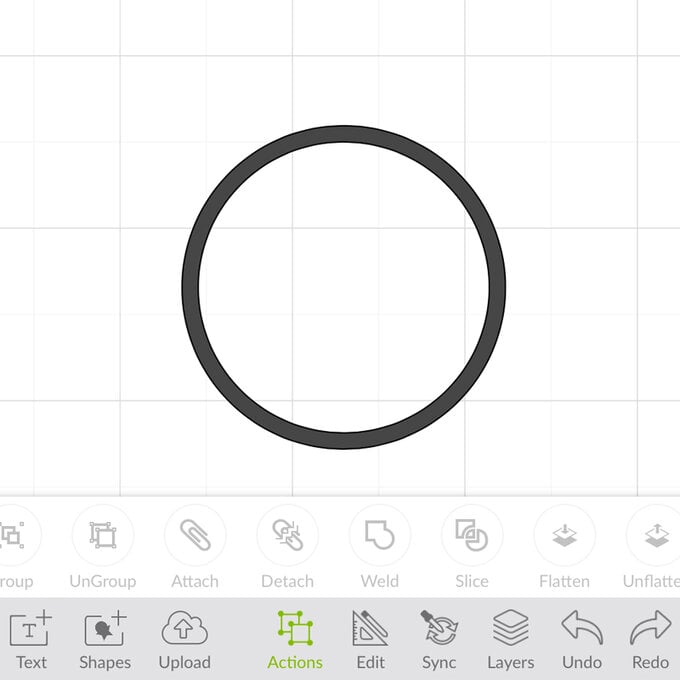
Delete both of the circles so that you're left with a circular ring.
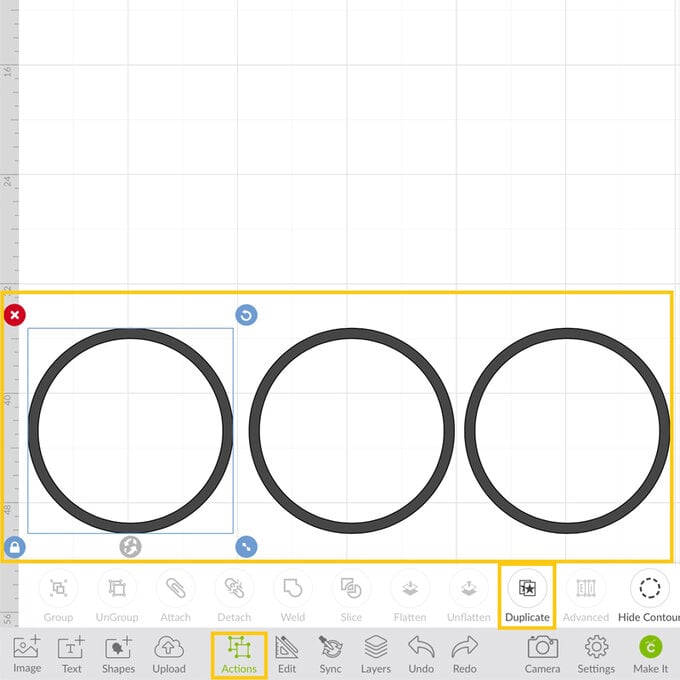
With the ring selected, select "Duplicate" from the "Actions" menu twice so that you have three identical circular rings.
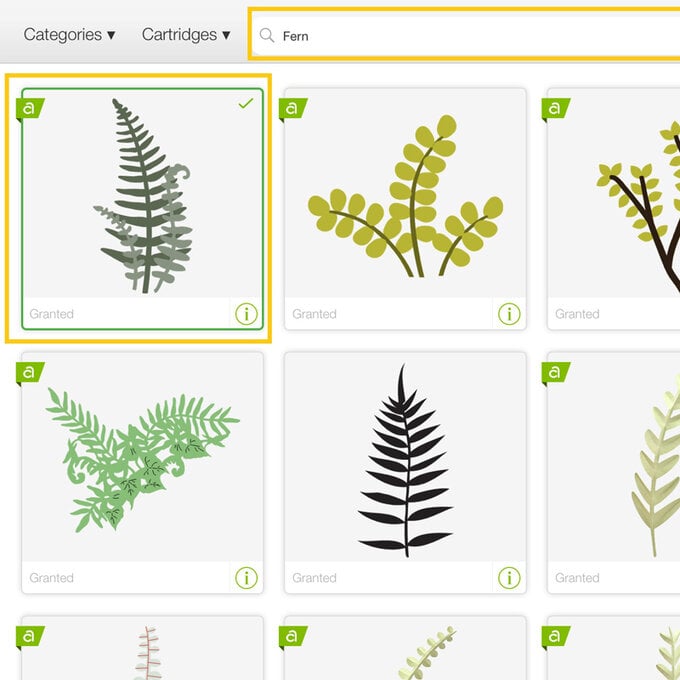
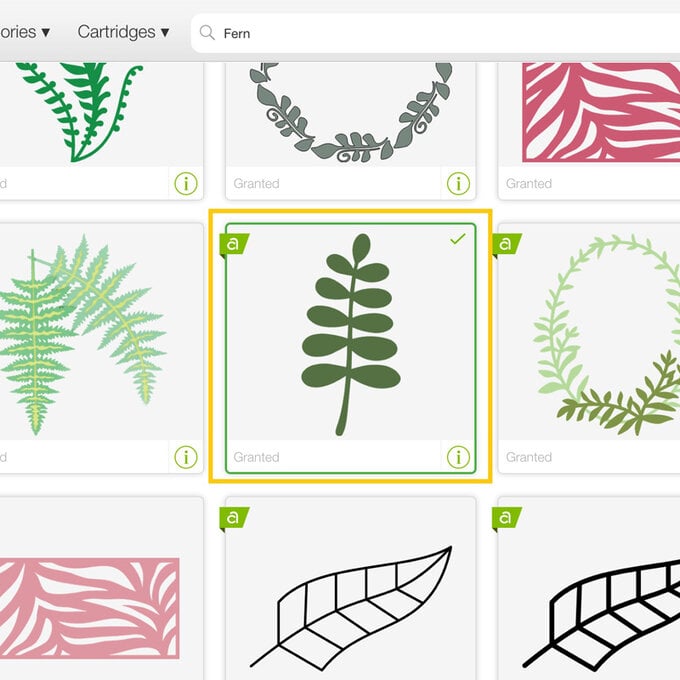
Open the "Images" menu from the toolbar at the bottom of the screen. You'll then be taken through to the images library, type "fern" into the search bar at the top of the screens and select four different fern images.
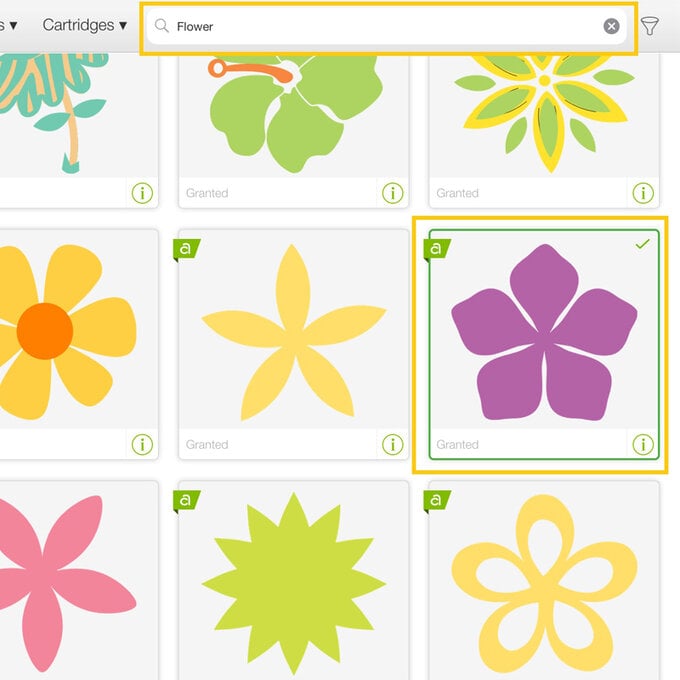
Then type "Flower" into the searchbar and select one flower design. We opted for a four petal design.
Once happy with your selection, click "Insert" in the bottom right-hand corner of the screen.
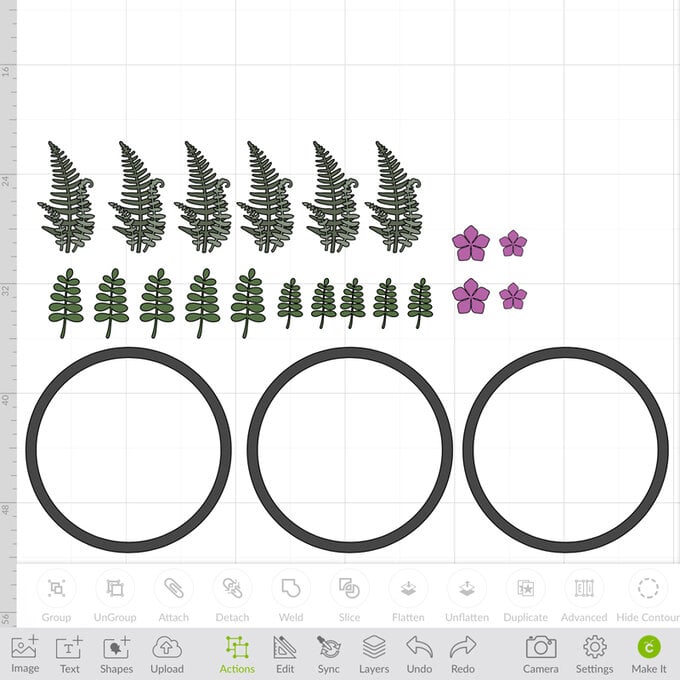
Resize the elements using the circular ring as a guide and duplicate as many times as you like.
Top tip: It's always worth duplicating elements a few more times than you think you'll need, just in case you need extras.
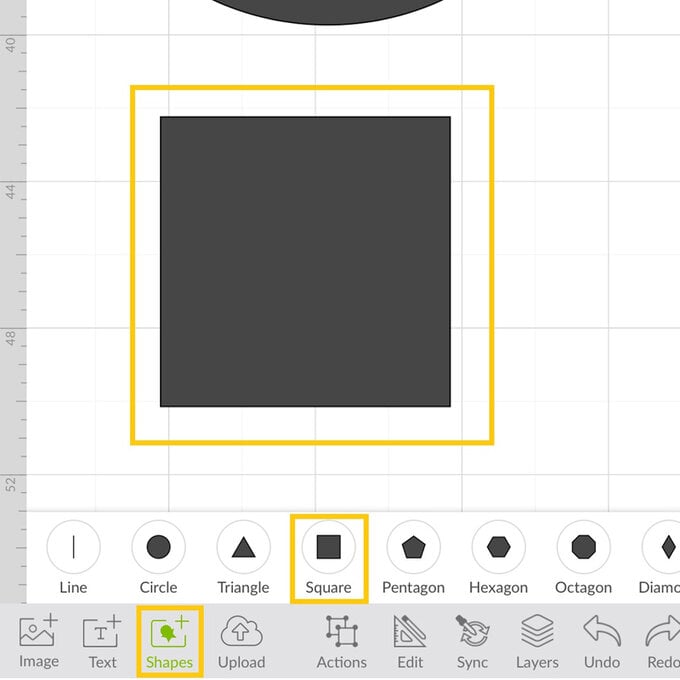
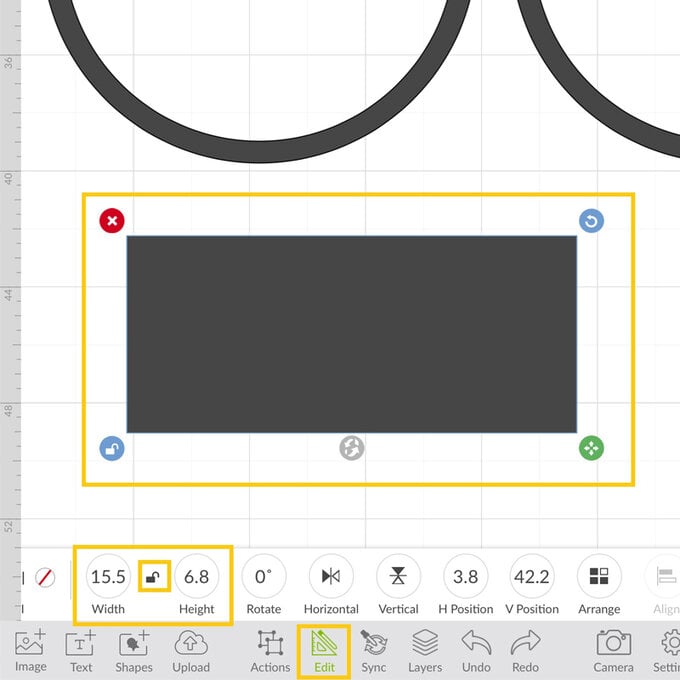
Open the "Shapes" menu once more and insert a square. Amend the size of the square so that it becomes a rectangle. Ensure the padlock icon is unlocked to enable you to do this.
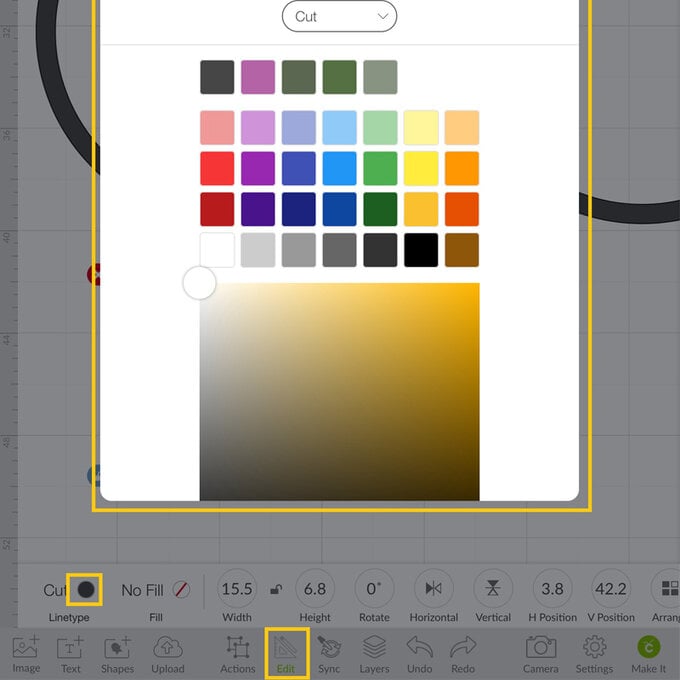
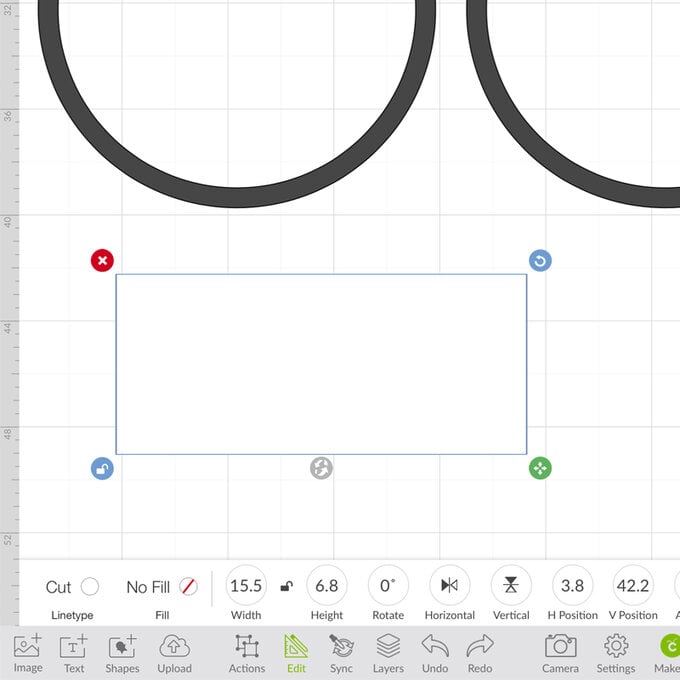
Amend the colour of the rectangle to white by opening the "Edit" menu and clicking on the colour swatch circle to the right of the word "Cut".
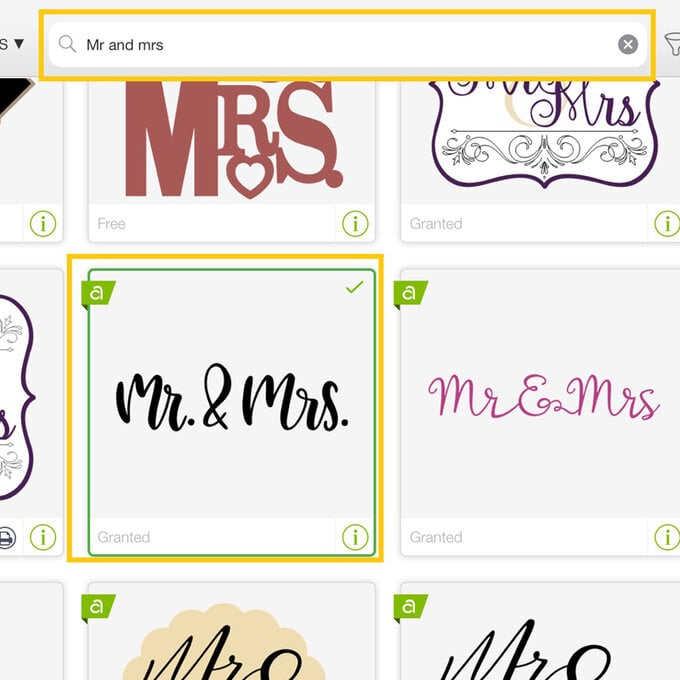
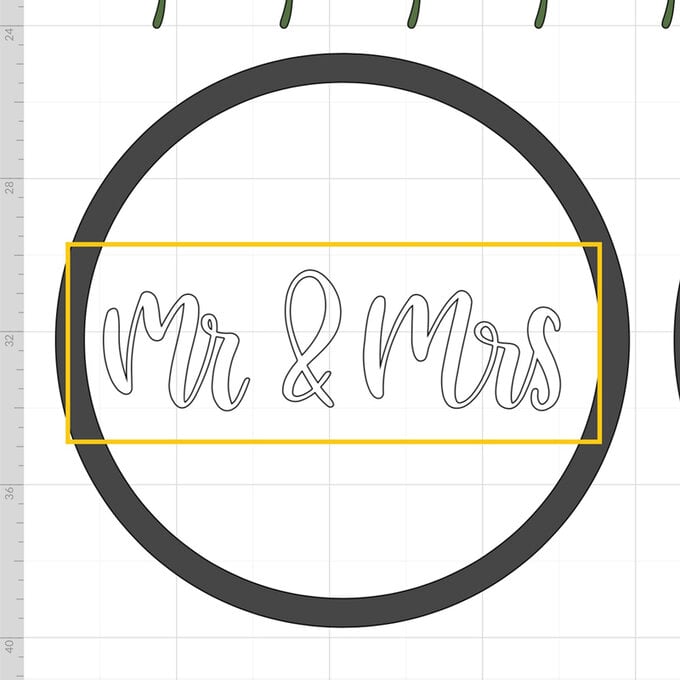
Open the "Images" library once more and type "Mr & Mrs" into the searchbar at the top of the screen. Select the script design and click "Insert".
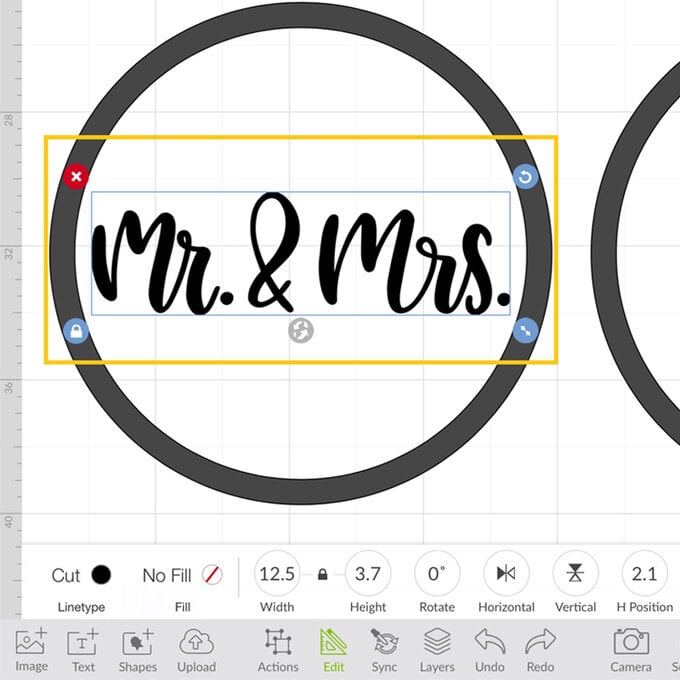
Once through to the canvas screen, amend the size of the "Mr & Mrs" so that it sits comfortably inside the circular ring.
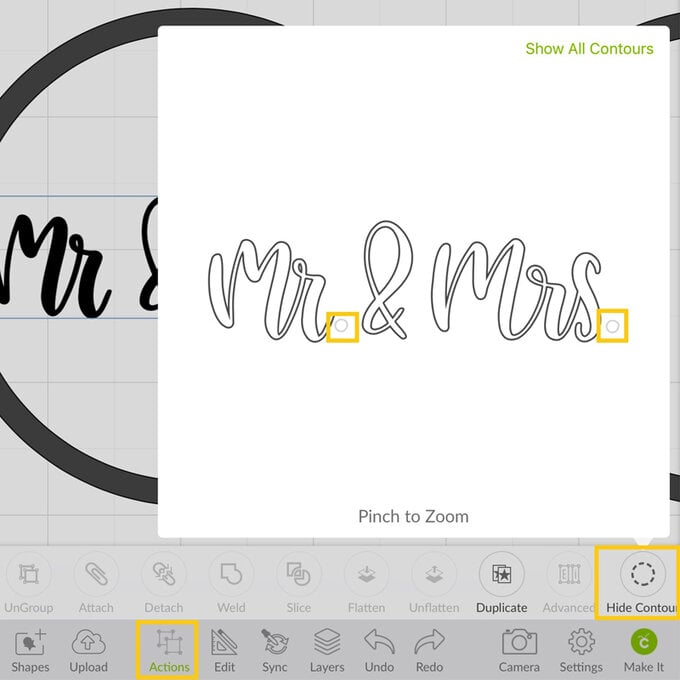
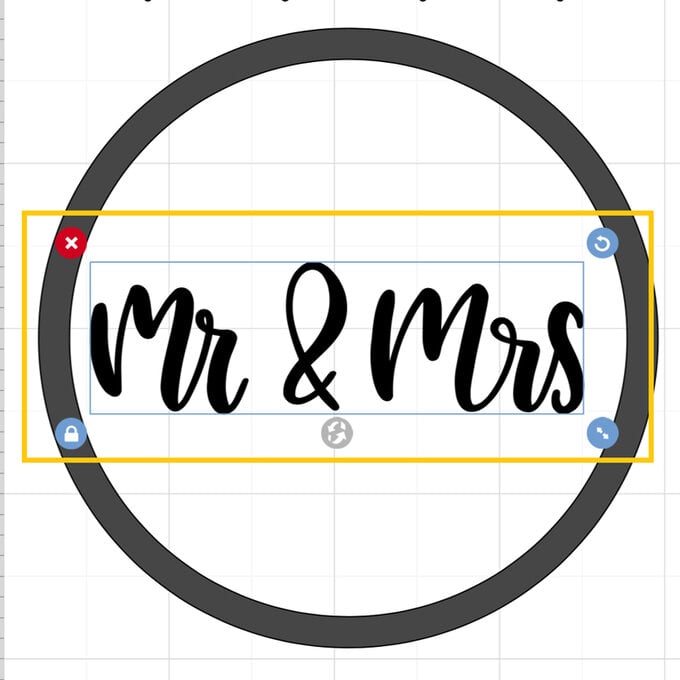
Open the "Actions" menu and select "Hide Contour". Click on the dots to hide them from the design.
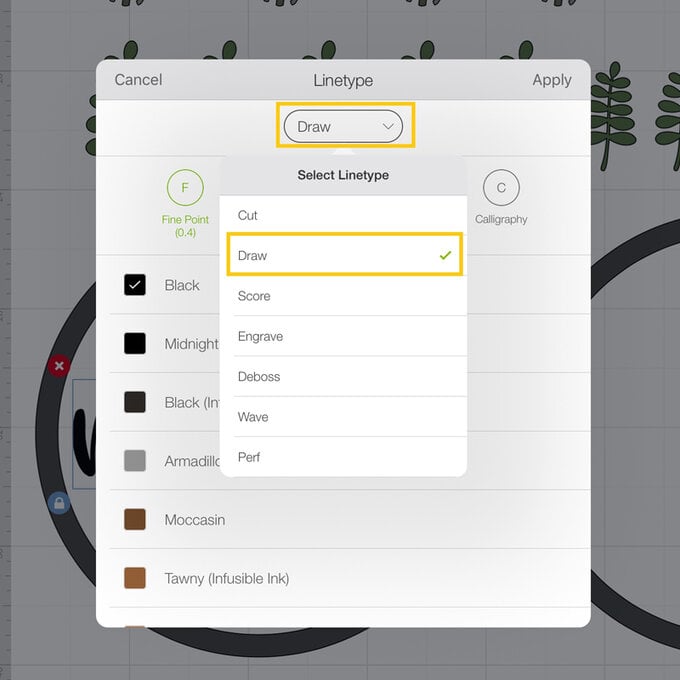
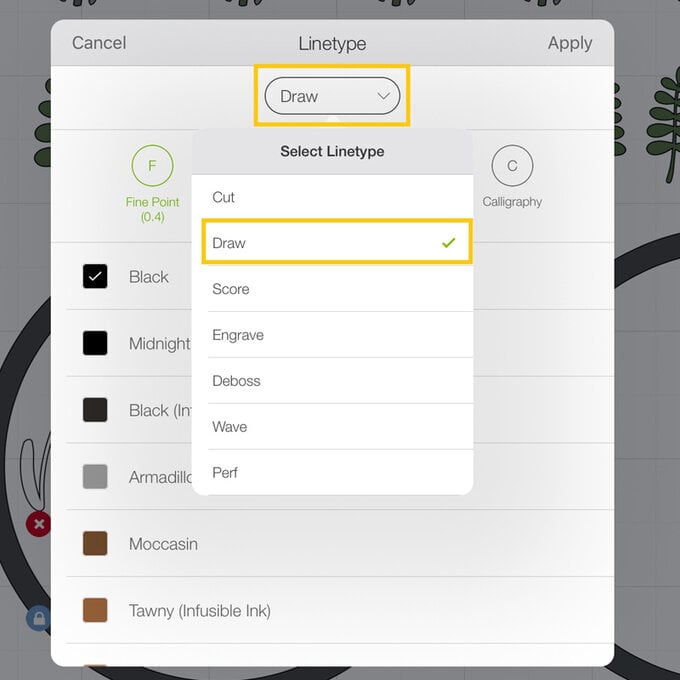
With the "Mr & Mrs" selected, open the "Edit" menu and change the linetype to "Draw".
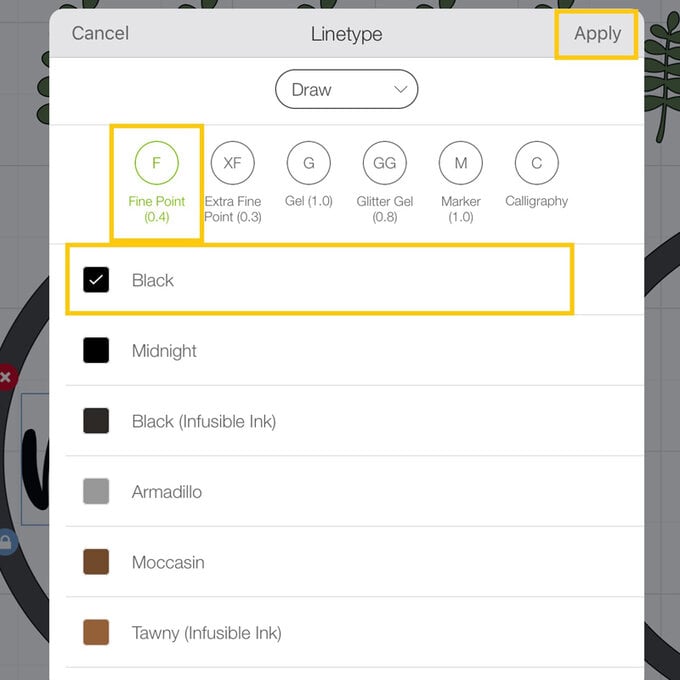
Select the pen type you'll be using from the options that appear on screen, then click "Apply".
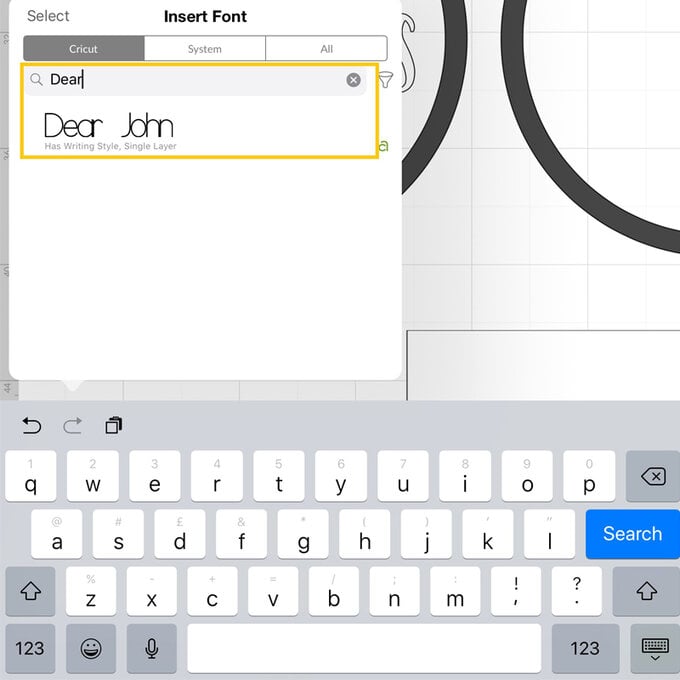
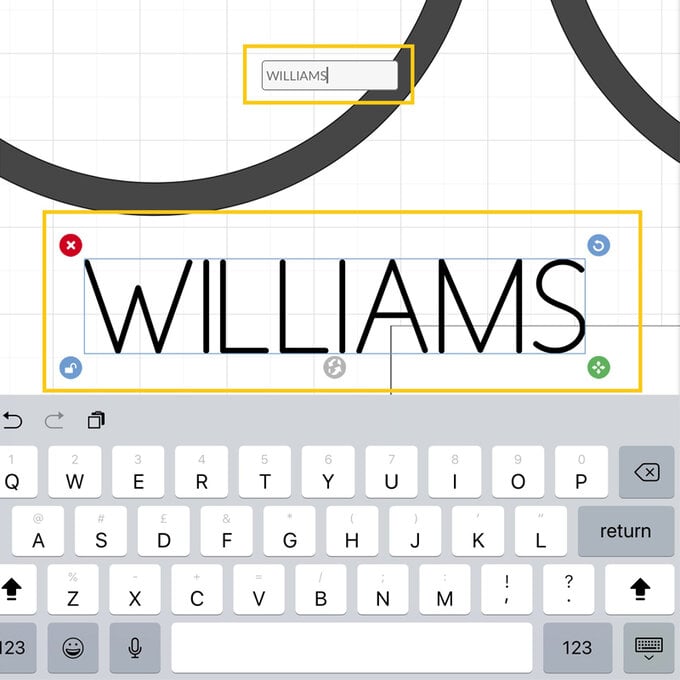
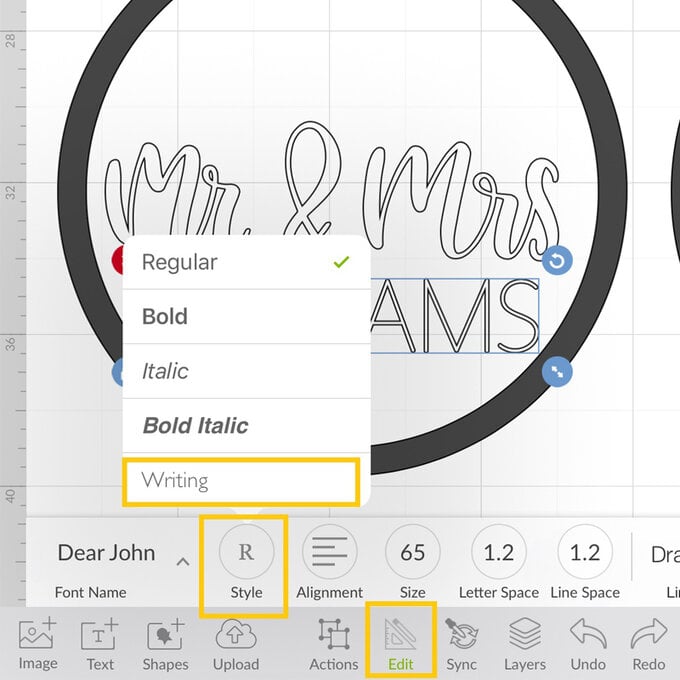
Open the "Text" menu and select your chosen font - we used "Dear John". Type your surname into the text box that appears on-screen.
Amend the font size and then change the line type to "Draw", and the font style to "Writing".

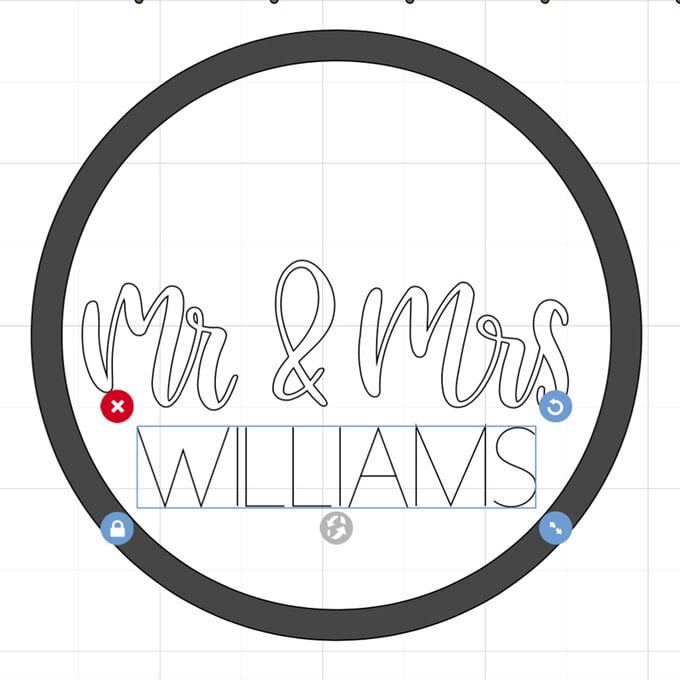
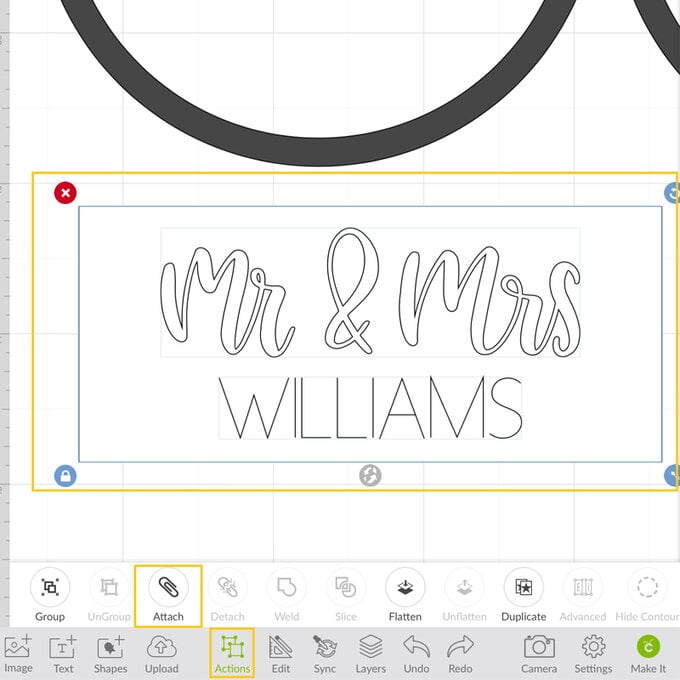
Position the "Mr & Mrs" image along with the surname onto the rectangle. Once happy with the positioning of the elements, drag a selection box over them and select the "Attach" function from the "Actions" menu.
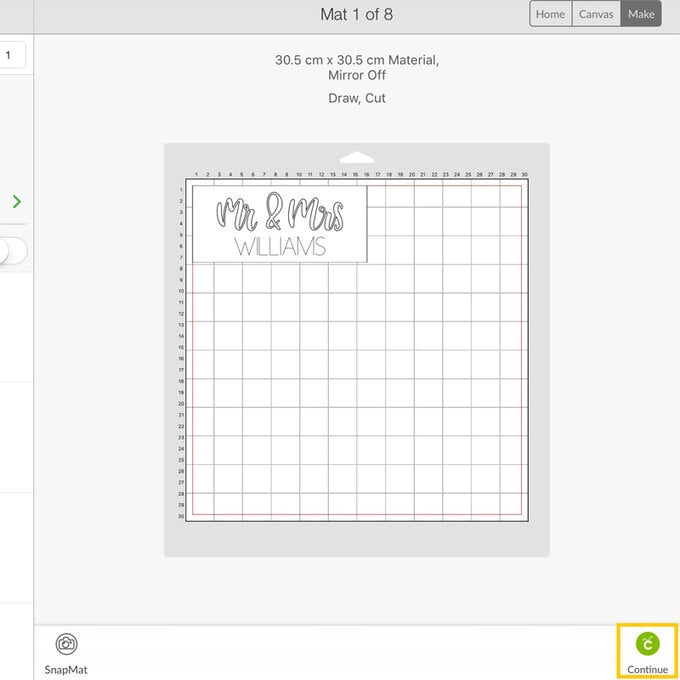
Once happy with all of the elements, click the green "Make It" button in the bottom right-hand corner of the screen.
You'll then be taken through to the mat preview screen, check/amend material sizes for each mat before selecting the green "Continue" button.
Follow the on-screen instructions to set the material you intend the machine to cut and when to also insert the pen.
Once all of the components have been cut/drawn and removed from the cutting mats, it's time to begin constructing the cake topper.
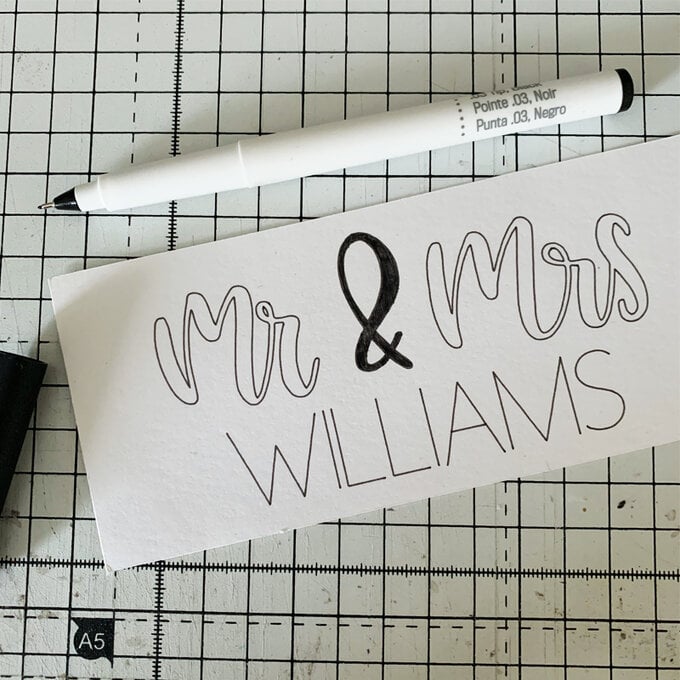
Start by using the same Cricut pen to draw the greeting to colour in between the lines, so that you have a thick solid black line.
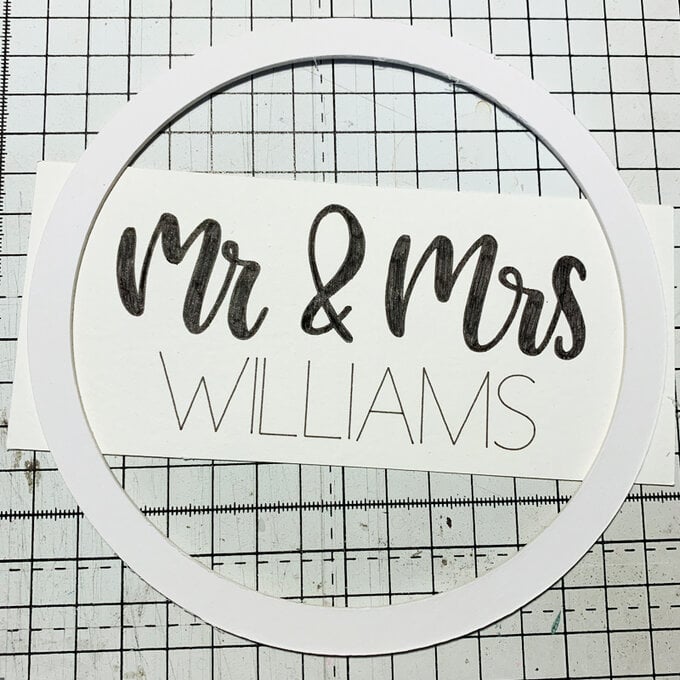
Secure two of the rings together using a glue pen. Once dry, place the two rings on a flat surface, then place the greeting banner on top (face up) followed by the third and final ring. Tweak the positioning of the banner so that the greeting sits centrally within the top ring, then secure in place using a glue pen, followed by the third ring.
Trim away excess cardstock from around the outside edge of the rings using a sharp pair of scissors.
Secure the foliage to the top ring as desired using a hot melt glue gun. For smaller foliage components, use a glue pen.

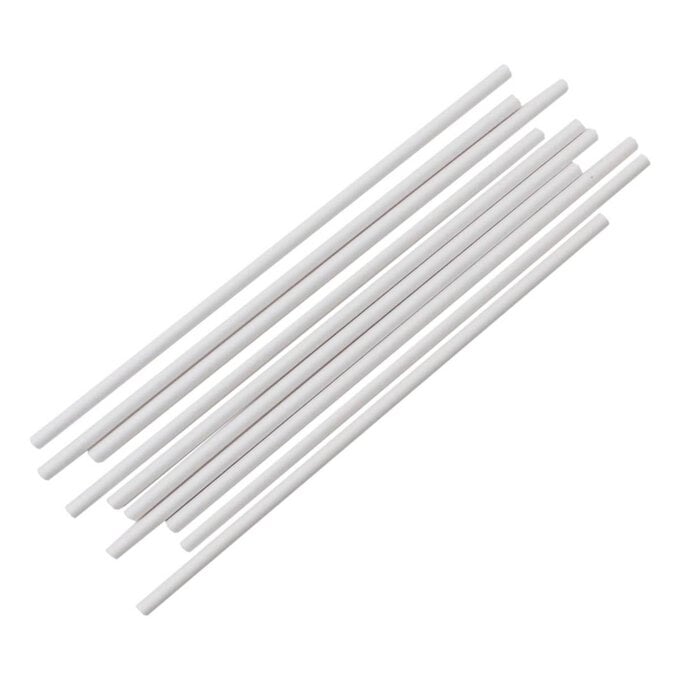
To complete the cake topper, add two cake pop sticks onto the back of the wreath topper.
Related Products

Is $ 2.49


.jpg?sw=680&q=85)