Cricut: How to Make a Floral Acrylic Wedding Sign
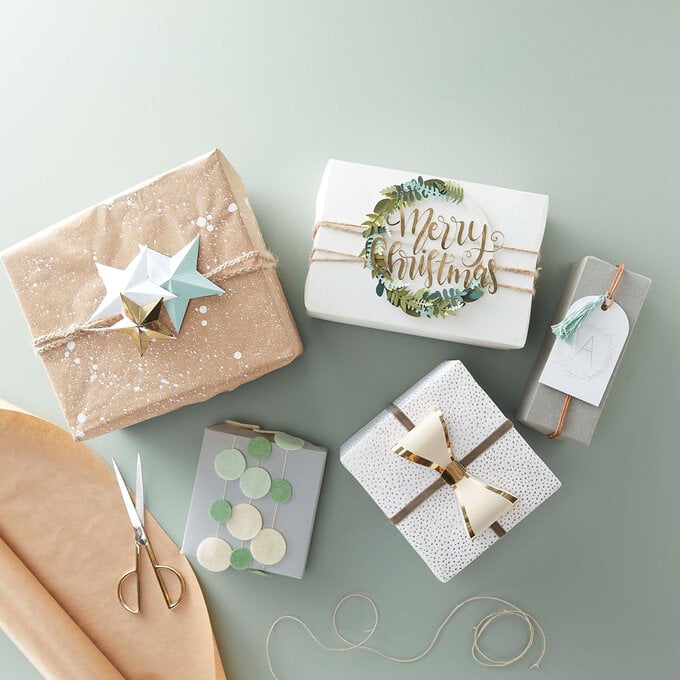
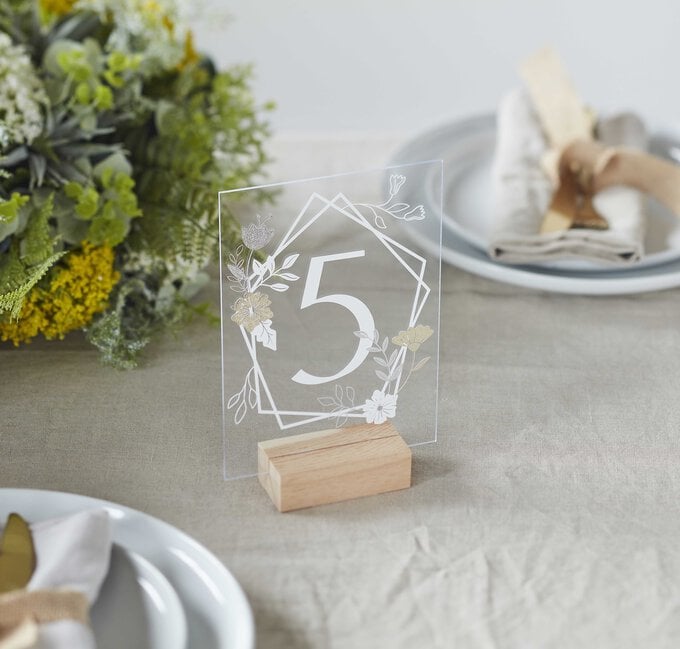
Add the perfect finishing touch to your wedding tables with this beautiful floral design, created using the Cricut Maker and adhesive vinyl. It's the perfect way to personalise your big day, with decorations that easy to adapt to suit your theme.
Table numbers have been used in the middle section of the design within this project, but you could easily add text so that the signs can be used on your cake or gift table.
The Cricut Maker was used to create this project; however, this project can also be created using any of the Cricut Explore machines or Cricut Joy.
Project and instructions by Kathi Smith.
Please note: This project contains paid-for content from Cricut's Design Space app. Screen reference images are taken from the desktop version of Design Space.
You will need
Subtotal
Is $ 4.49
Subtotal
Is $ 12.00
Subtotal
Is $ 17.00

Subtotal
Is $ 606.00
How to make
* Cricut machine
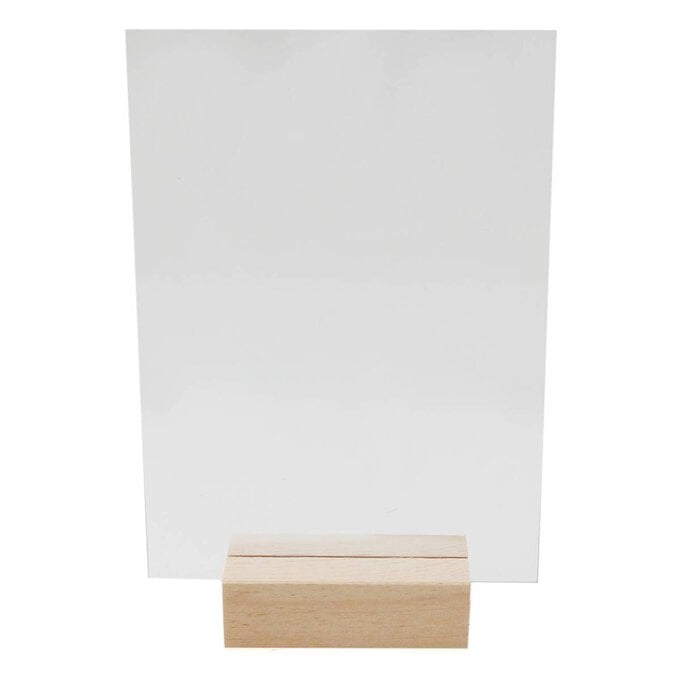
* Clear acrylic table sign
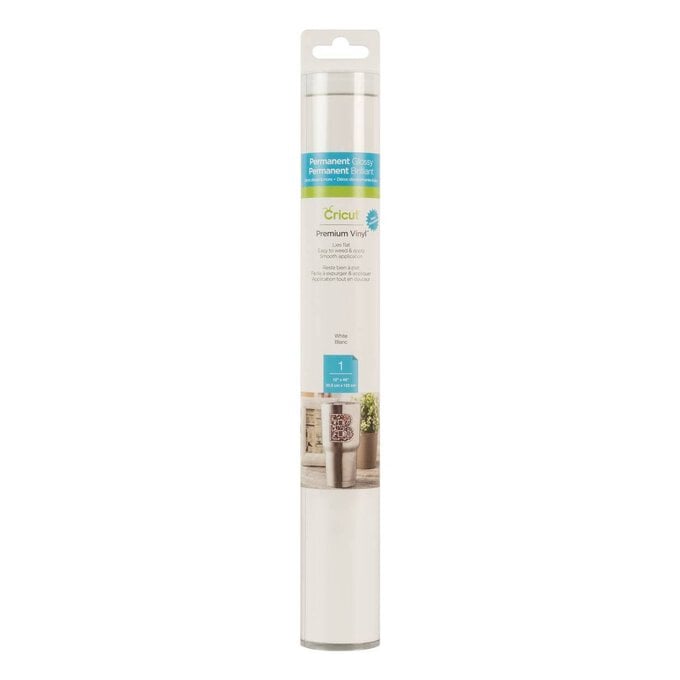
* White glossy vinyl
* Gold metallic glossy vinyl
* Transfer tape
* Cricut standard grip mat
* Cricut basic tool set
* Cricut Design Space App (installed on a laptop, PC, tablet or mobile device)

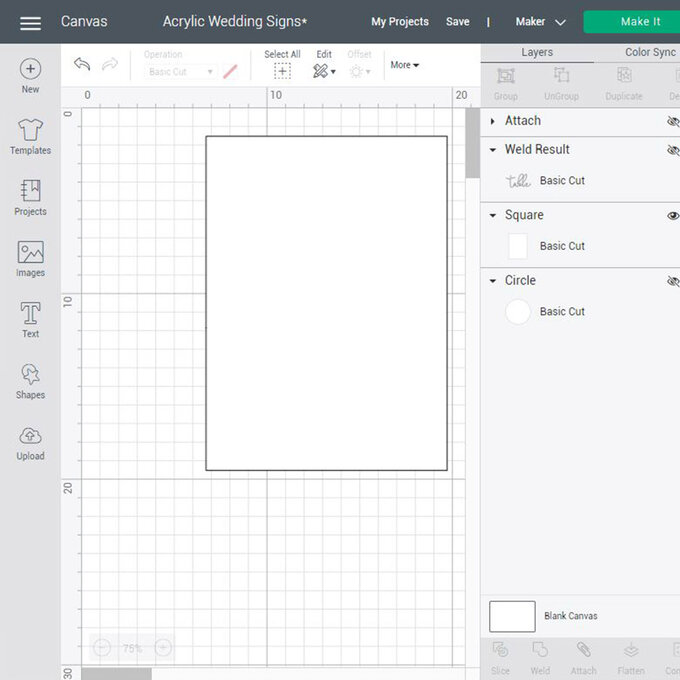
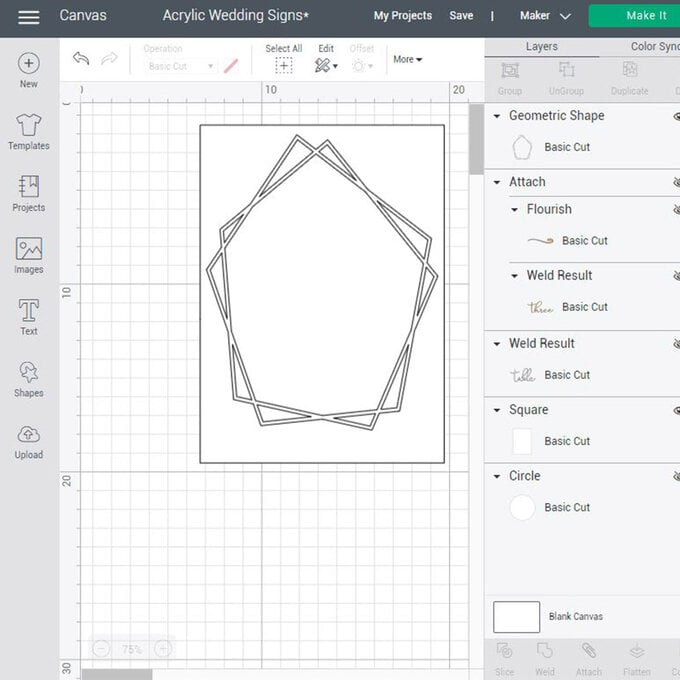
Open the 'Shapes' menu and insert a rectangle, re-size to match the acrylic part of the sign.
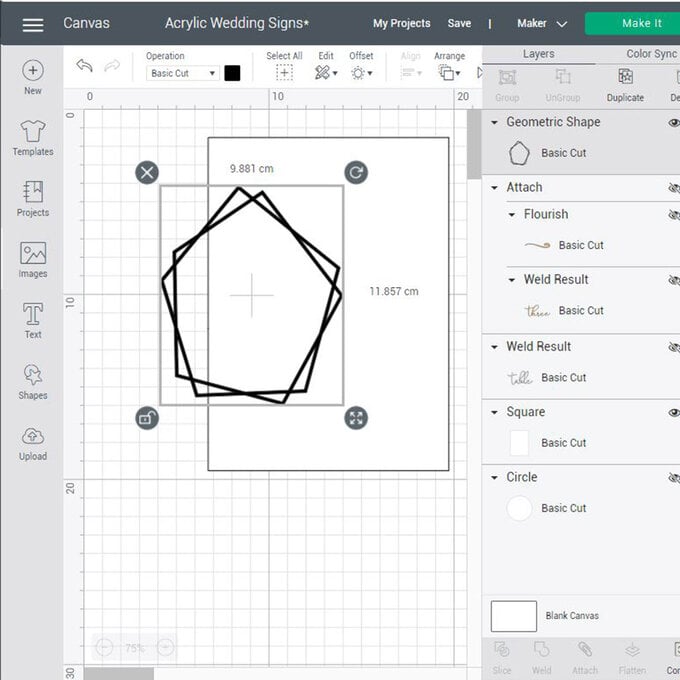
Click on 'Images' and search for the Image Set 'Geometric Frames', select the one seen below and insert onto your canvas.

Unlock the shape, resize to fit to the rectangle and change the cut colour to white.
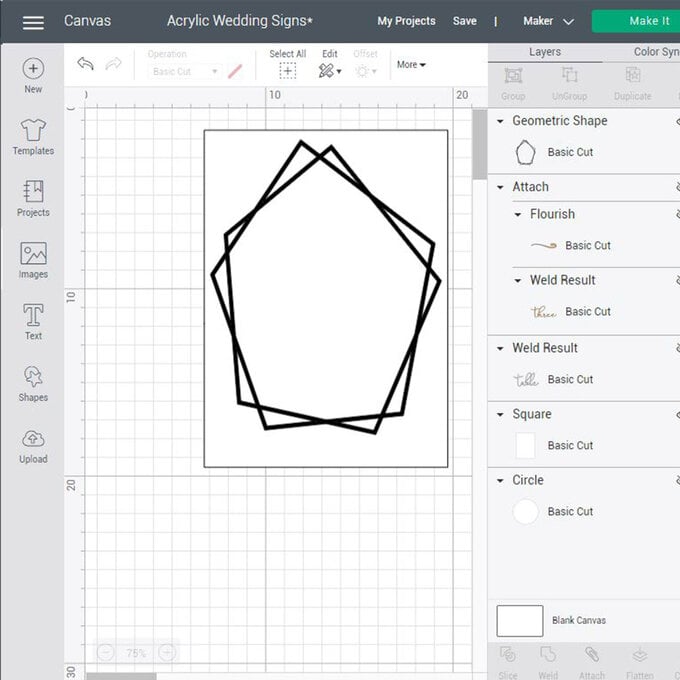
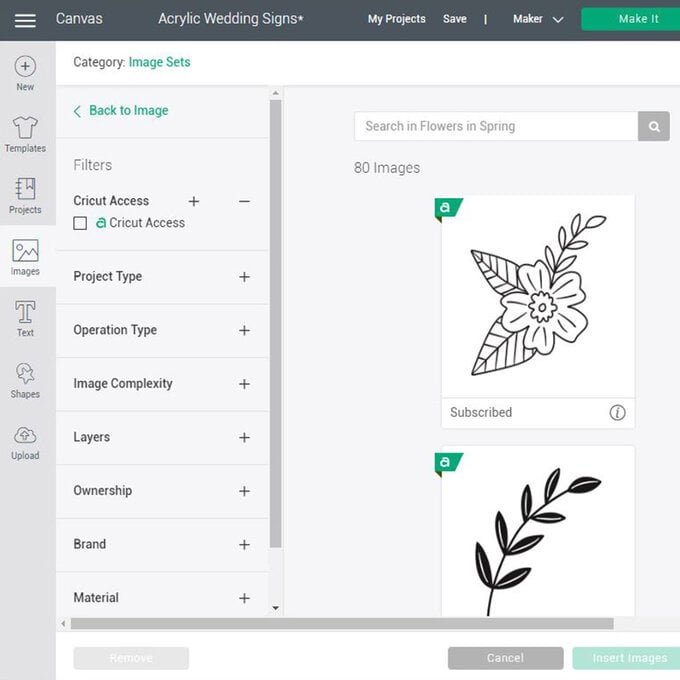
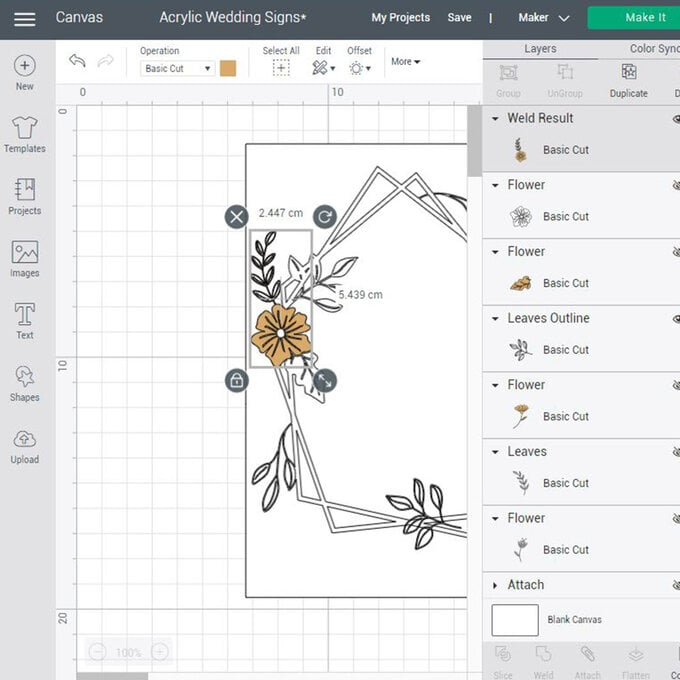
Click on 'Images' once more and this time search for the image set 'Flowers in Spring'. Select a few different designs and add onto your Canvas.
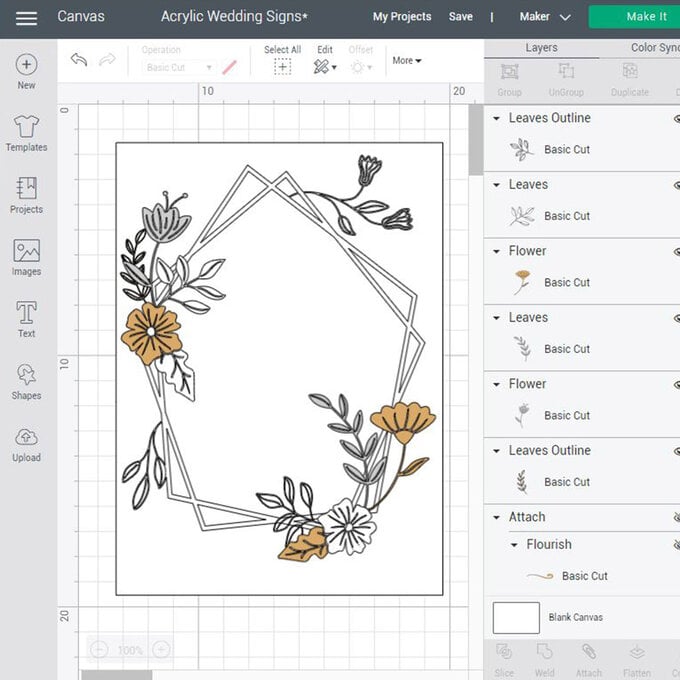
Change the colours to match your vinyls and place the flowers around the geometric shape, send a few to behind the shape and layer up the flowers and leaves.

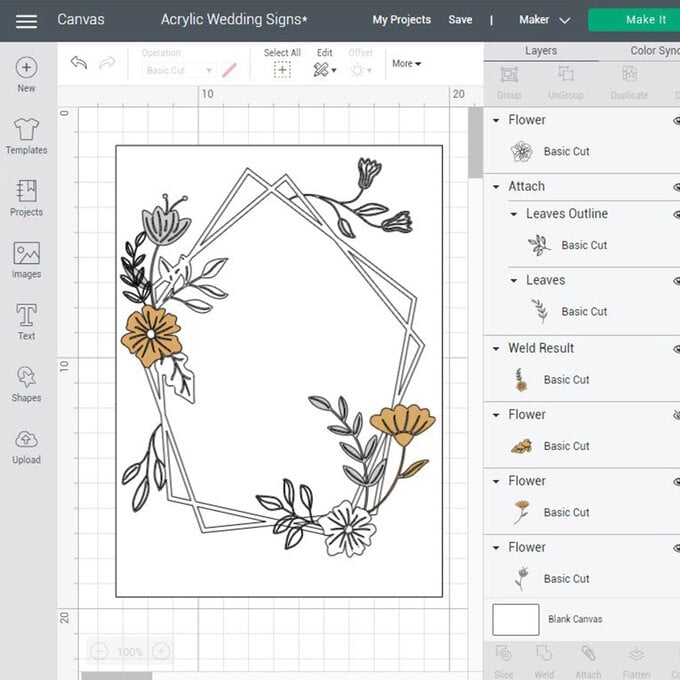
Once you are happy you can 'Weld' the background white leaves to the geometric shape so that they will all be cut as one piece.
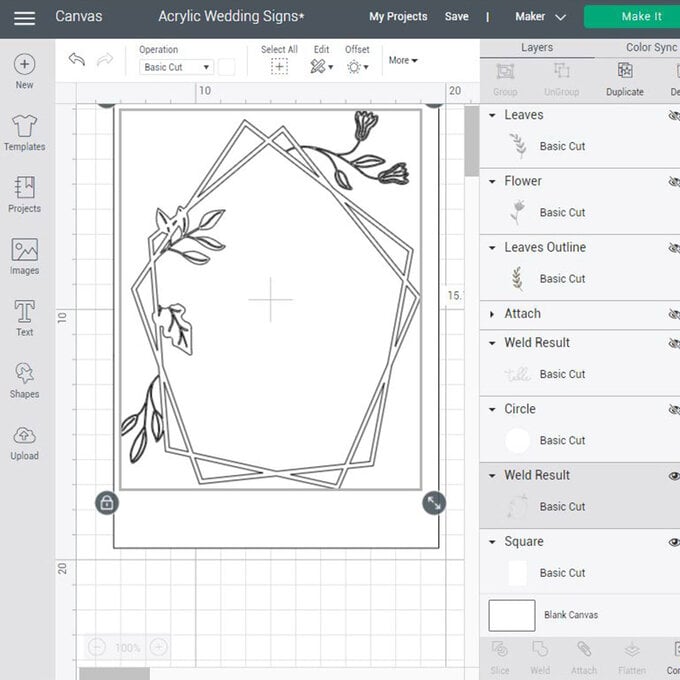
'Weld' together a few of the other flowers and leaves too, for example the gold flower and leaf.
When you are happy with the design click on 'Text' and find the font 'Linotype Rowena Pro Medium' and type your table number.
Send the number to the back.
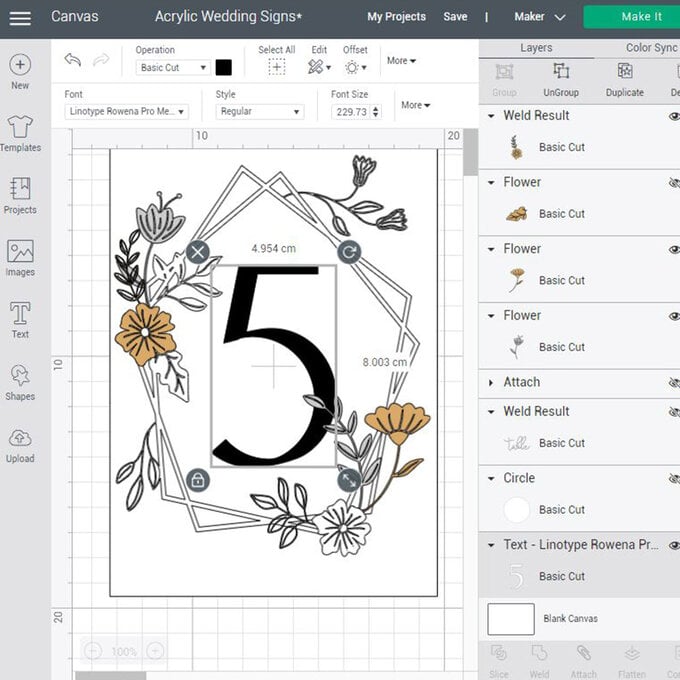
Change the cut colour to white. Centre the number to the white geometric shape and 'Attach'.
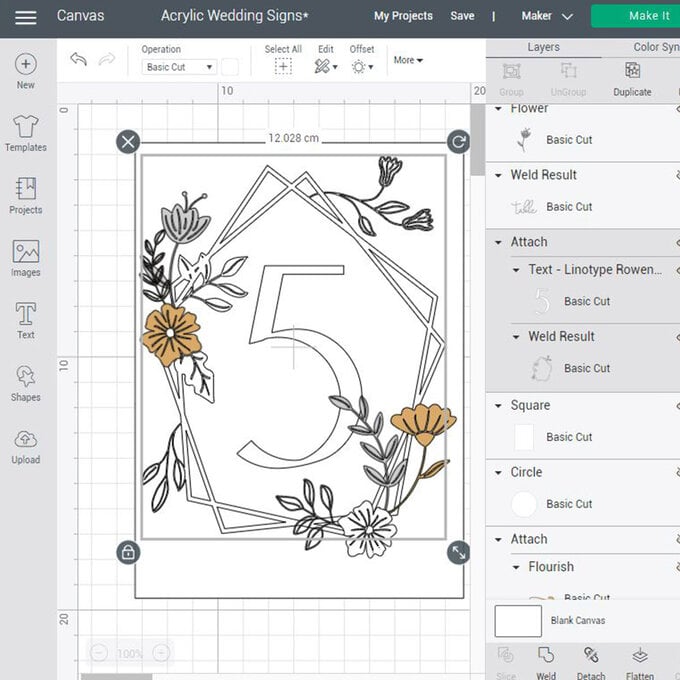
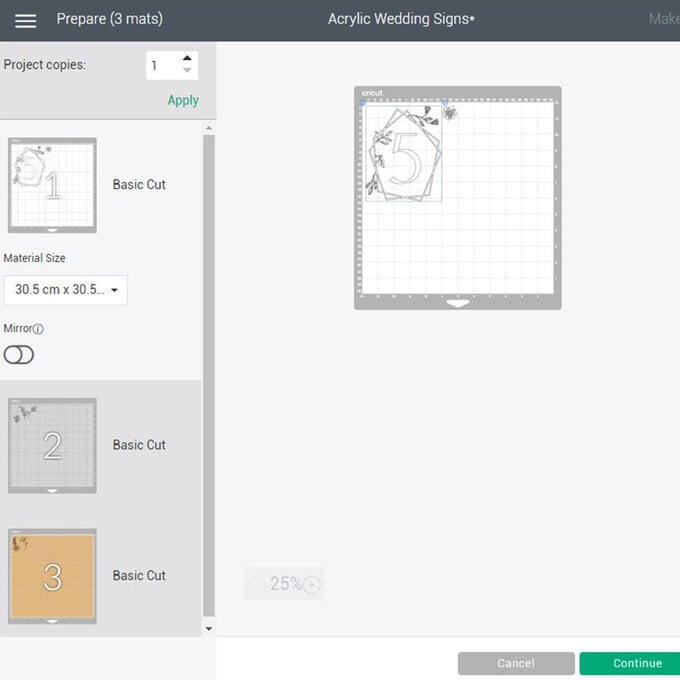
Click 'Make It' and follow the on-screen instructions to cut.
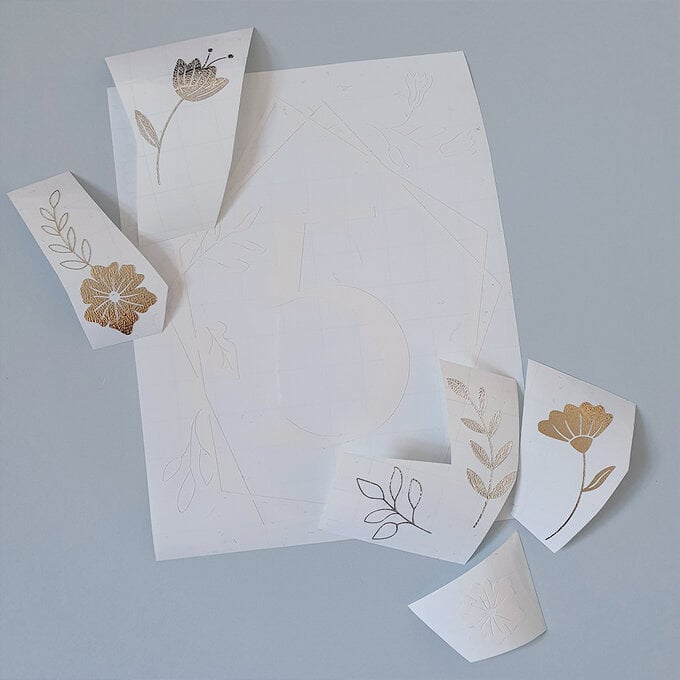
Once cut, carefully weed away the negatives for your table number and flowers.
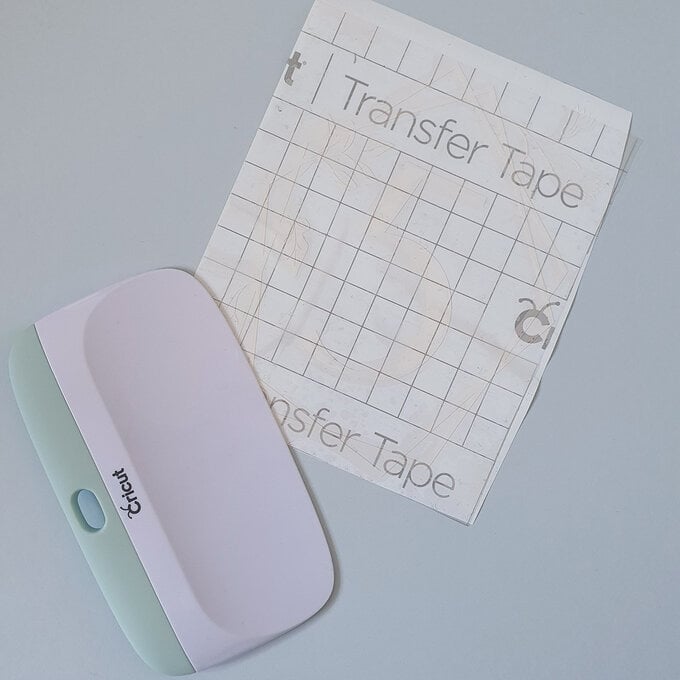
UsingTransfer Tape and the scraper tool, apply the vinyls to the acrylic base.
Layer from the bottom up, starting with the geometric shape and number first.

Apply the next layer of flowers/leaves.
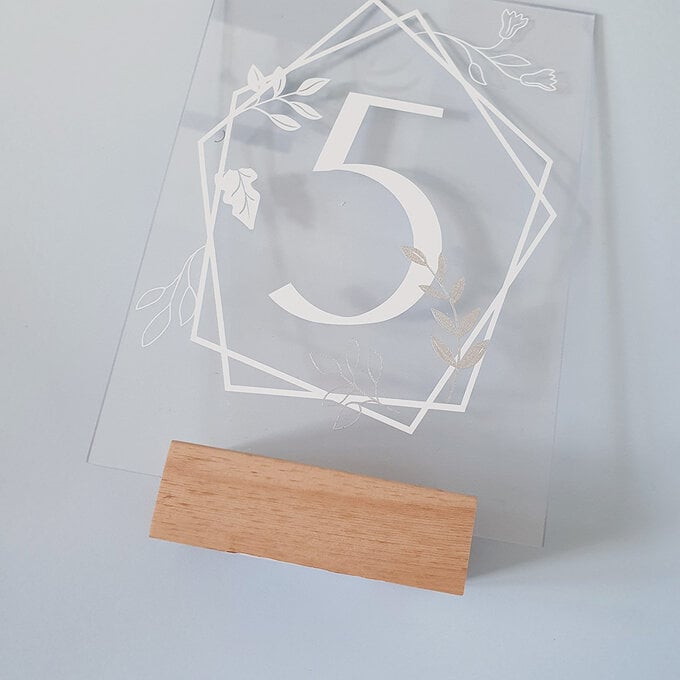
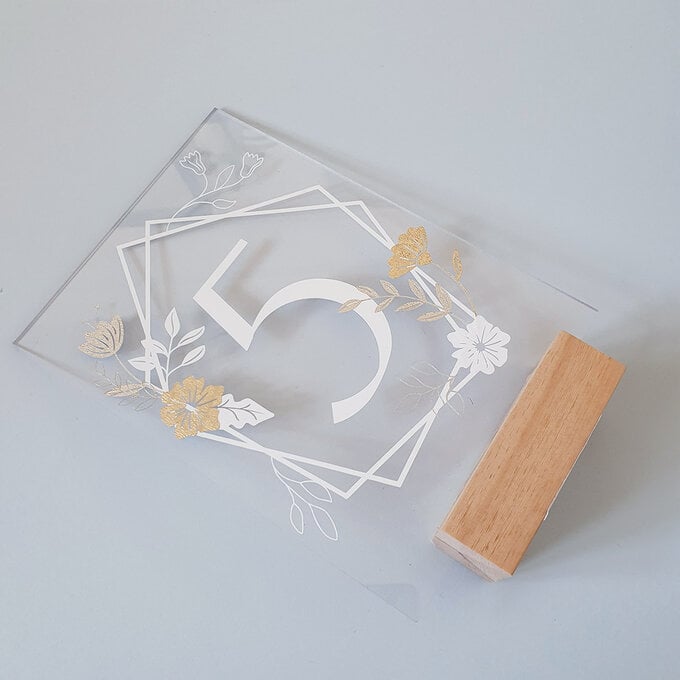
Remove the transfer tape and then you can repeat for all your table numbers.
Related Products