Cricut: How to Make a Paper Garland
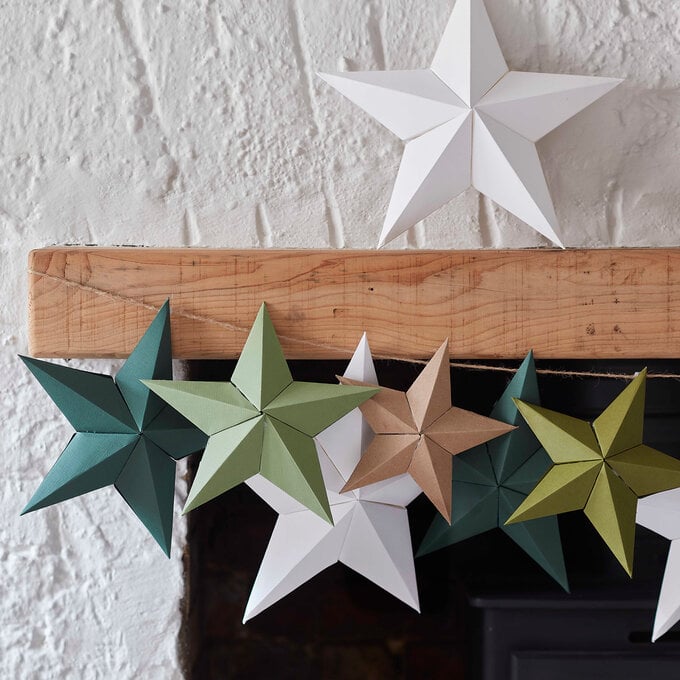
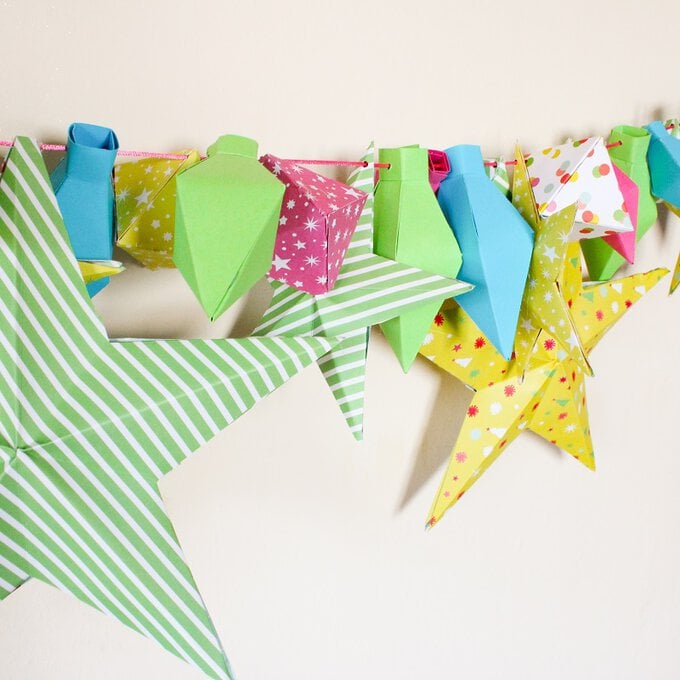
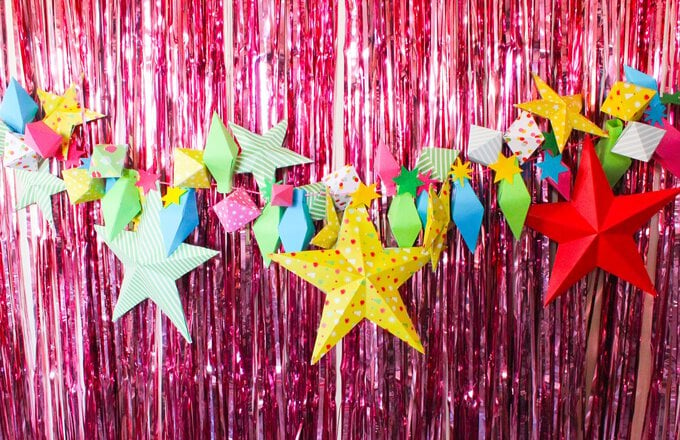
Create a statement this Christmas with a garland that's merry and bright, made using a plethora of plain and patterned cardstock, the Cricut Design Space app and the Cricut Maker. Hang your garland in pride of place over a mantelpiece, along a bannister, or even on the tree!
The project was made with the Cricut Maker but can also be made with the Explore Air 2.
Project and instructions by Emma Jewell.
Please note: This project contains paid-for content from Cricut's Design Space app. Screen reference images are taken from the desktop version of Design Space.
You will need

Subtotal
Is $ 12.00
Subtotal
Is $ 29.00
Subtotal
Is $ 96.00
Subtotal
Is $ 7.49
Subtotal
Is $ 15.00

Subtotal
Is $ 3.49 , was $ 5.49
Subtotal
Is $ 3.49
Subtotal
Is $ 3.49
Subtotal
Is N/A

Subtotal
Is $ 602.00
How to make
You will also need:
* Cricut Design Space app installed on a laptop, PC, tablet or mobile device
Open up the project – https://design.cricut.com/landing/project-detail/5f4e2022ecb1b30ea0d71335 – in the online browser version of Cricut Design Space.
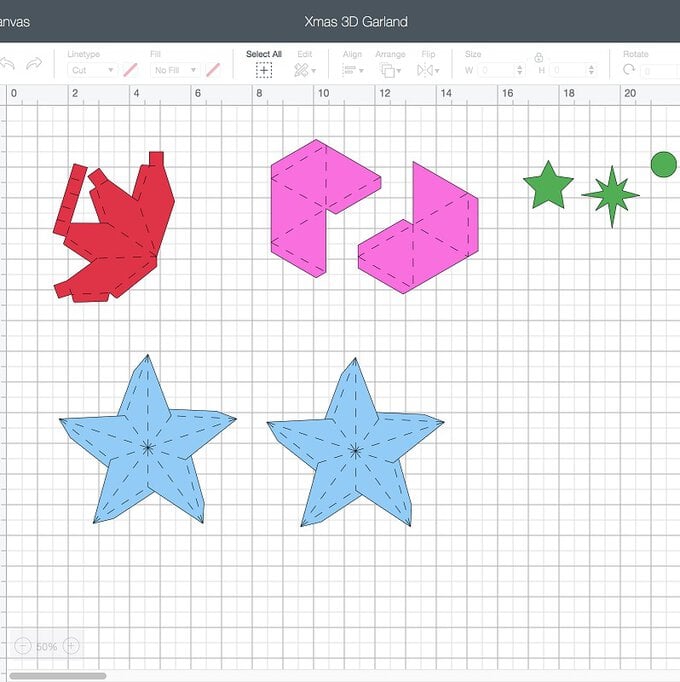
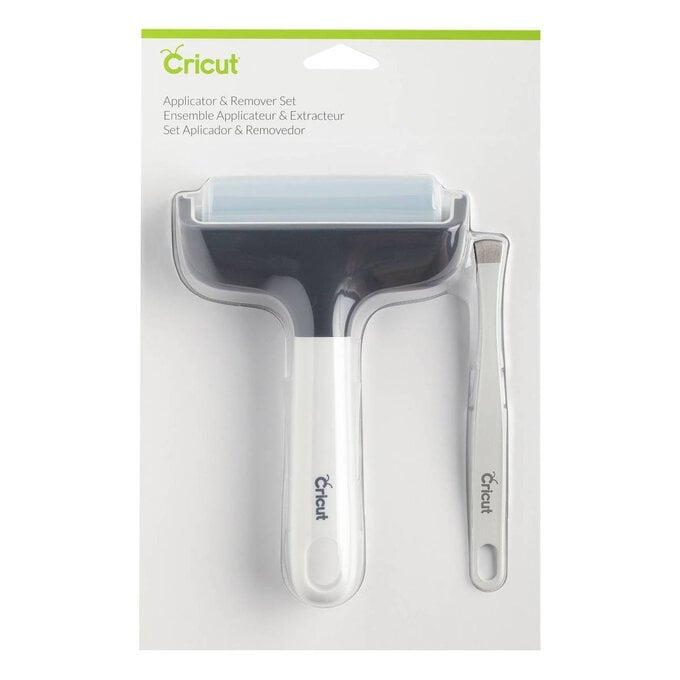
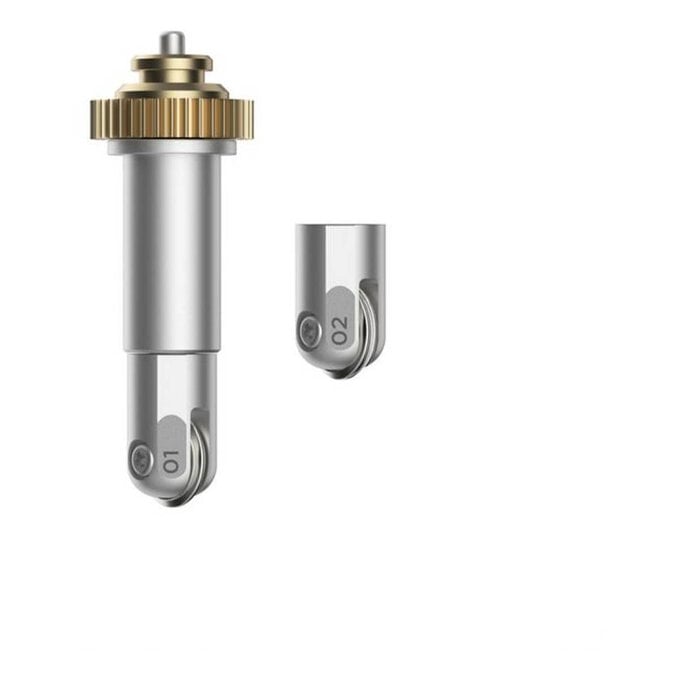
Place the scoring wheel into the Maker (or scoring stylus), then load a piece of patterned paper onto the mat and make sure that it is well stuck down using your brayer tool.
Load the mat into the machine and start scoring. When prompted, switch the scoring wheel to the fine point blade and continue with the cut.
Repeat these steps until all of your shapes are cut and scored

Fold along the score lines on each cut piece to get a really clean fold.
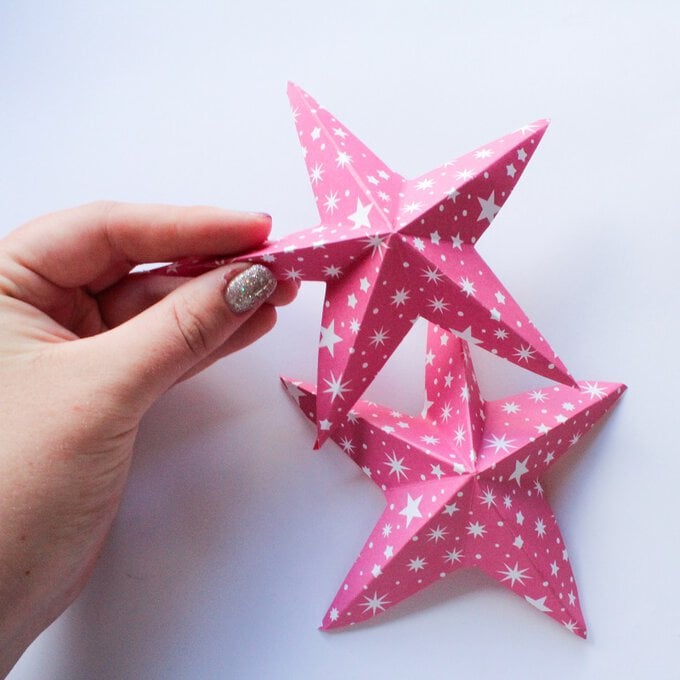
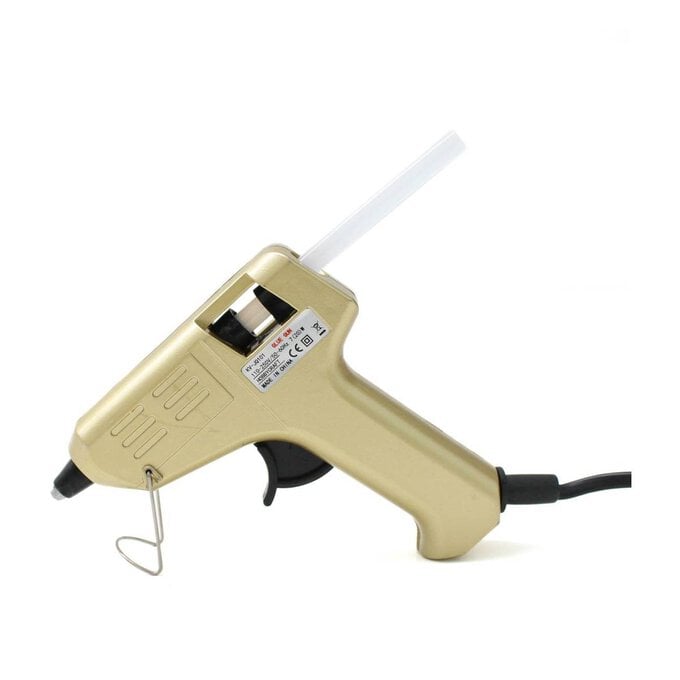
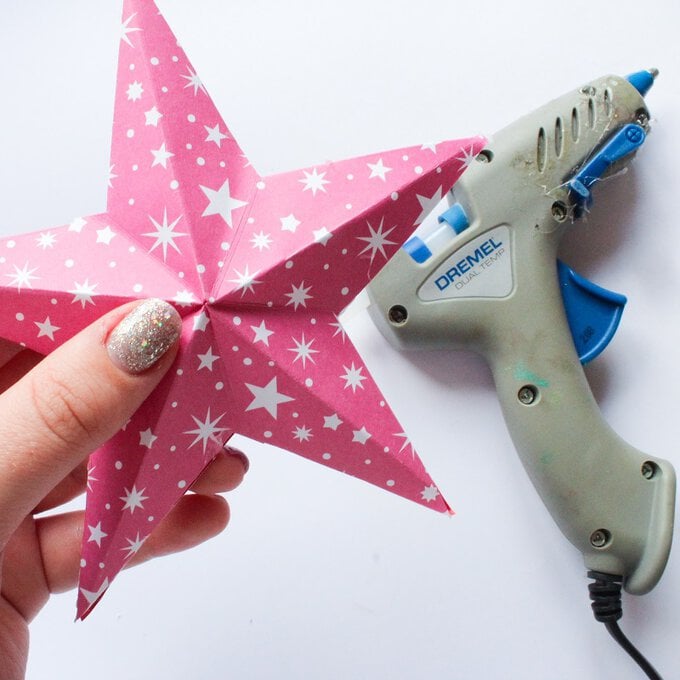
Use a glue gun to secure all the flaps together on each piece to form a 3D shape.
Top Tip: Refer to the original Design Space image if you need help with assembly.
Use a hole punch to add a hole at the top of each 3D piece.
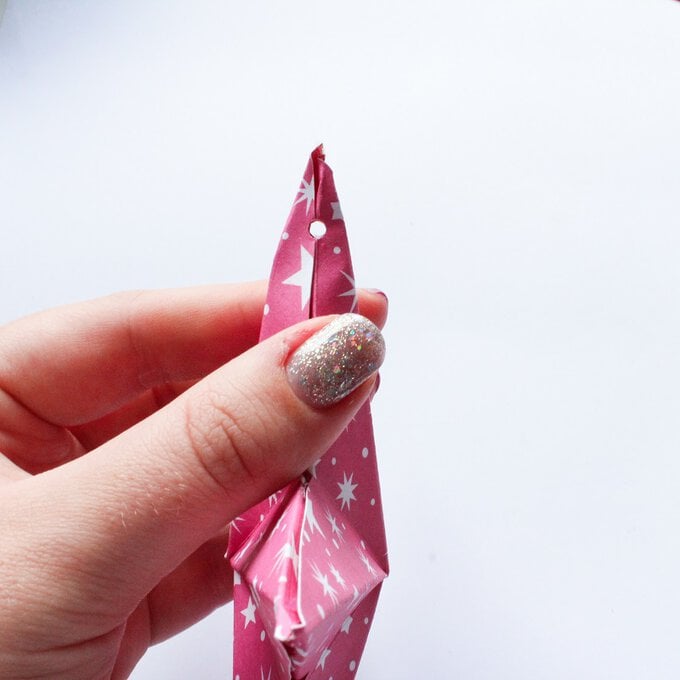
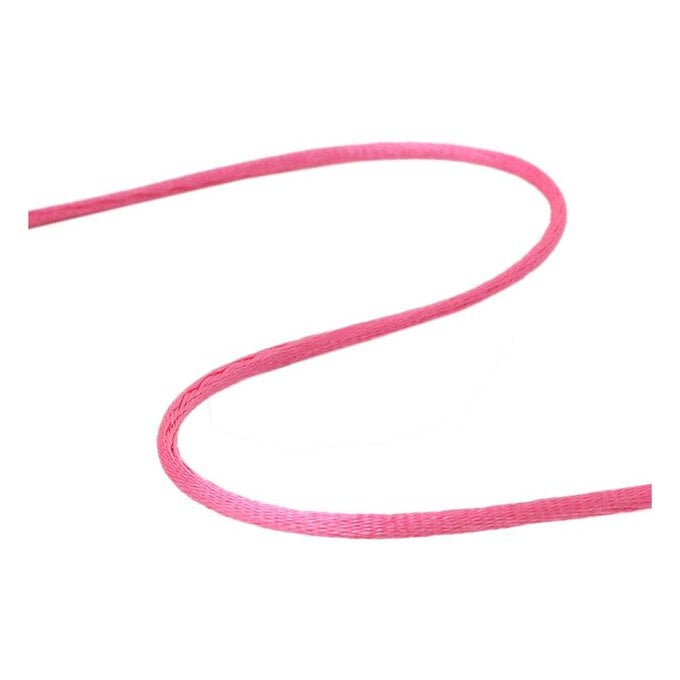
Thread all of the pieces onto the cord
Top Tip: Plan out the order in which you would like the pieces to hang, before threading them onto the cord.
Hang the garland in place to see how each piece sits, if needed, use a glue gun to secure any pieces in place so that they point in different directions.
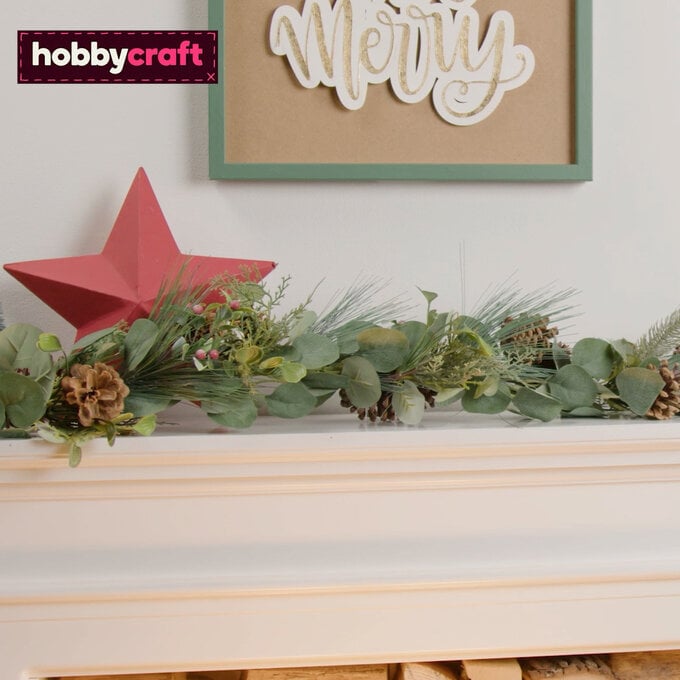
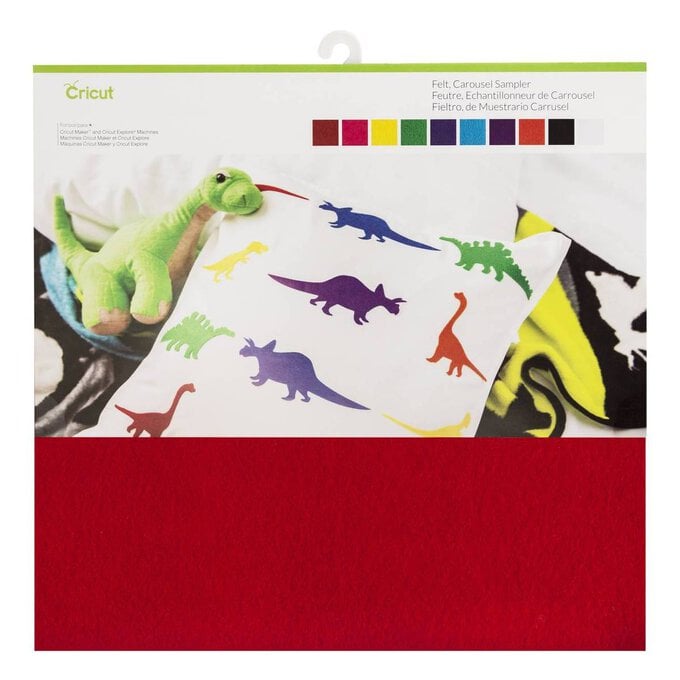
To finish, cut some simple shapes from felt and glue them randomly along the garland to fill any gaps.
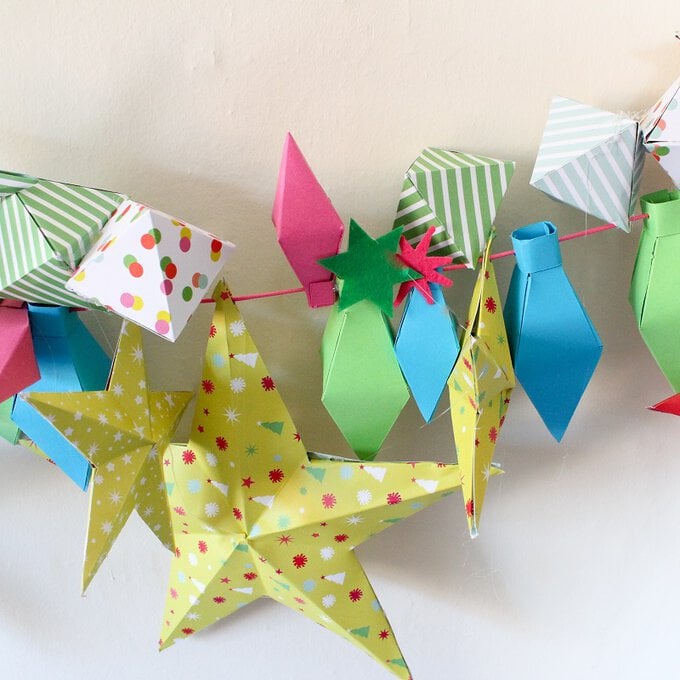
Your garland is now ready to be hung in your home!
Related Products

Is $ 36.00


Is $ 27.00


Is $ 13.00