Cricut: How to Make a Personalised Christmas Present Sack
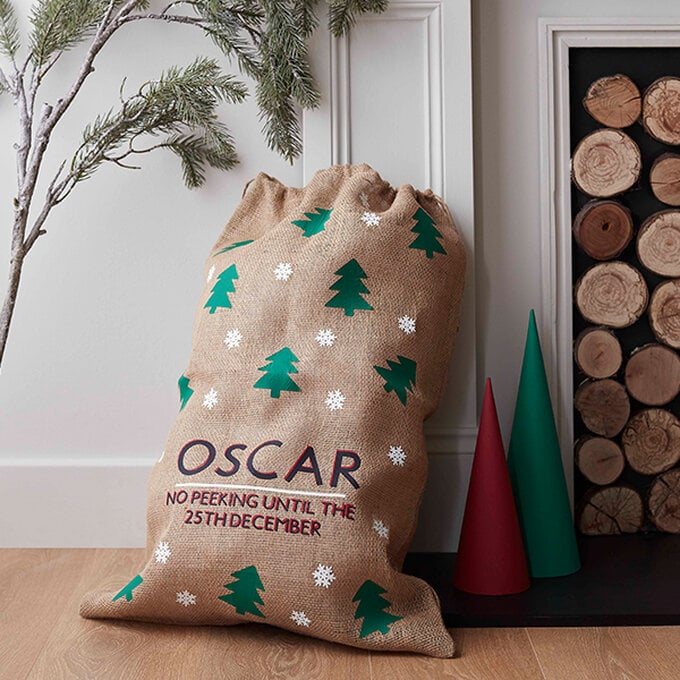
Keep gifts safely stowed away until the big day with this personalised present sack design. Use Cricut's Design Space app to create something truly one of a kind, then use you Cricut machine to cut the design from iron-on vinyls.
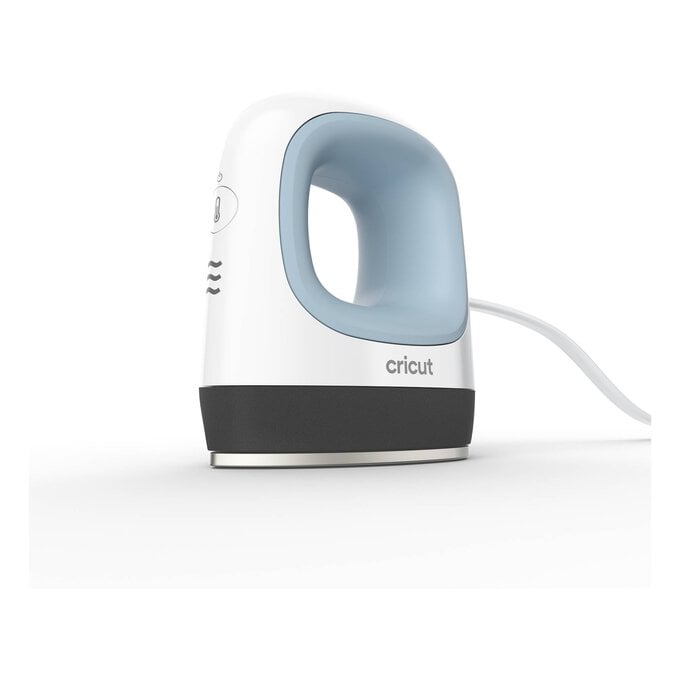
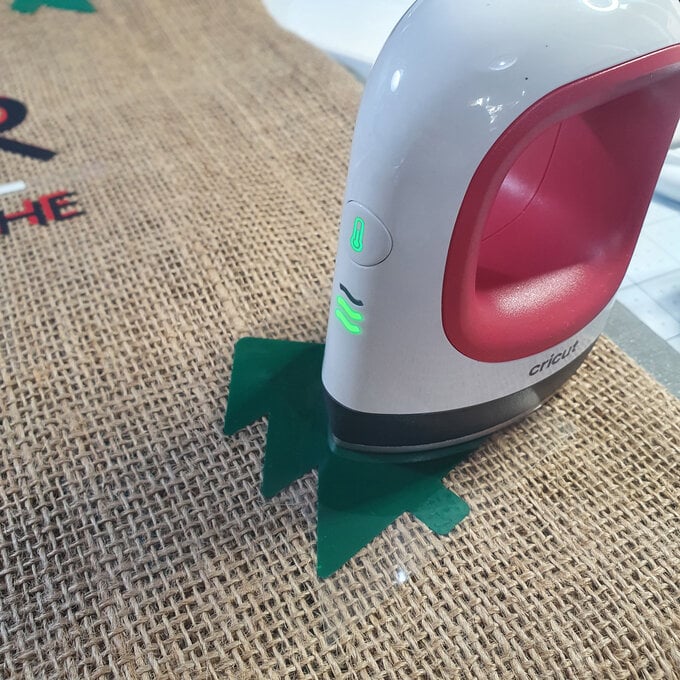
Everything is then secured in place with the nifty EasyPress Mini. Just follow the online heat guide for full application instructions.
Project and instructions by Artisan Chrissie Ellson
Discover more Christmas Cricut projects here >
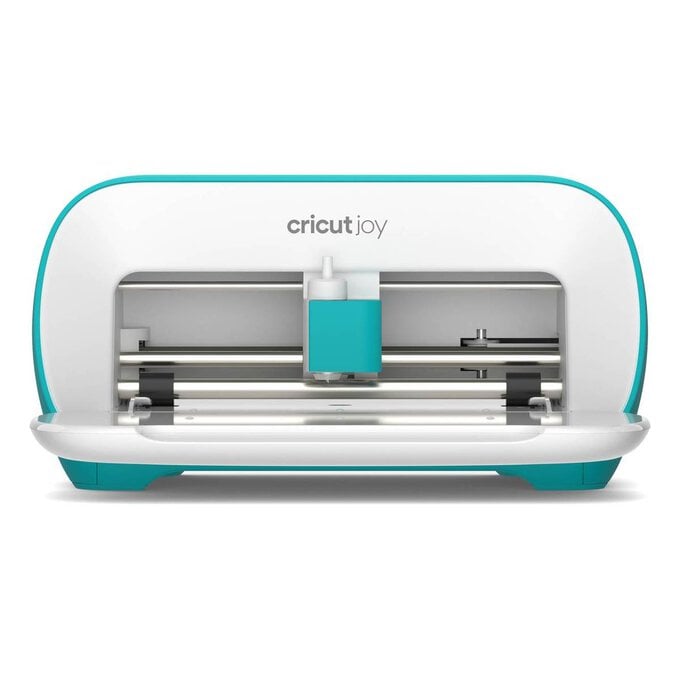
Please note: This project contains paid-for content from Cricut's Design Space app. Screen reference images are taken from the desktop version of Design Space. This project has been created using the Cricut Joy, however it can also be created on the Cricut Maker and Explore Air 2.
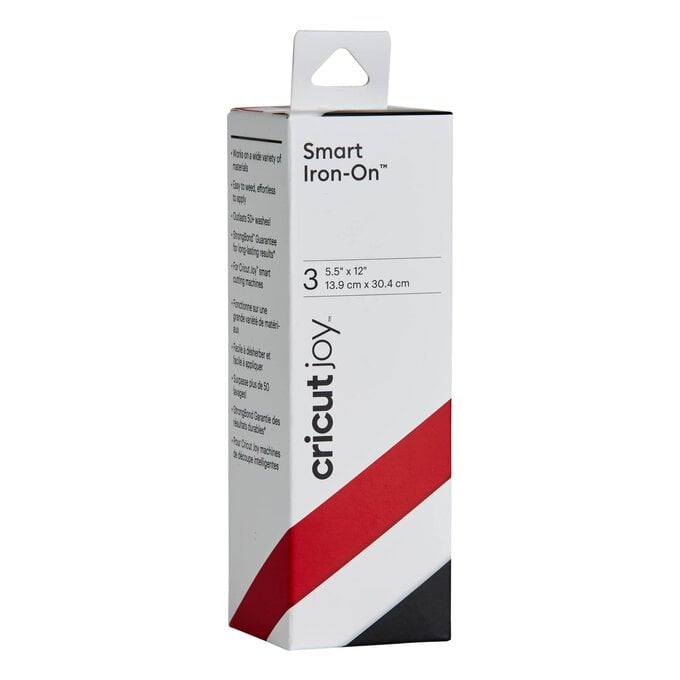
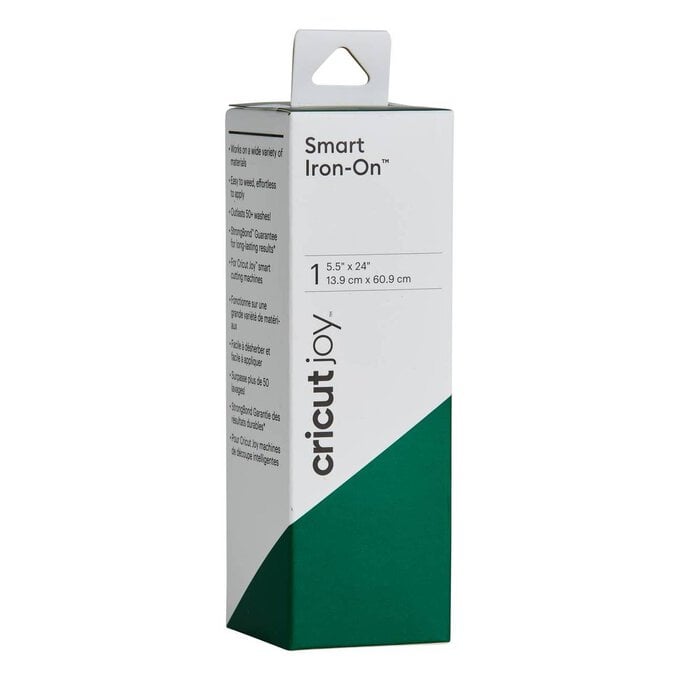
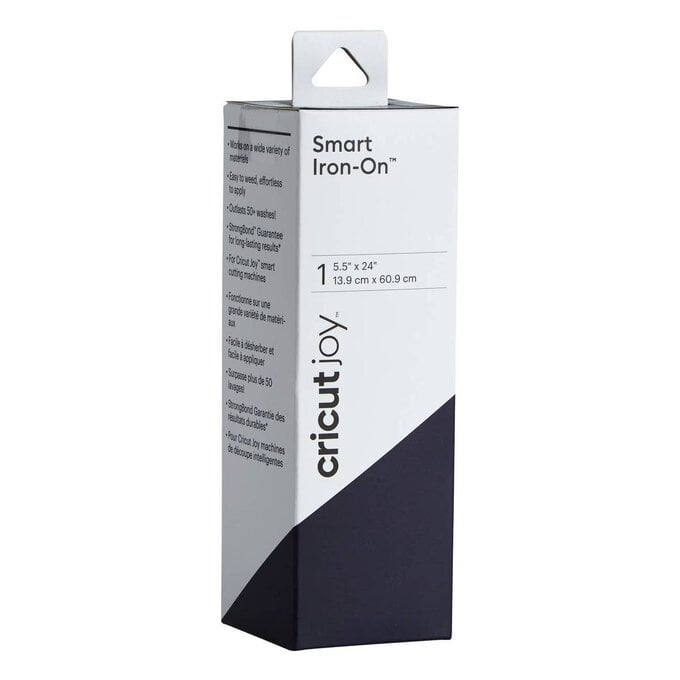
You will need
Subtotal
Is $ 239.00 , was $ 267.00
Subtotal
Is $ 29.00
Subtotal
Is $ 24.00
Subtotal
Is $ 17.00
Subtotal
Is $ 12.00
Subtotal
Is $ 12.00

Subtotal
Is N/A
Out of stock
Subtotal
Is $ 84.00 , was $ 87.00
How to make
You will also need:
* Cricut Design Space app installed on a laptop, PC, tablet or mobile device
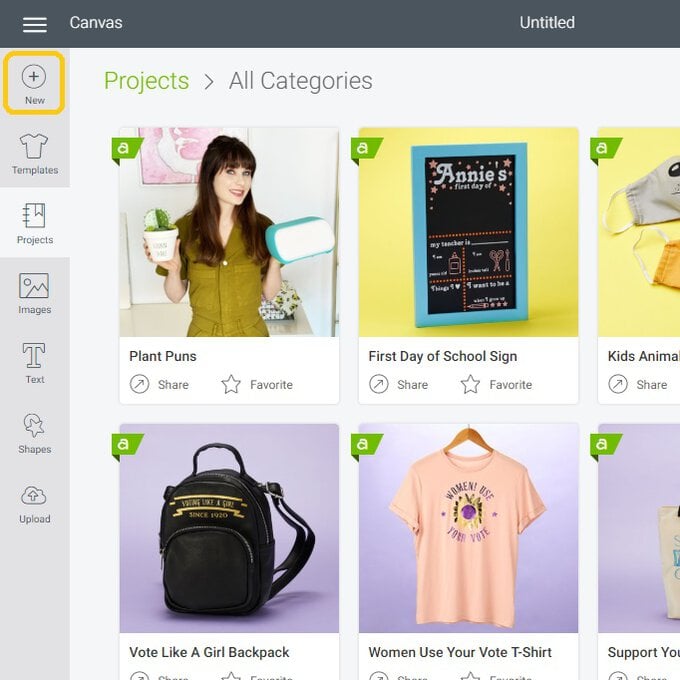
Open the Design Space app, click “New” to open a blank canvas.
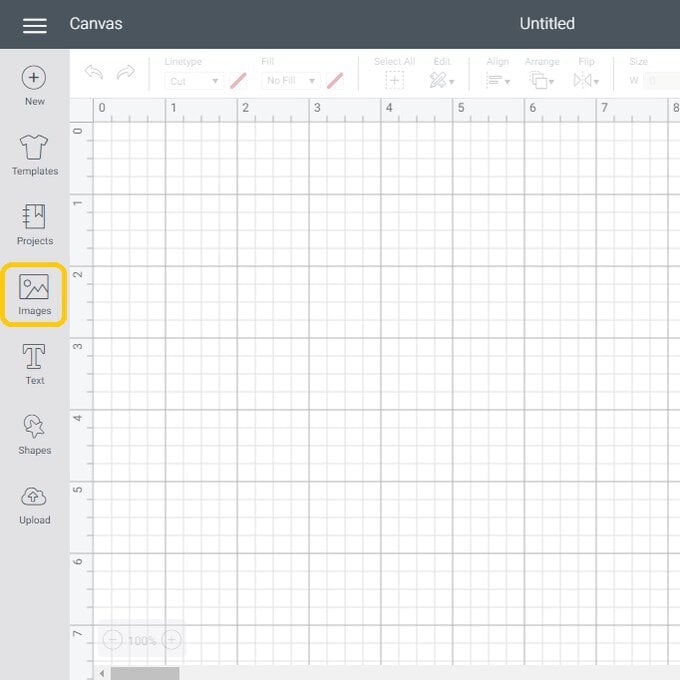
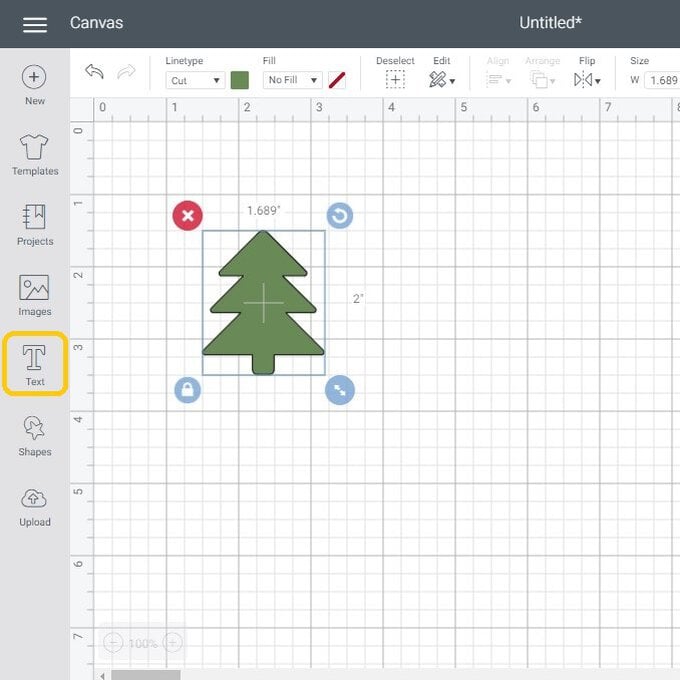
To find the designs you wish to add to the present sack, click “Images”.
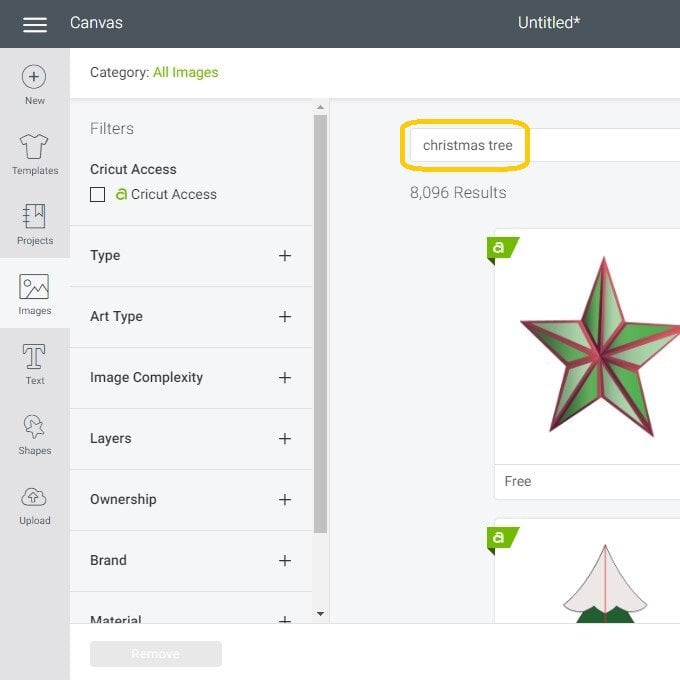
In the search box, type your required image name; for example, reindeer or holly.
We used image #M8B36EAF.

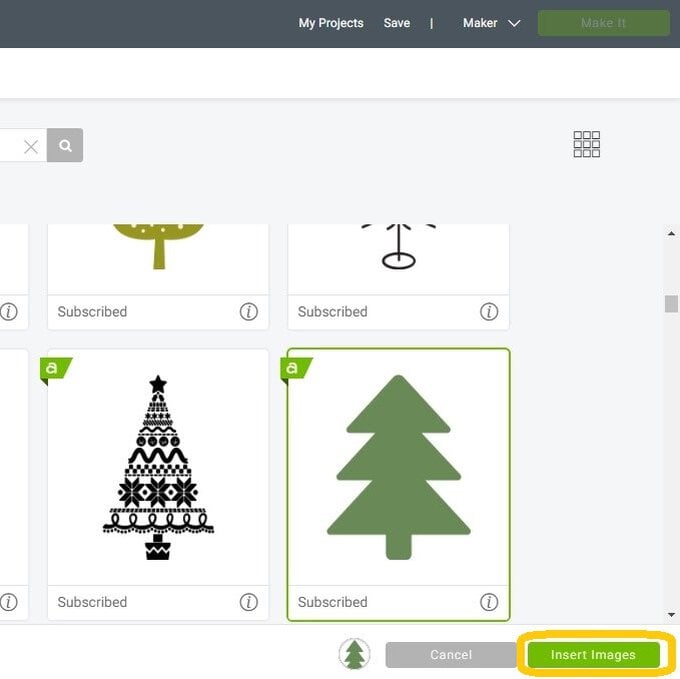
Once you have selected your chosen image/s, click “Insert Images” to add them to your canvas.
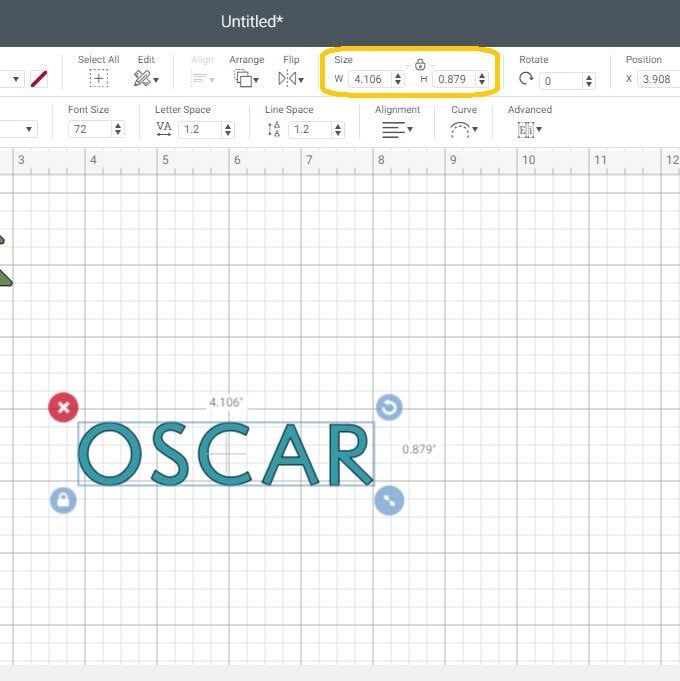
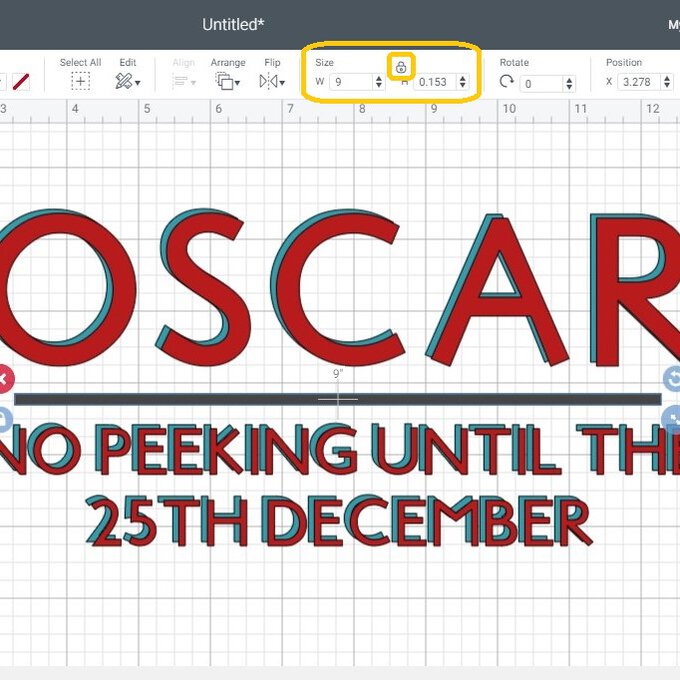
To insert your text, select the “Text” button and type your chosen text into the box that appears on screen.
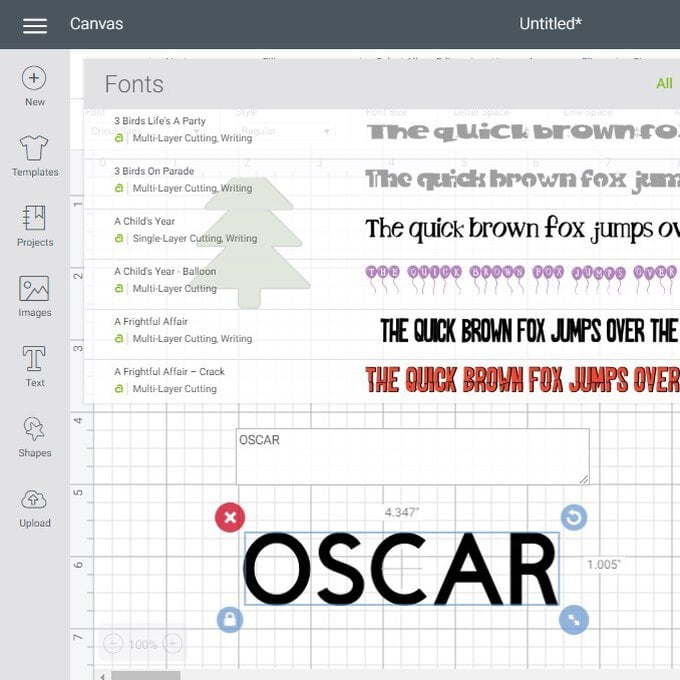
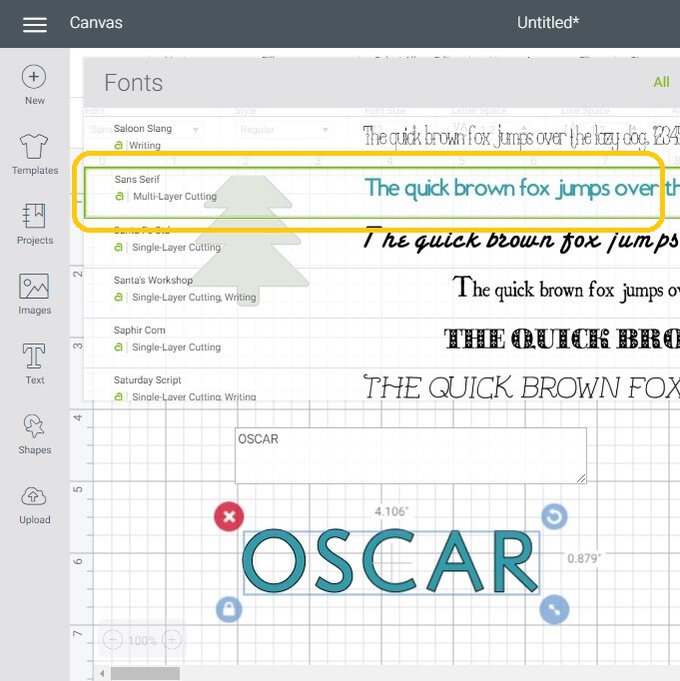
To change the font type of your text, click on the down arrow by the Font selection.
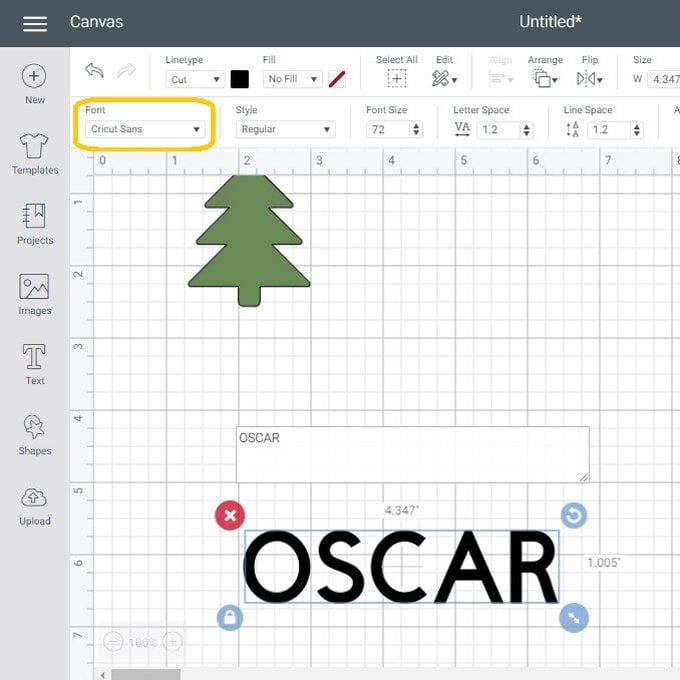
Scroll or search for your required font from the drop down menu.
For this project, we used the Cricut's San Serif font.
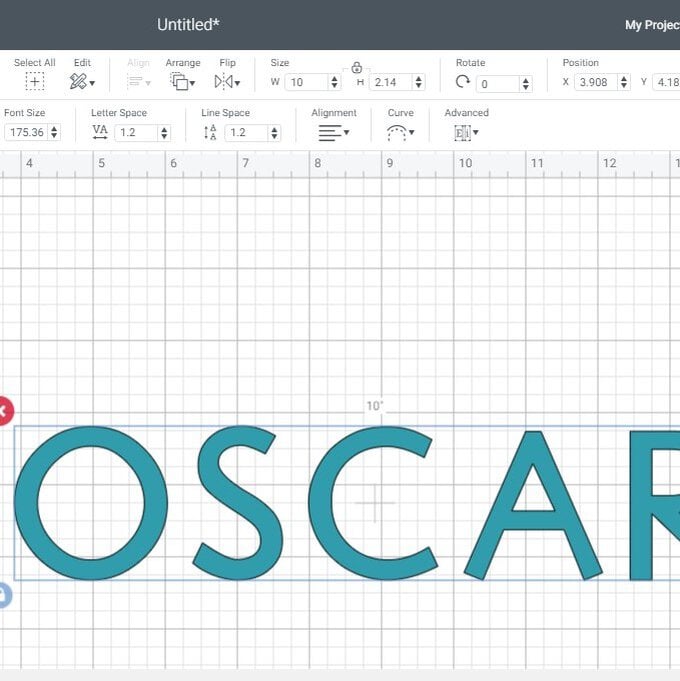
To resize your text to your required dimensions, make sure it is selected before changing the measurements in the size section in the toolbar at the top of the screen.
Top Tip: Make sure to check the units you are working with in the Design Space app match those that you have been using to take measurements from the hessian sack.
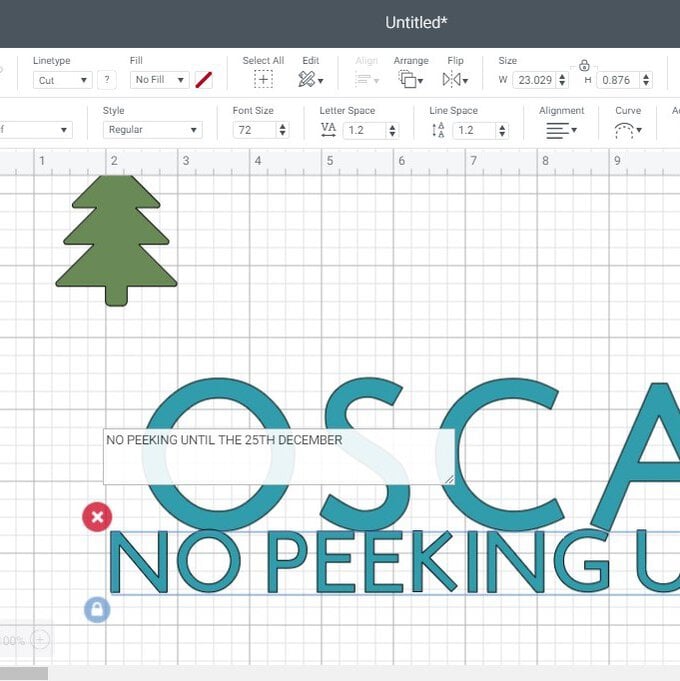
If you require an additional line of text, repeat steps five to eight.
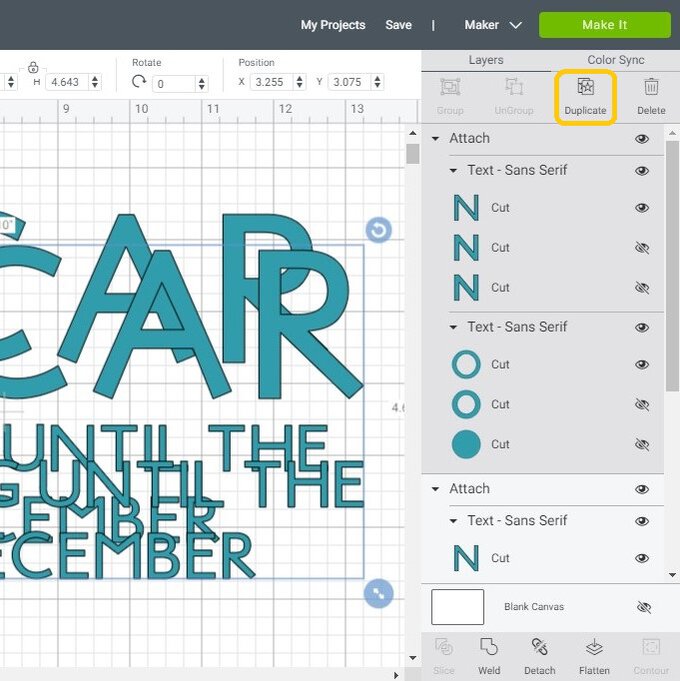
If you have more than one line of text within your design, position it how you want it to look on the present sack; provided you are cutting both lines of text from the same colour iron-on, use the 'Attach' function to bring both lines of text together and will tell your Cricut machine to cut them in this position.
If you want to use different colours of iron-on vinyl, simply use the 'Group' function instead and use the mock-up of the design on the canvas as a guide when ironing everything into place.
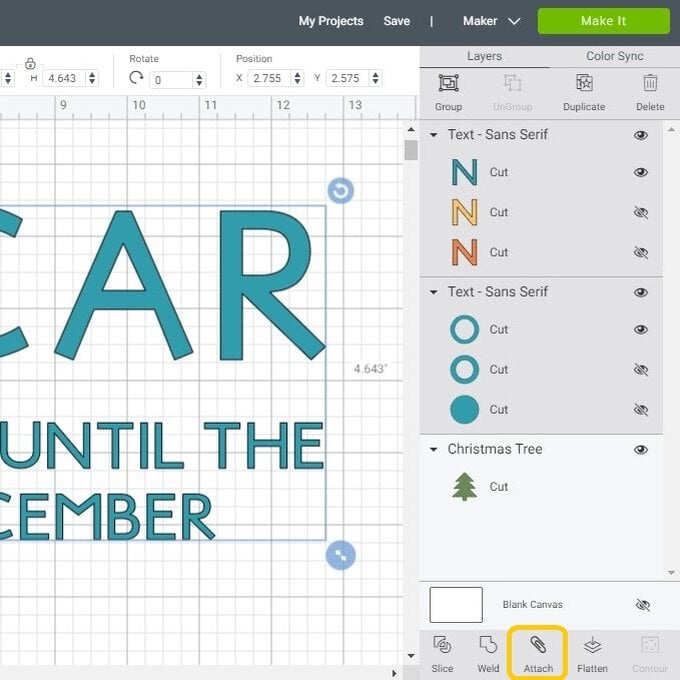
The text in this project is offset slightly, which is created by staggering two layers of iron-on vinyl. To create the second layer needed, select the "Duplicate" function.
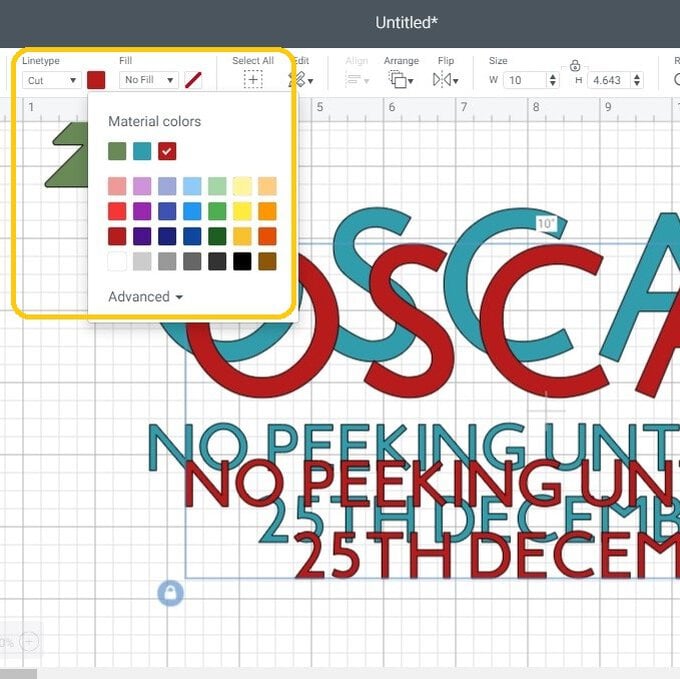
So that your Cricut machine knows to cut each text layer from a different colour of iron-on vinyl, change the colour of the two text layers to match (as closely as possible) the colours of iron-on you intend to use.
Select each layer individually and amend the colour by clicking on the colour swatch next to the "Line Type" drop down menu.
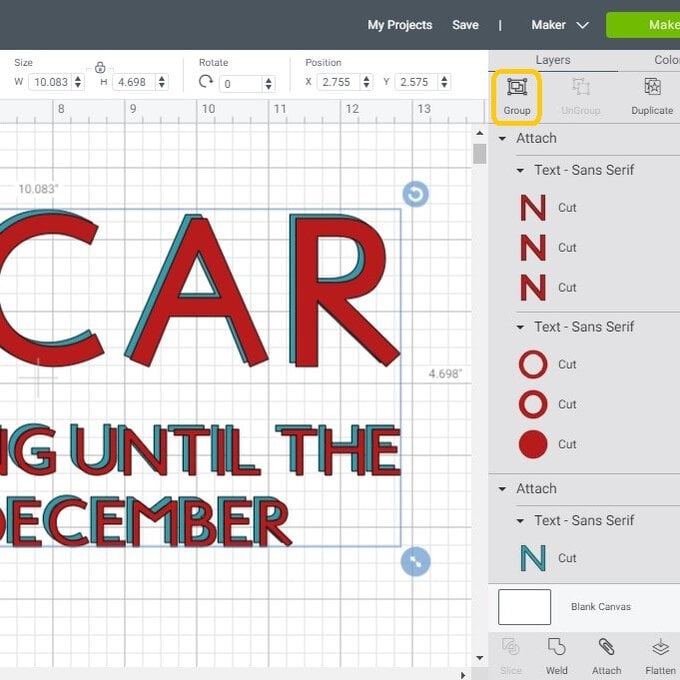
Position the two layers of text as you want them to appear on your finished item. Then highlight both items and click “Group” so they stay in the same position but do not change to the same layer.
To create a line between the sections of text, insert a square from the 'Shapes' menu.

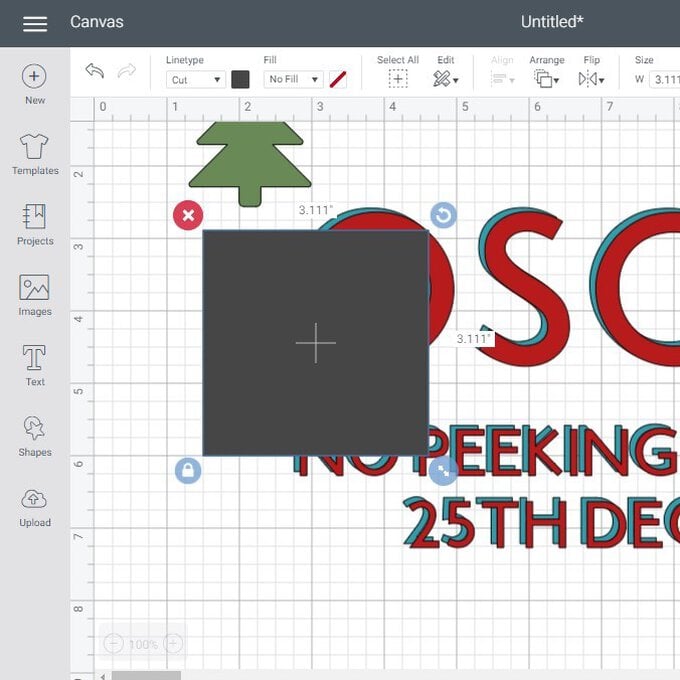
To change the square to a thin line, adjust the size, remembering to unlock the padlock icon so as to not keep a square shape.
Once happy with the positioning and size of all the elements, click "Make It”.
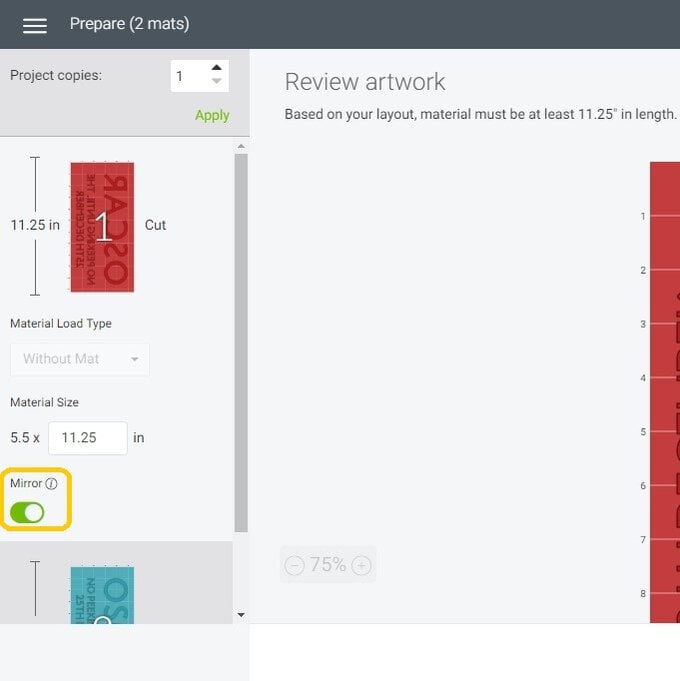
You will be taken through to the mat preview screen, as Smart Vinyls are being used for this project, select the non-mat option from the pop-up menu.
On each of the mats, ensure the “Mirror” function is enabled before pressing “Continue”.
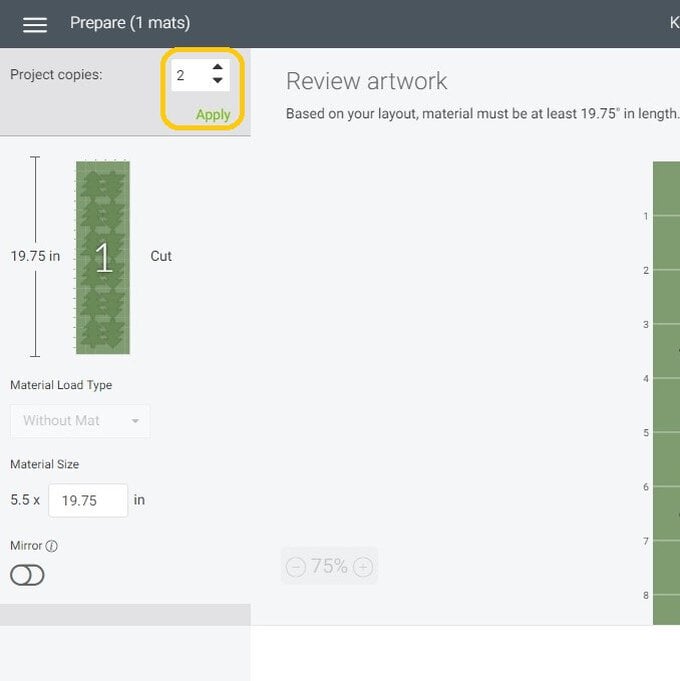
For any images that you need multiple cuts of, amend the number of “Project Copies” and then click "Apply".
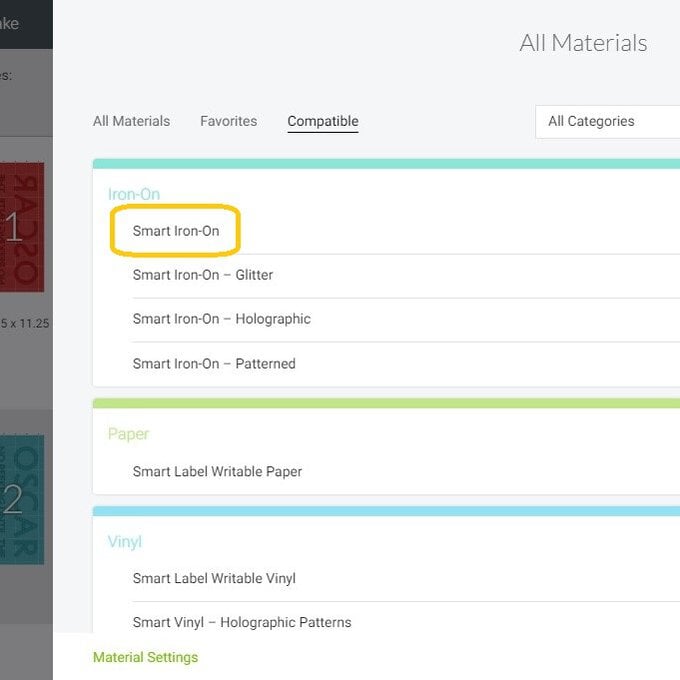
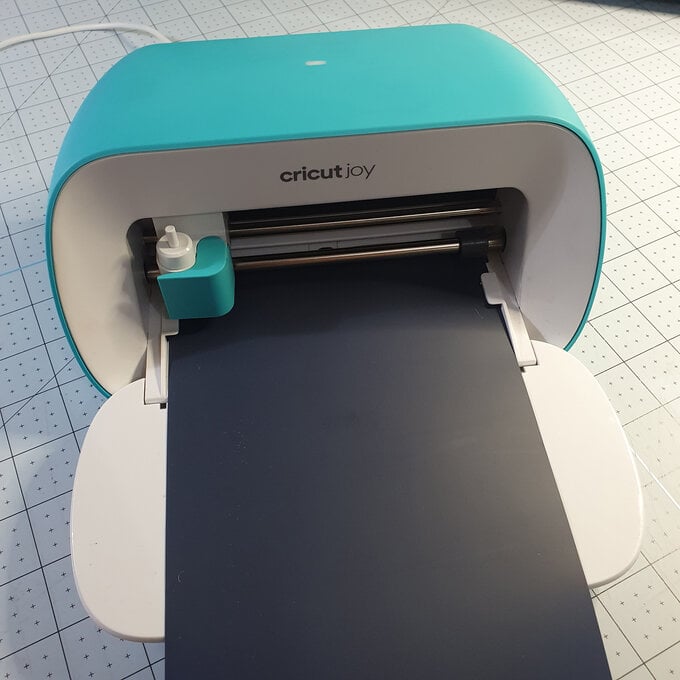
Once through to the machine set up screen, select your material from the options available.
When ready, load the material into the Cricut Joy, then press the “Go” button within the Design Space app when prompted.
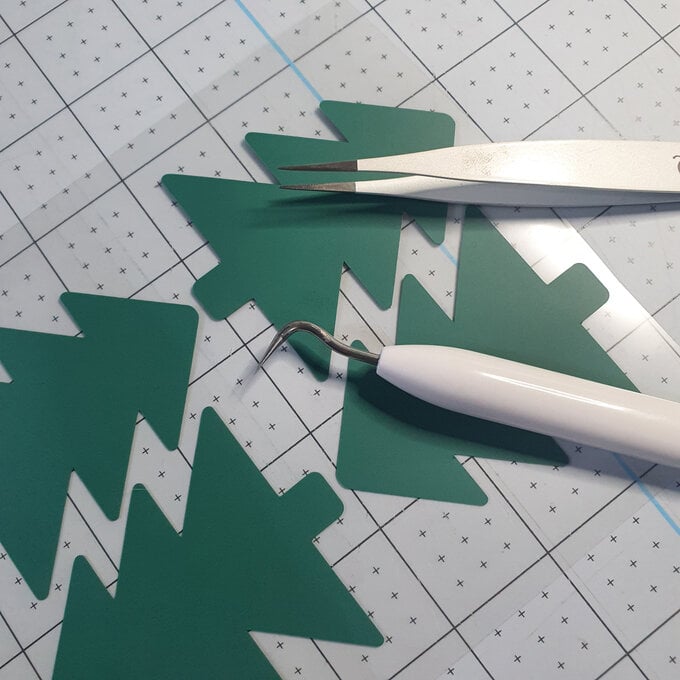
Once all of the elements have been cut, weed all your layers, removing any negative pieces of vinyl you do not want to transfer to the hessian sack.
Apply all of the weeded Smart Iron On Vinyl elements using the EasyPress Mini. Consult Cricut's online Interactive Heat Guide for the correct heat setting and time guidance.
Once all of the elements have been adhered, it's then time to fill the hessian sack with your gifts.
Related Products