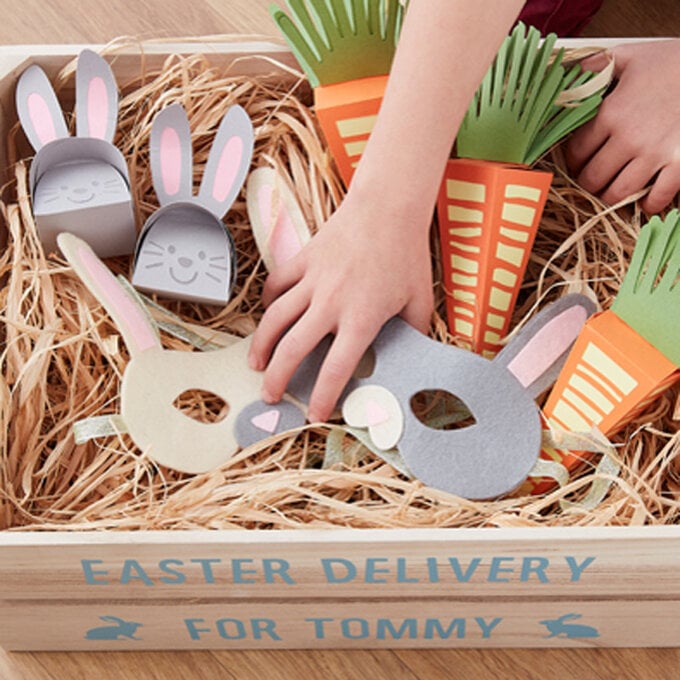
Cricut: How to Make a Personalised Easter Hamper
Creating a personalised Easter hamper couldn't be easier with the Cricut Explore Air 2, a pack of cardstock and Cricut adhesive vinyl. There are hundreds of designs to choose from in Cricut's Design space, allowing you to create tags, gift boxes and Easter dress-up items until your hearts content!
Discover more Easter Cricut projects here >
This project includes paid for content from Cricut's Design Space app
You will need
Subtotal
Is $ 15.00
Subtotal
Is $ 6.49 , was $ 9.49
Subtotal
Is $ 421.00
Subtotal
Is $ 12.00
How to make
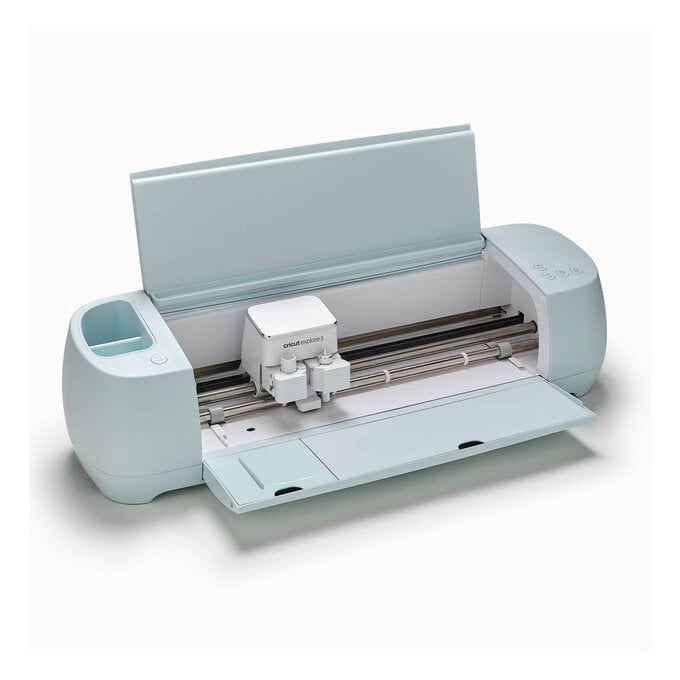
* Cricut Machine
* Brayer and Remover
* Scoring Stylus
* Bonded Fabric Point Blade
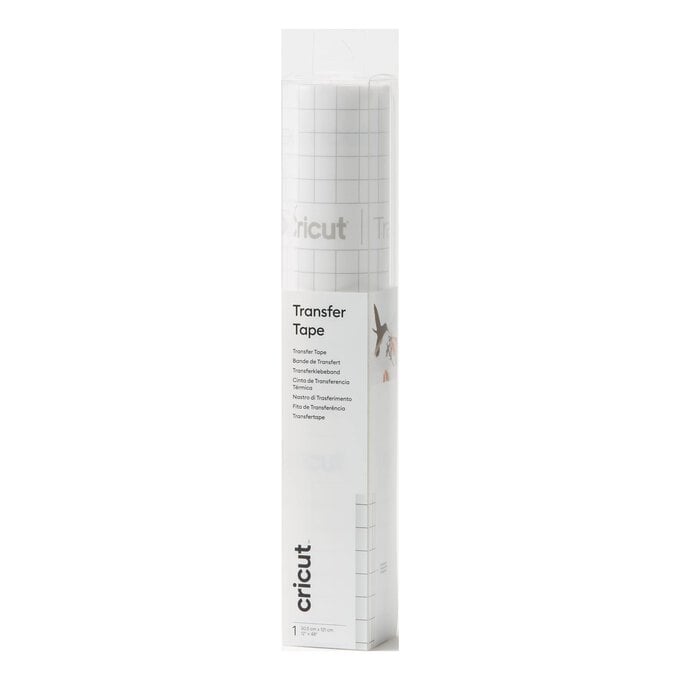
* Transfer Tape
* FabricGrip Cutting Mat
* LightGrip Cutting Mat
* A4 Felt Sheet - Grey, Pink, Cream
* Iron On Interfacing
* Green Ribbon
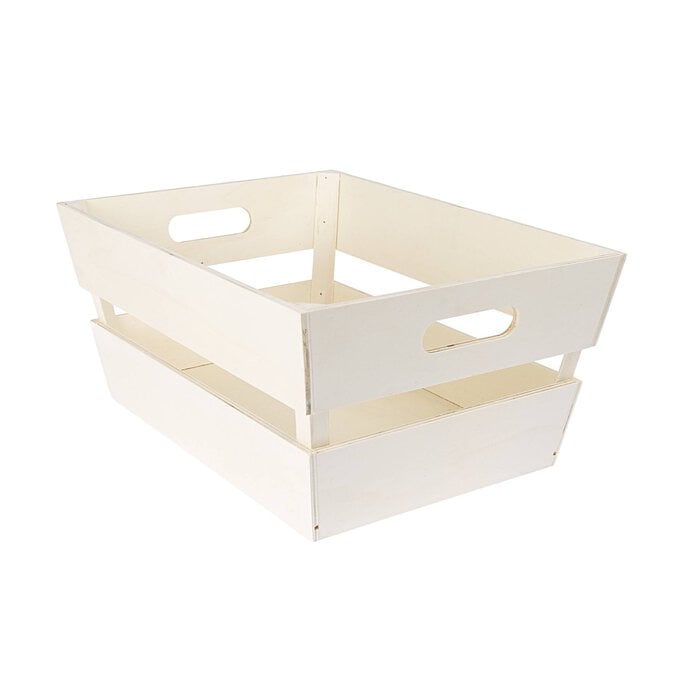
* Wooden Crate
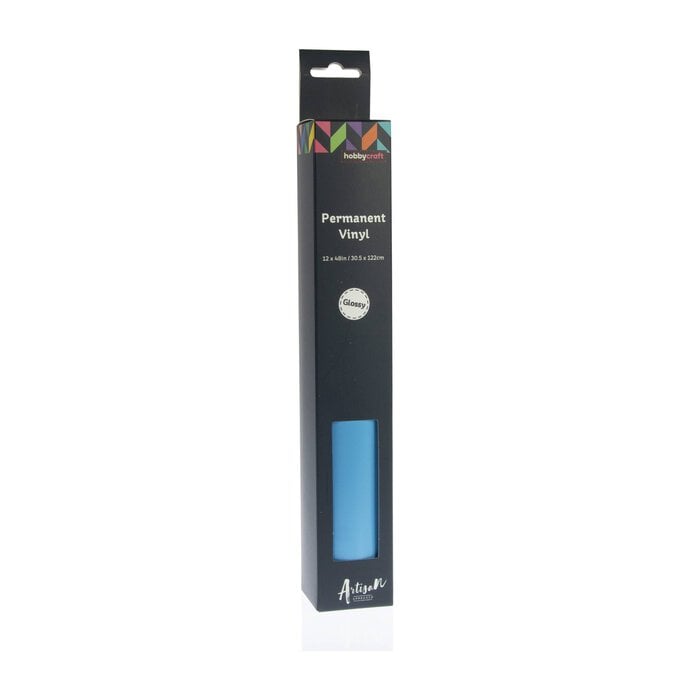
* Blue Glossy Permanent Vinyl

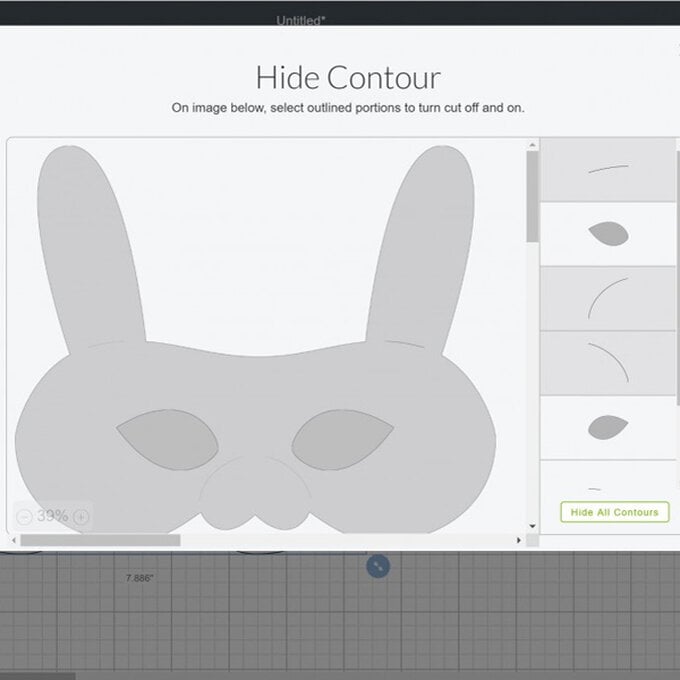
Using a laptop/Mac/iPad/iPhone/Android device, log on to your Design Space™ account and make sure you are connected to your Explore Air 2 machine. Open a new project. In Images, search for and select a 'rabbit mask'.
Resize the image to approximately 7.5” wide.
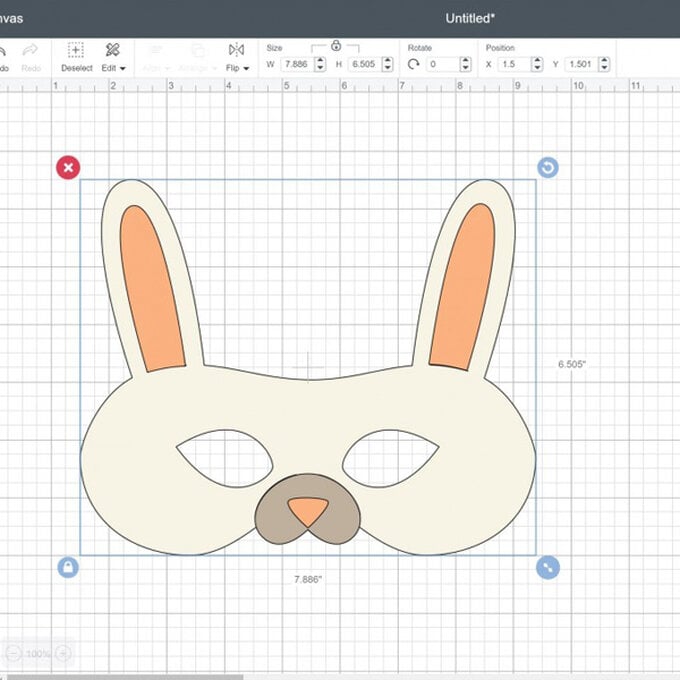
Un-group the layers. Use 'hide contour' on each layer to remove the cut placement lines.
Cut three copies of the project from the appropriate coloured felt, making sure to cut the main face section of the project twice from the same coloured felt. Also ensure that your Explore Air 2 is fitted with the Bonded Fabric Blade and appropriate housing and that your using the FabricGrip Cutting Mat.
Tip: Make sure to add iron-on interfacing to the back of each felt sheet before commencing cutting.
Use the brayer to apply the materials to the cutting mat, this will ensure good contact is made between the fabric and the mat.
Carefully remove each cut image from the cutting mat using the remover tool.
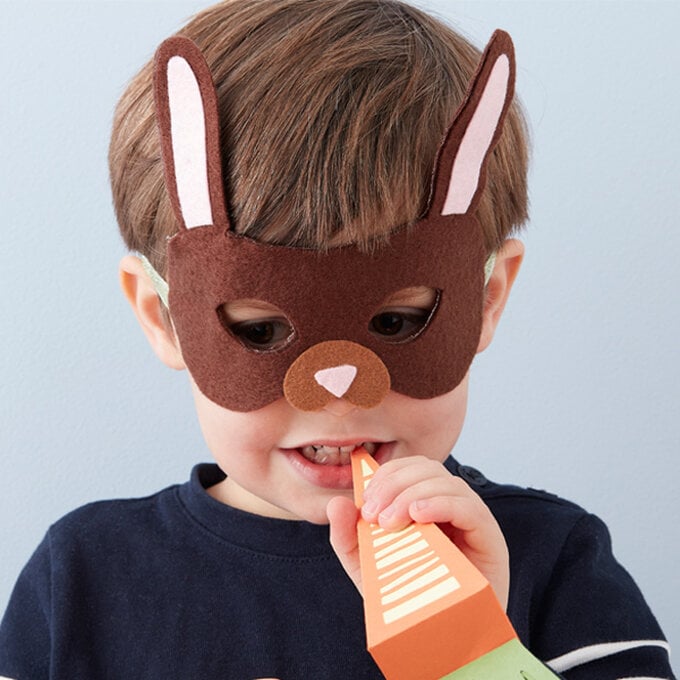
Trim two pieces of ribbon per mask, with each measuring approximately 20cm in length, sandwich one end of each ribbon pair either side of the main mask felt piece using fabric glue to adhere them in place. Then add the eyes and the ears using fabric glue once more.
Leave until completely dry before use.
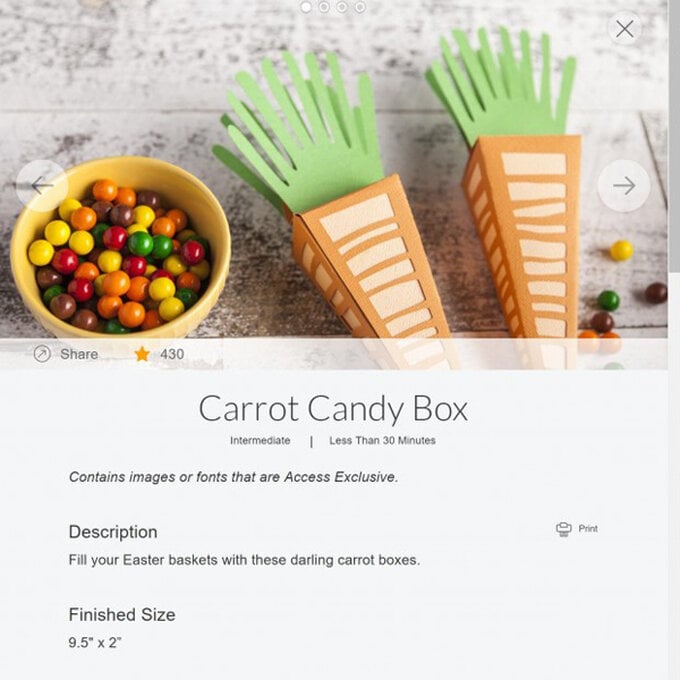
Using a laptop/Mac/iPad/iPhone/Android device, log on to your Design Space™ account and make sure you are connected to your Explore Air 2. Search for 'Carrot Candy Box' within the project library.
Click customise to re-size or alter the image or 'make it' to cut it as designed. The project makes one box measuring approximately 9.5 x 2”.
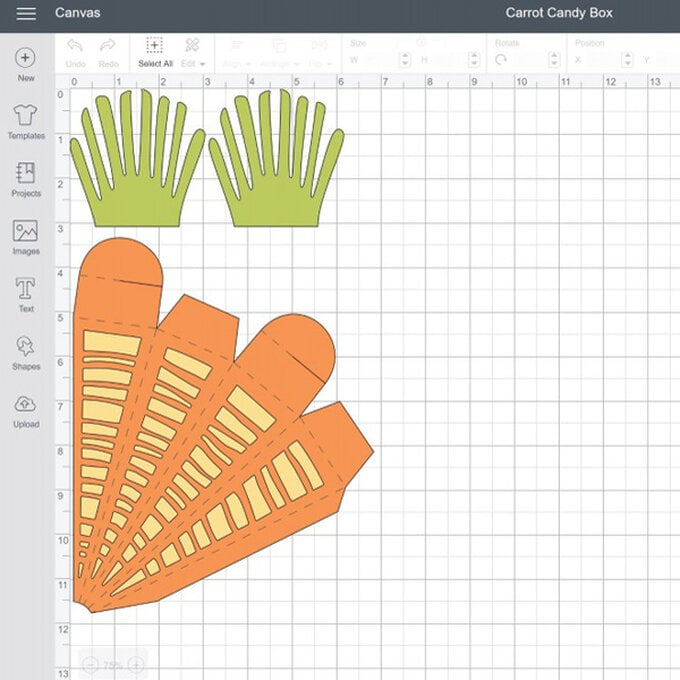
Cut the layers from the appropriate coloured cardstock, inserting the scoring stylus into the accessory port A when prompted.
Tip: Use the scraper tool to apply the materials to the cutting mat.
Carefully remove each cut image from the cutting mat. Use the silicone side of the scraper tool to carefully crease the score lines of the box.
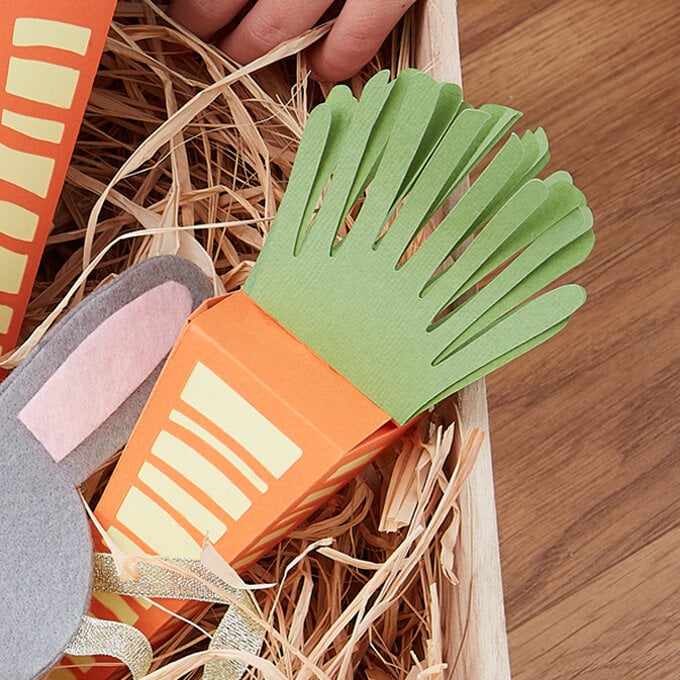
Using a small amount of glue, secure the yellow pieces to the inside of the carrot box taking care to only put glue where it will not be seen. Fold the box up, then carefully glue the tab along the side of the box.
Fill the box with sweet treats, then carefully fold the top panels and glue the grass pieces on the outside of the top tabs making sure that no glue goes into the slit.
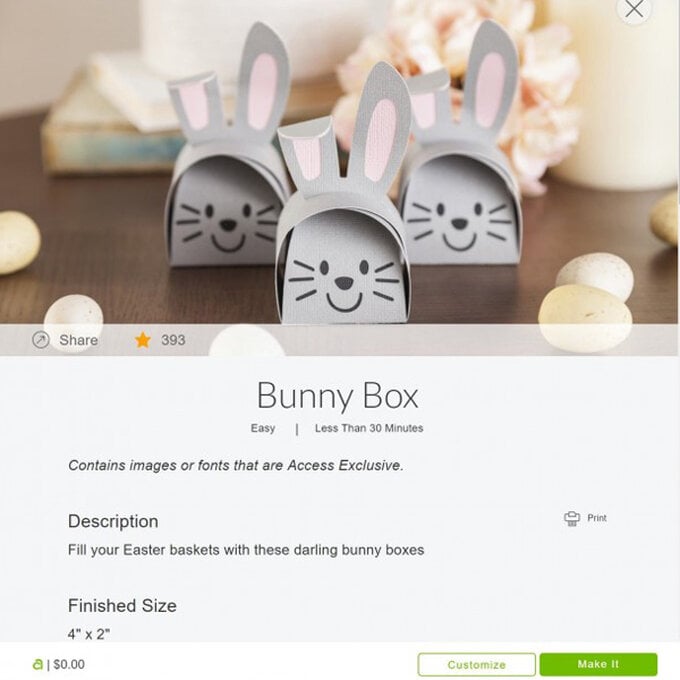
Using a laptop/Mac/iPad/iPhone/Android device, log on to your Design Space™ account and make sure you are connected to your Explore Air 2 machine. Search for 'Bunny Box' within the project library.
Click customise to re-size or alter the image or 'make it' to cut it as designed. The project makes one box measuring approximately 4 x 2”.
Cut the layers from the appropriate coloured cardstock, inserting the scoring stylus into the accessory port A when prompted.
Tip: Use the scraper tool to apply the materials to the cutting mat.
Carefully remove each cut image from the cutting mat. Use the silicone side of the scraper tool to carefully crease the score lines of the box.
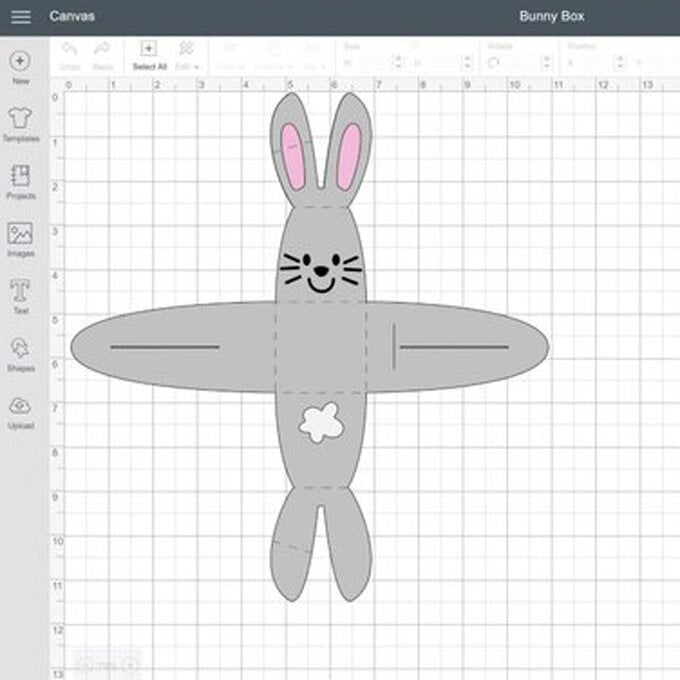
Using a sparing amount of tacky glue, stick the dark grey layer to the back of the face, followed by the pink layer to the back of the ears. Finally, adhere the white layer to the back of the tail.
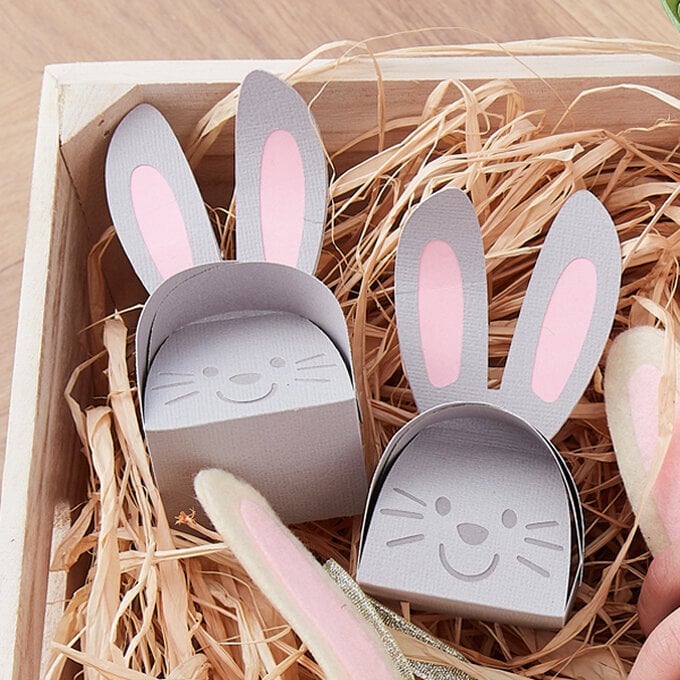
Fill the box with treats. Carefully folding up the box, passing the ears through the slits. Glue the ears together (pink sides inside), and then fold down the left ear across the score line.
To create the personalised greeting on the front of the crate, select your favourite font from Cricut Design Space and cut from adhesive vinyl.
Once cut, use a weeding tool to remove all the negative pieces of vinyl from the design. Apply Transfer tape over the design, and use the scraper tool to ensure good contact. Slowly and carefully remove the transfer tape, which in turn will lift the vinyl away from the carrier sheet, once the adhesive vinyl design is free of the carrier sheet, place on to the crate and then apply.
Use the scraper tool once more to ensure good contact between the adhesive vinyl and the surface of the crate, then carefully and slowly begin to peel away the transfer tape.
Related Products