Cricut: How to Make a Personalised Notebook
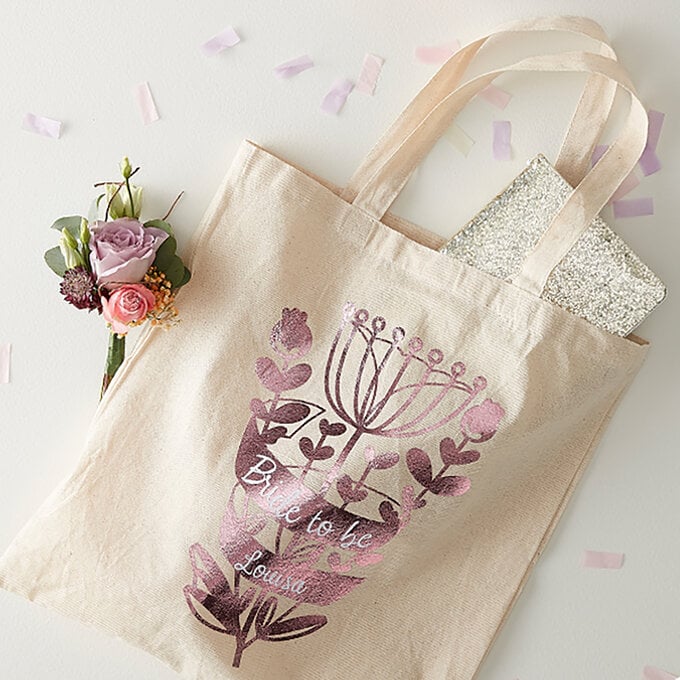
Create the perfect gift with your Cricut machine. Using Cricut Adhesive Vinyl and Transfer Tape you can create this modern, personalised notebook and give your recipient a one-of-a-kind present that shows them how much you care.
Follow the simple step-by-step instructions below to find out how. These can be personalised in whatever colours the recipient loves!
You will need
Subtotal
Is $ 12.00

Subtotal
Is $ 40.00
Subtotal
Is $ 12.00

Subtotal
Is $ 15.00
Subtotal
Is $ 422.00
Subtotal
Is $ 8.49
How to make
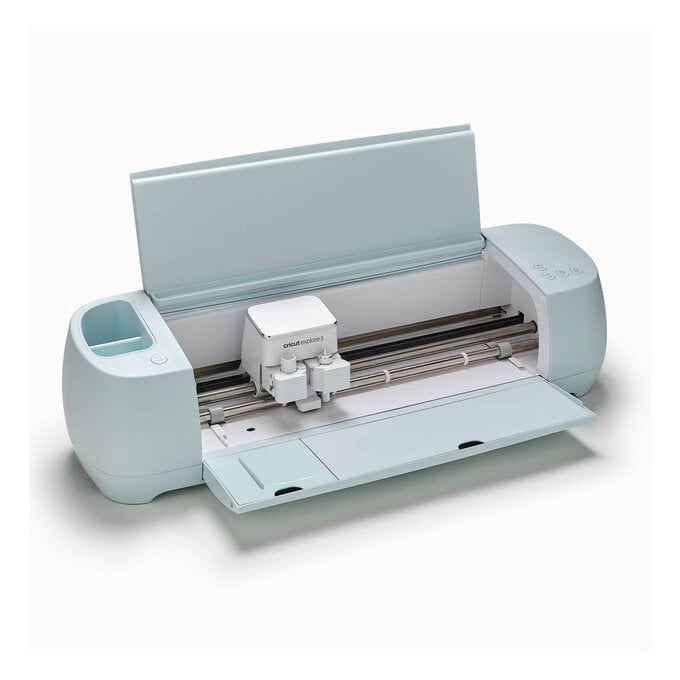
Open the Cricut Design Space app and start a new project, open the “Text' menu from the toolbar at the bottom of the screen. Search “Boys will be boys” in the search bar.

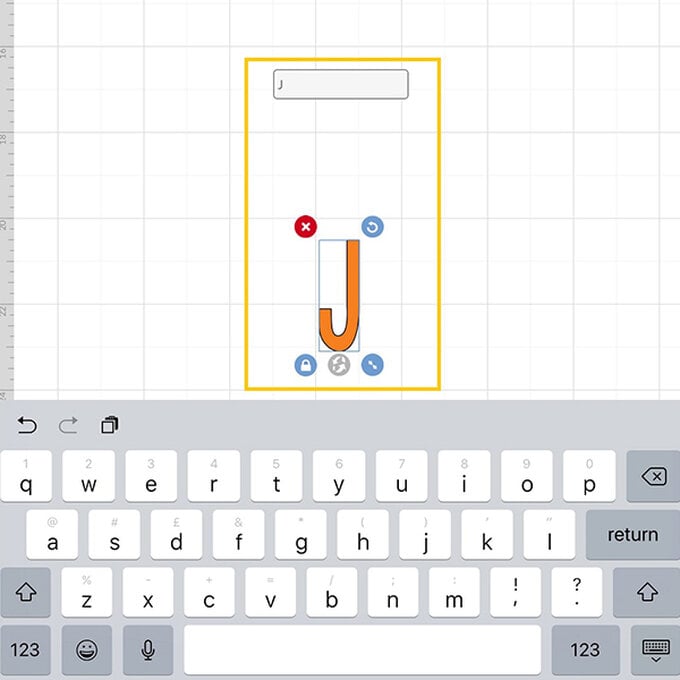
Start by typing your initial of choice into the text box that appears on screen.
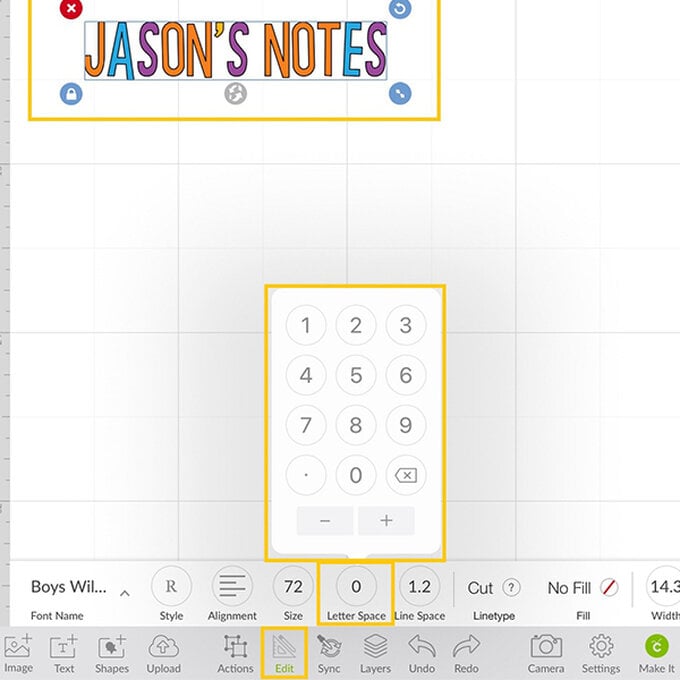
Select the “Text” function once more along with the “Boys Will Be Boys” font, this time typing the name followed by the word “Notes”.

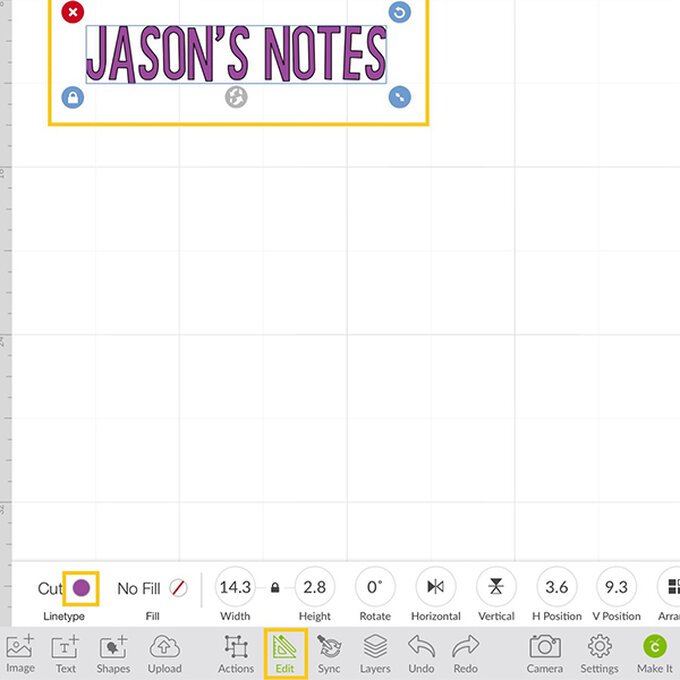
With the phrase selected amend the letter spacing to 0 by opening the “Edit” menu.
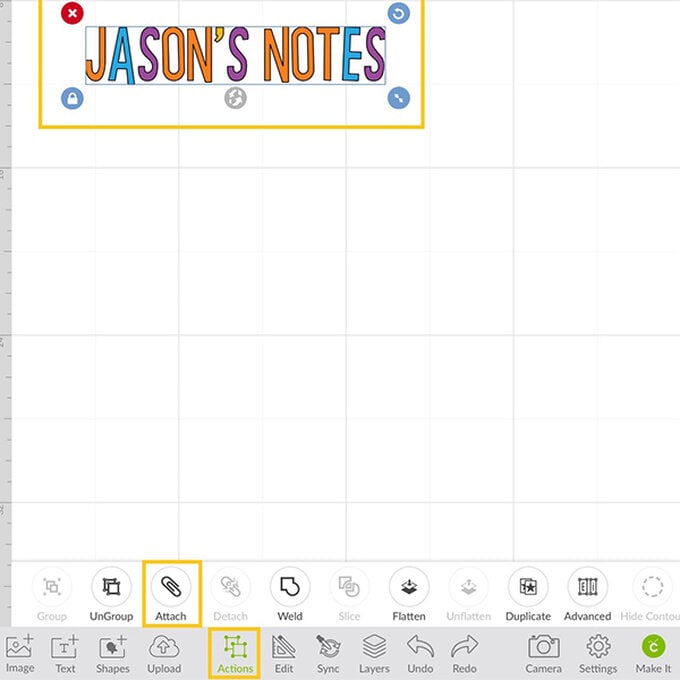
Then select “Attach” from the “Actions” menu.
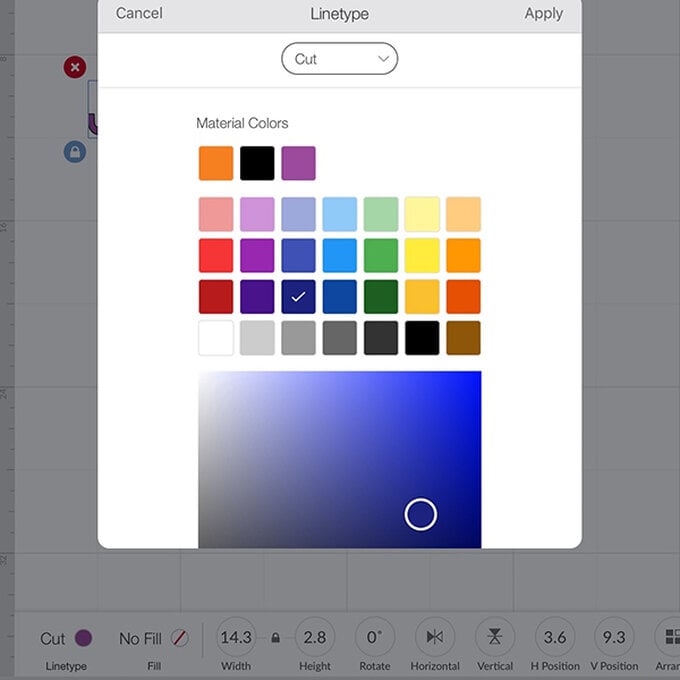
Amend the colour of the text to best match the vinyl you intend to use. To do this click on the colour swatch to the right of the word “Cut” in the “Edit” menu.
Using a ruler, measure the area where you would like each of the elements to sit. Amend the size of each using the “Edit” menu in the toolbar at the bottom of the screen, making sure that each element is selected before doing so and that the padlock icon is locked.

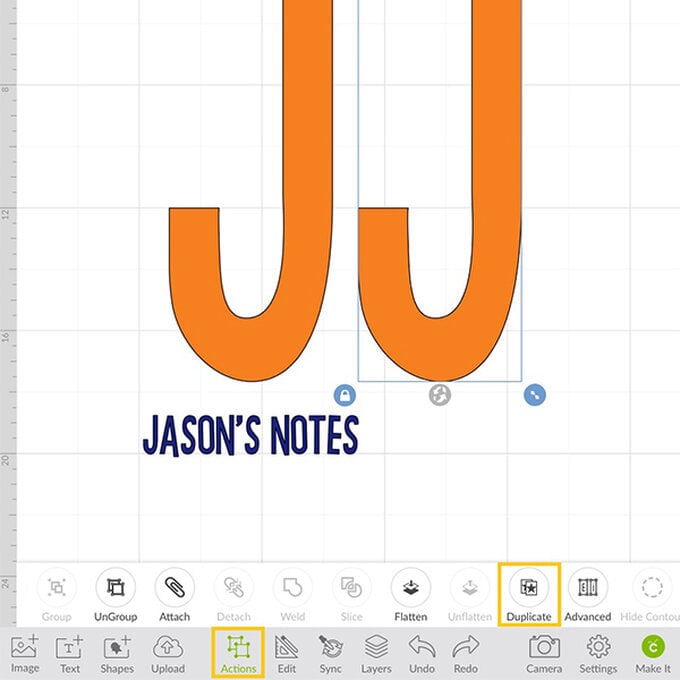
With the initial selected, open the “Actions” menu and select “Duplicate” to create two initials.
Open the “Shapes” menu and insert two squares.
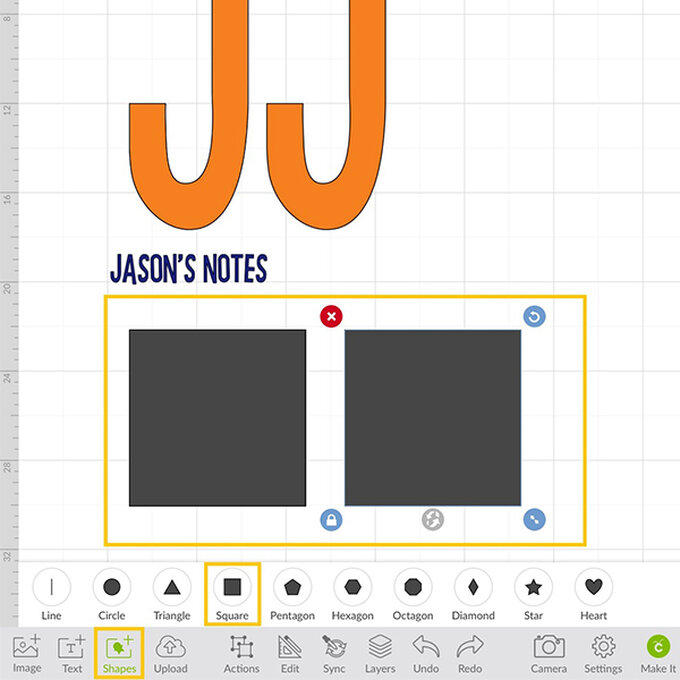
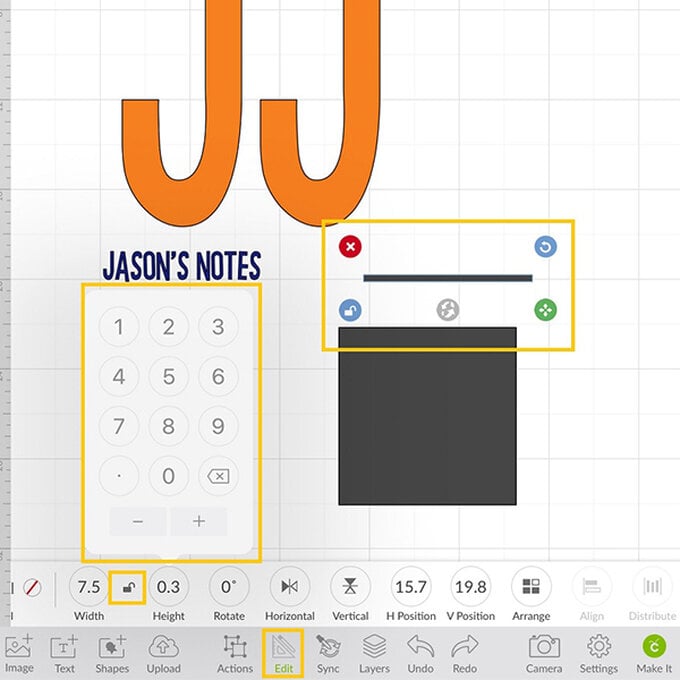
With one of the squares selected open the “Edit” menu and amend the measurements to suit your design, ours measured 7.5cm wide and 0.3cm high.
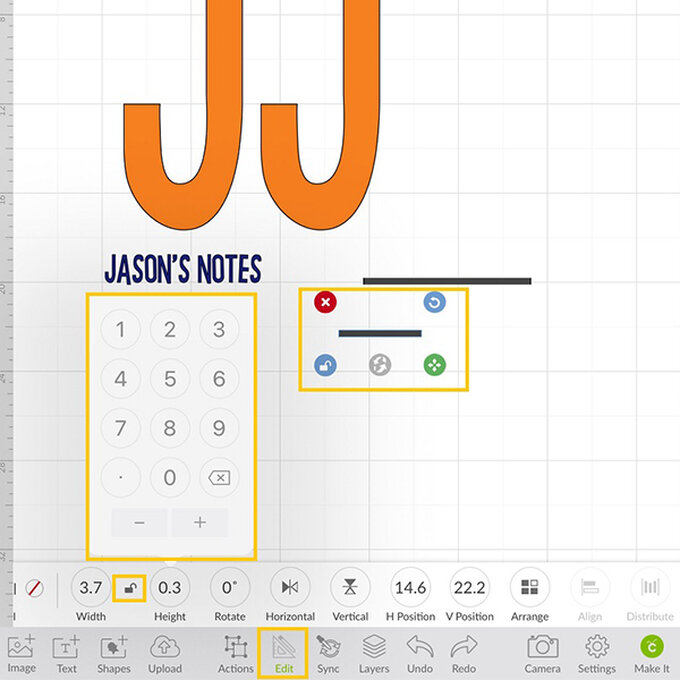
Select the remaining square and amend the measurement of this also, ours measured slightly smaller than the last at 3.7cm wide and 0.3cm high.
Amend the colour of the remaining elements in the same way as done in step five.
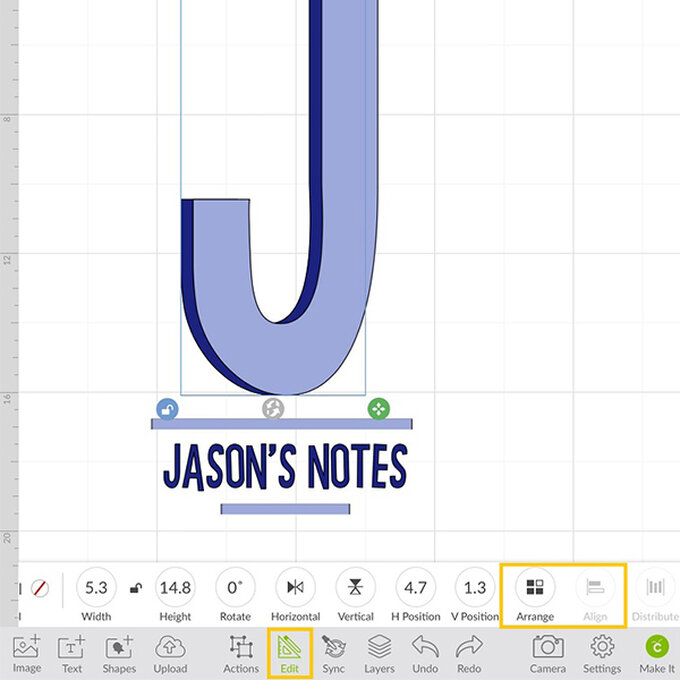
Position the elements on the canvas in the way you would like them to appear on the notebook, making use of the “Align” and “Arrange” functions in the “Edit” menu where necessary.
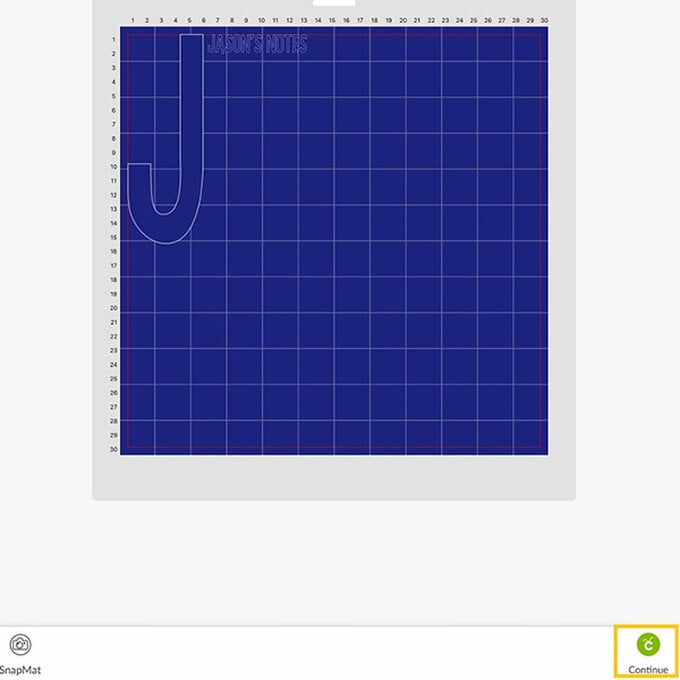
Once happy with the design, click the green “Make It” button in the bottom right-hand corner of the screen.
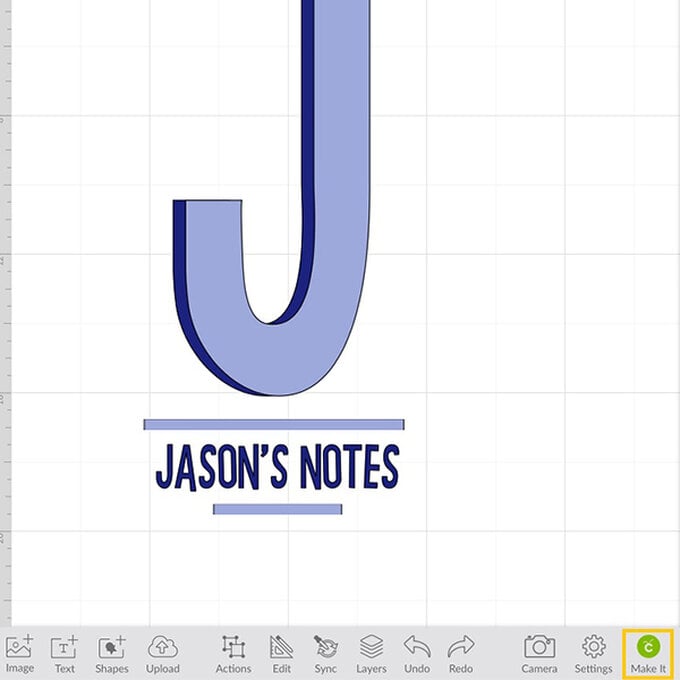
You'll then be taken through to the mat preview screen, double-check everything is as it should be before clicking on “Continue”.
Follow the on-screen instructions to cut out the design using the Premium Vinyl cut setting. Once everything has cut, carefully remove each of the pieces from the cutting mat and weed using the weeder tool and BrightPad.
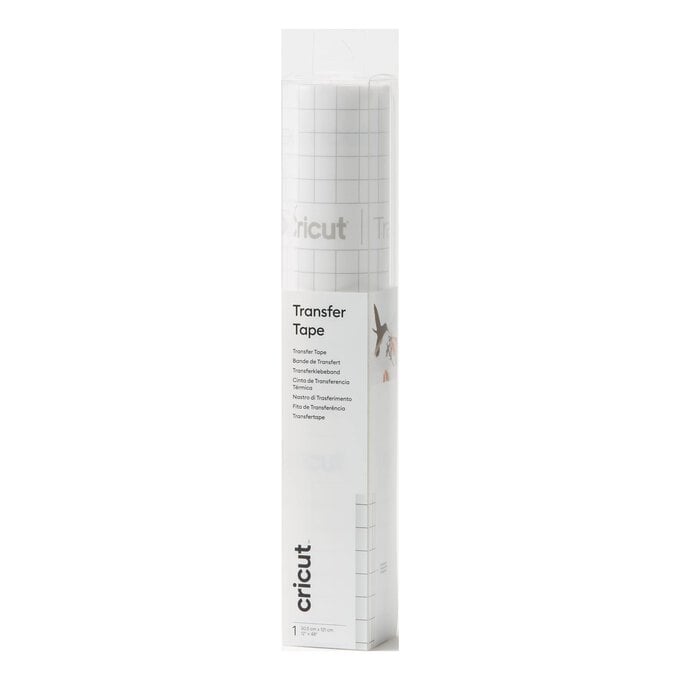
Place the elements onto the notepad using Cricut Transfer tape and the scraper tool. Start by peeling the backing sheet away from the Transfer Tape and then placing on top of the weeded vinyl design, using the scraper tool to ensure good contact between the vinyl and Transfer Tape.
Carefully peel away the backing paper from the vinyl, then position the design onto the notebook, use the scraper tool once more to ensure good contact between the vinyl and notebook, then carefully remove the Transfer Tape, peeling the tape away at an angle of approximately 45° angle.
Repeat step 15 with the remaining elements of the design until complete.

Related Products

Is $ 8.49