Cricut: How to Make a Personalised Santa Sack
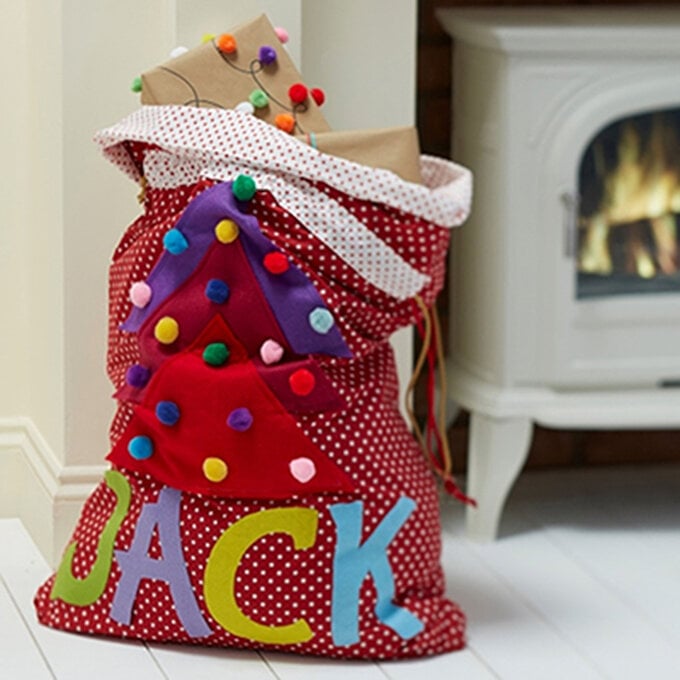
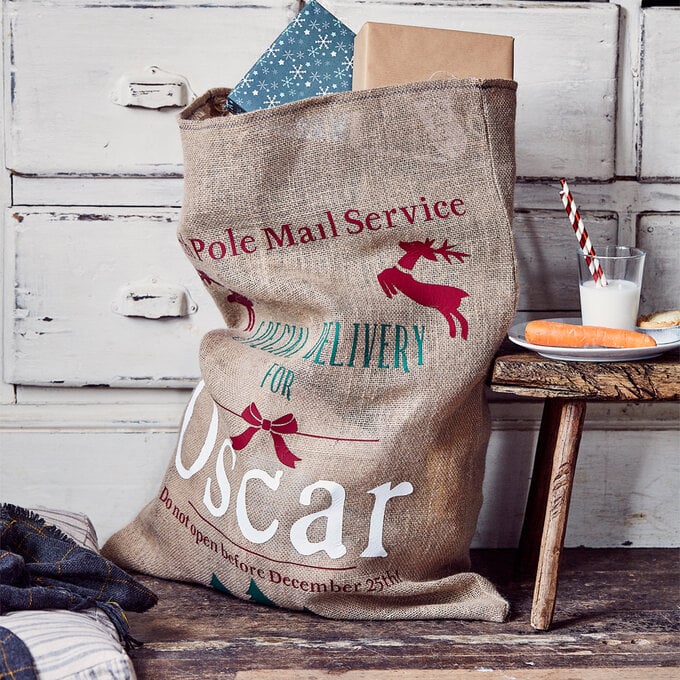
Keep presents well and truly under wraps until the big day with this personalised Santa sack design, perfect for little ones and adults alike. Customise your Santa sack even more by using the lucky recipients favorite colours; there are hundreds of iron-on vinyls to choose from, including foils, holographics and glitters, to name but a few.
You will need
Subtotal
Is $ 120.00
Subtotal
Is $ 27.00

Subtotal
Is $ 8.49
Subtotal
Is $ 17.00
Subtotal
Is $ 20.00
Subtotal
Is $ 20.00

Subtotal
Is $ 606.00
How to make
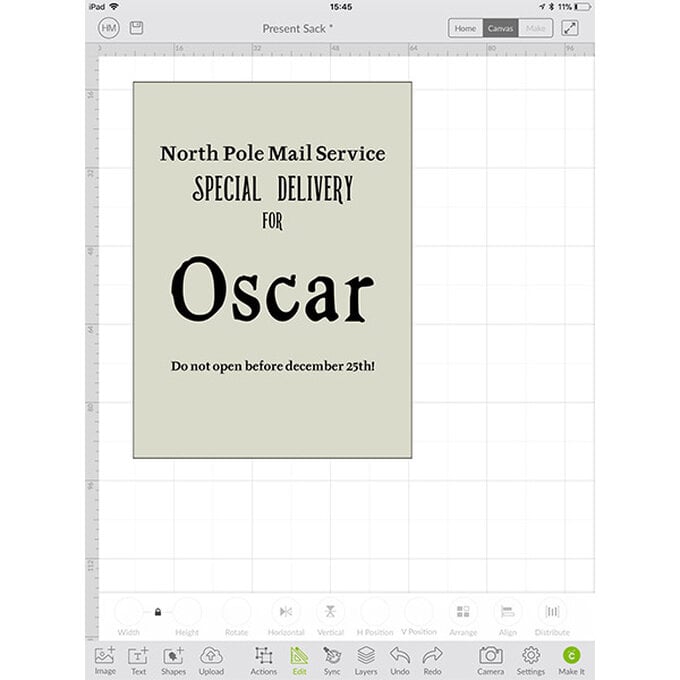
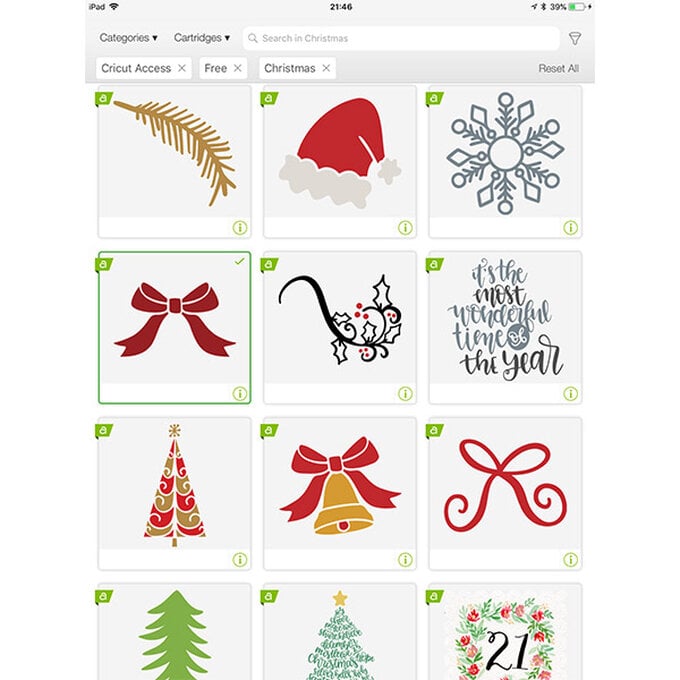
Login to Design Space, you will need Cricut Access for this project. Open a blank canvas and create a 57 x 77cm rectangle to use as a template for your design.
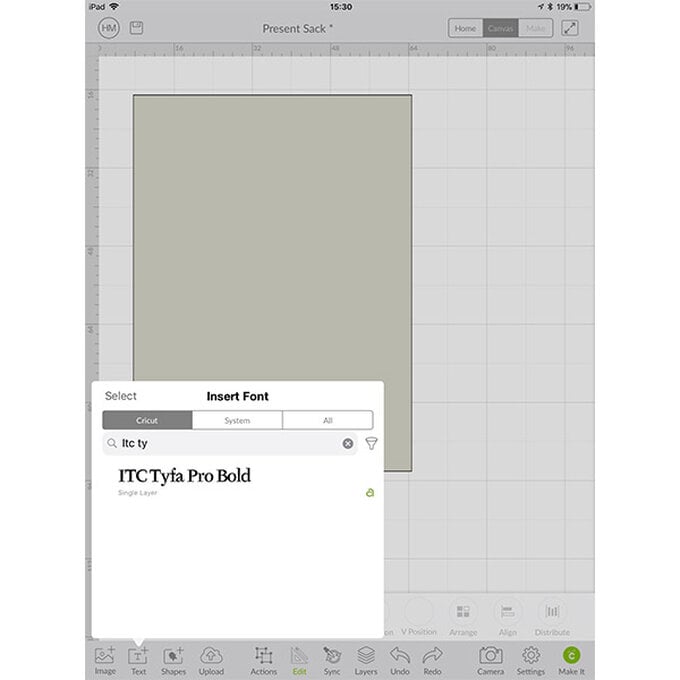
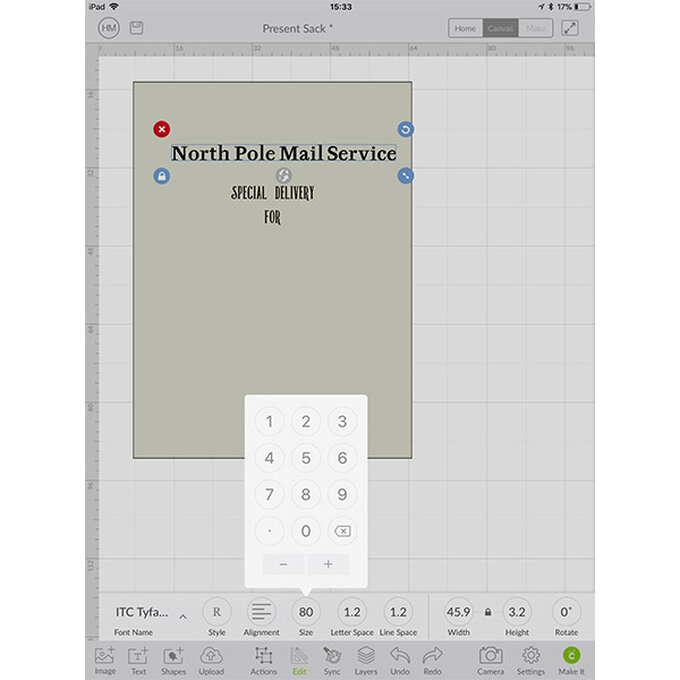
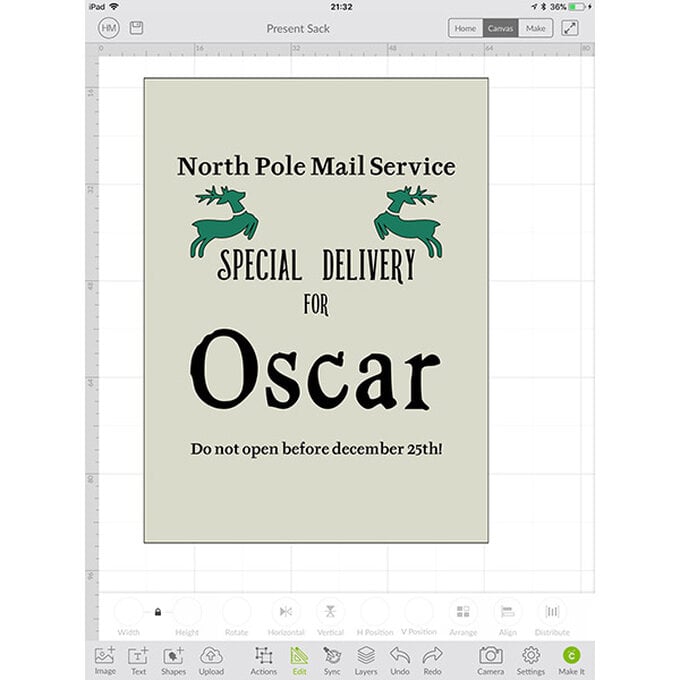
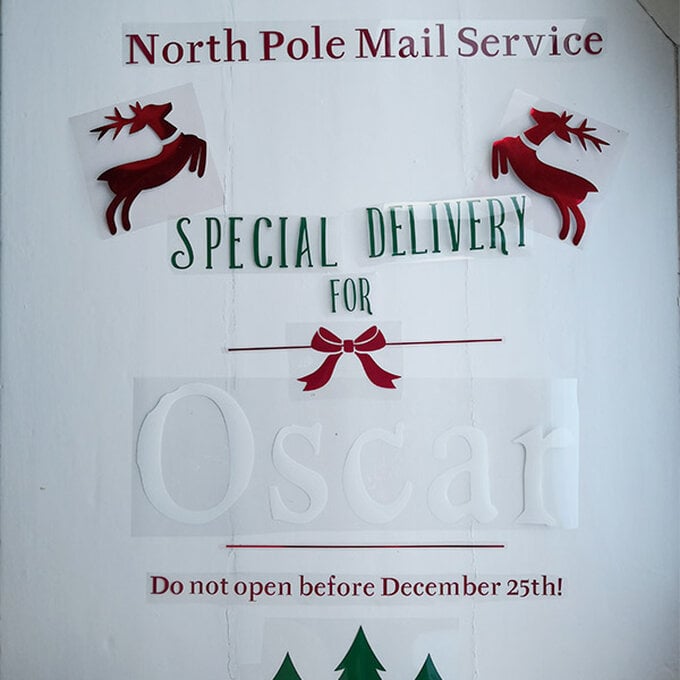
Click on the 'Text' button located in the menu at the bottom of the screen. Once the text menu pops up, type 'ITC Tyfa Pro Bold' in the search bar and select the font. Type 'North Pole Mail Service' in the text box that appears on the canvas. Position so that it sits at the top and centre of your rectangle.
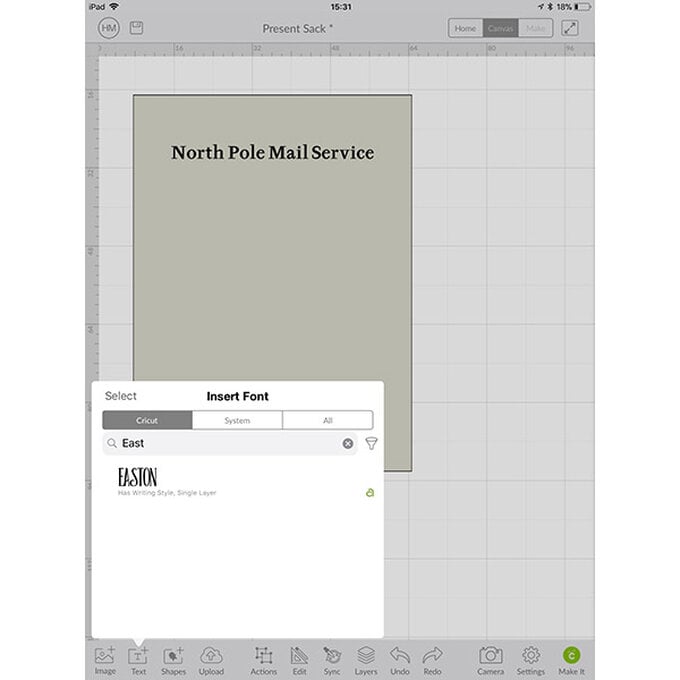
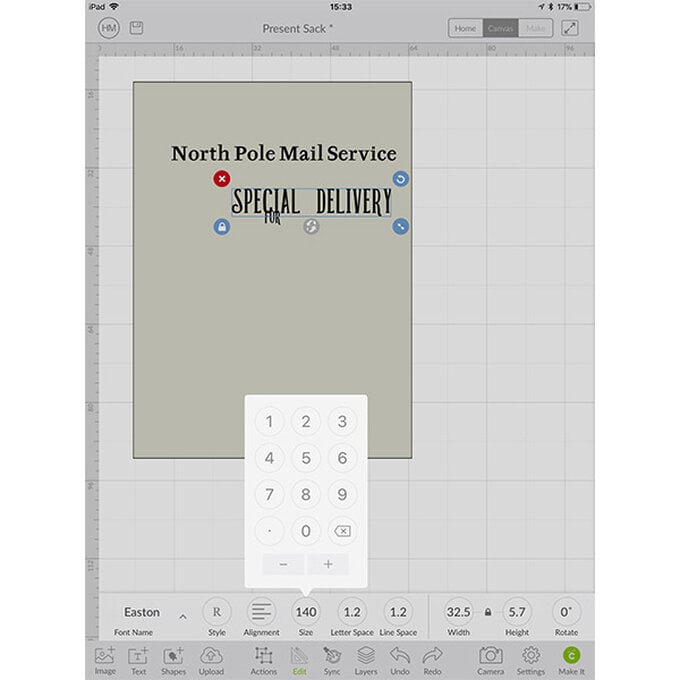
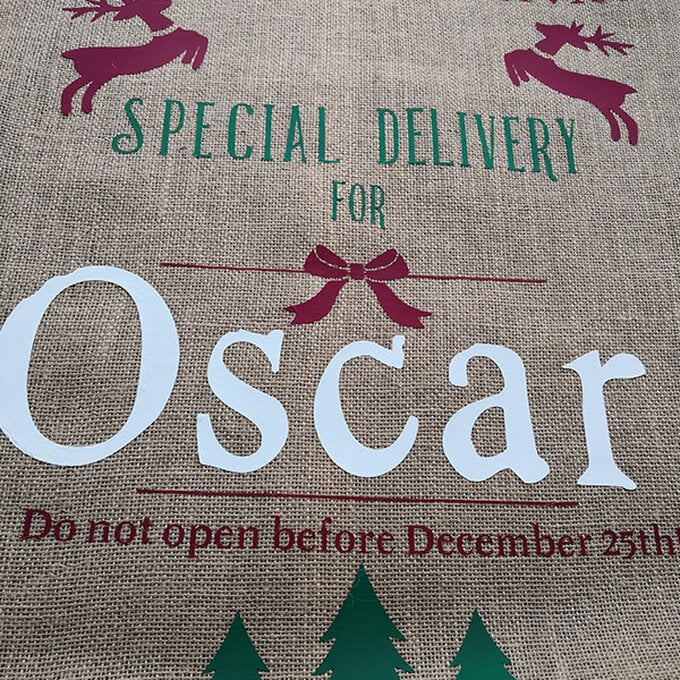
Click on the 'Text' button located in the menu at the bottom of the screen. Once the text menu pops up, type 'Easton' in the search bar and select the font. Type 'Special Delivery' in the text box that appears on the canvas. Repeat and type 'For'.
Resize 'North Pole Mail Service' text to font size of 80.
Resize 'Special Delivery' text to font size 140.
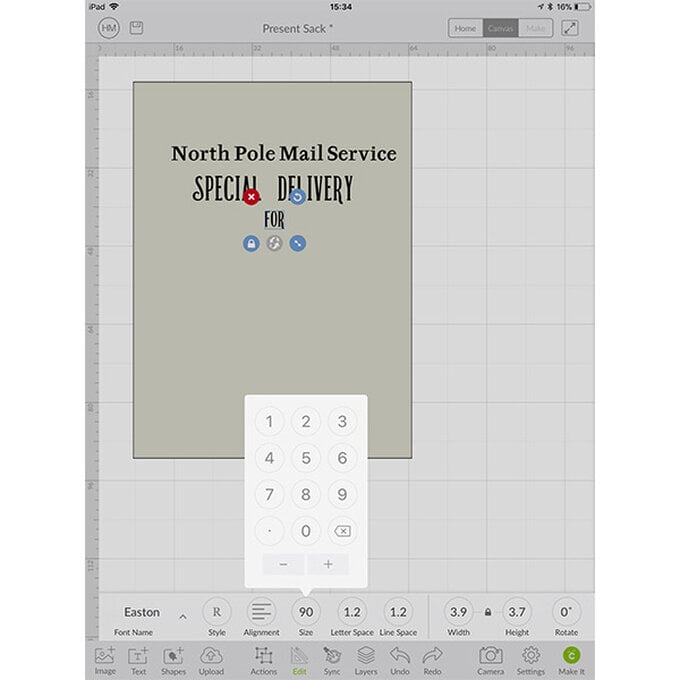
Resize 'For' text to font size 90.
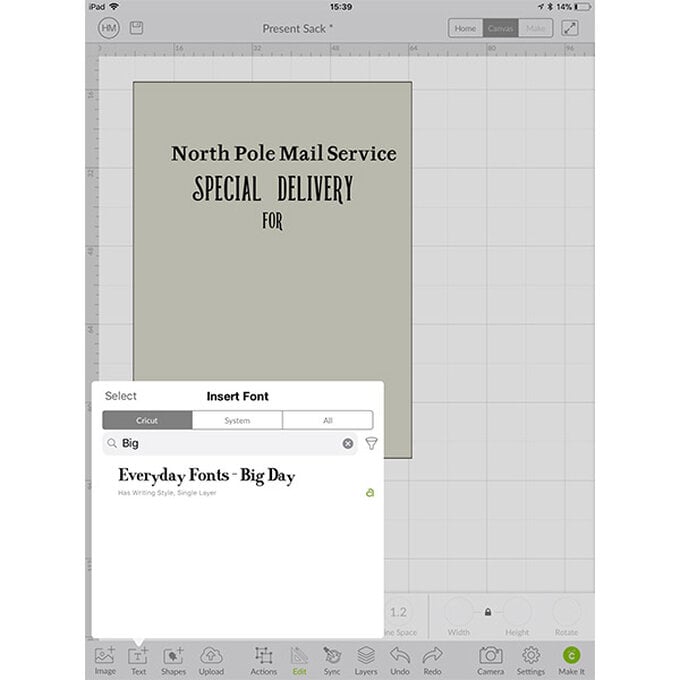
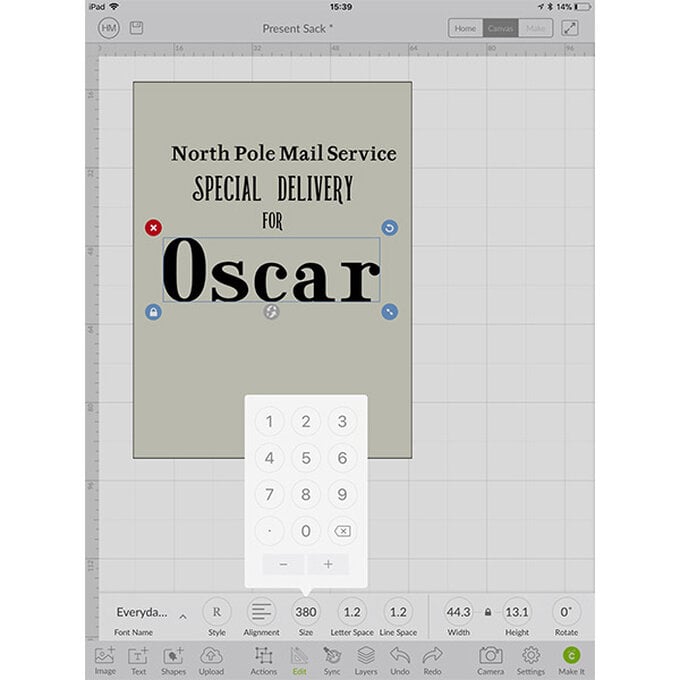
Click on the 'Text' button located in the menu at the bottom of the screen. Once the text menu pops up, type 'Big Day' in the search bar and select the font. Type your chosen name in the text box that appears on the canvas. Resize to font size 380.
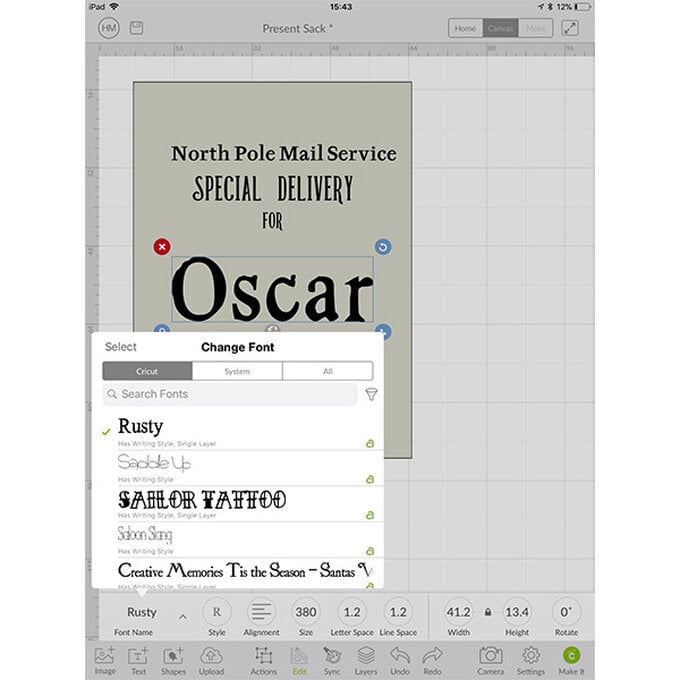
Click on the 'Text' button located in the menu at the bottom of the screen. Once the text menu pops up, type 'Rusty' in the search bar and select the font. Type 'Do not open before December 25th!' in the text box that appears on the canvas. Re-size to font size 46.

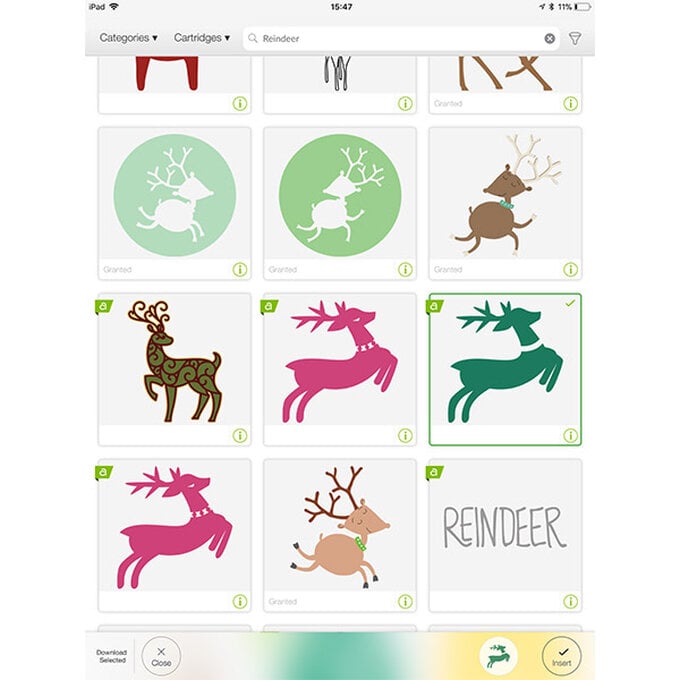
Select 'Image' from the toolbar at the bottom of the screen and type 'Reindeer' into the search bar. Select the design below and click 'Insert'.
With the 'Actions' menu and the Reindeer selected, click on 'Duplicate'.

With the 'Edit' menu and the new Reindeer selected, click on 'Horizontal' to flip.
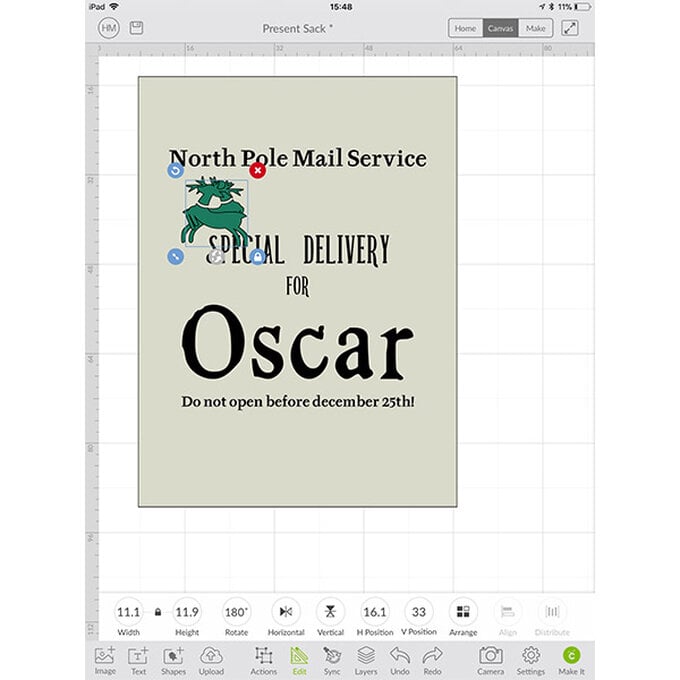
Move the second reindeer and place on the other side.
With the 'Shapes' menu selected, click and insert a square.
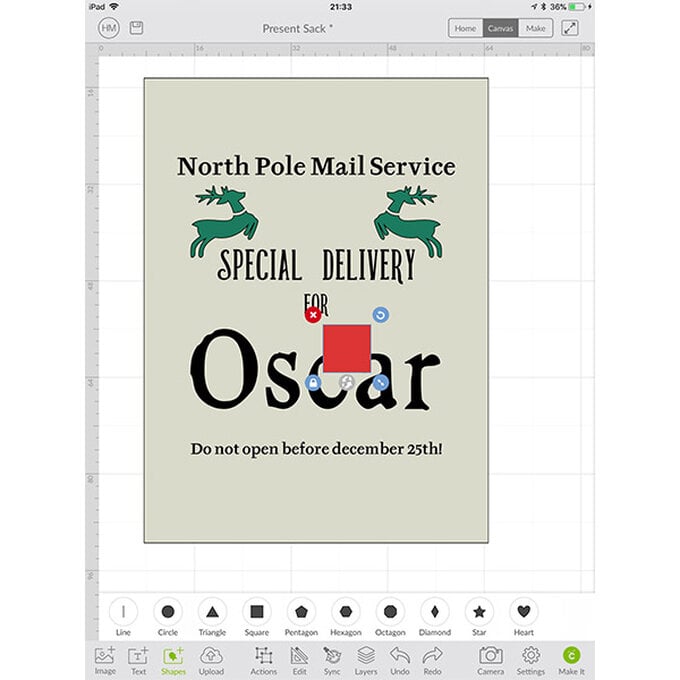
With the 'Edit' menu and the new square selected, re-size to 30 x 0.2cm ensuring that the padlock icon is unlocked so that you can amend the size of the width and height independently.
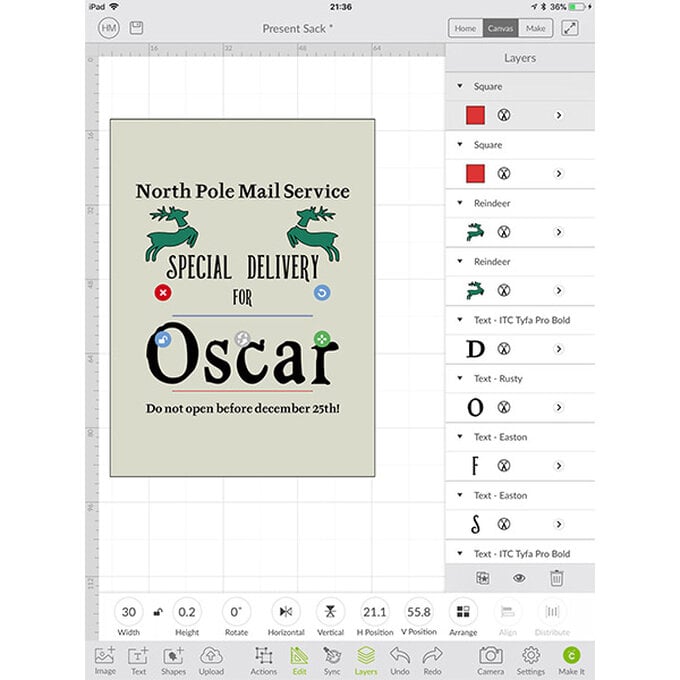
With the 'Actions' menu and the resized square selected, click on 'Duplicate'. Place one skinny rectangle above and one below your chosen name.
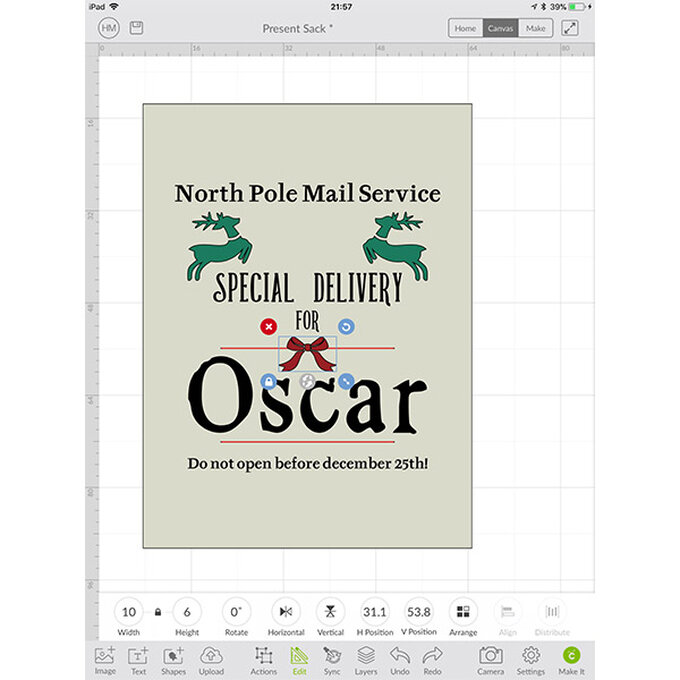
Select 'Image' from the toolbar at the bottom of the screen and type 'Bow' into the search bar. Select the design below and click 'Insert'.
Re-size to 10 x 6cm and position centrally on the line above the name.
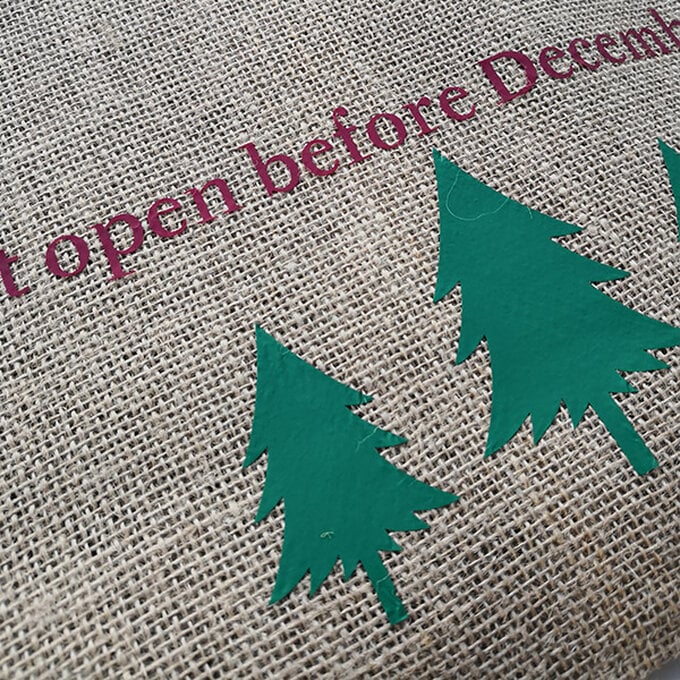
Select 'Image' from the toolbar at the bottom of the screen and type 'Merry Christmas' into the search bar. Select the design below and click 'Insert'.
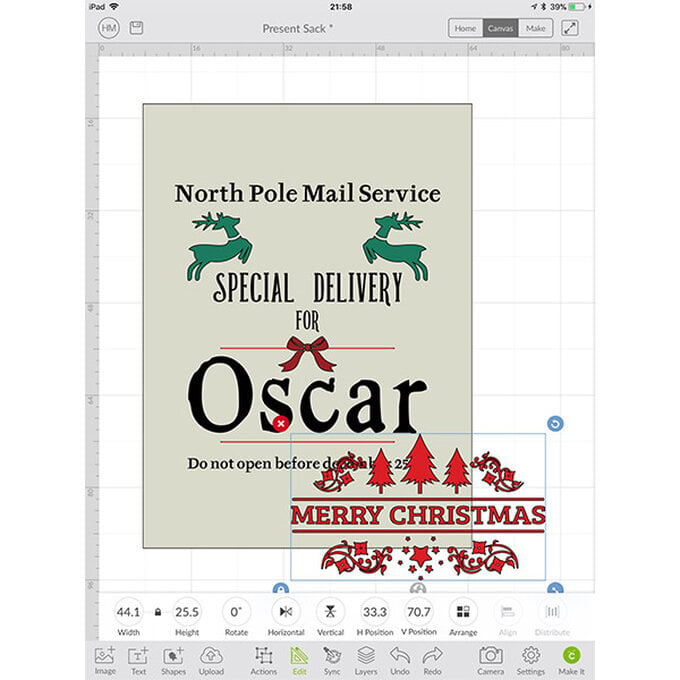
With the 'Actions' menu and the new image selected, click on 'Hide Contour'. Hide all but the three trees. Place at the bottom of the design.
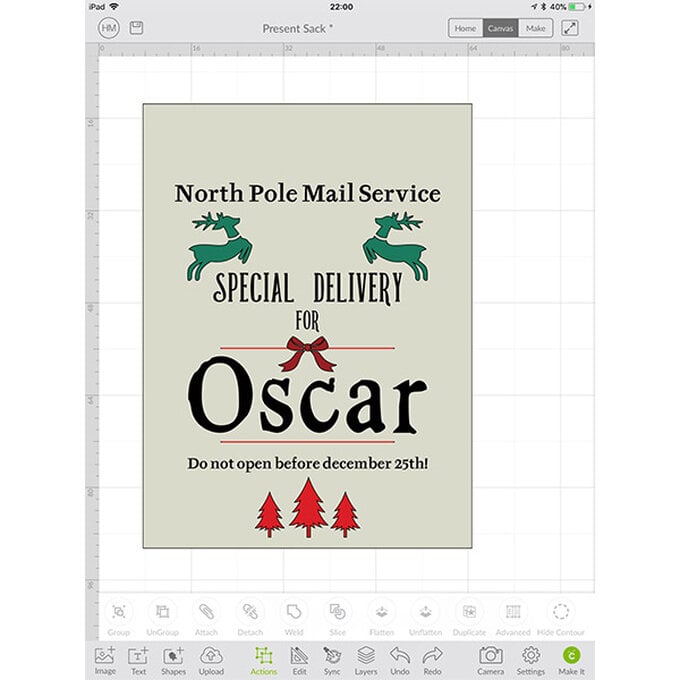
Remove the 57 x 77cm template.
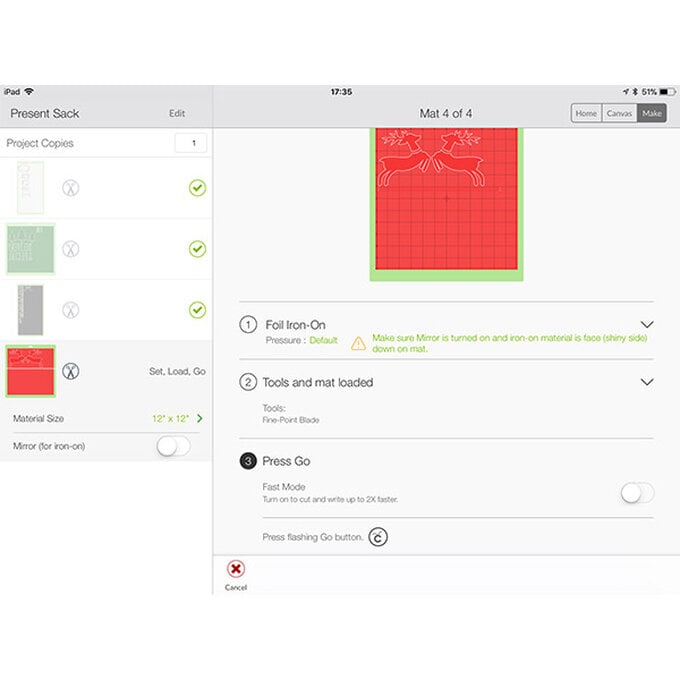
Click 'Make It' in the bottom right had corner and follow the on screen instructions. Always make sure that the 'Mirror' function is switched on when using Iron-on vinyl.
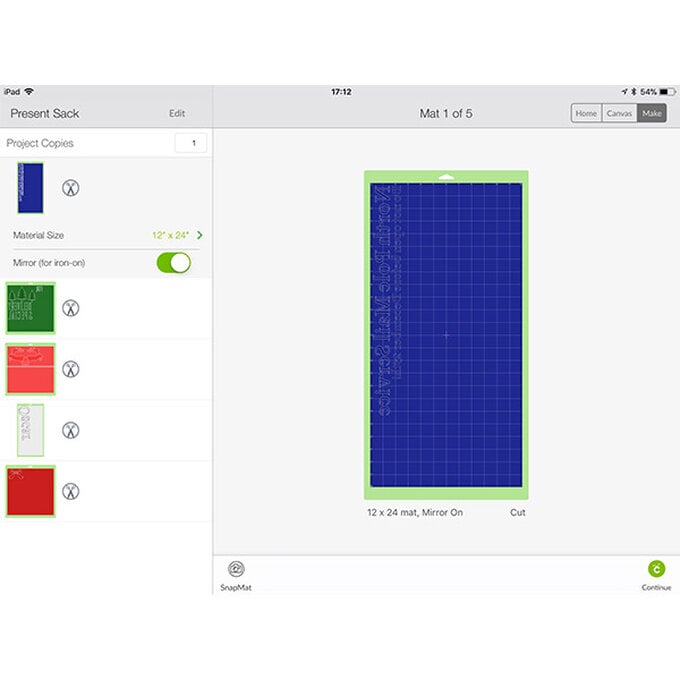

Follow the on screen instructions to cut your design.
Using a weeding tool, remove the negative space from the image and place to one side.
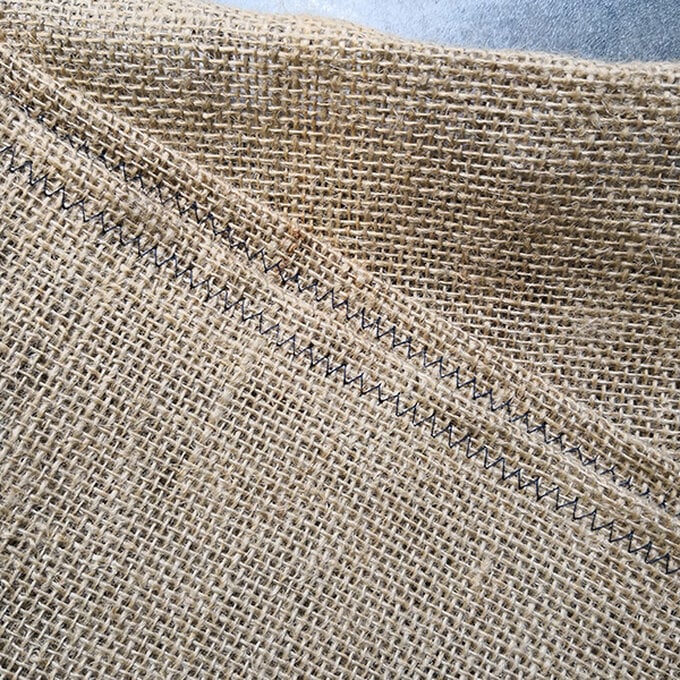
Take your hessian fabric, and with a pencil mark and cut out a 58 x 78cm rectangle on the fold, positioning the fold at the bottom.

With the right-sides facing, sew the side seams of the sack. Fold down 1cm from the top and zig-zag stitch across to create a hem. Press well.
Take your Cricut cuts from earlier and place on top of the sack.
Use Cricut's Interactive Guide to determine the best settings to set your EasyPress to, then adhere the designs one at a time to the sack, starting at the bottom and working your way up.

Fill the sack with presents then use a length of ribbon to tie around the top and enclose them, ready for the big day!
Related Products