Cricut: How to Make a Personalised Halloween Bag
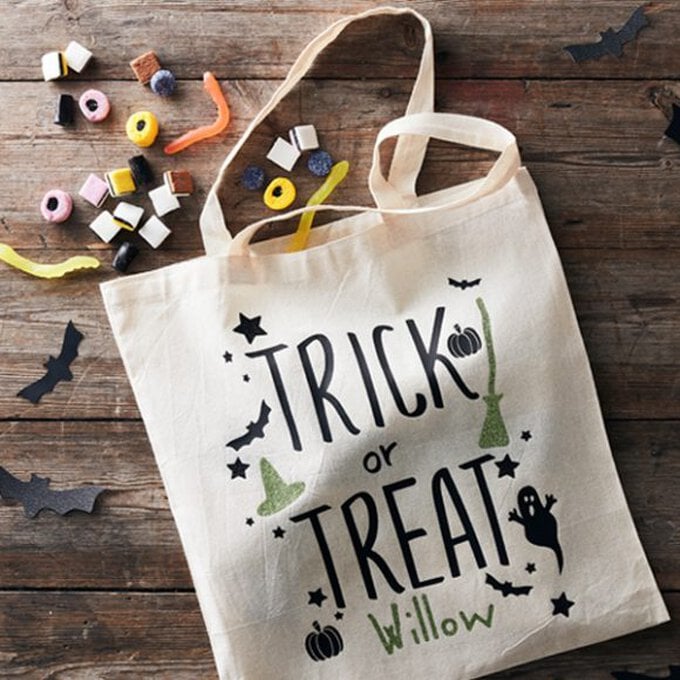
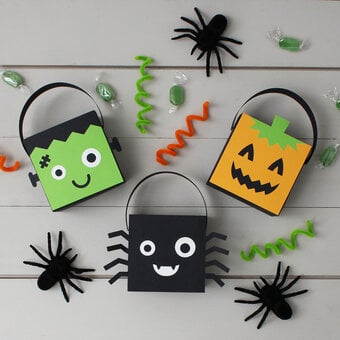
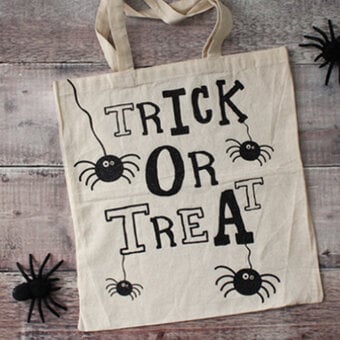
Why not make these personalised Cricut goody bags for the whole family, as part of an indoor Halloween treat hunt this year?
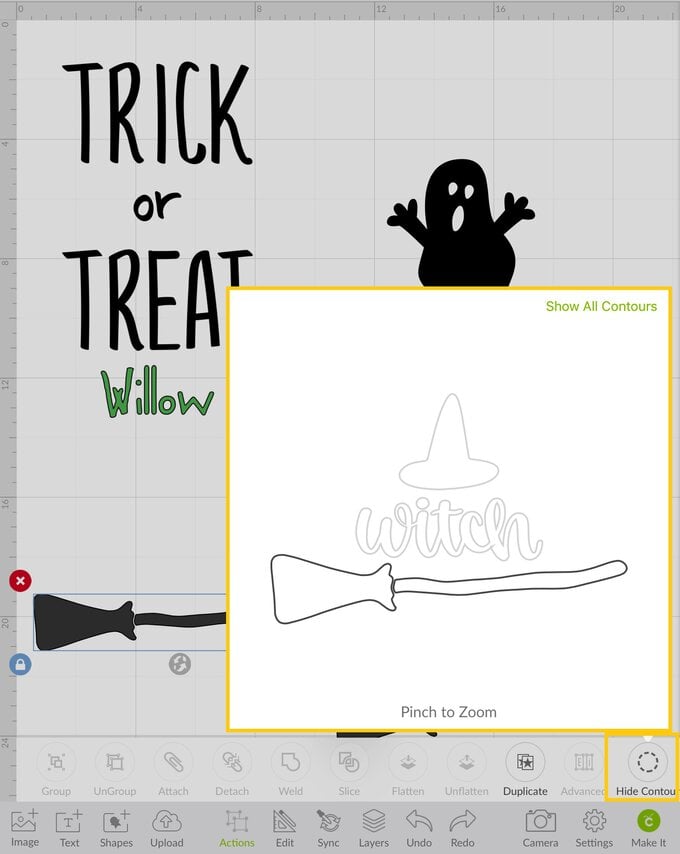
The 'Hide Contour' tool is one of my favourite tools in Design Space. The tool enables you to edit images and remove elements, here I've used this tool on Design Space images, but you could also use it on your own uploaded designs too!
You will need
Subtotal
Is $ 3.49
Subtotal
Is $ 17.00
Subtotal
Is $ 20.00
Subtotal
Is $ 12.00
Subtotal
Is $ 37.00
Subtotal
Is $ 40.00
Subtotal
Is $ 422.00
How to make
Using your iPad, log on to your Design Space™ account and make sure you are connected to your Cricut machine.
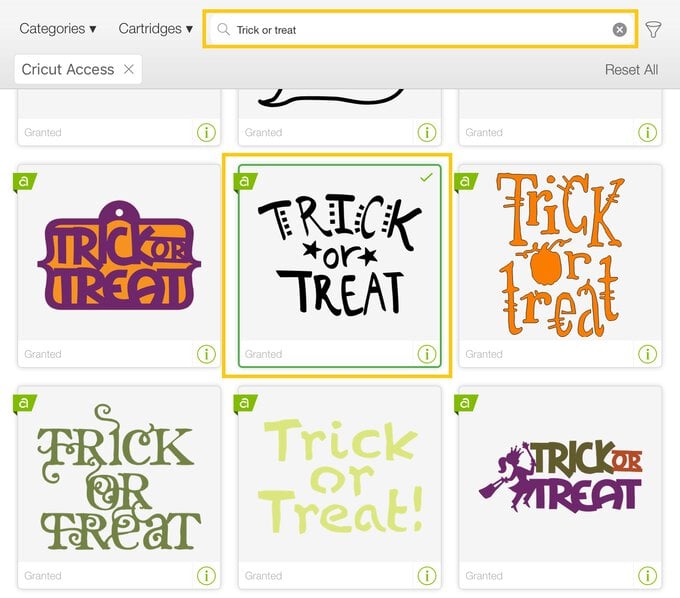
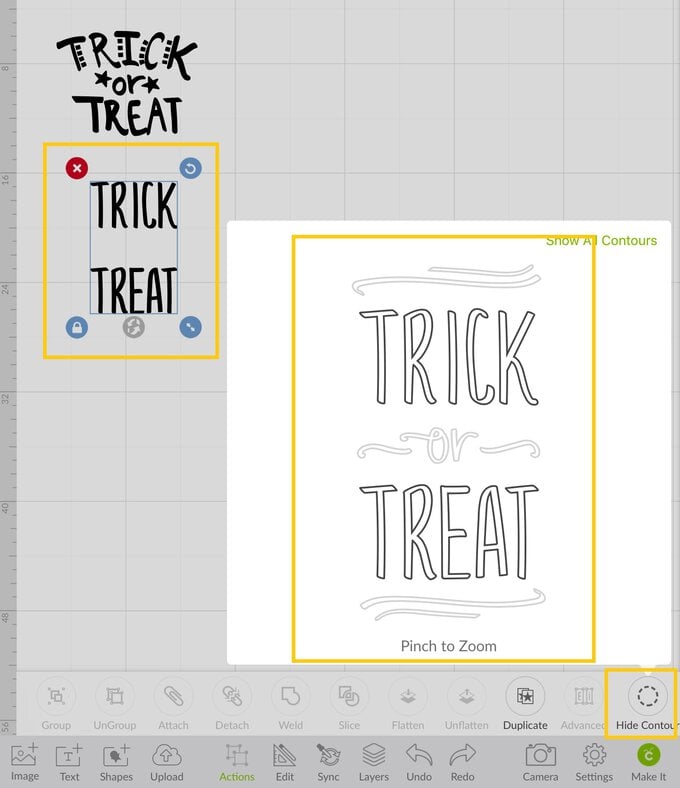
Once logged in and on the Cricut Design Space home screen, start a new project and then select the 'Image' menu from the toolbar at the bottom of the screen, type 'Trick or Treat' into the search bar, then select the below two images.
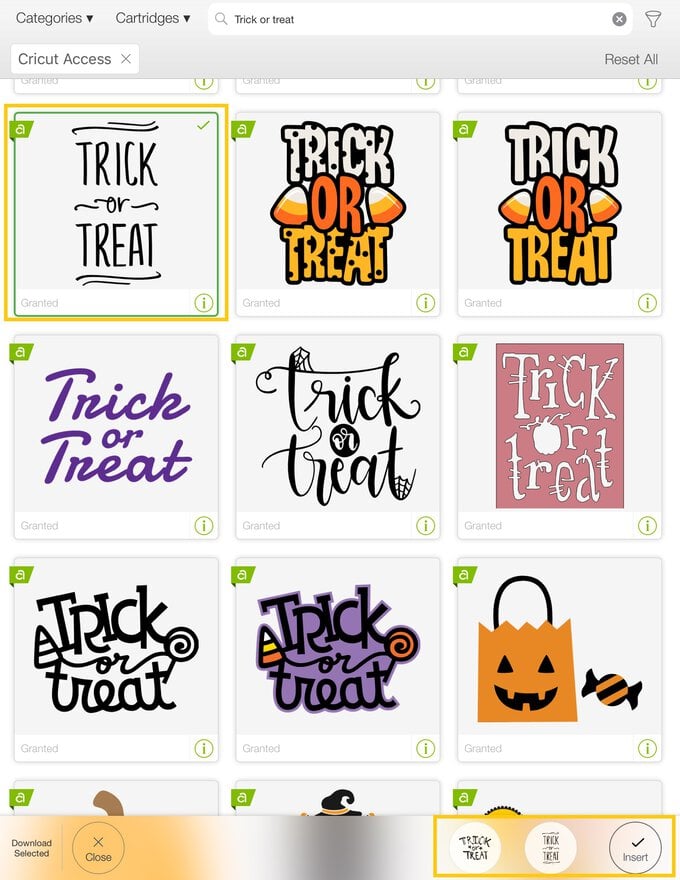
Once through to the Canvas, select the taller of the two images and then select the 'Hide Contour' function from the 'Actions' menu in the toolbar at the bottom of the screen. Select all of the lines and the central 'or' part of the greeting. You should have something that looks like the below –
Click on the second image to select it, click on the 'Hide Contour' feature once again, and click on all of the elements except for the 'or' part of the greeting. You should then be left with something that looks like the captured image.
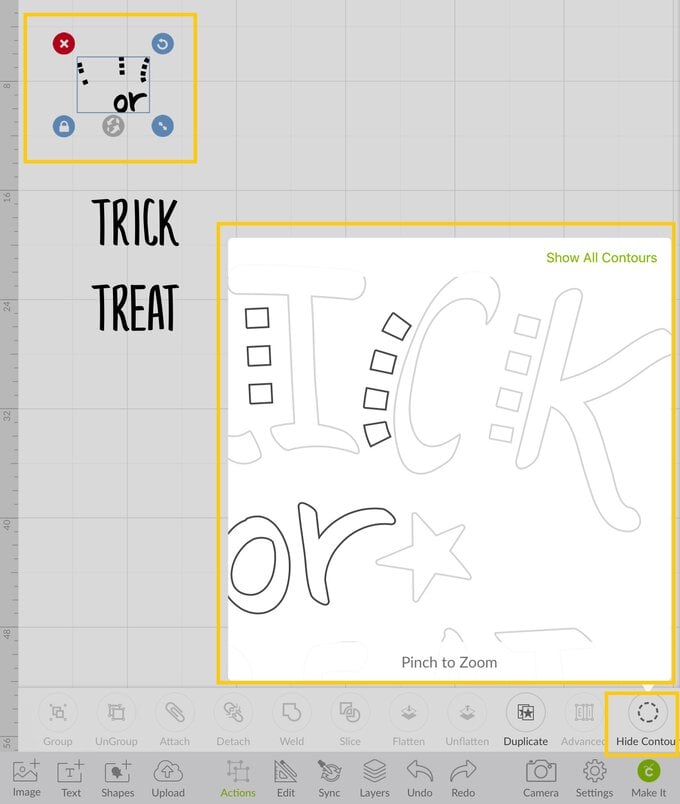
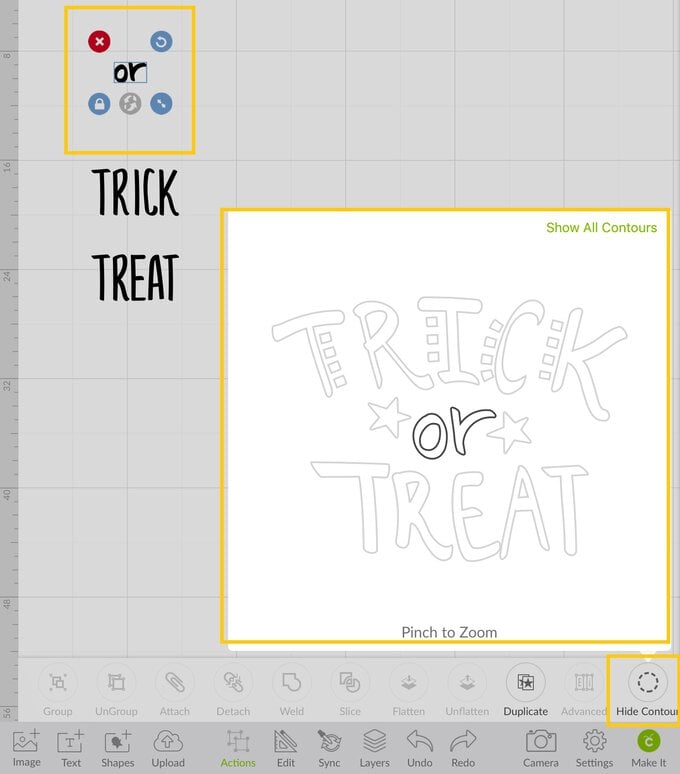
Position the word 'or' centrally between 'Trick or Treat' once happy with the spacing drag a selection box over the greeting and select 'Attach' from the 'Actions' menu.

It's now time to personalise your trick or treat bag! Start by adding a name. Click on the 'Text' function in the toolbar at the bottom of the screen and select a font, we opted for 'Be Free'. Type the name into the text box that appears on screen.
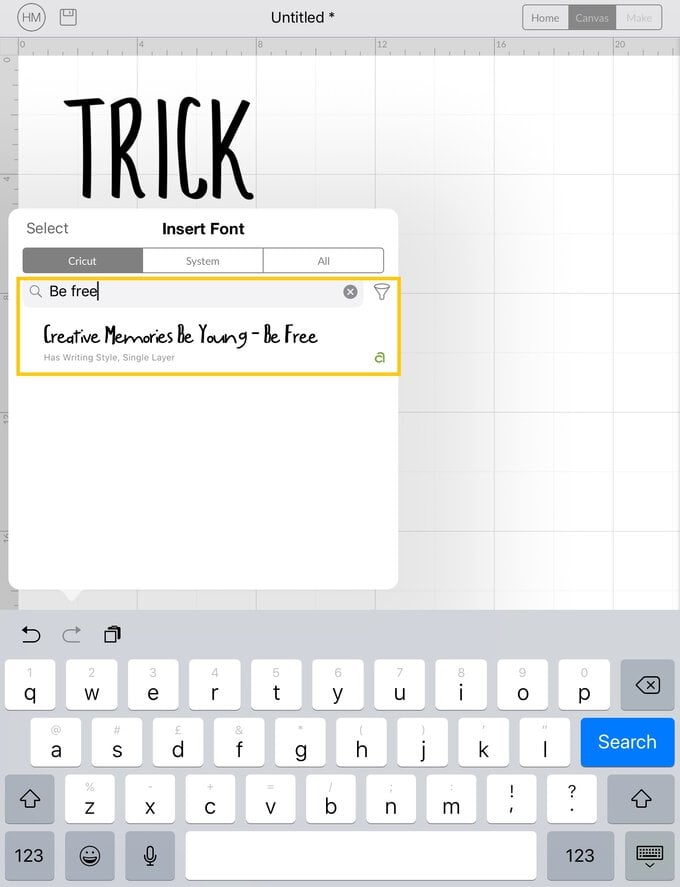
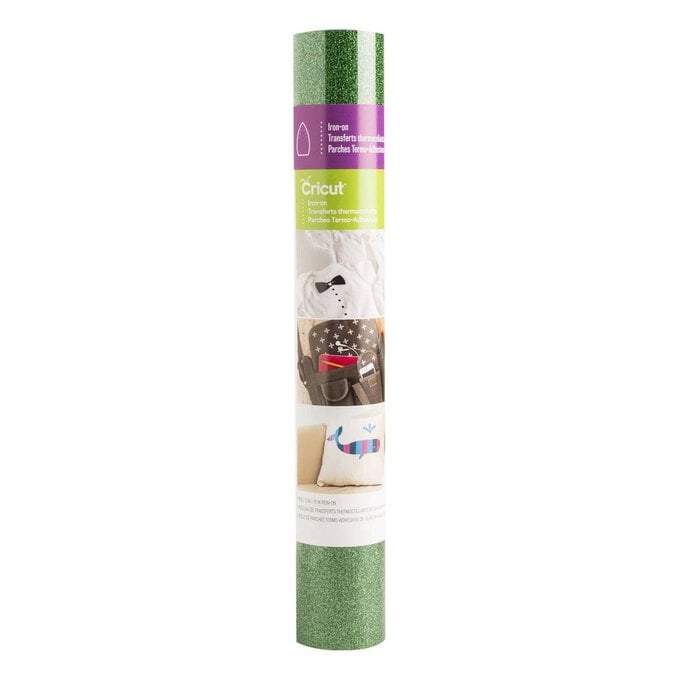
If you'd like to the name on your bag from a different colour of iron-on vinyl now's the time to change the colour of the text. To do this, select the name, then open the 'Edit' menu then click on the coloured circle, a colour swatch palette with then pop up on screen, select the desired colour then click 'Apply'.
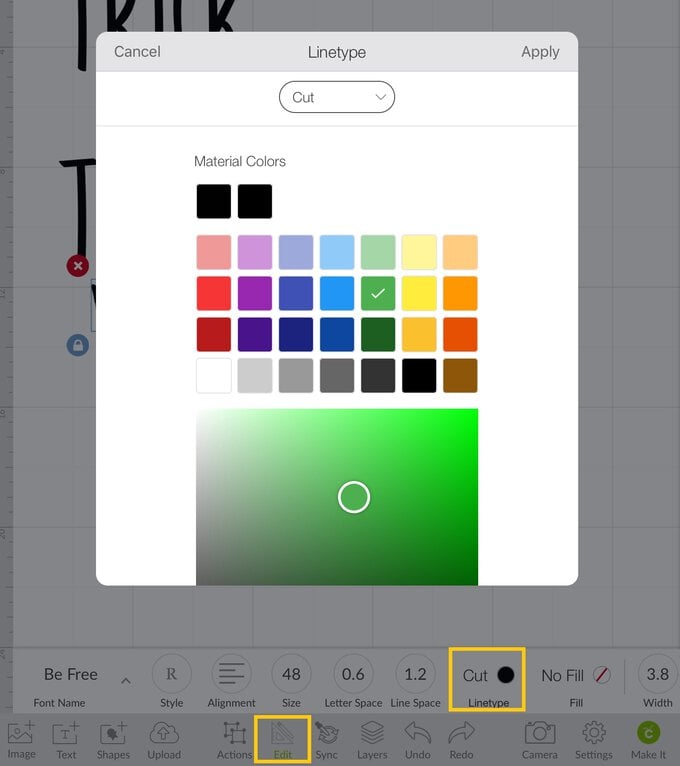
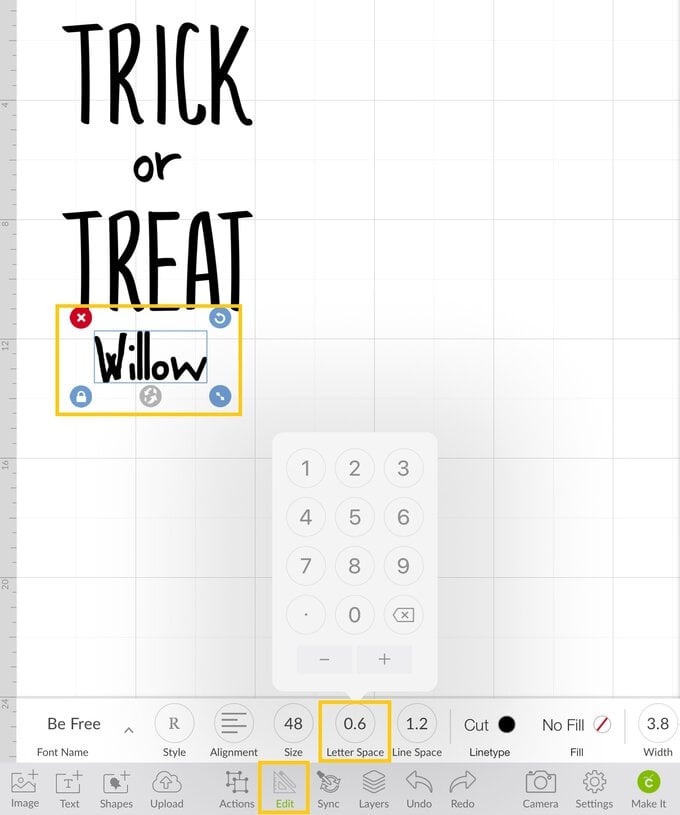
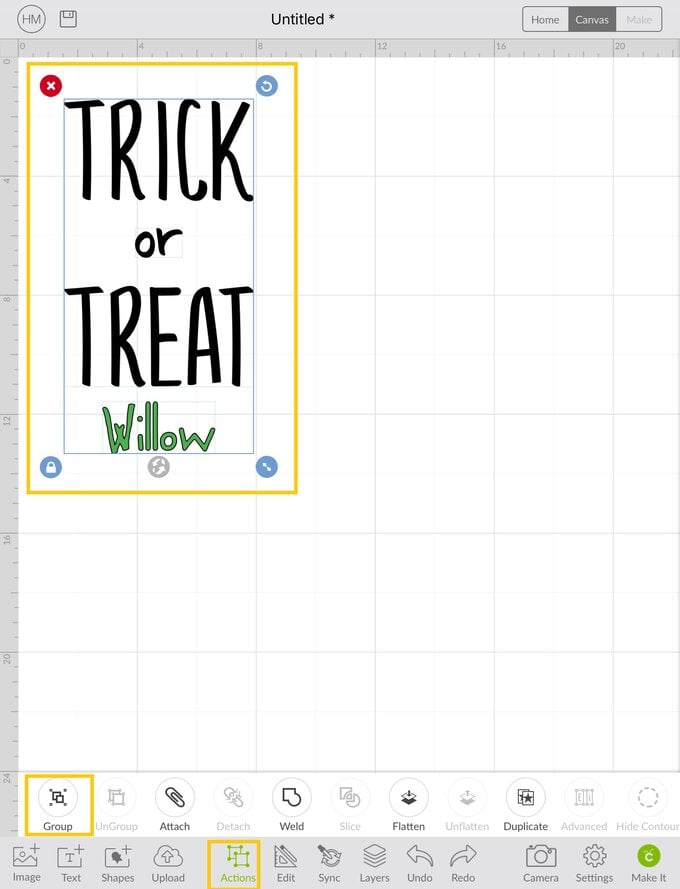
Resize and position the name under the Trick or Treat greeting, once happy with the positioning drag a selection box over the entire image and select 'Group' from the 'Actions' menu at the bottom of the screen.
It's then time to add the images to your design, here you can really go to town with the elements you add. I've kept things simple, using a selection of Halloween-themed designs.
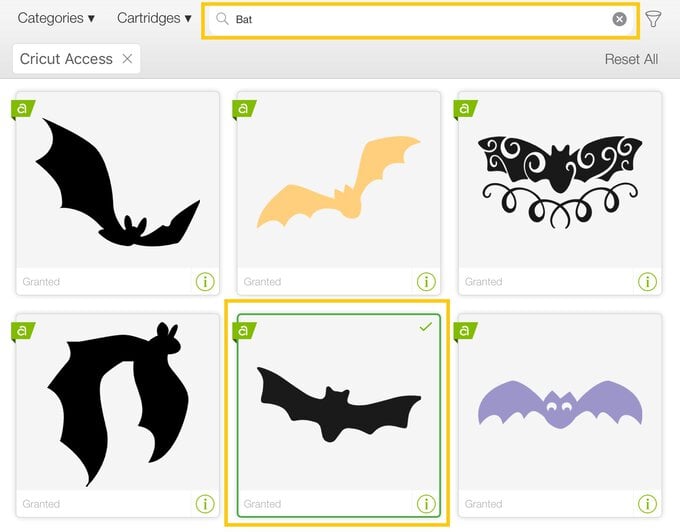
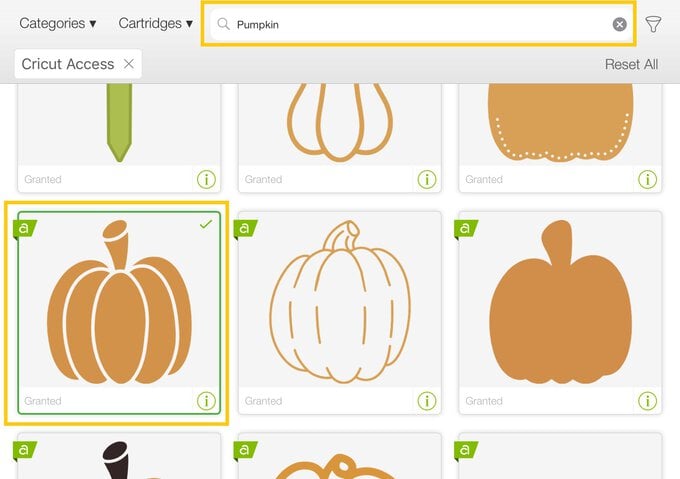
Once all the images you'd like to use are selected, click 'Insert', all of the images will then populate onto the Canvas.
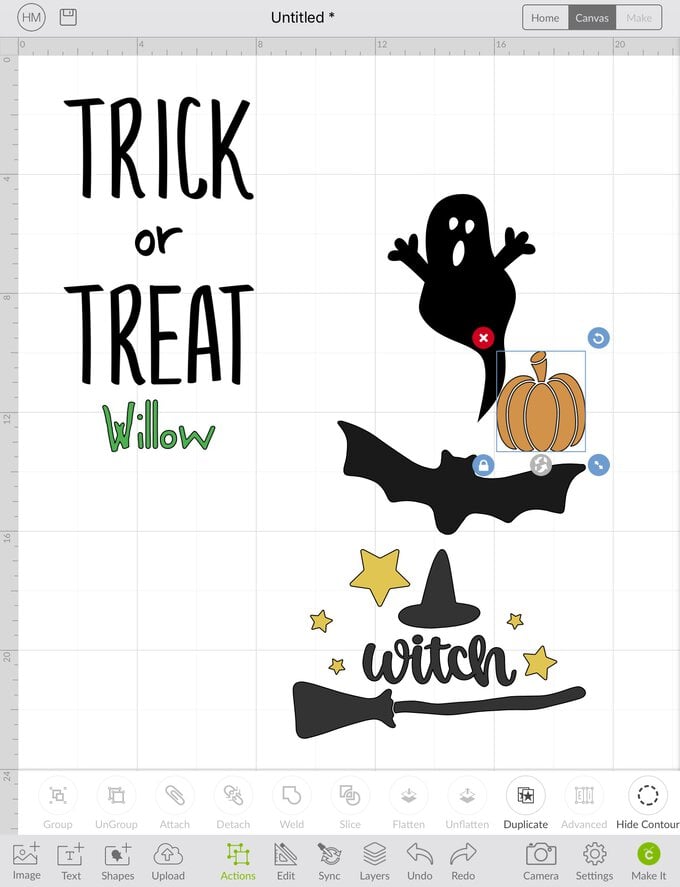
Start to arrange elements around the central message, resizing and using the 'Hide Contour' tool in the 'Actions' menu, where necessary, to utilise individual elements within an image, like we've done with the Witch image.
Once happy with the layout of the design drag a selection box over the entire design and select 'Group' from the 'Actions' menu. Once complete, amend the size of the design to suit your style of bag.
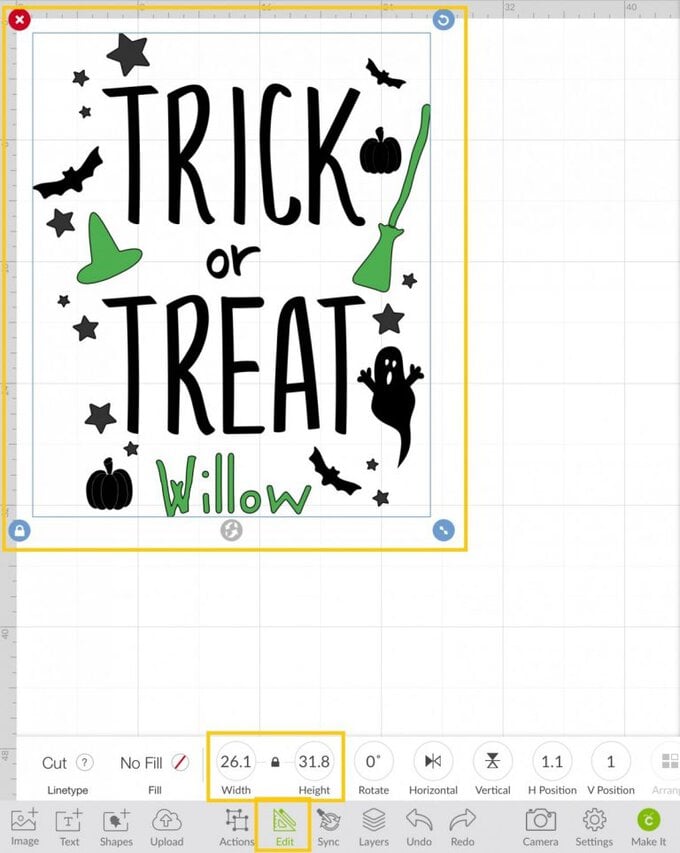
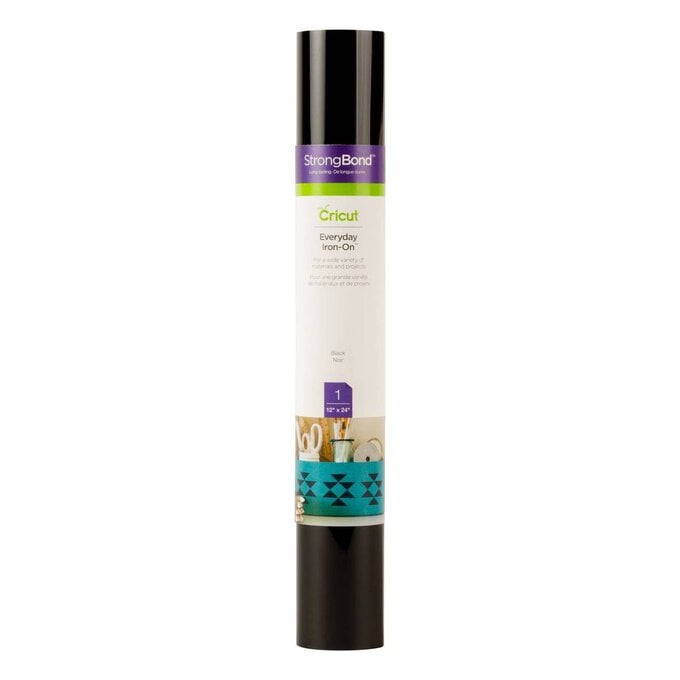
After all of the amends have been made click the green 'Make It' button in the bottom right-hand corner of the screen and follow the on-screen instruction to cut the design from your iron-on vinyl.
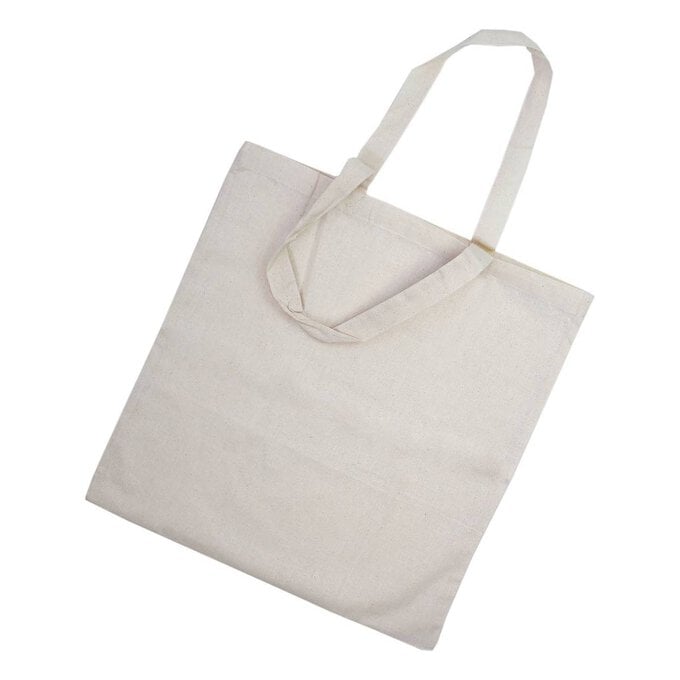
Weed the design then apply to the tote bag using an EasyPress and heat resistant mat. Use Cricut's Interactive Heat Guide » for step-by-step instructions on the application of the iron-on vinyl.
