Cricut: How to Make a Spring Succulent Wreath
Create a beautiful spring succulent wreath to adorn the inside of your home this Easter using your Cricut machine, and Cricut's Design Space app. All you need is some coloured cardstock, a rattan wreath and your trusty glue gun!
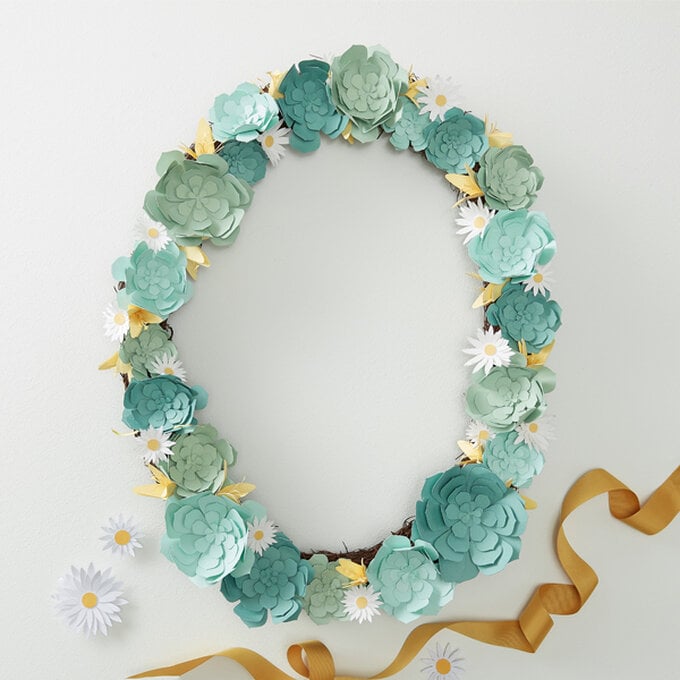
This tonal, contemporary wreath design will wow your guests this spring. With your digital cutting machine it's easy to create an intricate design! Follow the instructions below to find out how!
You will need

Subtotal
Is $ 606.00
Subtotal
Is $ 12.00
Subtotal
Is $ 24.00 , was $ 32.00
Subtotal
Is $ 8.49
How to make
* Cricut Machine
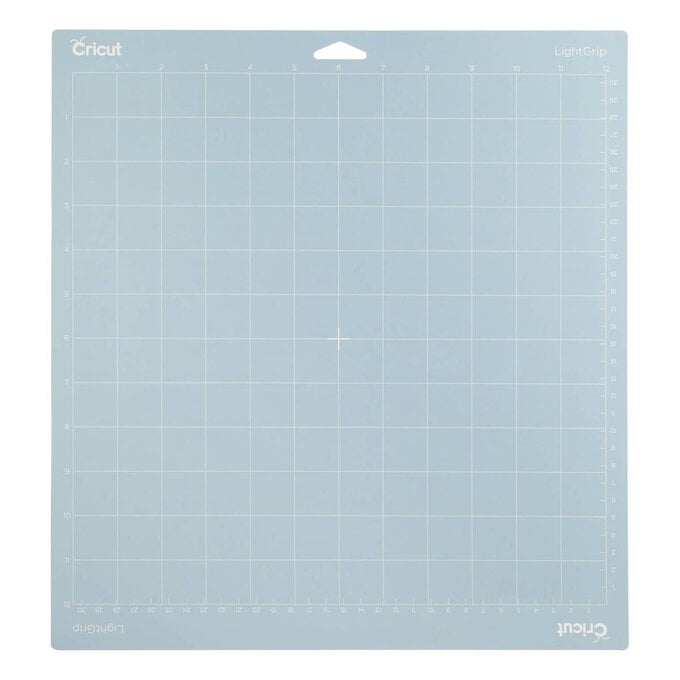
* Cricut LightGrip Cutting Mat
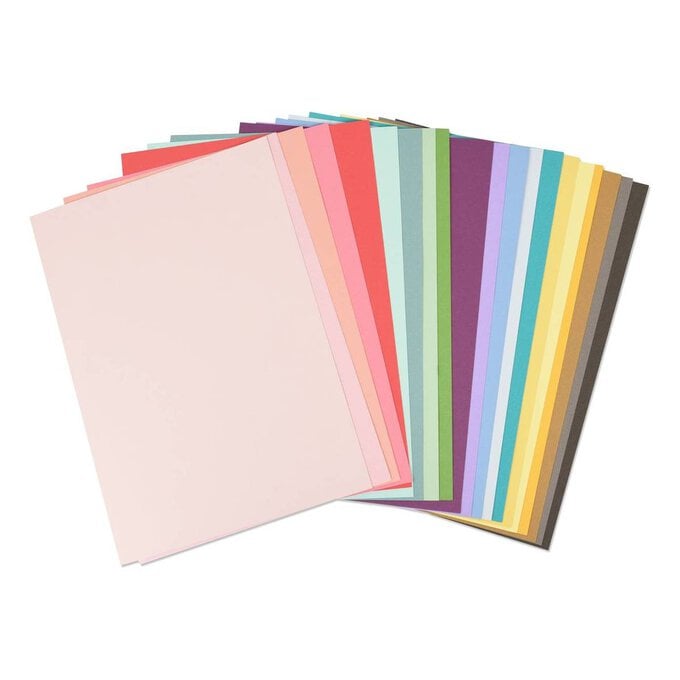
* Coloured Cardstock
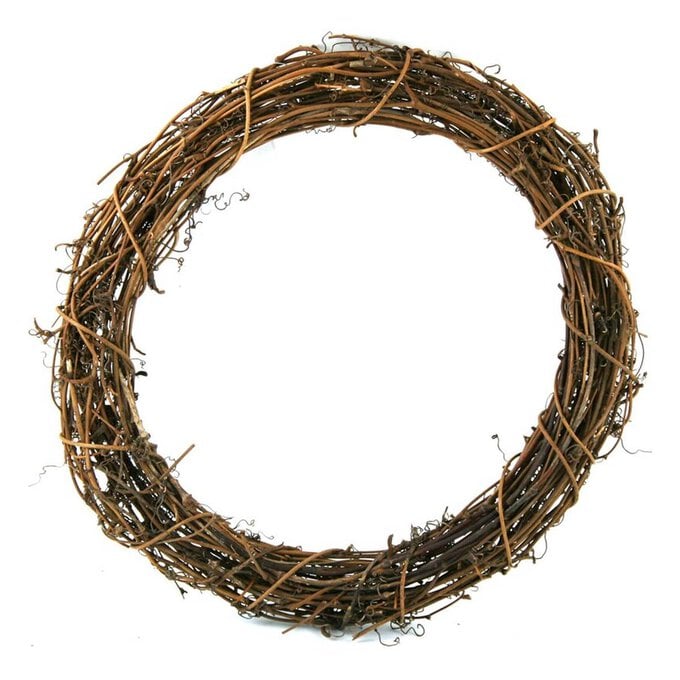
* Rattan Wreath Base 30.5cm
* Hot Glue Gun
* Scissors
* Cricut Design Space App

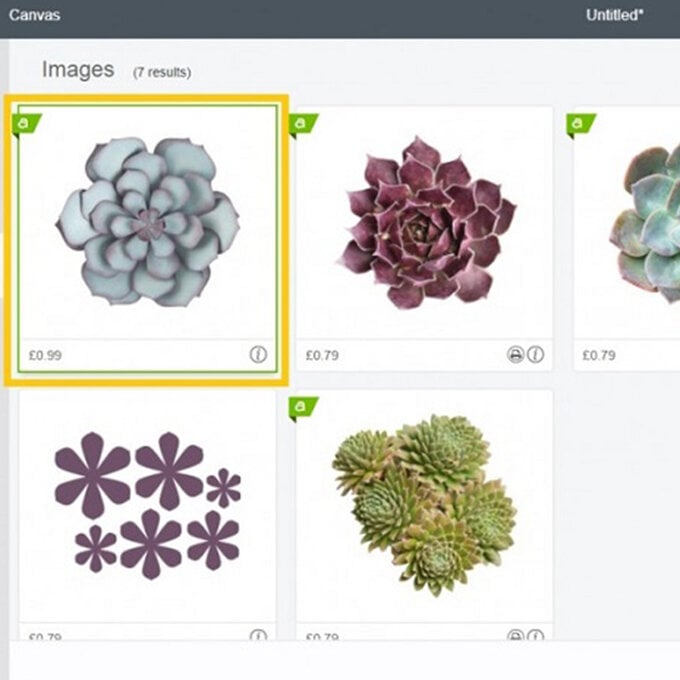
Using a laptop/Mac/iPad/iPhone/Android device, log on to your Design Space™ account and make sure you are connected to your Explore Air 2™/Maker™ machine. Open a new project, and click 'Images' from the toolbar. In the search bar at the top of the screen type in “succulent” and hit the “enter/return” key. Select the first image (see image below) and click “Insert images”.
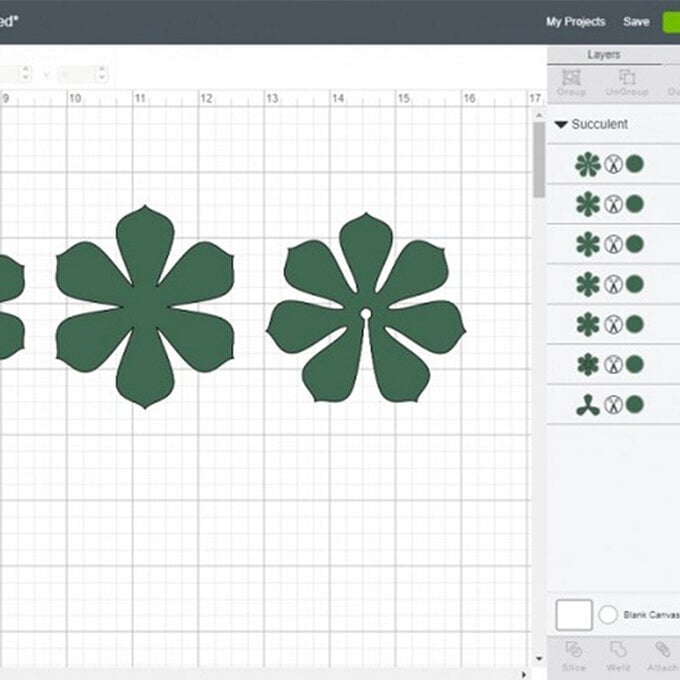
The different layers needed to create the succulent will then appear on your canvas.
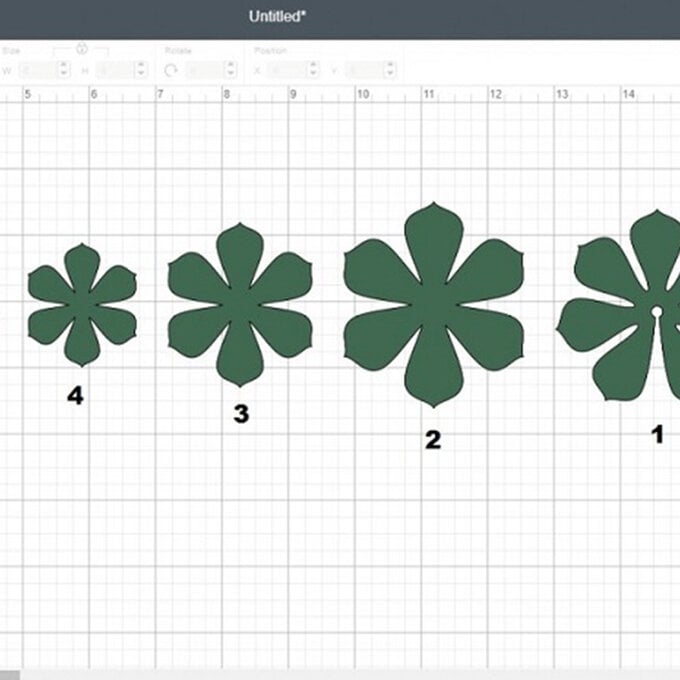
Start by cutting 20 sets in a variety of different sizes and colours of green cardstock. Make sure to keep each of the sets together after they've been cut to avoid them becoming mixed up.
To construct the succulent: use a pair of scissors to gently curl each of the leaf sections up. To do this, hold one layer in your left hand, then using the closed blades of a pair of scissors in your right hand, run the blades along the length of the leaf to curl it (ensure that this is done away from you).
This curling technique will help to give the succulent shape when it's fully constructed.
Starting with the slotted succulent layer (1), use a glue gun to apply a small amount of glue to the leaf on the right-hand side of the slot, and secure to the underside of the leaf on the left to form a closed, cupped shape. Add the remaining layers, starting with (2) working your way up to (7) (see image below), to complete the succulent's construction.
Repeat steps three and four to make up the remaining succulent sets cut out in step two.
Once all the succulents have been fully constructed, place onto the rattan wreath and once happy with the arrangement secure into place with a glue gun.
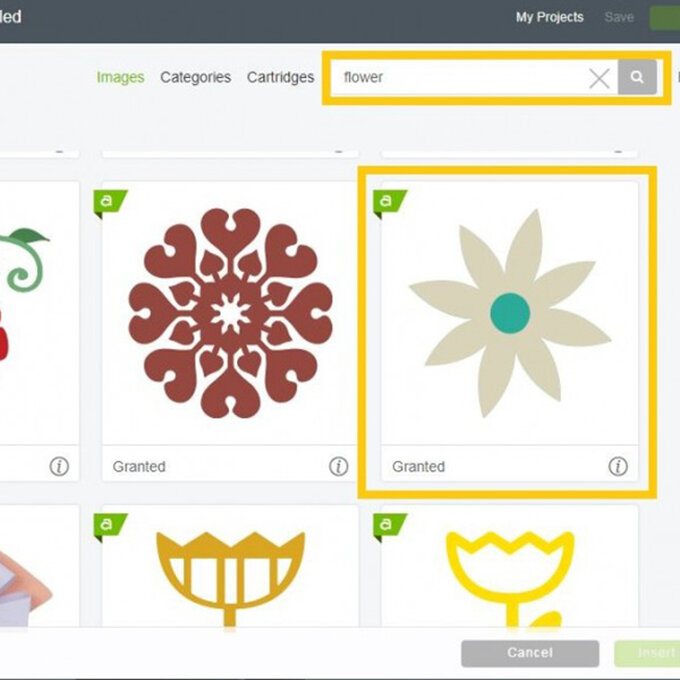
To fill in some of the gaps on the wreath add in a few paper spring blooms from Cricut's Design Space, we chose the below Daisy design (simply type flower into the Images search bar).
We also cut some added in some Tiger Lilies from yellow cardstock using the below image from the Design Space.
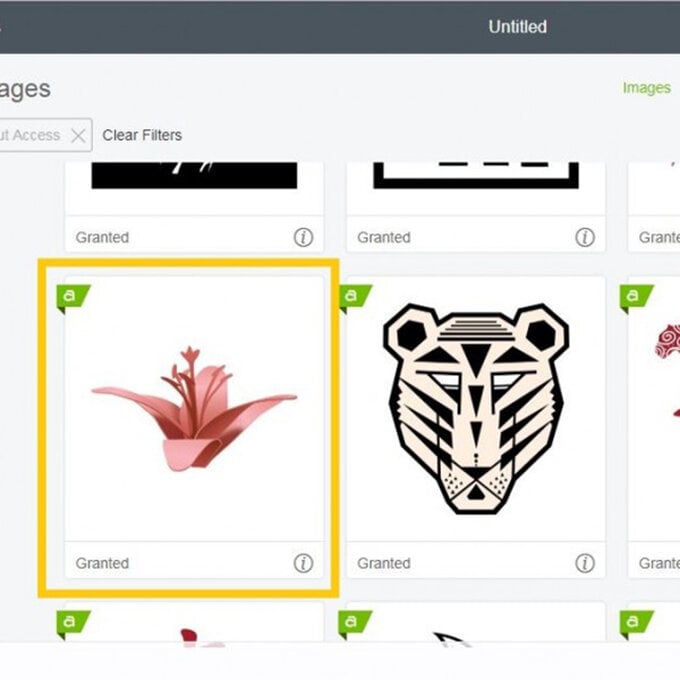
Once cut and constructed these can be secured in the same way as the succulents using a hot melt glue gun.
Related Products