Cricut: How to Make a Thank You Teacher Frame
Make a handmade gift to thank a special teacher for all their hard work. This framed word art project is easy to personalise, making a lovely and thoughtful end of term teacher gift idea.
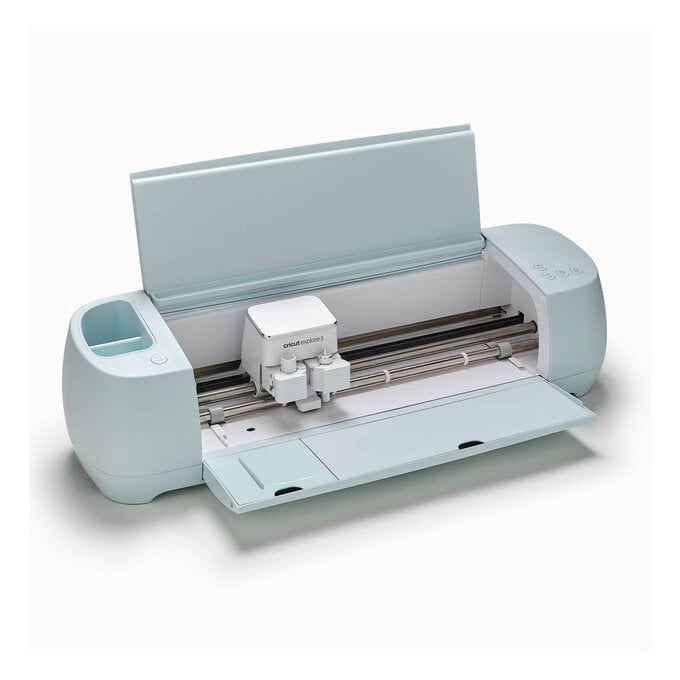
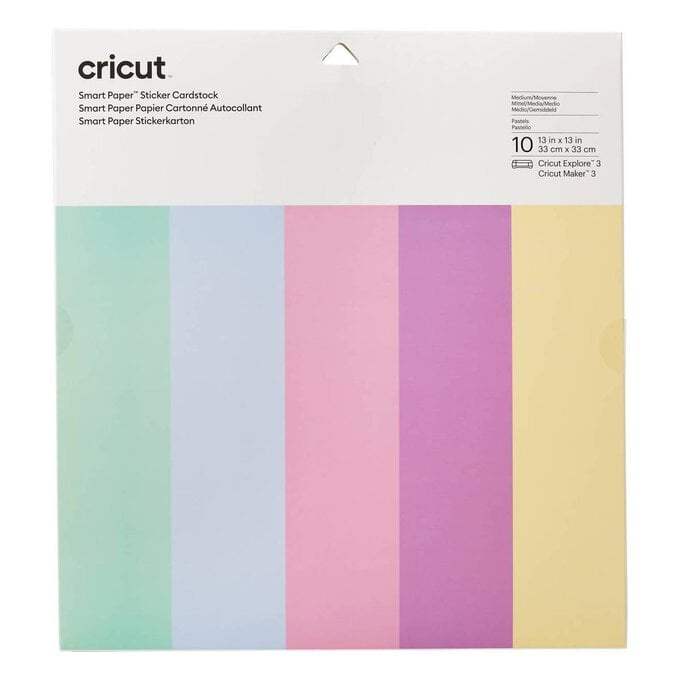
The project can be recreated on the Cricut Explore 3 and the Maker 3 using the Smart Paper Sticker Cardstock.
Cricut Design Space Project Link: Thank You Teacher Frame andgt;
Project and instructions by Emma Jewell.
Please note: This project contains paid-for content from Cricut's Design Space app. Screen grab reference images are taken from the desktop version of Design Space.
You will need
Subtotal
Is $ 422.00

Subtotal
Is $ 40.00
Subtotal
Is $ 22.00

Subtotal
Is $ 4.49
Subtotal
Is $ 19.00 , was $ 26.00
How to make
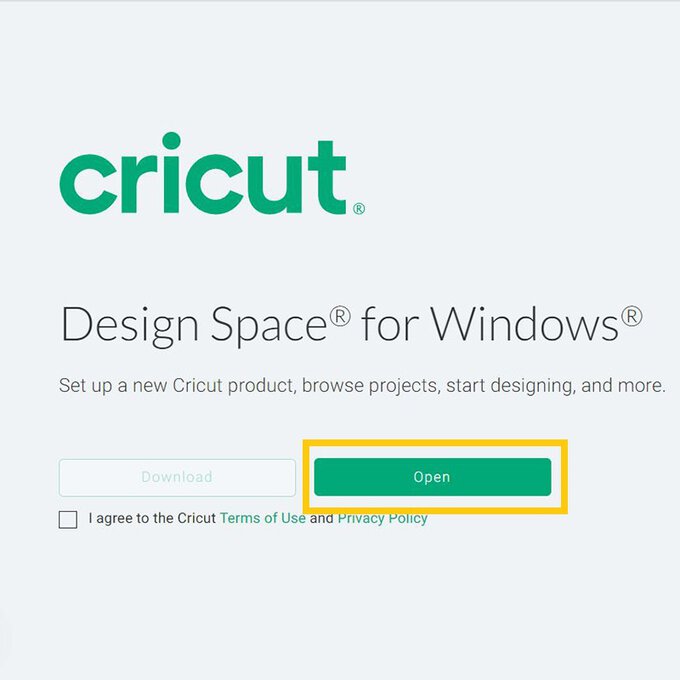
Start by opening up the project in the Cricut Design Space app using the project link at the top of this post, or alternatively use the link below - https://design.cricut.com/landing/project-detail/60b8e43e3e8909067852babe
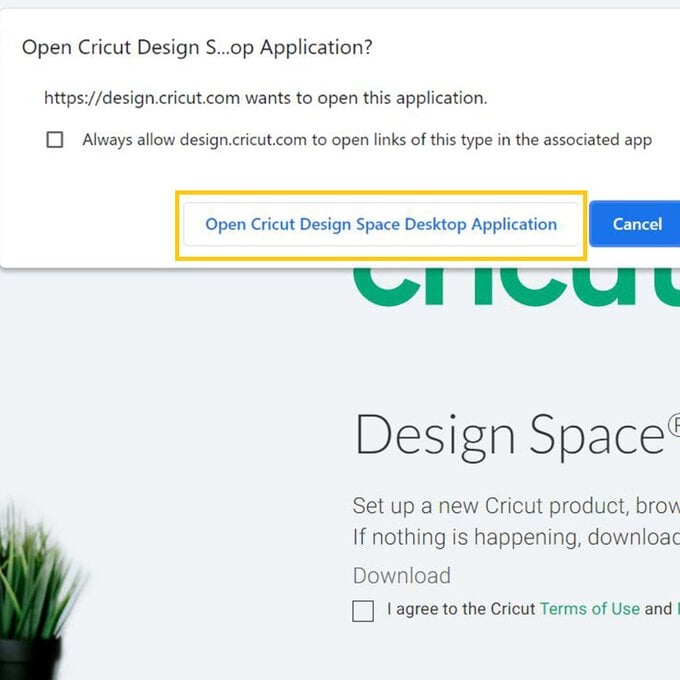
To access the project, copy and paste the link into your browser, you will be directed to a Cricut ladning page, select 'Open' followed by 'Open Cricut Design Space Application'.
The app will open (you may be prompted to log in) and the project overview screen will appear.
Select 'Edit a copy' to open the project in a new Canvas, esure you have 'Explore 3' or 'Maker 3' selected within the app, re-size the greeting as desired to fit your frame, then click 'Make it'.
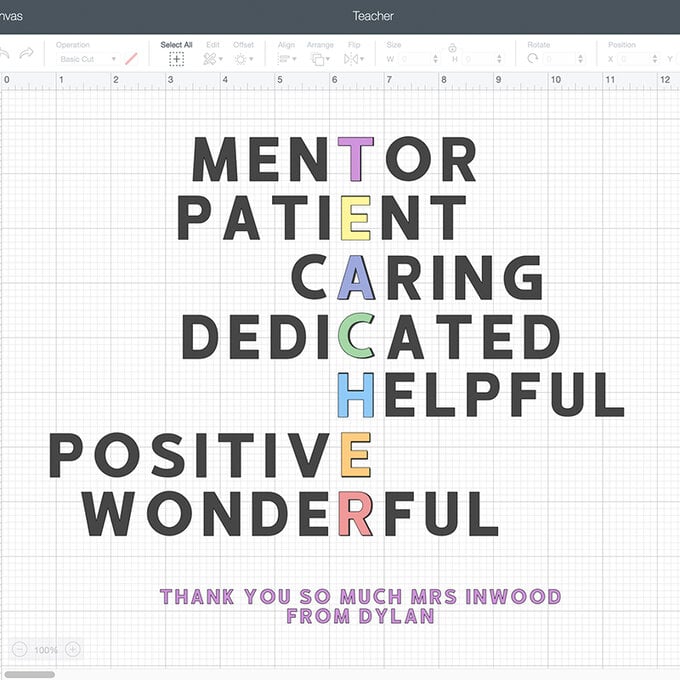
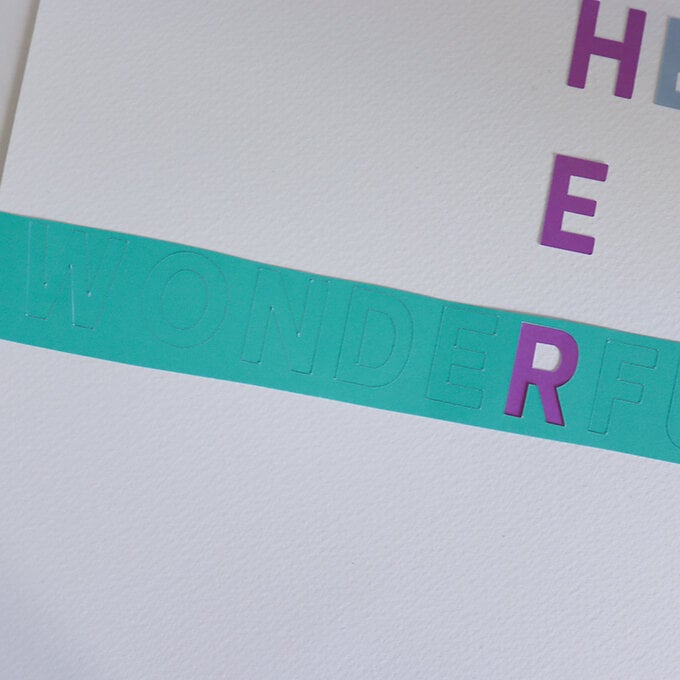
Alternatively, open up Cricut Design Space app and open a new project, start by adding the word 'teacher' to the canvas pressing entre after each letter so that the text runs vertically down the page.
Change the font to 'That's The Ticket Sans'. Add each horizontal word to the canvas, leave all of the letters in the word as this will help you line up the project later. Change the colour of the words so that each is a different colour.
Resize the project to fit your frame.

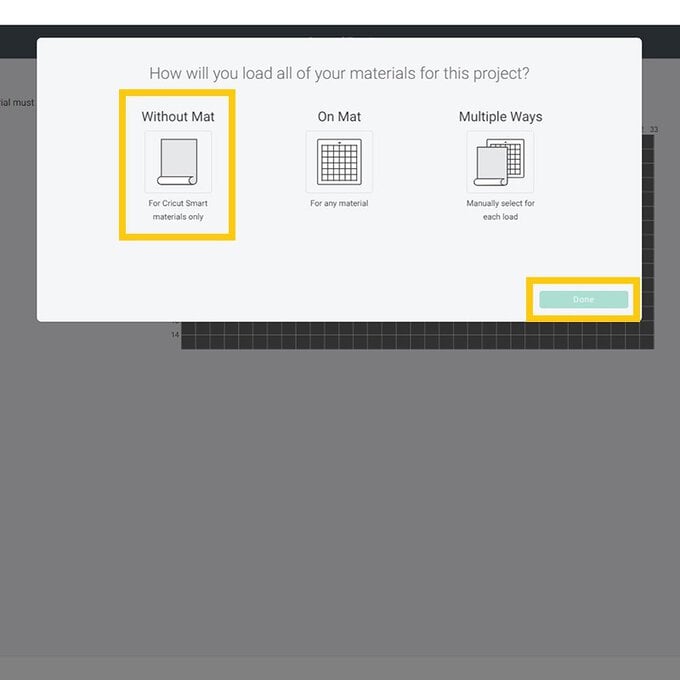
You will be directed to the mat preview screen, select the 'Without Mat' option, and check everything is present and correct on the mat previews.
Once happy, click 'Continue'.
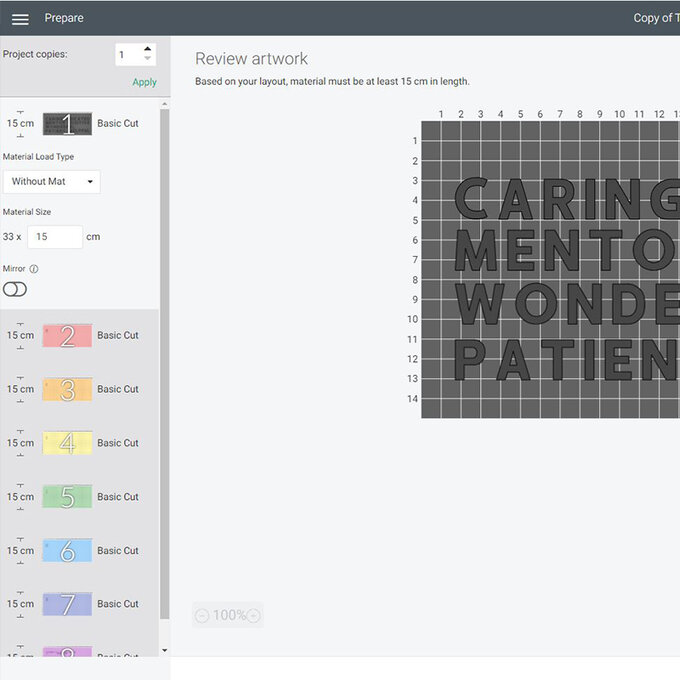
Once through to the machine set up screen, choose 'Smart Paper Sticker Cardstock' as the material you would like to cut.
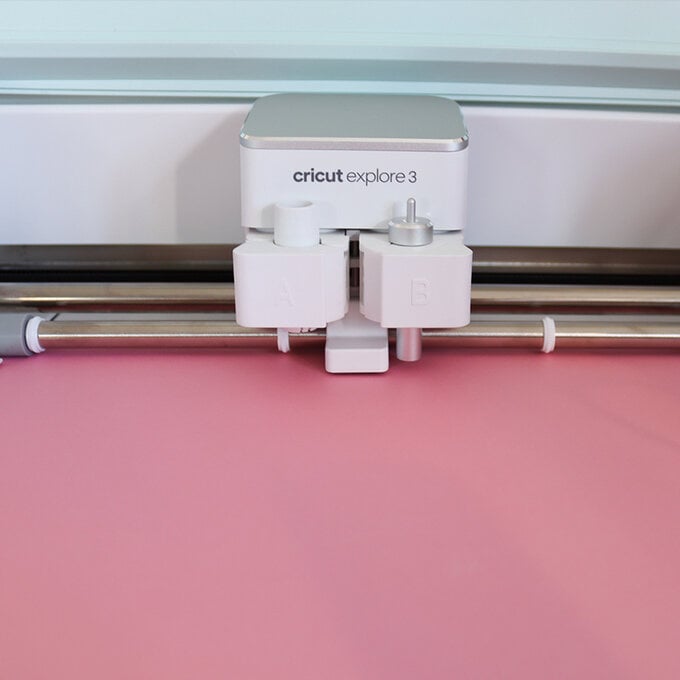
Load the paper face-up into the machine and follow the on-screen instructions to being the cut.
Once the cut is complete, take a piece of white card then lay down the teacher letters individually spacing them equally.
Once happy with the spacing, transfer the other letters, carefully remove the backing from the Smart Paper leaving all of the letters in place. You can now place the whole piece down then remove the outer piece keeping all of letters in place.
Repeat this process for all of the words.

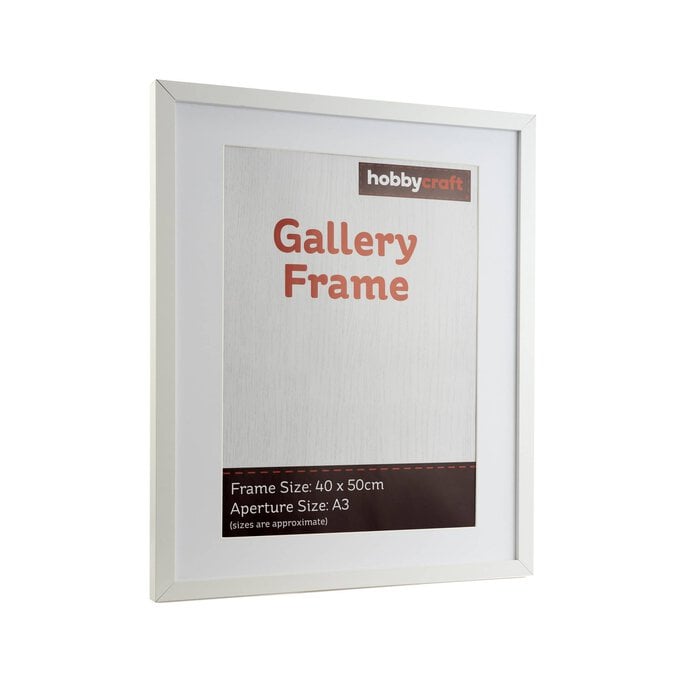
To finish, add the finished piece of word art into the frame.

Related Products
.jpg?sw=680&q=85)