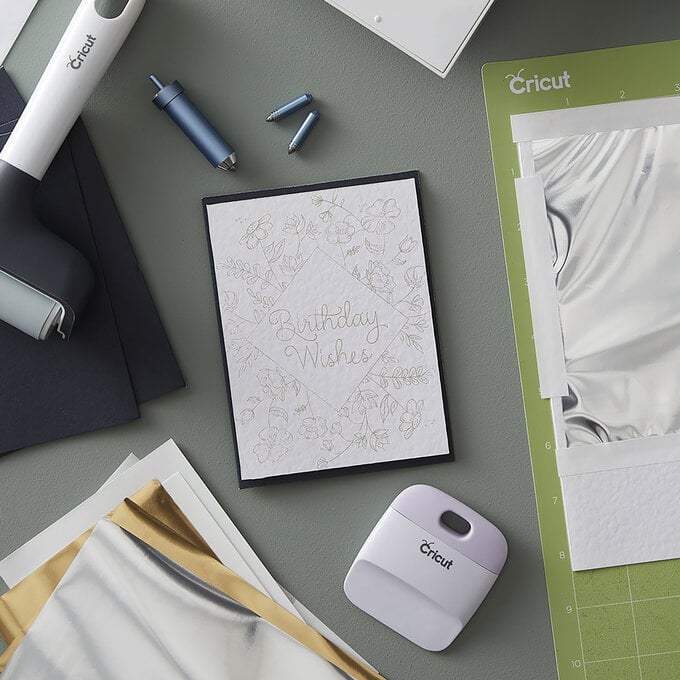
Cricut: How to Make an Adhesive Vinyl Card
Did you know you can use permanent adhesive vinyl on cardstock? It's a great way to make an extra special personalised birthday card and it's so easy to do!
Within this simple how-to guide, we'll be layering two different colours of vinyl to create this elegant card design and, to really make it stand out, we'll also be adding some beautiful details to a matching envelope.
Project and how-to make instructions by Rabia from London Craft Girl.
Find even more Cricut inspiration here andgt;
Please note: This project contains paid-for content from Cricut's Design Space app. Screen reference images are taken from the desktop (iMac) version of Design Space. The Cricut Maker was used to create this project; however, this project can also be created using a Cricut Joy or Explore Air 2.
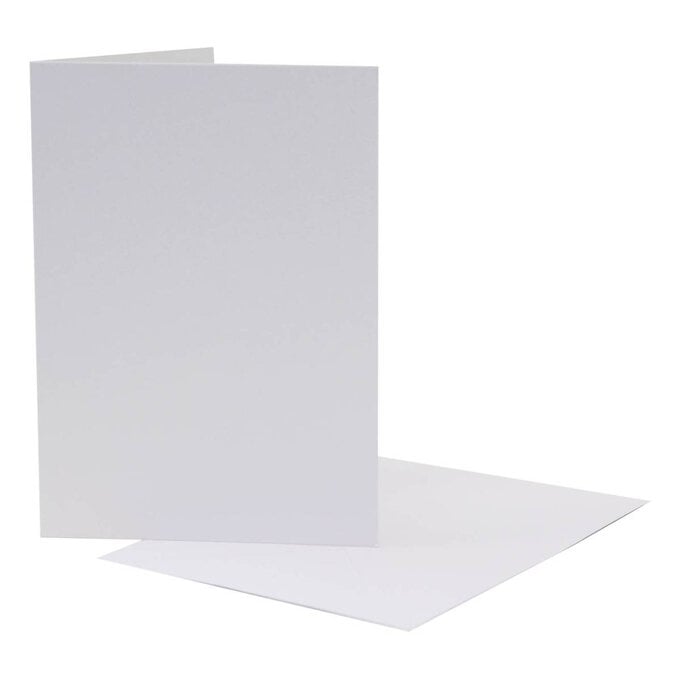
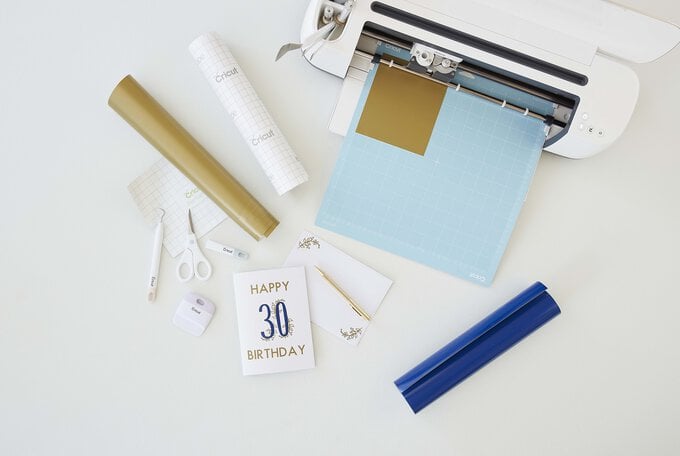
You will need
Subtotal
Is $ 12.00

Subtotal
Is $ 40.00
Subtotal
Is $ 29.00
Subtotal
Is $ 15.00
Subtotal
Is $ 12.00
Subtotal
Is $ 5.49 , was $ 7.49
Subtotal
Is $ 5.49

Subtotal
Is $ 606.00
Subtotal
Is $ 12.00
How to make
You will also need:
* Cricut Design Space app installed on a laptop, PC, Tablet or mobile device
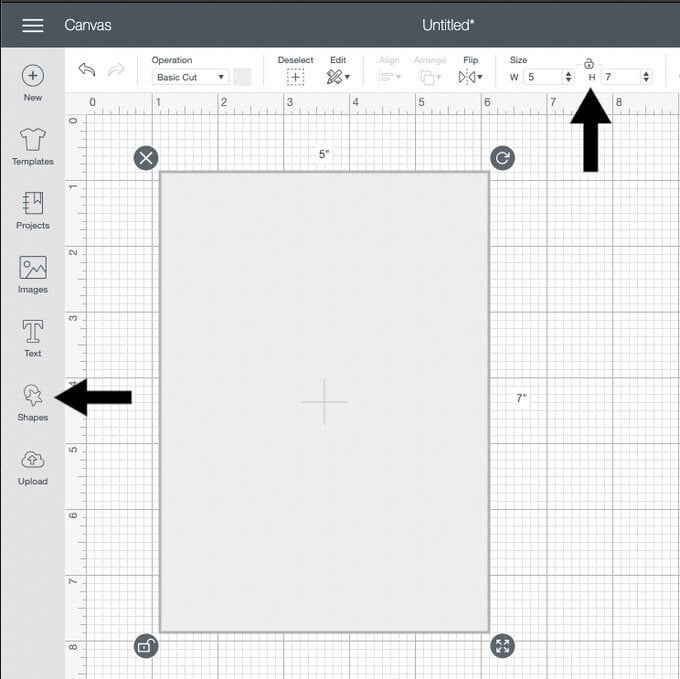
Open the Cricut Design Space app and start a new project.
Click on Shapes, select Square and resize the square to a 5 x 7 inch rectangle – remember to unlock the aspect ratio in the menu bar at the top.
This rectangle will be used as a guide to size the vinyl decal but we won't need to cut it as we are using pre-made card blanks.
Next we'll create the text layers – we need one each for each word and the number.
Click on Text and type “HAPPY” in capitals.
Repeat this process for “Birthday” and “30” – or however old your lucky recipient is going to be.
I've used the fonts Futura and Easton but feel free to pick any that you like!
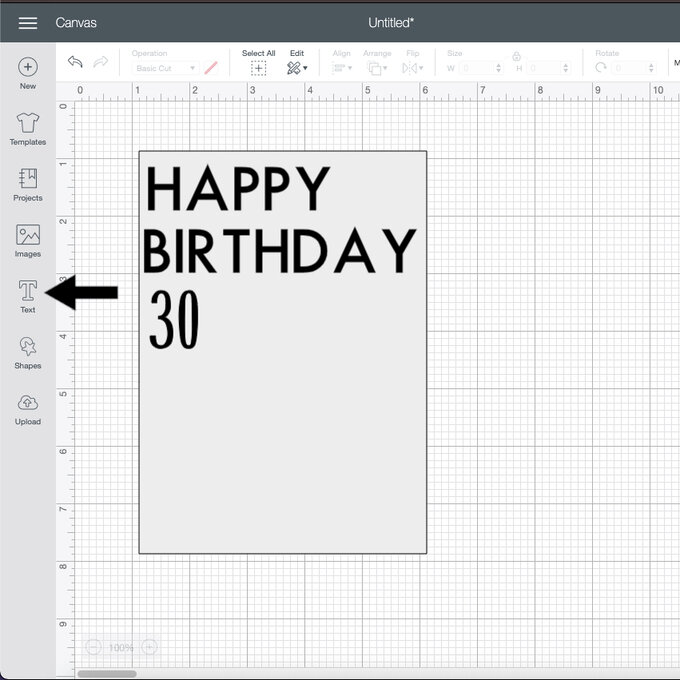
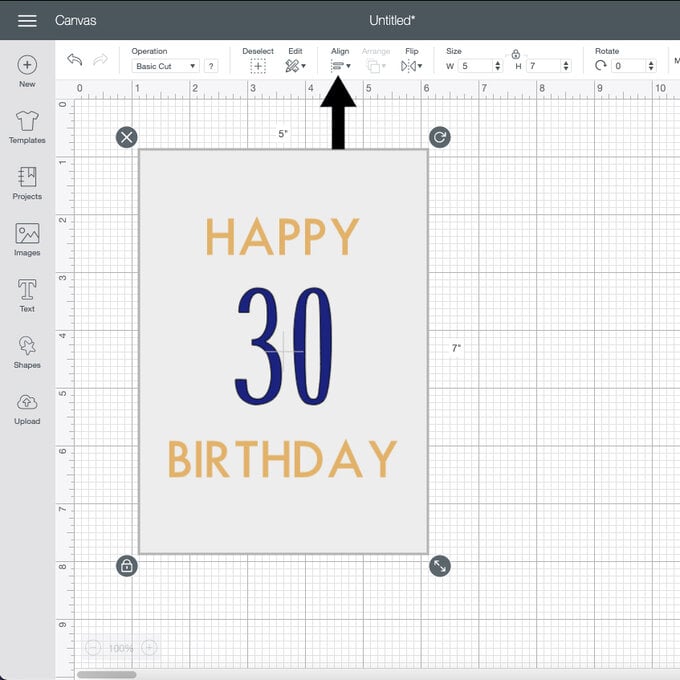
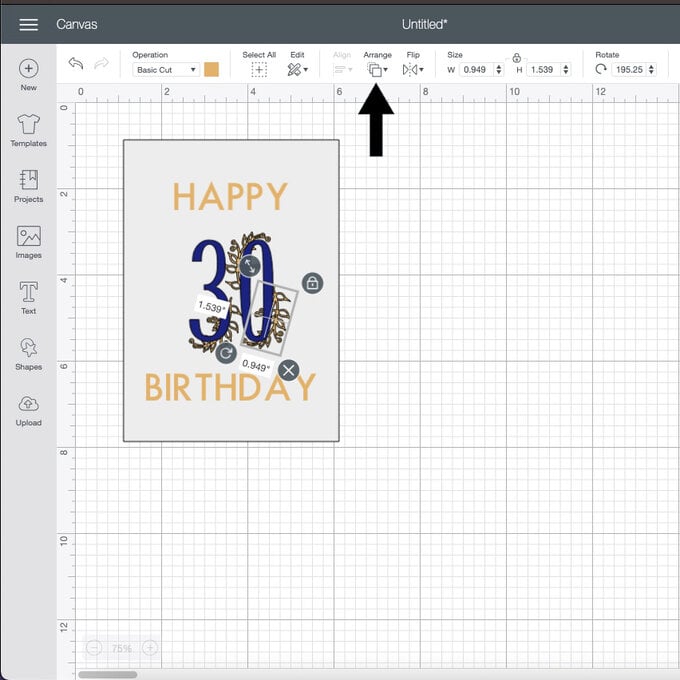
Resize the words and arrange them on the guide layer, using the 'Align' feature to centre horizontally and vertically. You can change the colour as well to get an idea of the finished project.
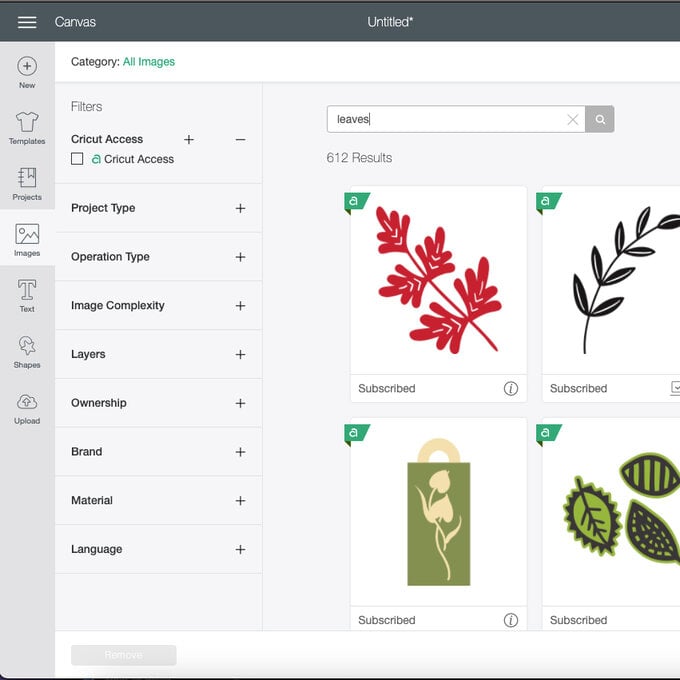
Let's add some pretty foliage details to the number!
Go to the image library and search “Leaves”. I've chosen Image number: #M439E5.
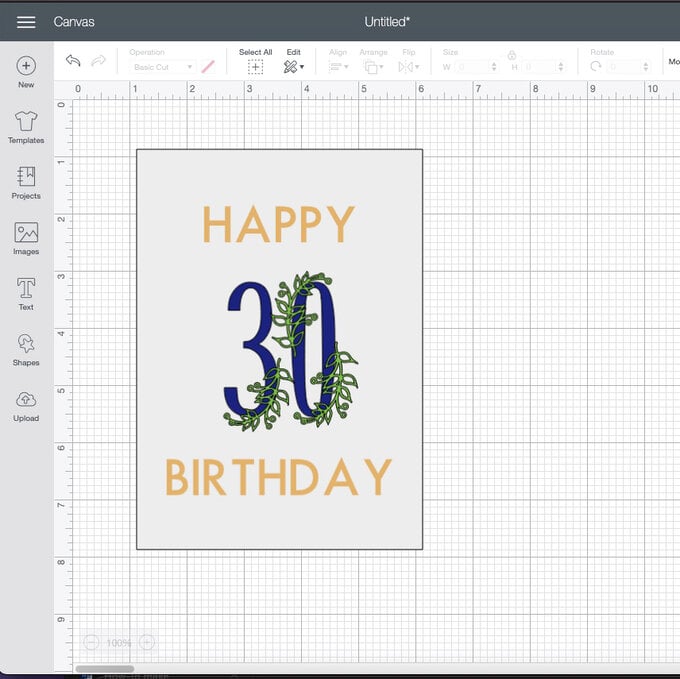
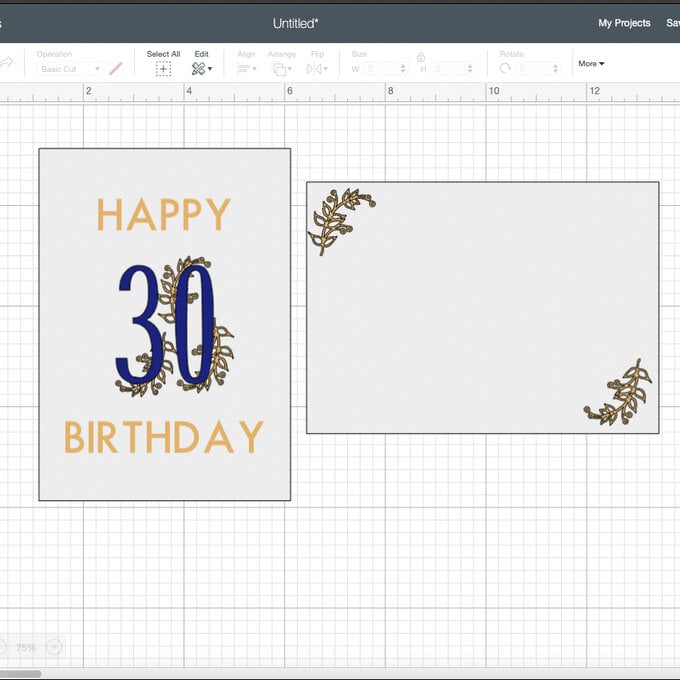
Duplicate the image a few times, resize and arrange around the number – once you are happy use the "Arrange" tool in the menu bar to “Move backward” so you can see the final card you'll be making.

This next step is optional, but if you would like to also decorate the envelope – duplicate your chosen foliage image again so you have an extra two.
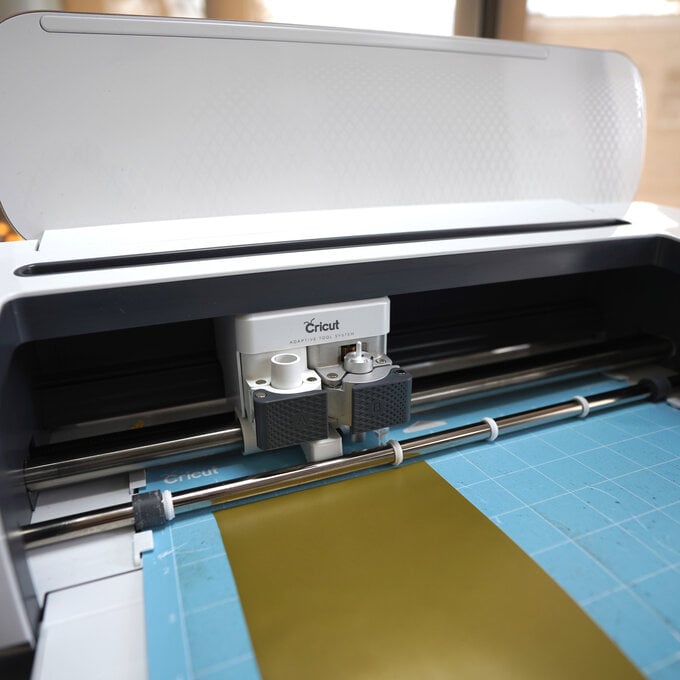
Time to cut!
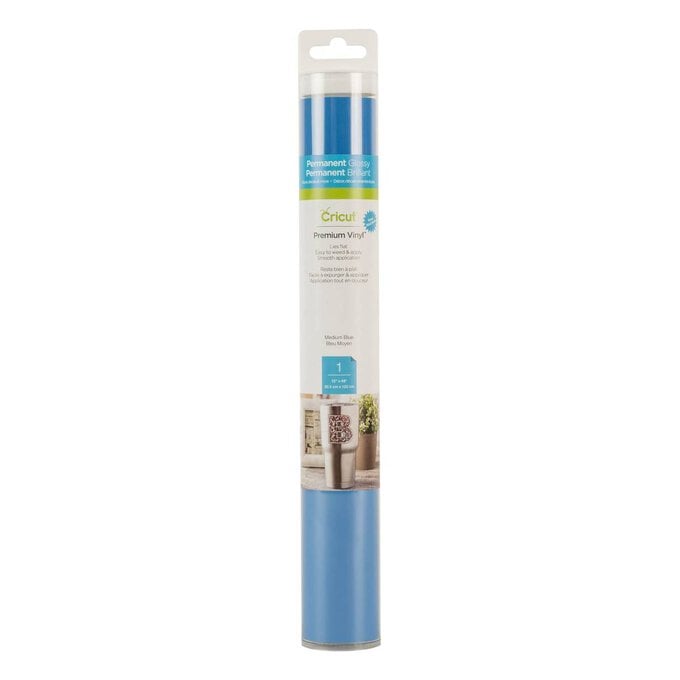
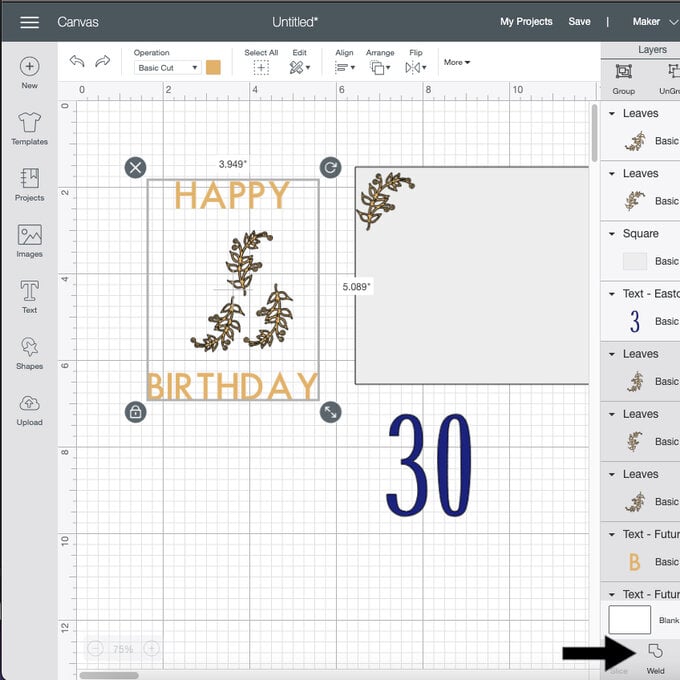
To make applying the vinyl design to your card blank easier, "Weld" the gold vinyl layers together so they cut as one (only those for the card, not the envelope).
To do this, delete the guide layer and move the number to one side, then select all the gold layers and "Weld".
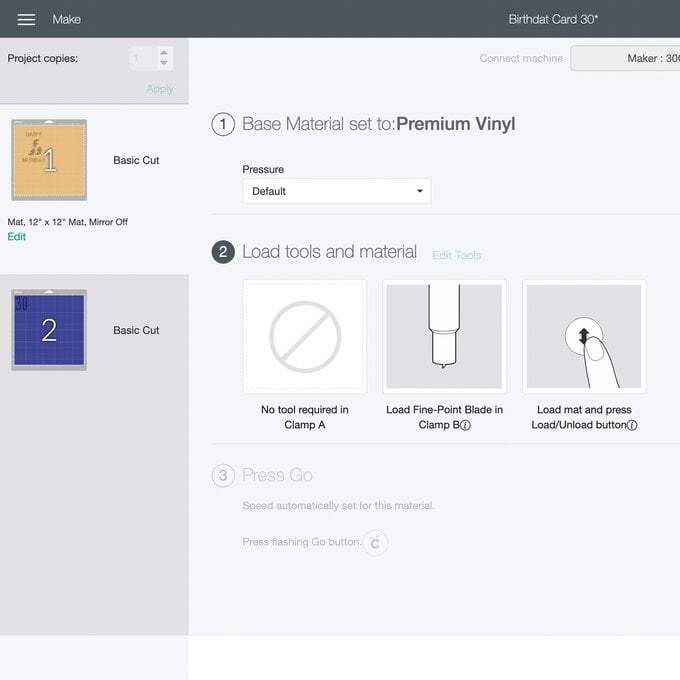
On the machine set up screen select "Premium Vinyl" as your material setting.
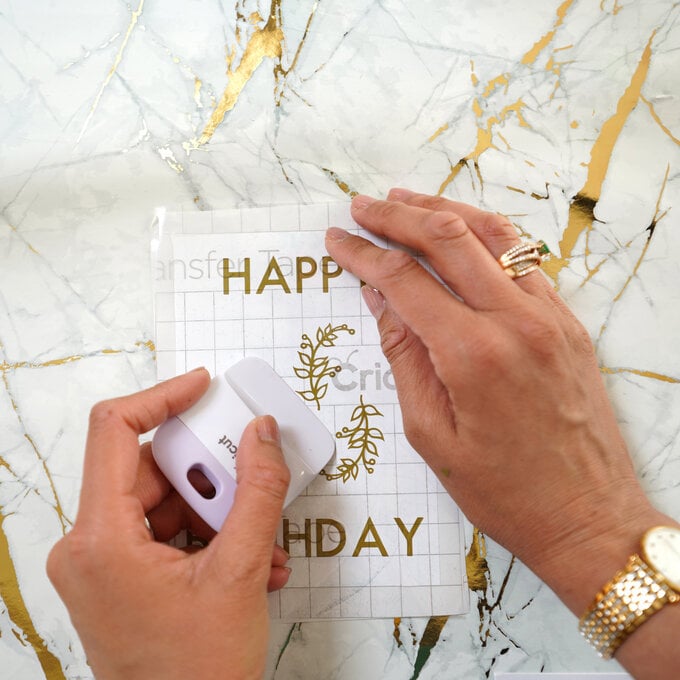
Place the vinyl, cut down to size, onto your cutting mat and secure in place with the Cricut Brayer tool.
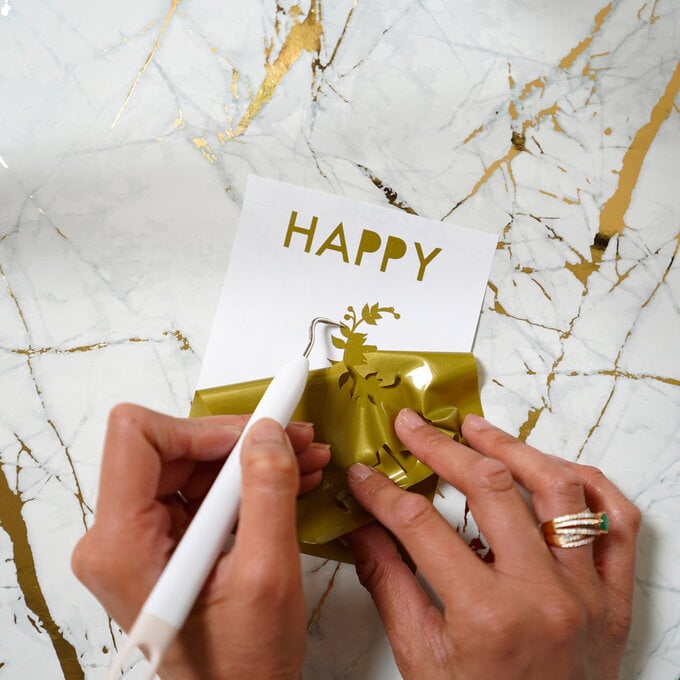
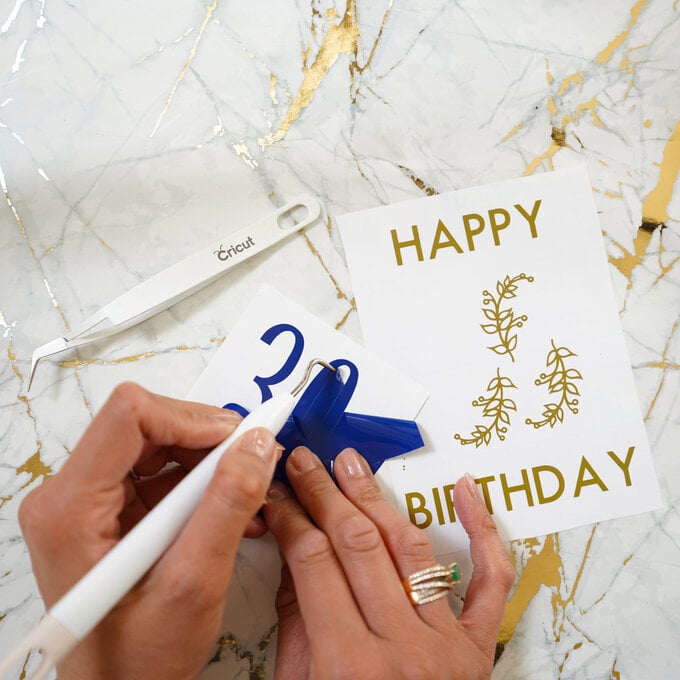
Remove the excess vinyl by “weeding” – the Cricut Basic tool set is great for this, especially the sharp tipped weeding tool and precision tweezers.
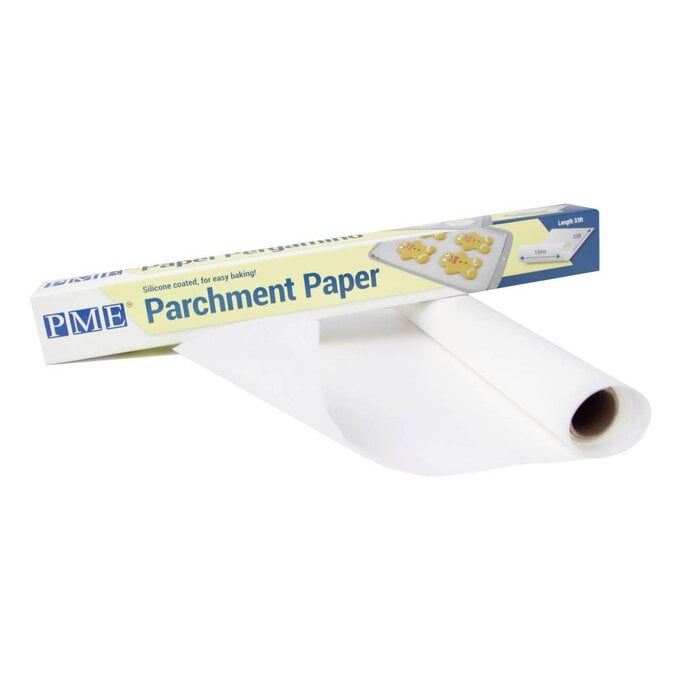
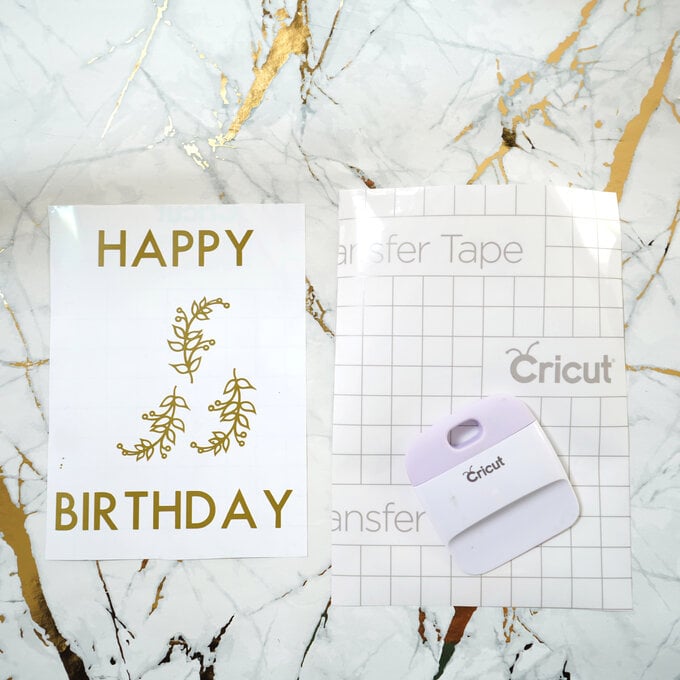
Cut a piece of Transfer Tape to size (5x7 inches) and reduce the stick by sticking and peeling off your clothes a few times – this will help prevent the card blank from tearing.
Lay the tape over your decal and rub down (burnish) with the Cricut Scraper tool on both sides.
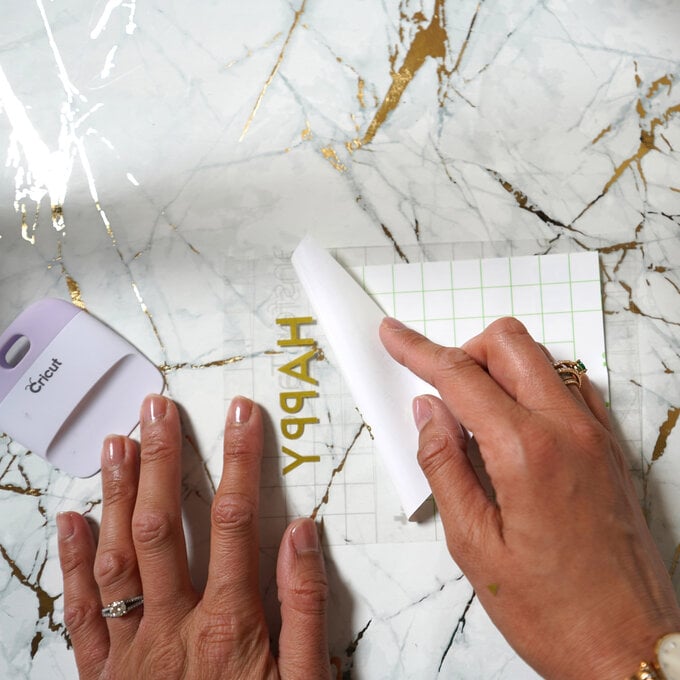
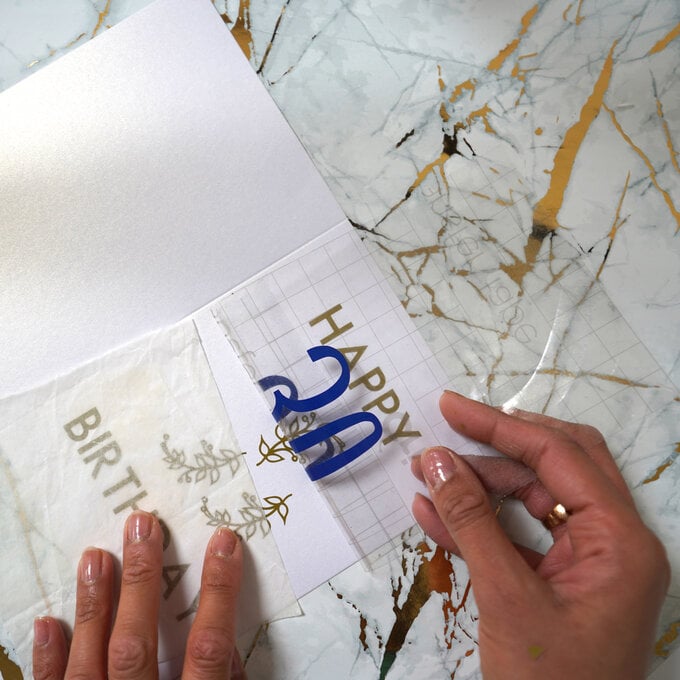
Top Tip - I usually align the text to the grid lines on the Transfer Paper to ensure I apply the decal to the blank correctly.
Peel away the backing papr on the vinyl and apply the decal to the card blank.
Burnish with a scraper to ensure a good bond. Slowly and carefully peel back the tape.

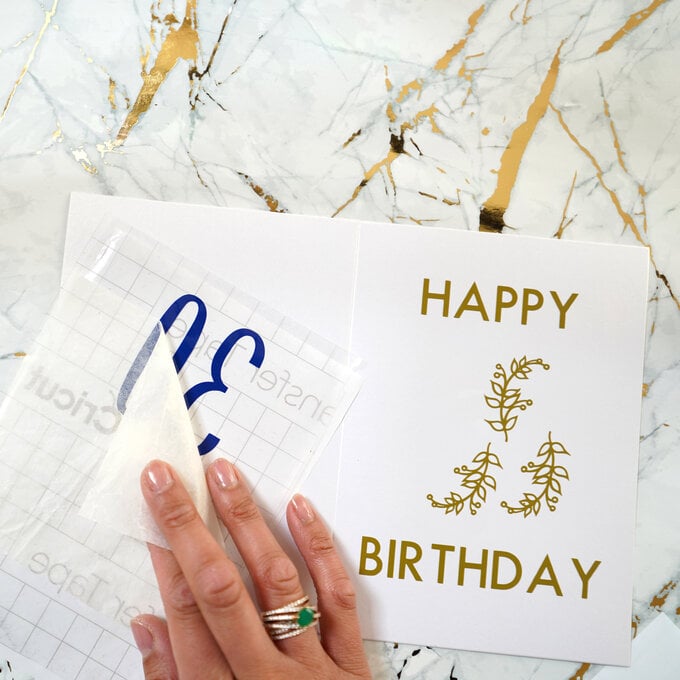
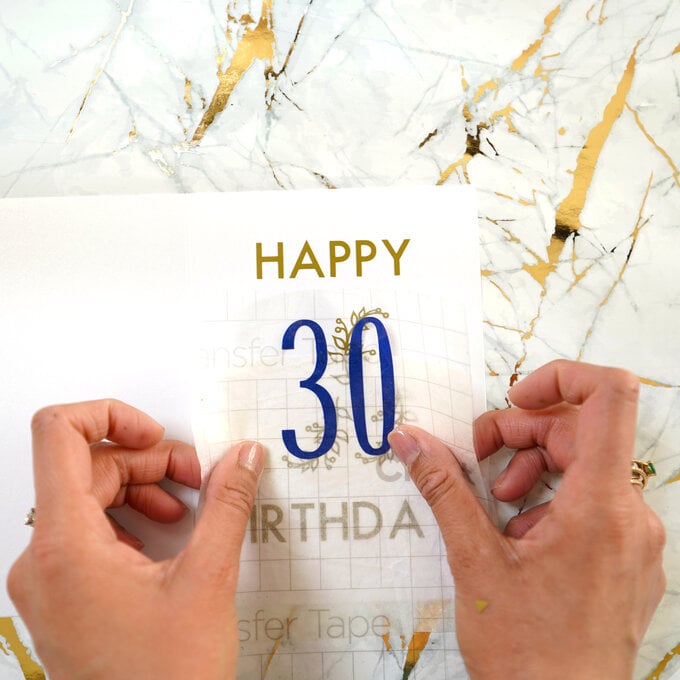
To apply the second vinyl layer, repeat the process (in step 10) but place some baking paper underneath the decal with only a small portion of the top, sticky part, exposed. This will help to correctly align the layer without accidentally sticking it down in the wrong place!
When you are happy gently peel away the baking paper whilst pressing down the vinyl with your other hand.
Repeat this process to apply the foliage decals to your envelope and you're done!
Related Products

Is $ 3.49