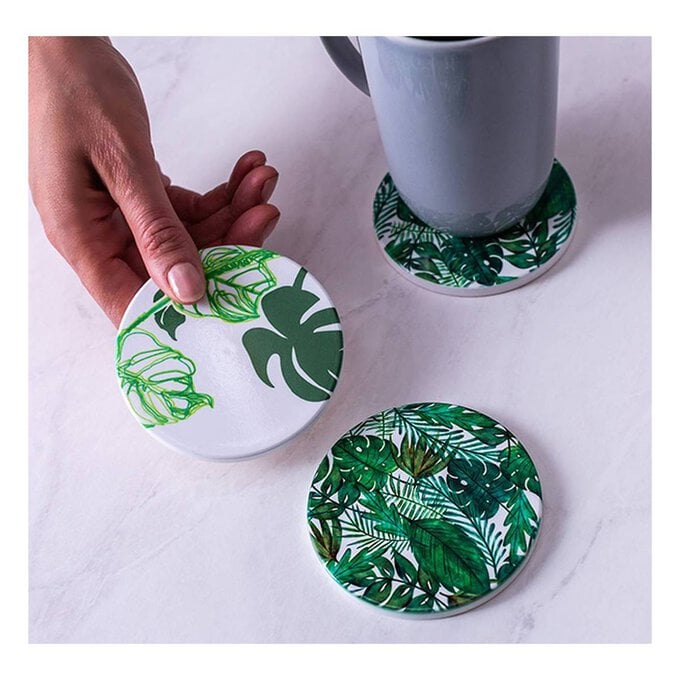
Cricut: How to Make an Infusible Ink Ceramic Coaster
Cricut's Infusible Ink sheets are perfect for making personaliased coasters, there are lots of different colours and patterns available to choose from, or you could create your own design using the Infusible Ink pens - the possibilities are endless!
Reference screen images included within this how-to are from the iOS iPad version of the Design Space app
Project by Aisha Cluitt
This project contains paid for content from Cricut's Design Space app
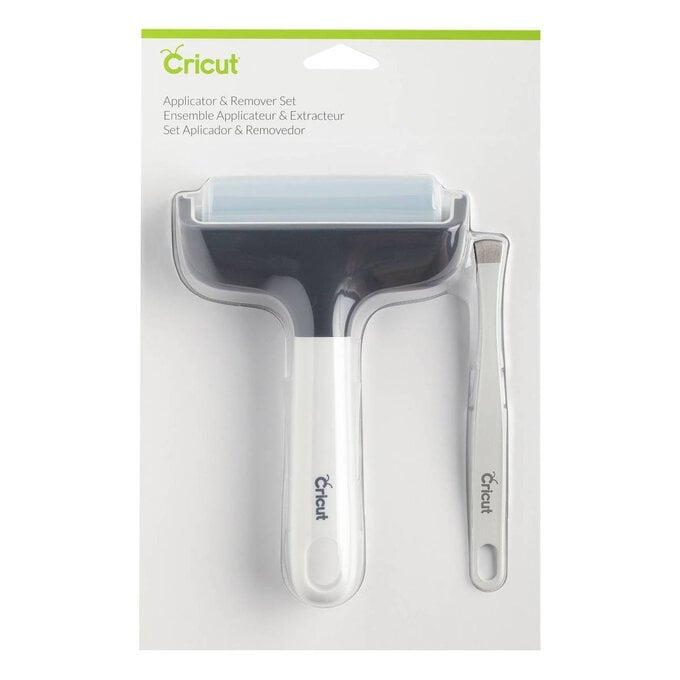
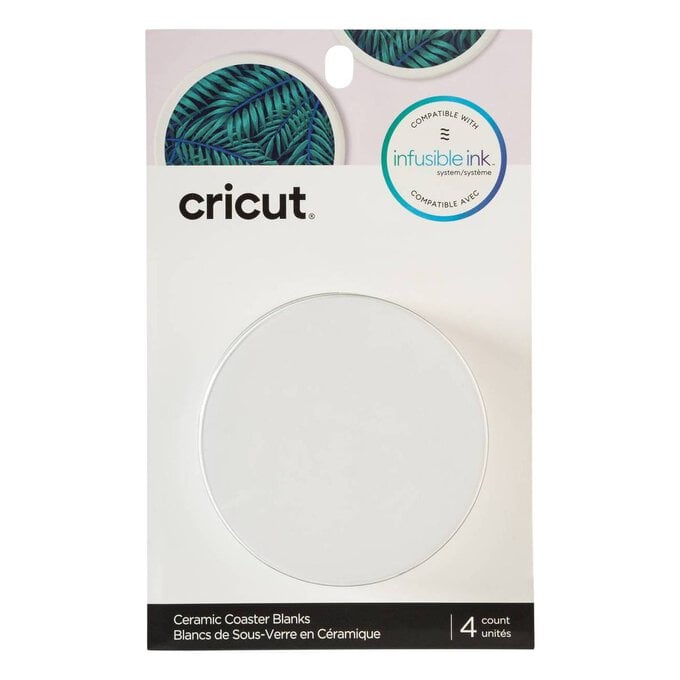
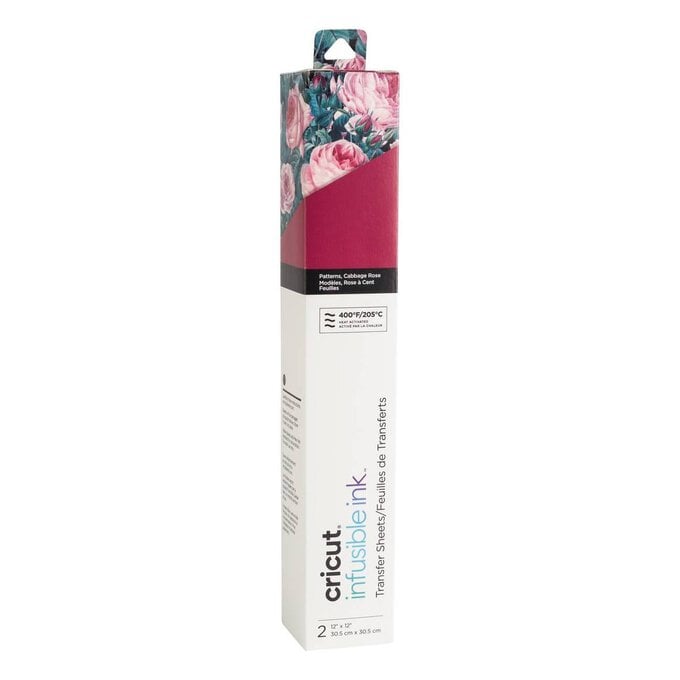
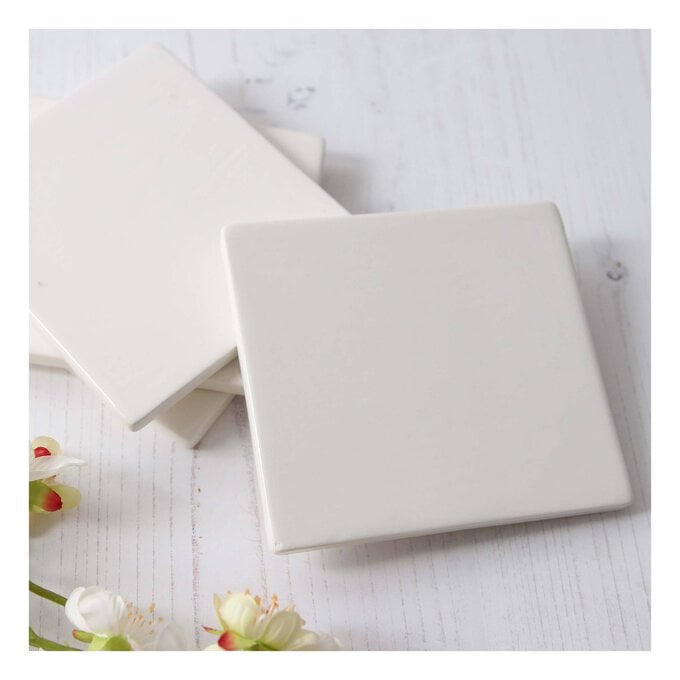
You will need

Subtotal
Is $ 40.00
Subtotal
Is $ 29.00
Subtotal
Is $ 20.00
Subtotal
Is $ 12.00
Subtotal
Is $ 19.00
Subtotal
Is $ 29.00
Subtotal
Is $ 422.00
How to make
You will also need:
Cricut Design Space app installed on a laptop, PC, Tablet or mobile device
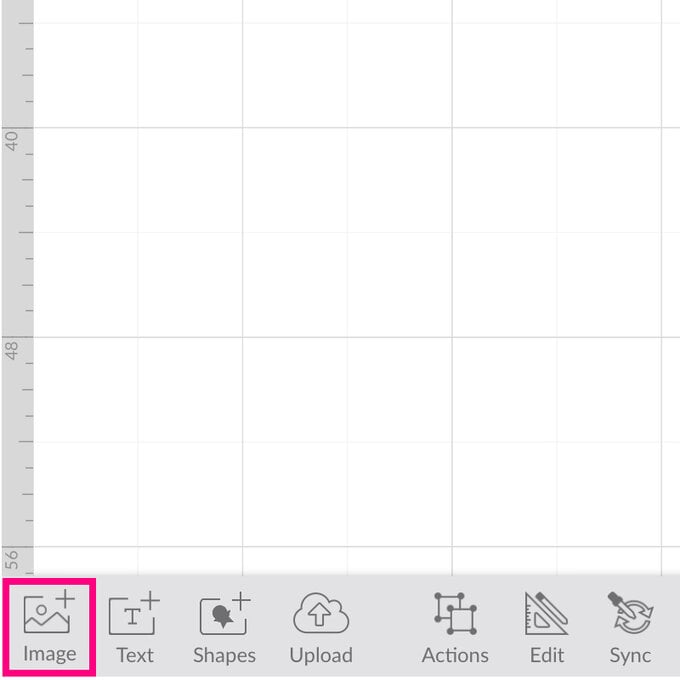
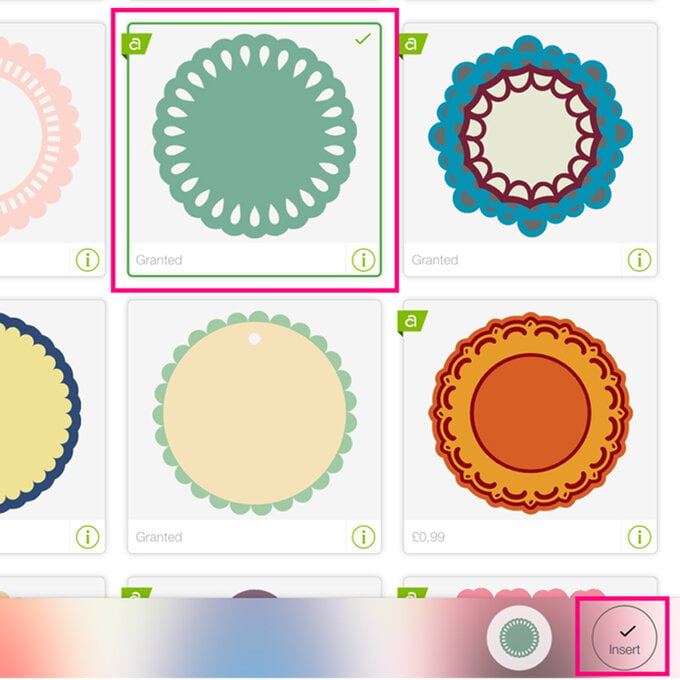
Open up the Design Space app on your device and start a new project, then open the images menu from the toolbar at the bottom of the screen.
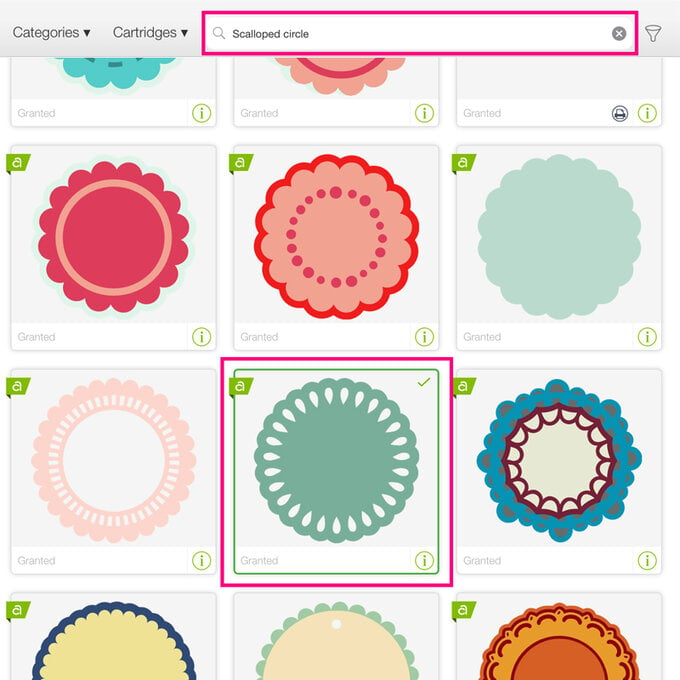
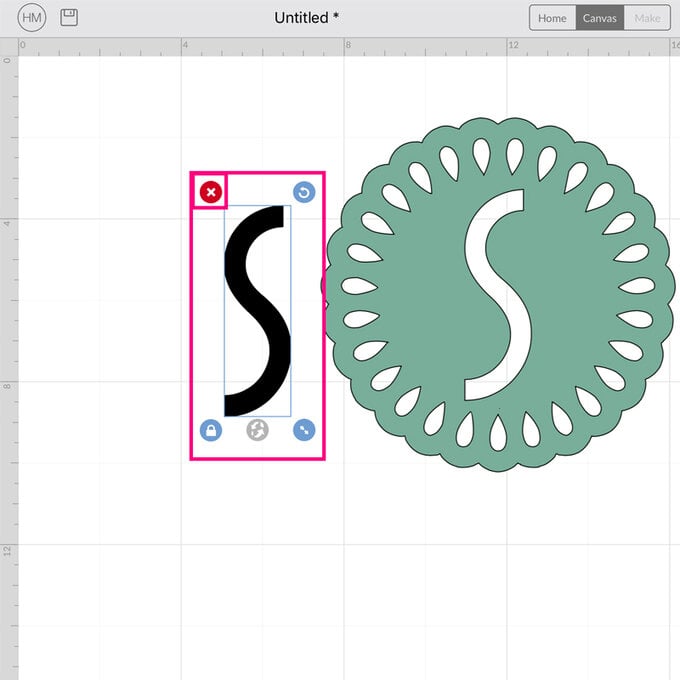
Type 'Scalloped Circle' into the search bar at the top of the screen and select your preferred design and click “Insert”.
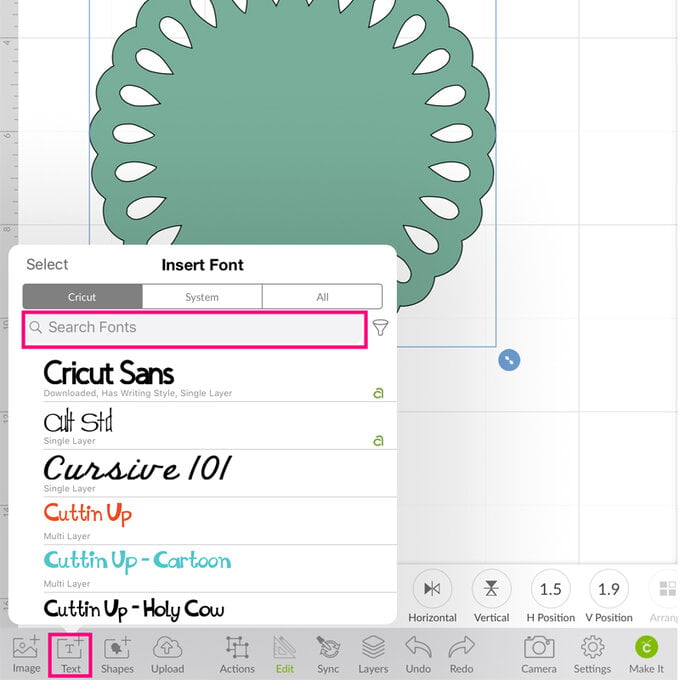
With the image selected, open the “Edit” menu and amend the width measurement to 8.7cm so that the design fits comfortably on your ceramic coaster.

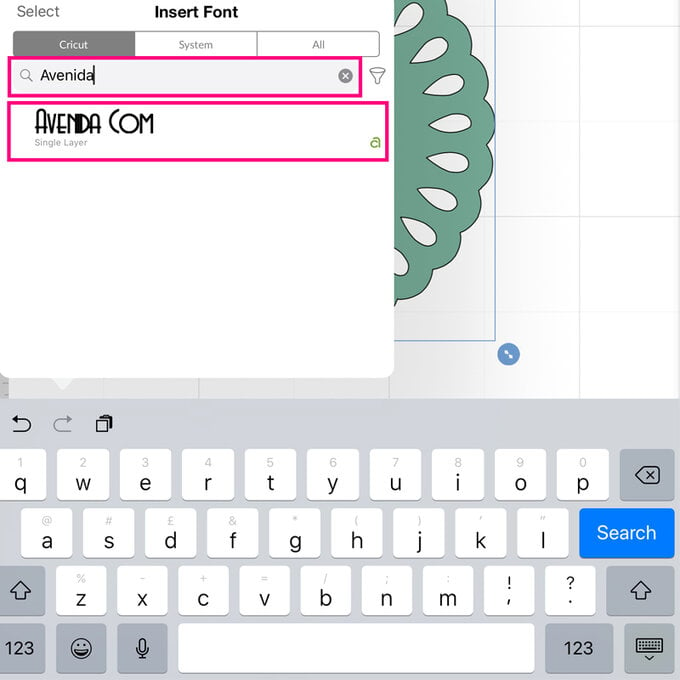
Open the “Text” menu and type “Avenida” into the search bar and select the font.
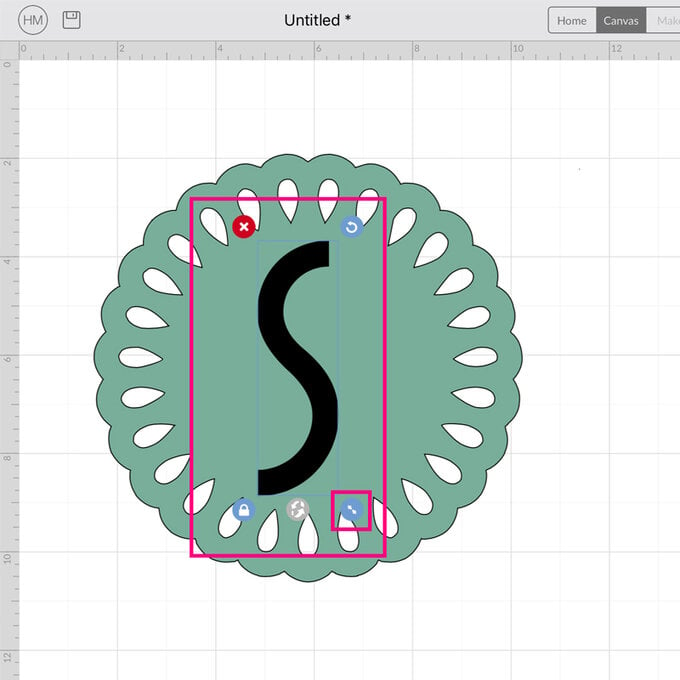
Type your chosen initial into the text box that appears on screen.
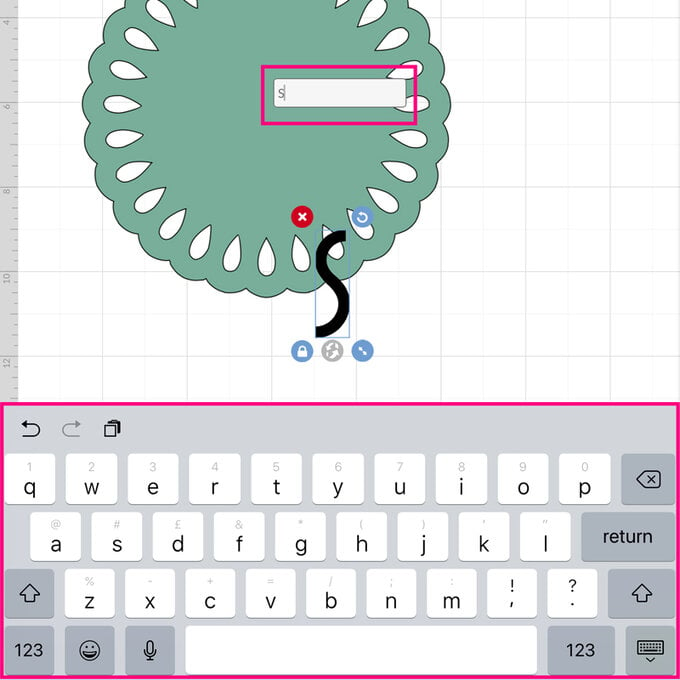
Move the initial onto the coaster and re-size using the arrows in the bottom right-hand corner of the selection box.
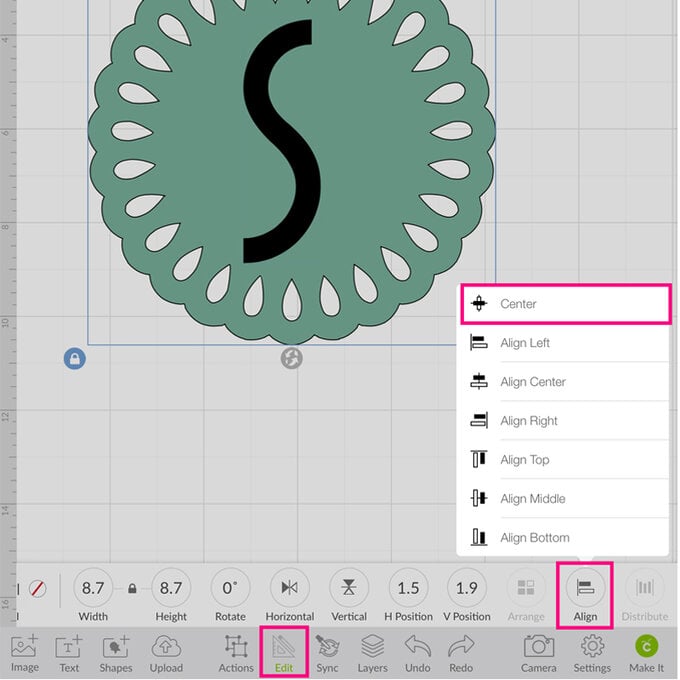
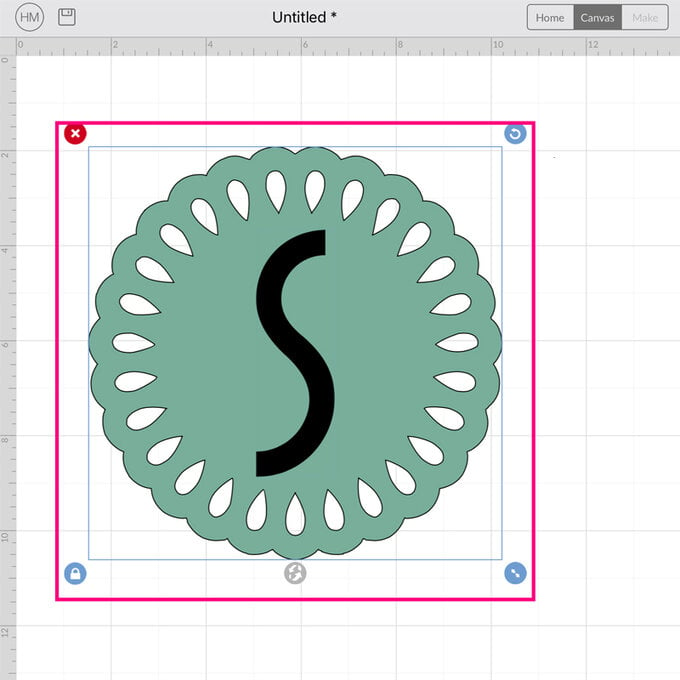
Drag a selection box over the entire image then open the “Edit” menu, select the “Align” function and the “Centre” option.
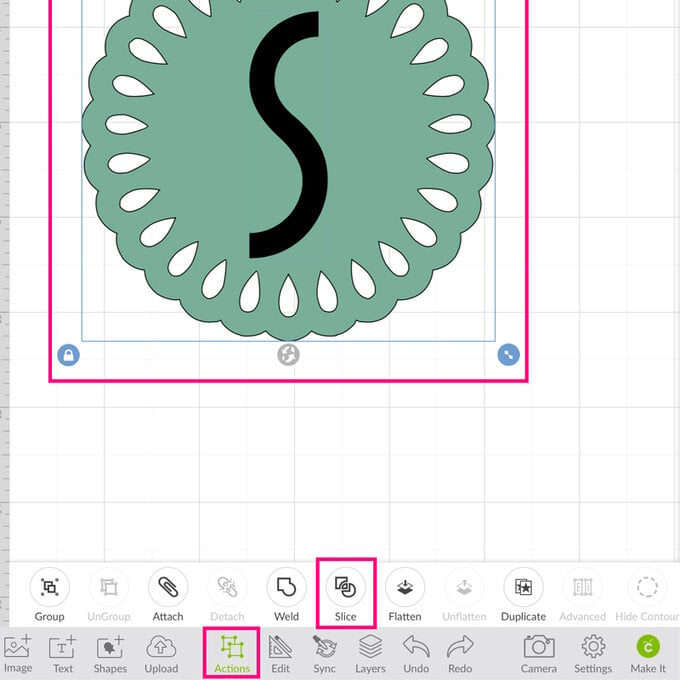
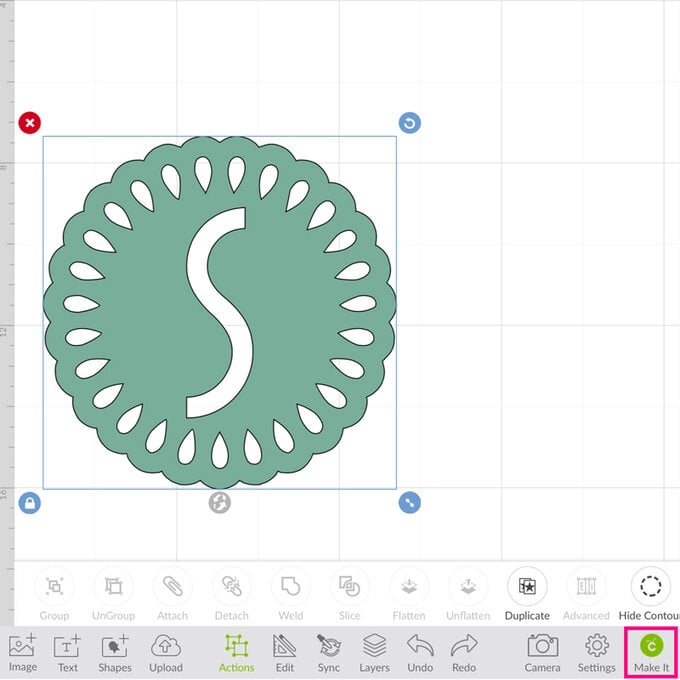
With everything still selected, open the “Actions” menu once more and select the “Slice” function.
Select the coaster and move to one side, before deleting both sliced initials.
Once happy with the design, click the green “Make It” button.
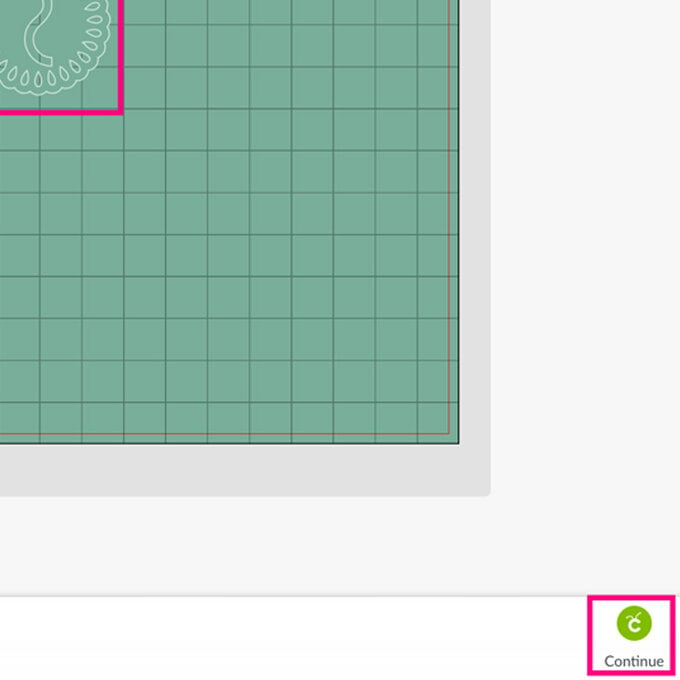
Once through the to the mat preview screen ensure the mirror function is switched on. Once happy that everything is set-up correctly, click the green “Continue” button in the bottom right-hand corner of the screen.
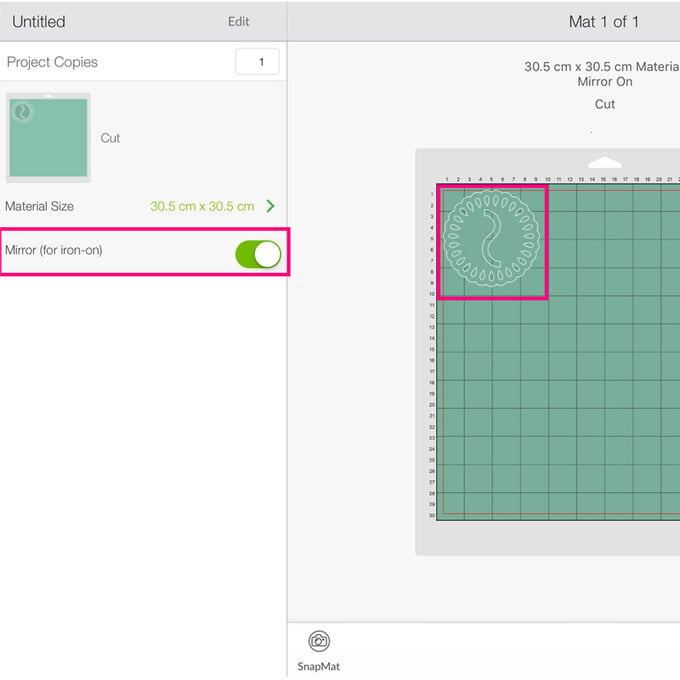
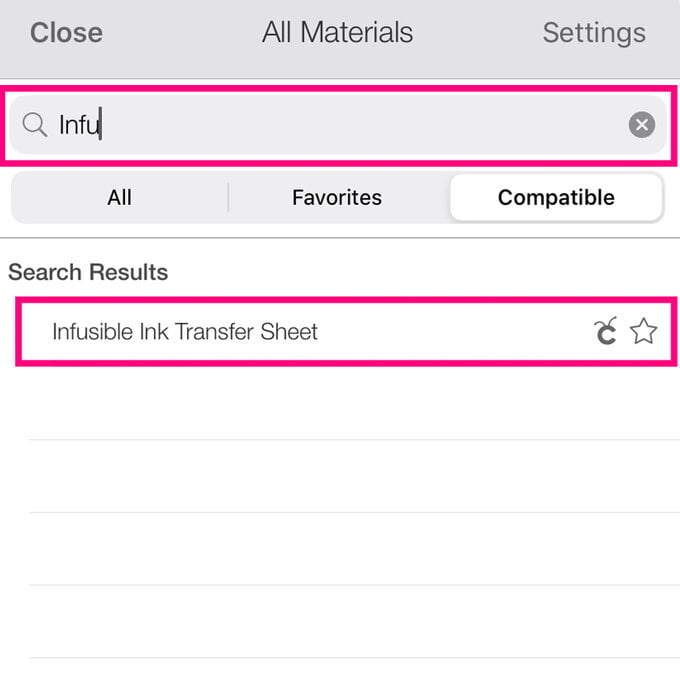
You'll then be taken through to the mat preview screen, open the "All Materials" menu and start to type "Infusible" into the search bar - select the "Infuisble Ink Transfer Sheet" option.
Trim the Infusible Ink sheet down to size using a sharp pair of scissors then apply to your cutting mat right-side facing up.
Use the Cricut Brayer or the scraper tool to ensure the sheet is secure on the cutting mat.
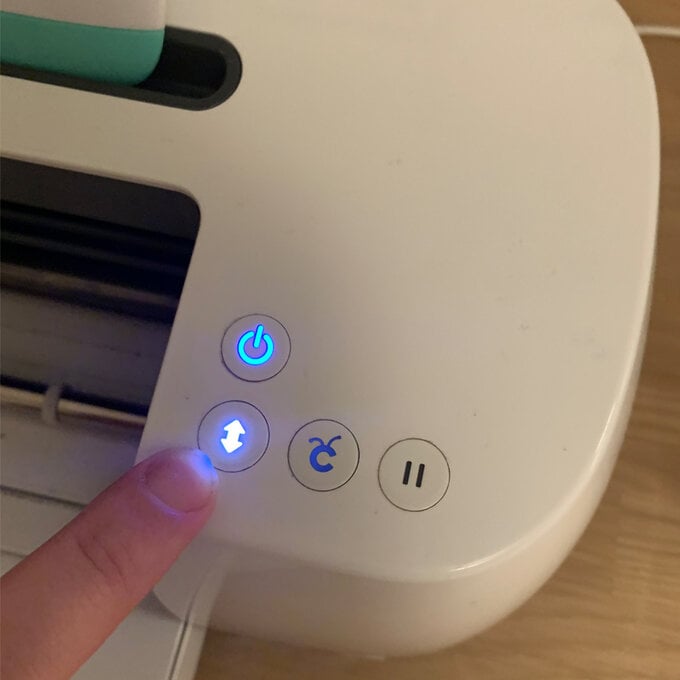
Load the cutting mat into the machine by pressing the flashing arrow button. Press the flashing Cricut button to start the cut.
Once complete, carefully remove the sheet from the cutting mat before weeding the design.
Wipe the coaster over with a lint cloth, and then place the weeded design onto the coaster face down using heat resistant tape to secure the design in place.
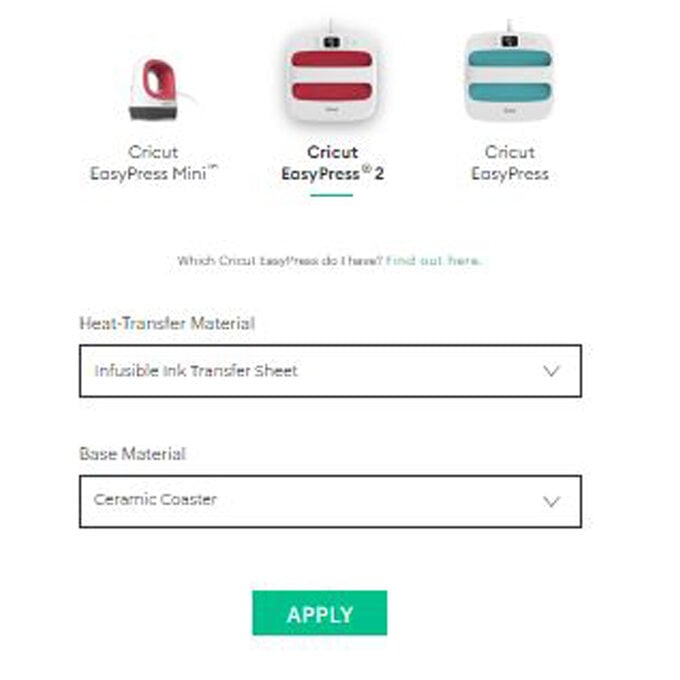
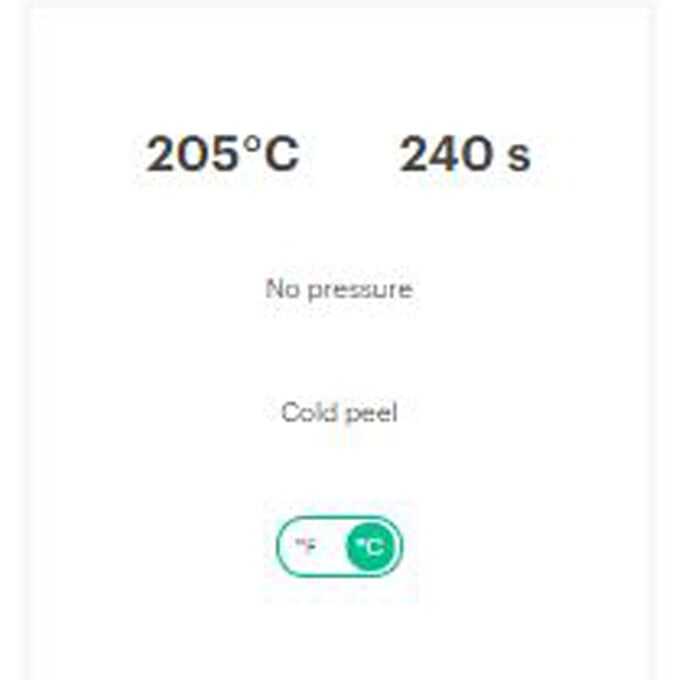
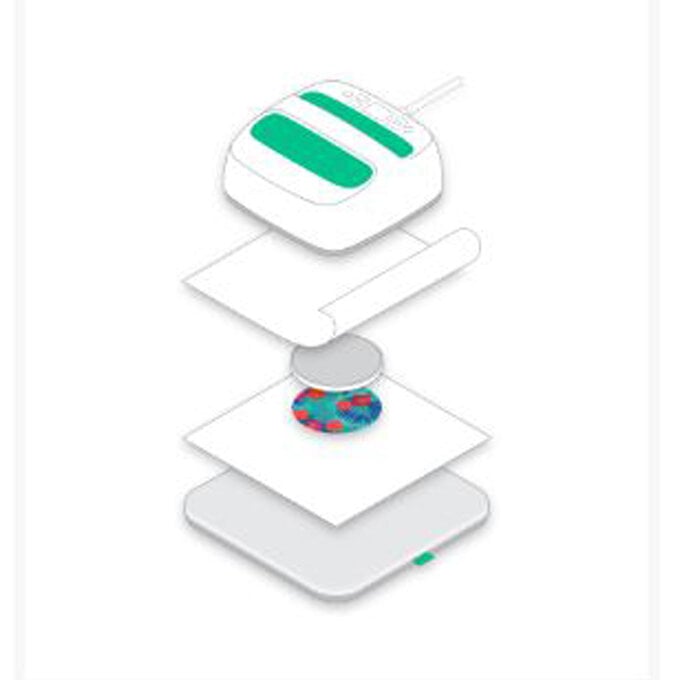
Use Cricut's Interactive Heat Guide (www.cricut.com/en_us/heatguide) to determine the heat and time settings you need to set your EasyPress to.
Place a sheet of cardstock onto your EasyPress Heat Resistant mat, followed by the coaster, facing right-side down.
Place a sheet of parchment paper on top, followed by the EasyPress.
Start the timer by pressing the green Cricut button.
Once the timer has reached zero carefully remove the EasyPress and parchment paper, then leave the coaster to cool completely before peeling away the heat resistant tape along with the Infusible Ink sheet to reveal the design.

Related Products
Is $ 20.00

Is $ 16.00


.jpg?sw=680&q=85)

