Cricut: How to Make an Iron-on Easter Banner
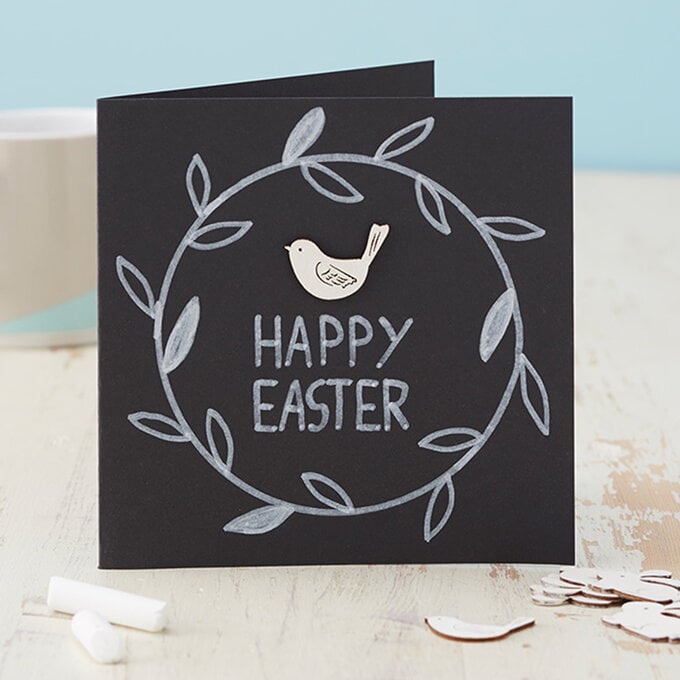
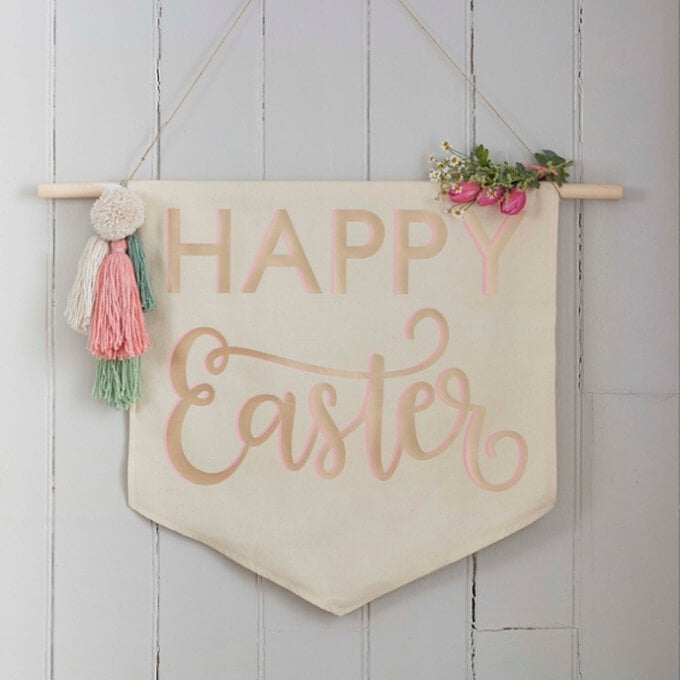
No Easter celebration would be complete without a "Happy Easter" banner! This iron-on vinyl design is perfect for hanging in your dining room, kitchen, hall way and even outside!
Fancy super-sizing this project? Make your own banner using Calico and a wooden dowel! The banner uses a clever iron-on vinyl layering technique that is perfect for beginner Cricut users to try their hand at.
Project and instructions by Aisha Cluitt
Discover more Easter Cricut projects here >
This project includes paid for Design Space images
Screen reference images are taken from the iPad version of Design Space
You will need
Subtotal
Is $ 422.00

Subtotal
Is $ 17.00
Subtotal
Is $ 17.00
Subtotal
Is $ 84.00 , was $ 87.00
How to make
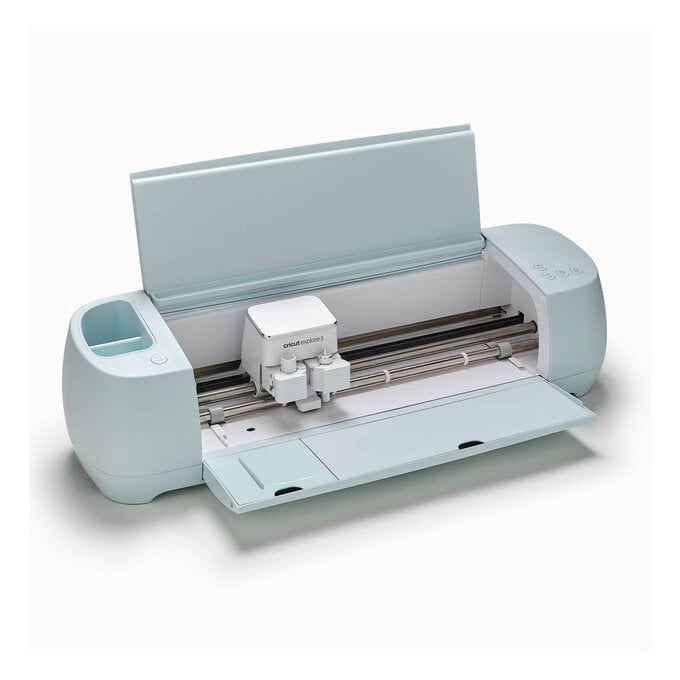
* Cricut Explore
* Basic Cricut Tools
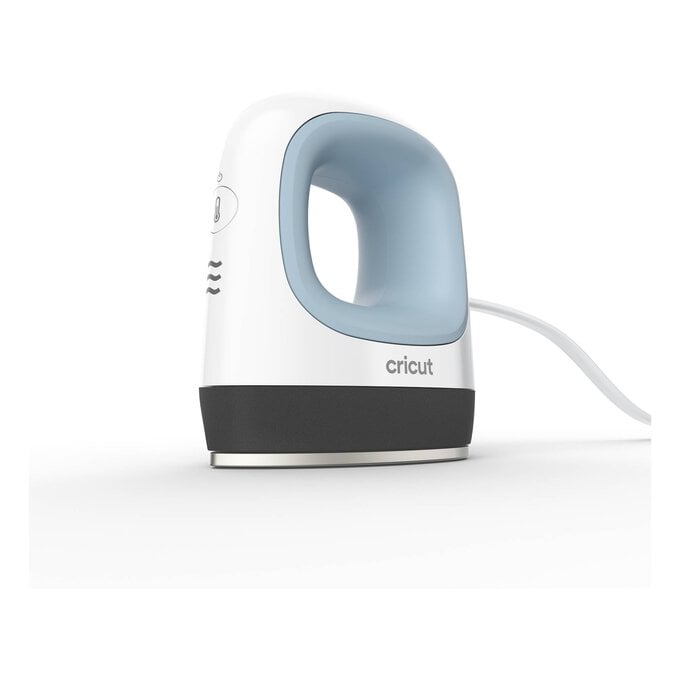
* Cricut EasyPress
* Cricut EasyPress Heat Resistant Mat
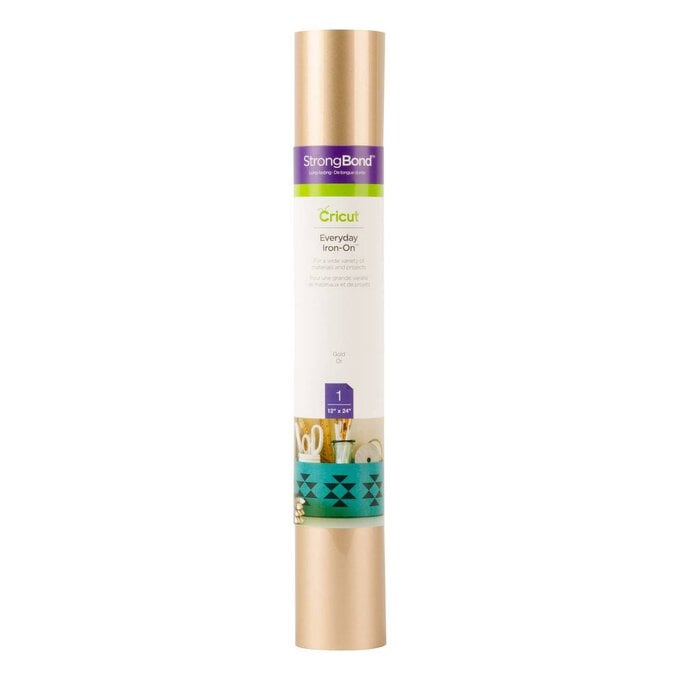
* Cricut Everyday Iron-On - Blush and Gold
* Canvas Banner

* Foil, Glitter, Holographic, and Holographic Sparkle Iron-On should be used as the top layers of your design only.
* SportFlex Iron-On should be layered on top of other SportFlex Iron-On only.
* Be extra careful when applying repeated heat applications on top of Foil Iron-On, as they can result in a textured finish.
* Avoid layering on top of Glitter Iron-On; due to the surface texture any Iron-on Vinyls that are applied on top will not adhere well, which will result in the design peeling off.
* Holographic and Holographic Sparkle Iron-on, have a non-stick surface once ironed on, therefore this vinyl should only be used on the top layer of your design.
* For best results, try to keep your design to four layers or less.
* If you're planning to use Foil Iron-On for the top layer of your design apply heat using firm pressure for 10 seconds.
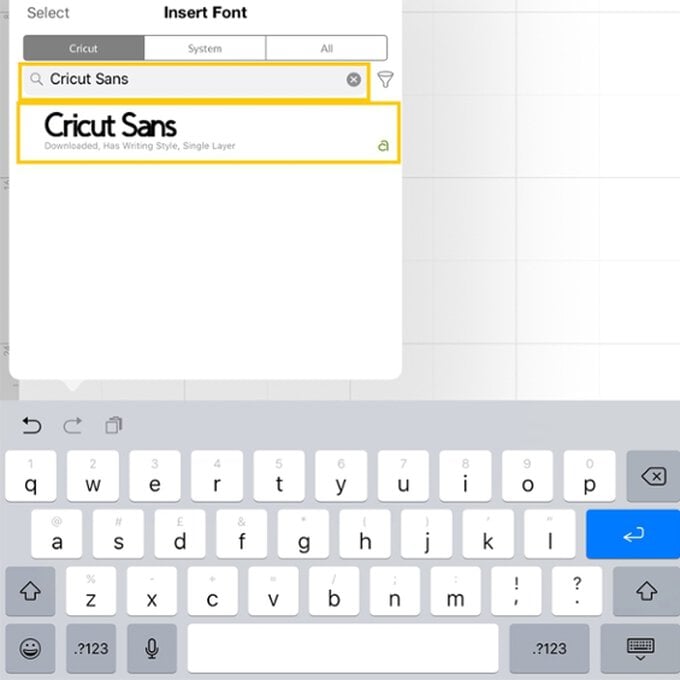
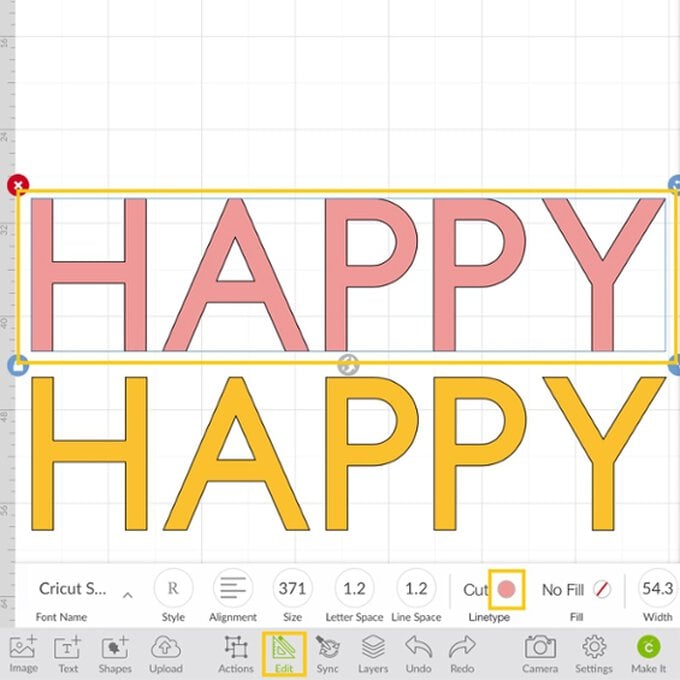
Open the Design Space app and start a new project. Click on the “Text” menu at the bottom of the screen and start to type 'Cricut Sans' into the search bar.
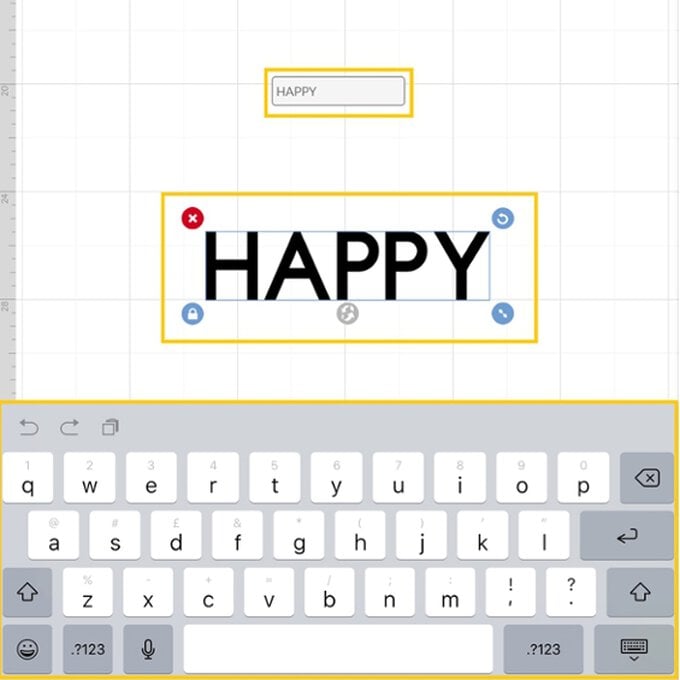
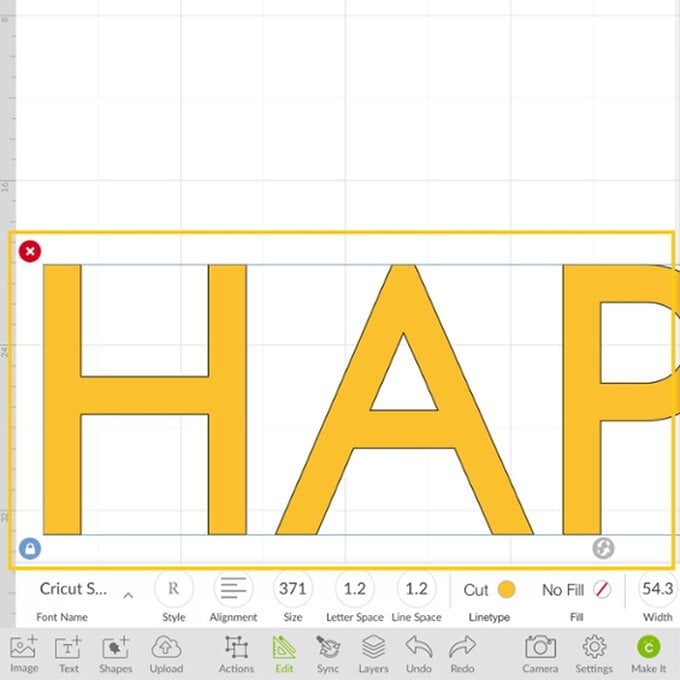
Type “Happy” into the text box that appears on screen.
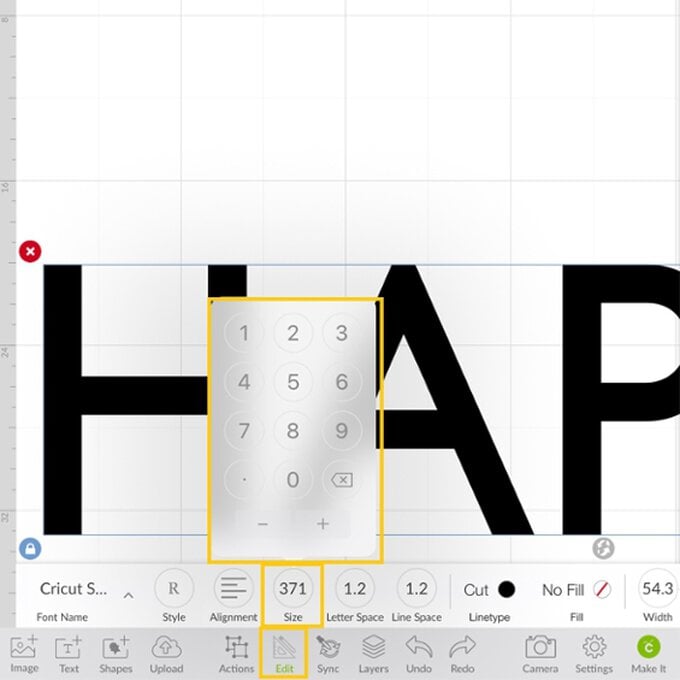
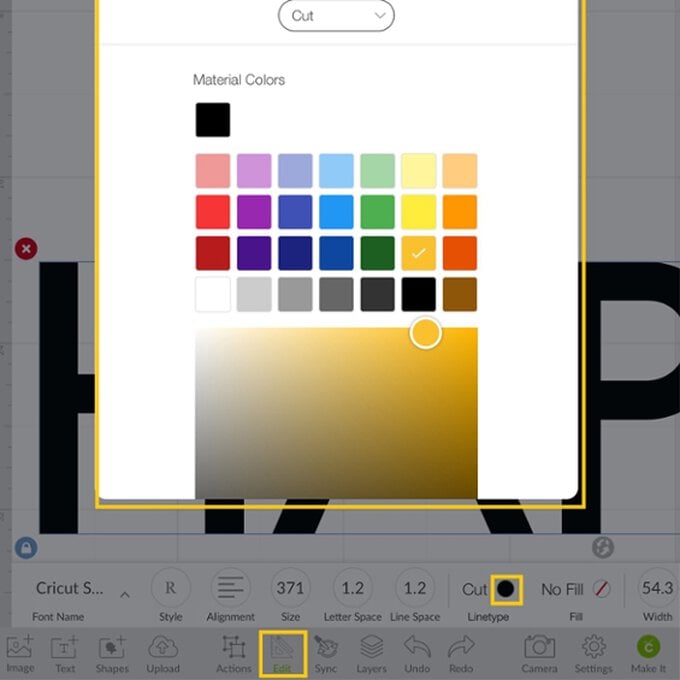
With the text selected open the “Edit” menu from the toolbar at the bottom of the screen and amend the size of the text to your desired dimensions - ours had a font size of 371.
With the "Edit" menu still open change the colour of the image to match the colour of iron-on vinyl you're intending to use by selecting a colour swatch.
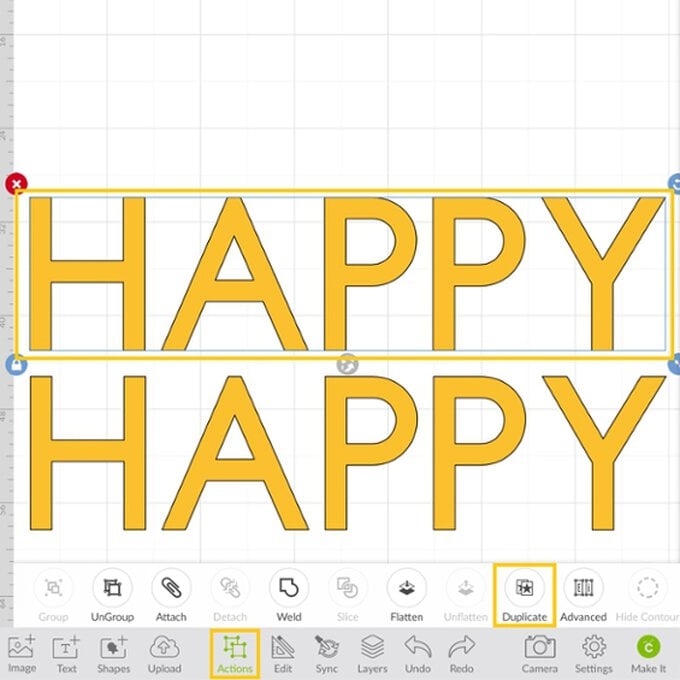
With the word "Happy" still selected open the "Actions" menu and select "Duplicate", so that there are two "Happy" words on the canvas.
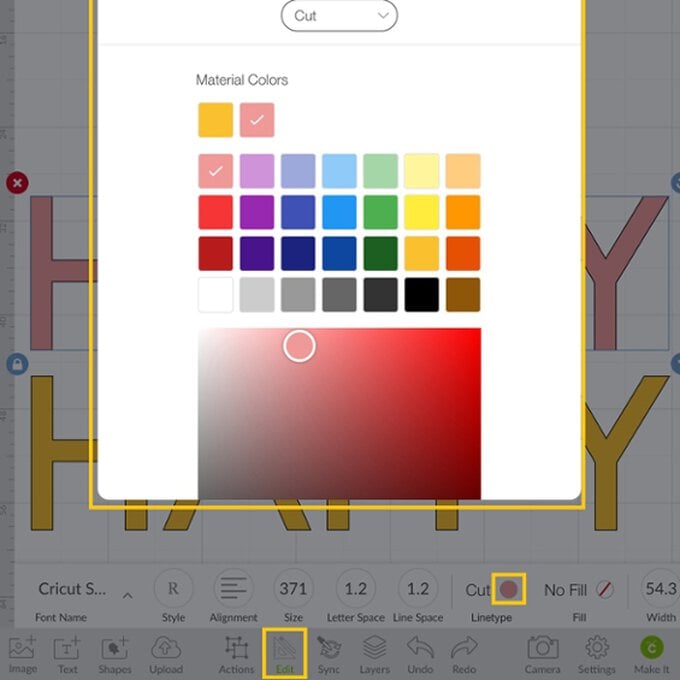
Amend the colour of the second word to match the colour of iron-on vinyl you're intending to use by selecting a colour swatch.
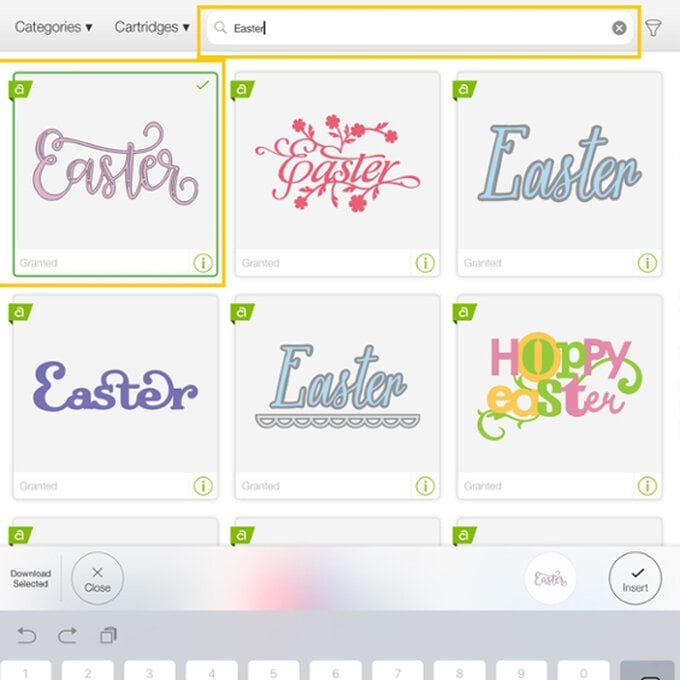
Open the images menu and search "Easter" in the search bar at the top of the screen, and select your preferred Easter design - we went for image #M87C88B72.
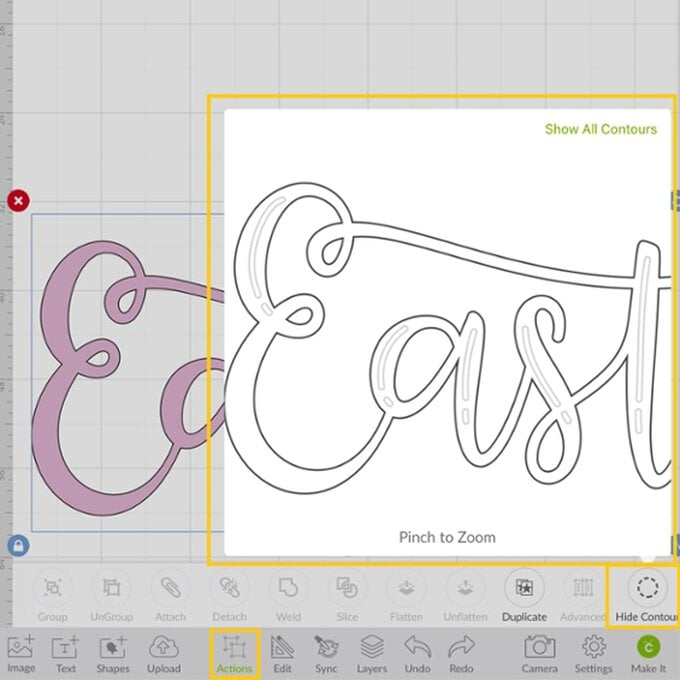
Open the "Actions" menu and select the "Hide Contour" function and hide the elements on the inside of the image by clicking on them - once hidden they'll turn a light grey.
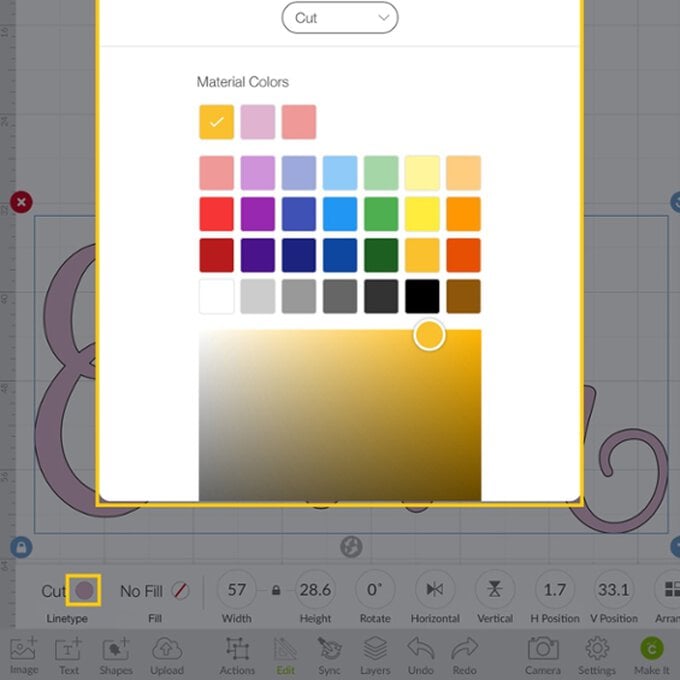
Once happy with the design, amend the size of the image using the size of the word "Happy" as a guide - ours measured 57cm in width.
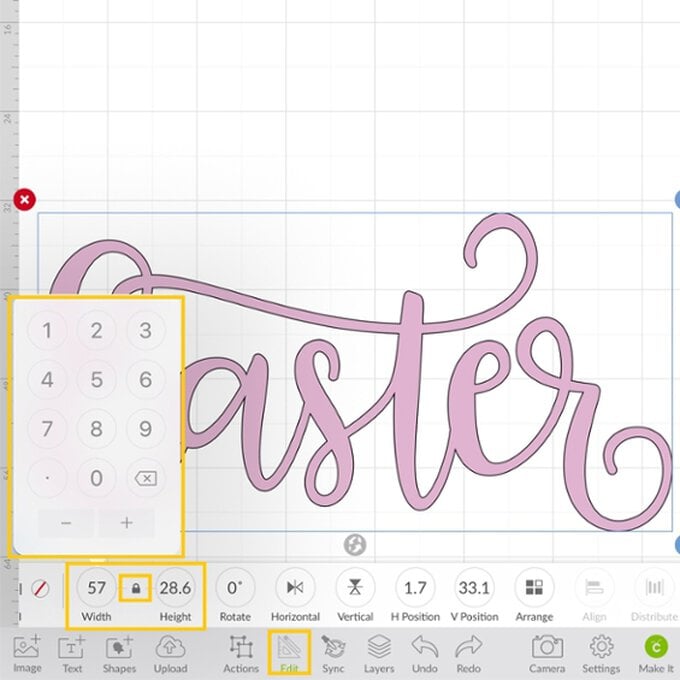
With the "Easter" word selected, amend the colour to the colour of iron-on vinyl you'll be using. Open the "Edit" menu and click on the colour swatch to the right of the word "Cut".

Open the "Actions" menu and select "Duplicate" to create two Easter images.
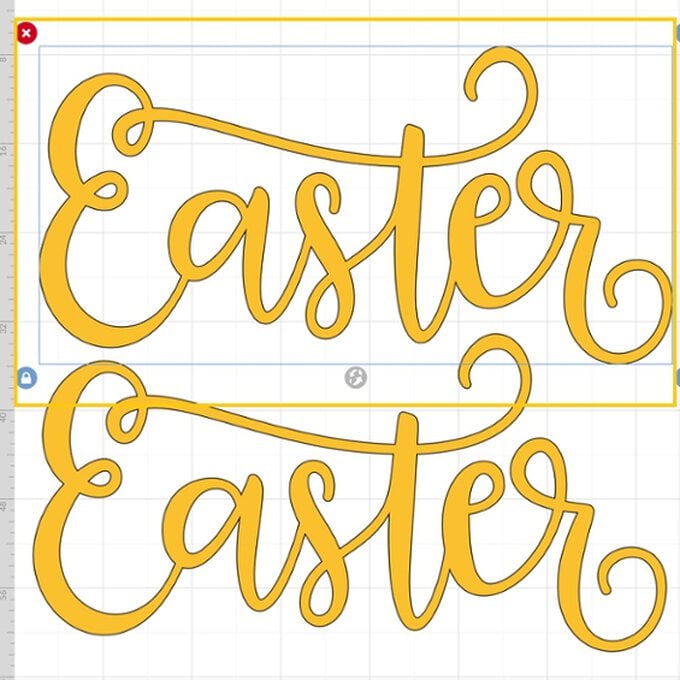
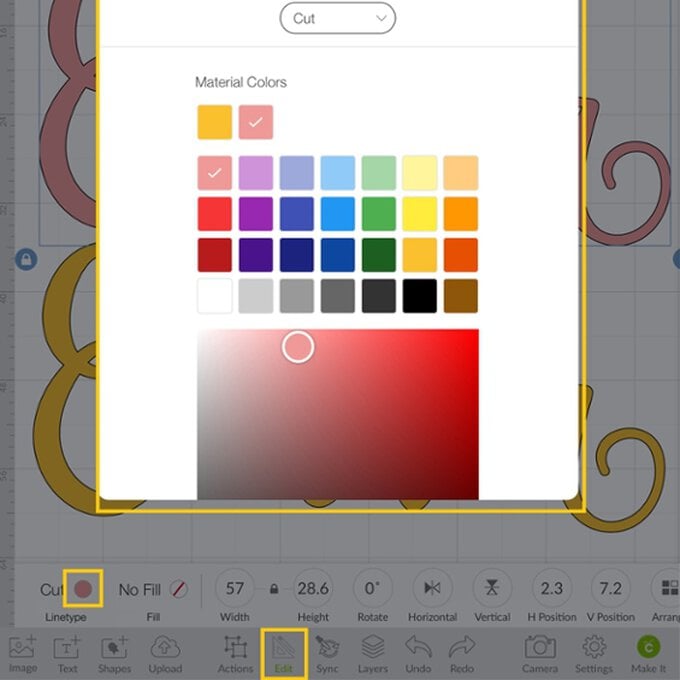
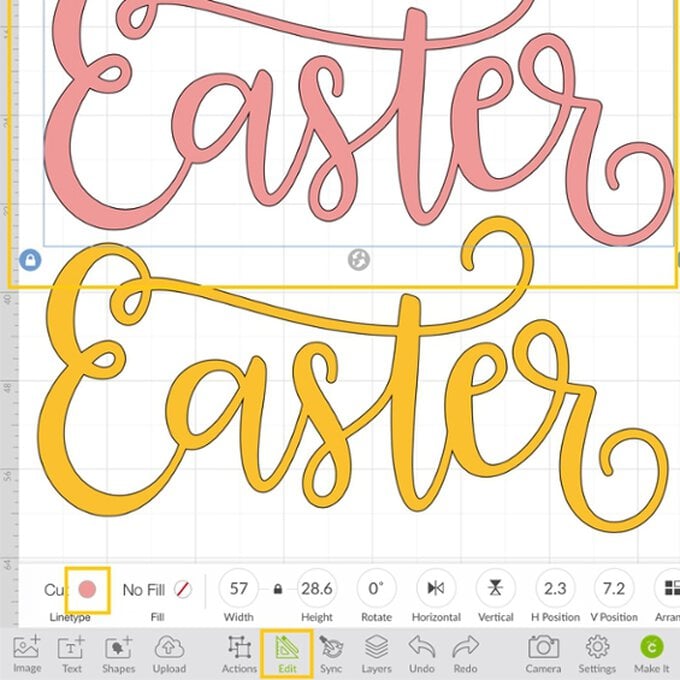
Change the colour of the second "Easter" image to match the iron-on vinyl you'll be using.
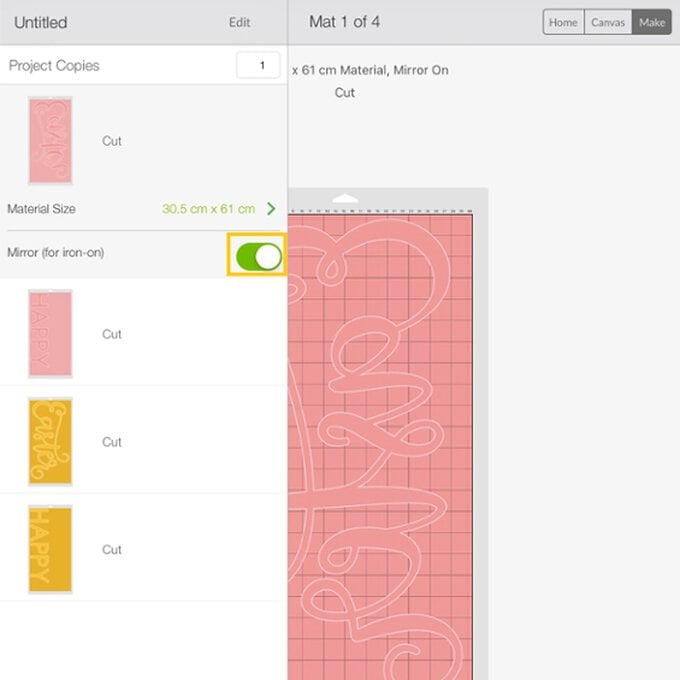
Once happy with the design, click the green "Make It" button in the bottom right-hand corner of the screen.
You'll then be taken through to the mat preview screen, a pop-up will appear letting you know that a larger, 12 x 24", mat will need to be used.

Make sure that the "Mirror for Iron-on" option is active on each mat so that the text reads from left to righ once it is adhered to the banner.
Once happy that the mats are all set up correctly, click the green "Continue" button in the bottom right-hand corner of the screen.
You'll then be taken through to the machine set-up screen. Select the appropriate setting for the type of iron-on you are using and then follow the on-screen instructions to cut out the design.
Once each of the designs has cut, use a BrightPad and weeder tool to remove negative areas of the design (i.e. piece you don't want transferred onto the banner).
Once all of the images have been weeded, position them on top of the banner to double-check that you're happy with the arrangement.
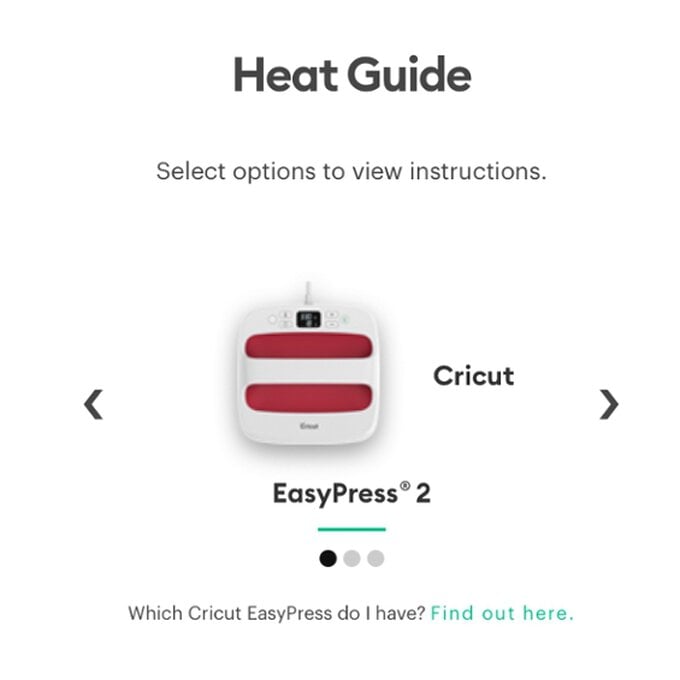
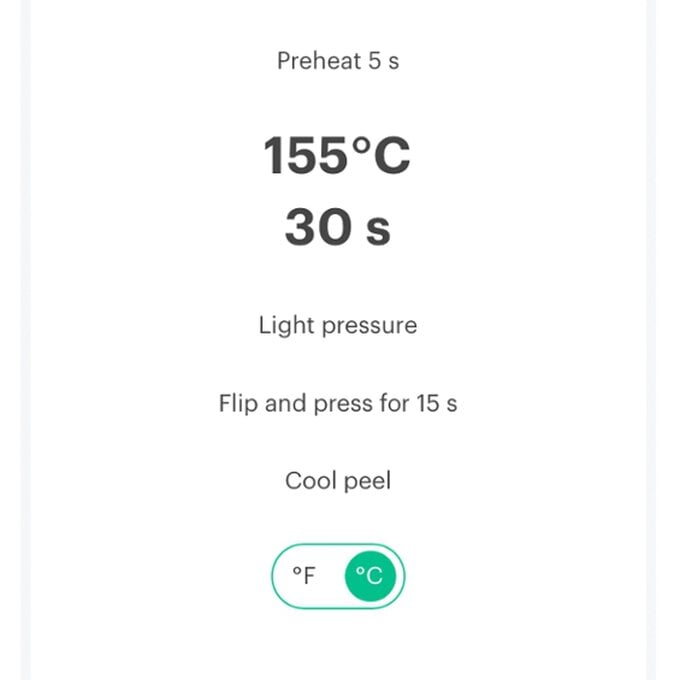
Start by adhering the bottom layer of the design to the banner first, using Cricut's Interactive Heat Guide to ascertain the correct heat and time settings for your EasyPress.
Once the first layer of iron-on vinyl is completely cool, apply the second layer off-setting the design slightly to the right.
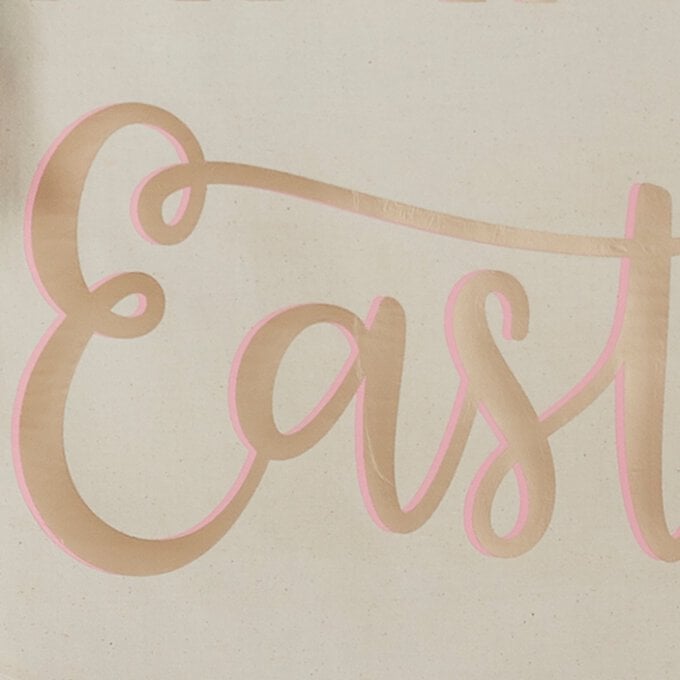
Your beautiful banner is now complete and ready to hang in pride of place!
Related Products