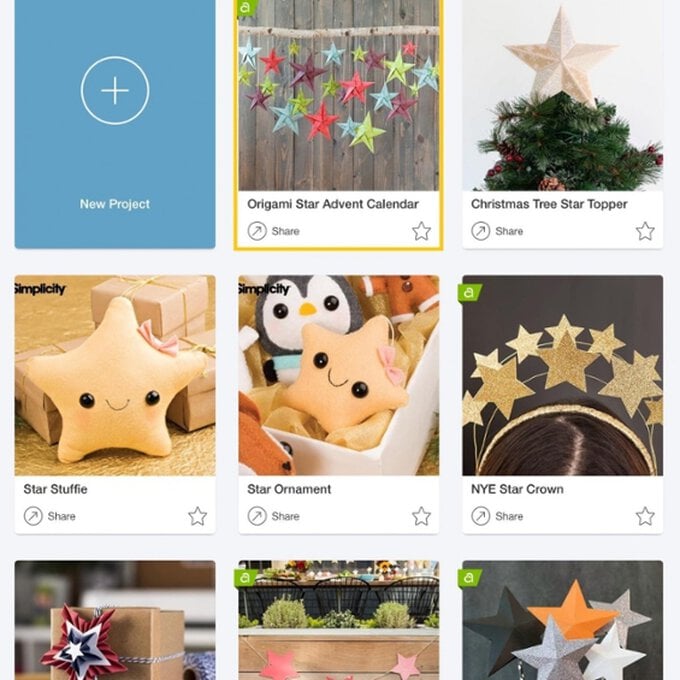
Cricut: How to Make an Origami Star Garland
Project and how-to make instructions by Aisha Cluitt
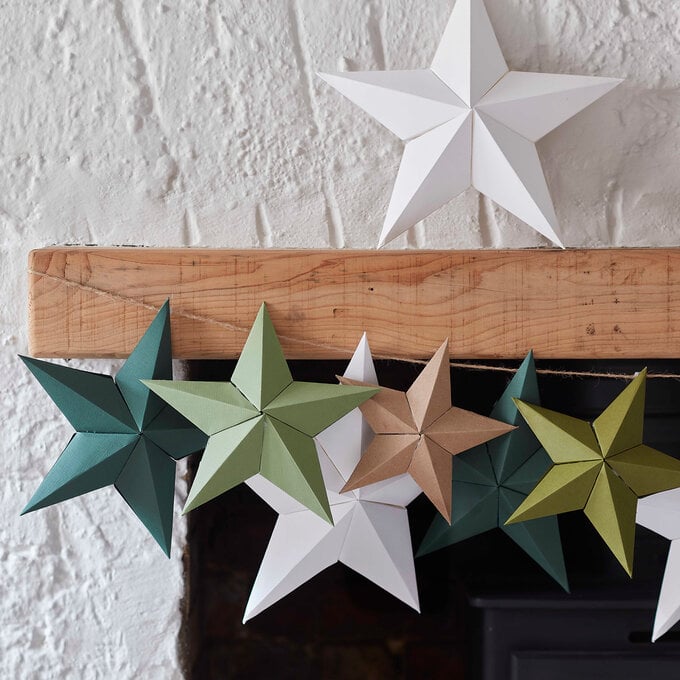
Creating an origami star can be a tricky business if you're not a seasoned paper folder. However, with a helping hand from the Cricut Design Space and your trusty Explore/ Explore Air 2/Maker machine creating a beautiful origami star garland is made much simpler, as the Cricut machine can cut and score perfect pentagons in next to no time.
You will need

Subtotal
Is $ 3.49 , was $ 5.49
Subtotal
Is $ 3.49 , was $ 4.49
Subtotal
Is $ 15.00
Subtotal
Is $ 422.00
Subtotal
Is $ 10.00
How to make
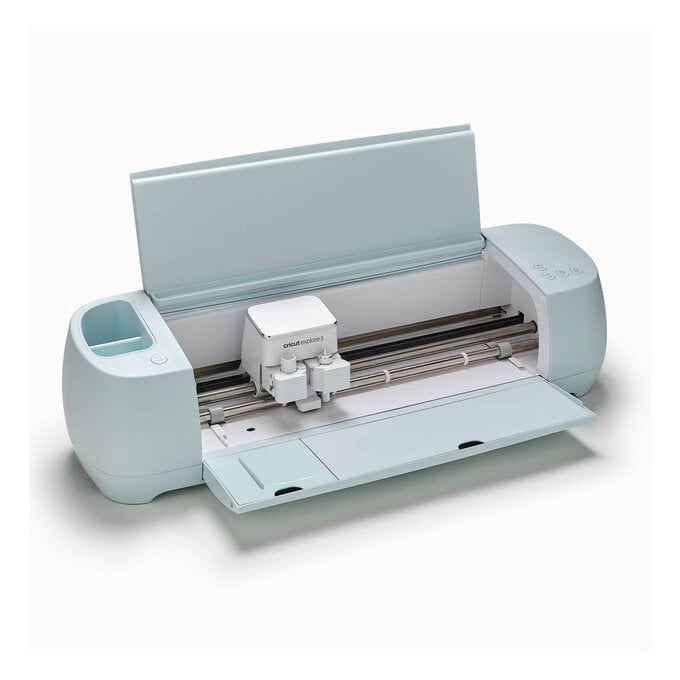
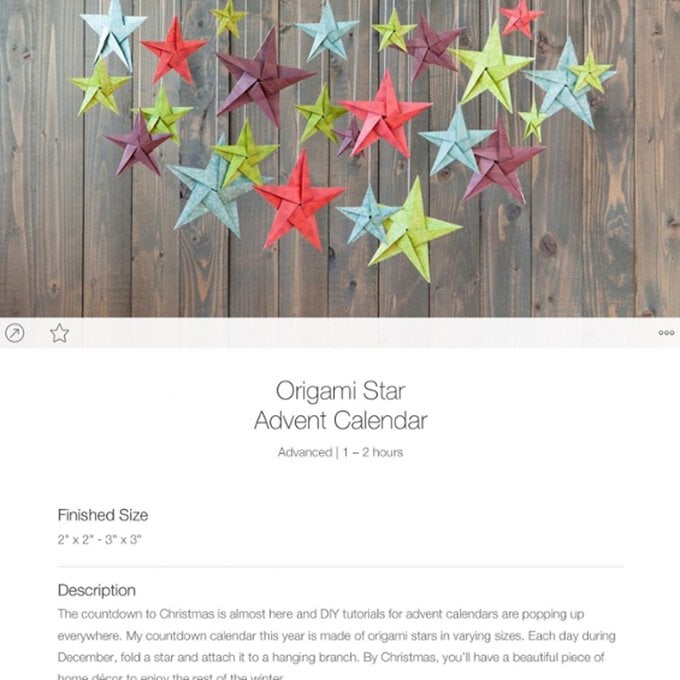
Using a laptop/Mac/iPad/iPhone/Android device, log on to your Design Space™ account and make sure you are connected to your Cricut Explore™ / Maker™ machine. On the home screen type 'Origami Star' into the search bar and select the Origami Star Advent Calendar.
After selecting the project, click to customise the project.
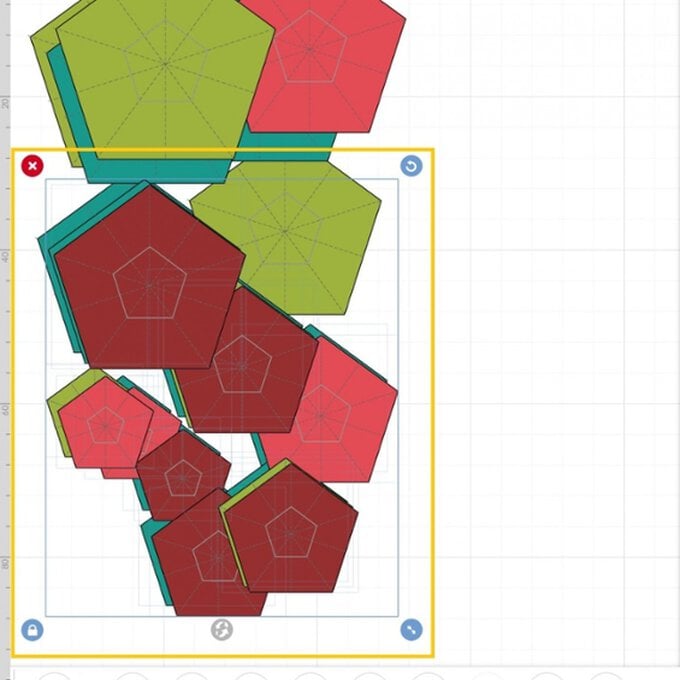
Select 20 of the 25 stars by dragging a box over the stars and clicking on the red cross in the top right-hand corner of the selection box to remove them.
Re-size the remaining stars. To do this, select one of the stars by clicking onto it, select the 'Edit' tab from the toolbar at the bottom of the screen and change the width measurement to 20cm. Repeat the same process with the remaining four stars changing the width dimension to 18, 16, 14 and 13cm respectively.
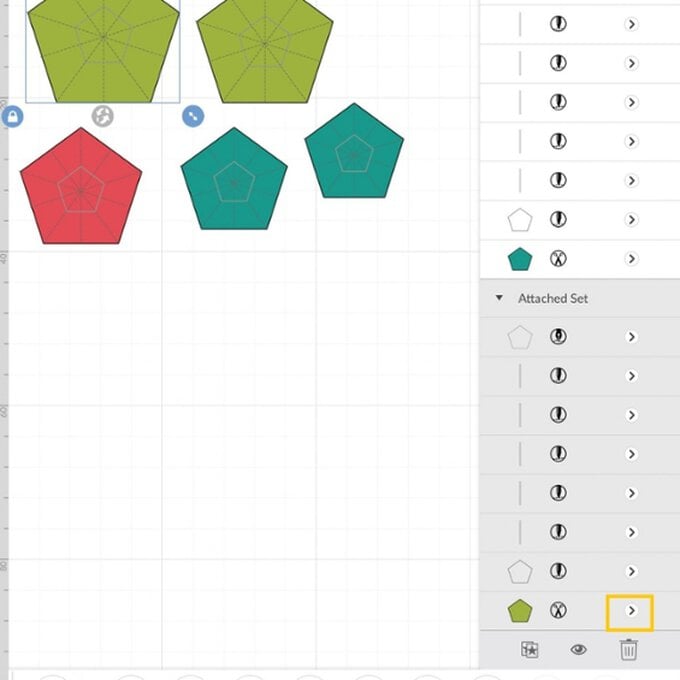
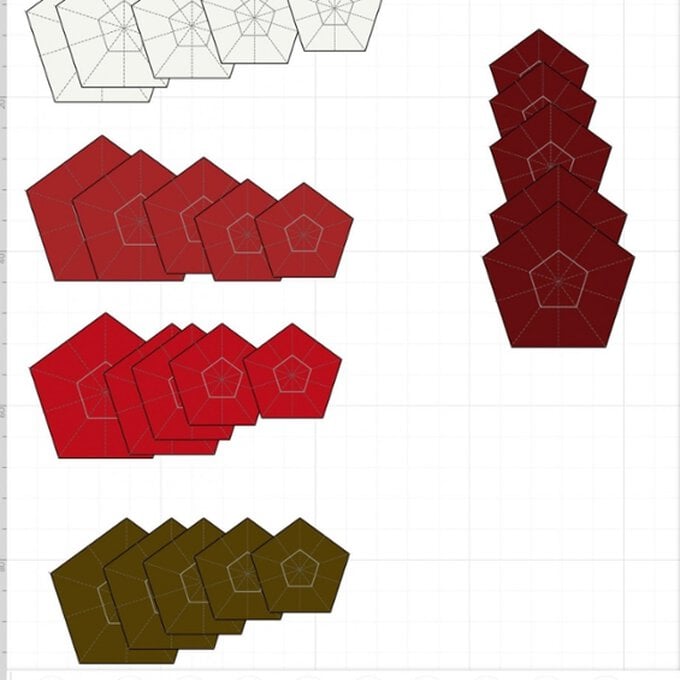
Change the colour of the stars to the colours of cardstock you'll be using (we used 3 different shades of red, white and kraft brown). To do this, open up the layers tab from the bottom toolbar. Select the first star you'd like to change the colour of, click on the arrow to the right of the shape in the layers tab.
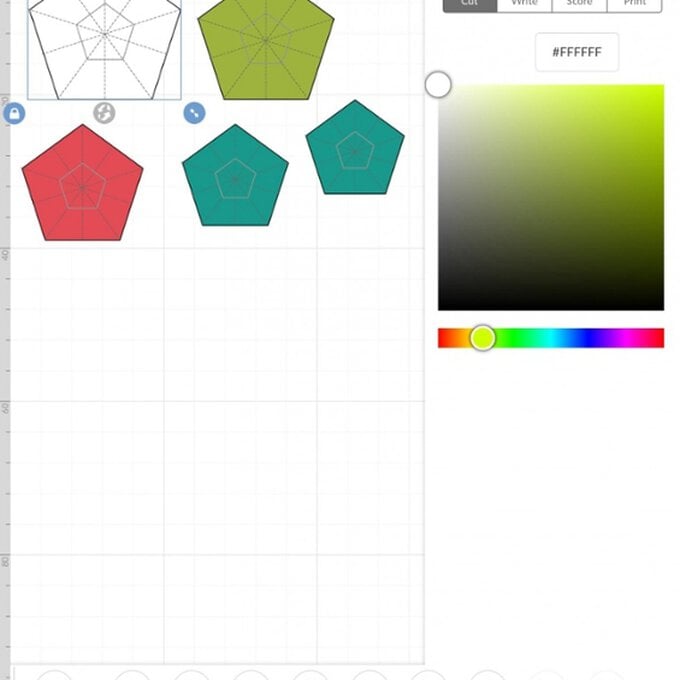
Select your colour, in this case white, from the colour palette. Repeat this process on the four remaining pentagons.
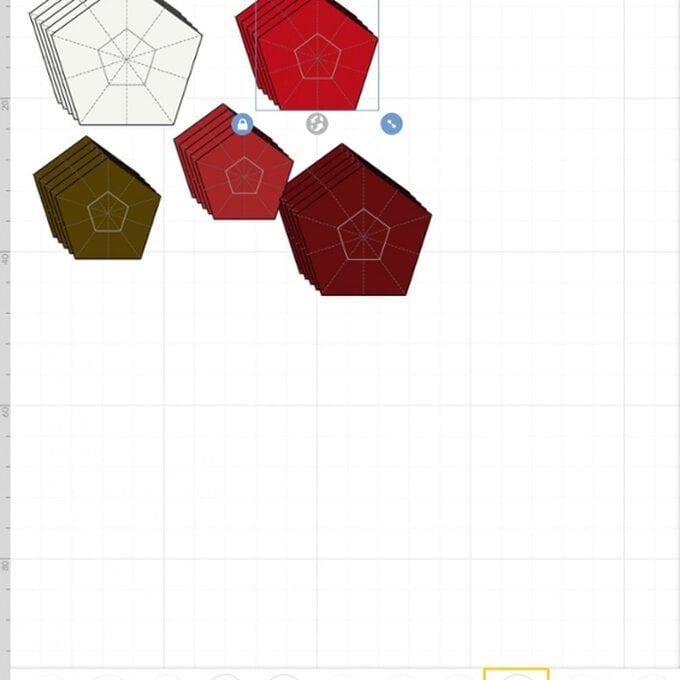
Duplicate each of the stars so that you have five of each, and 25 in total. To do this, select the 'Duplicate' button from the 'Actions' menu.
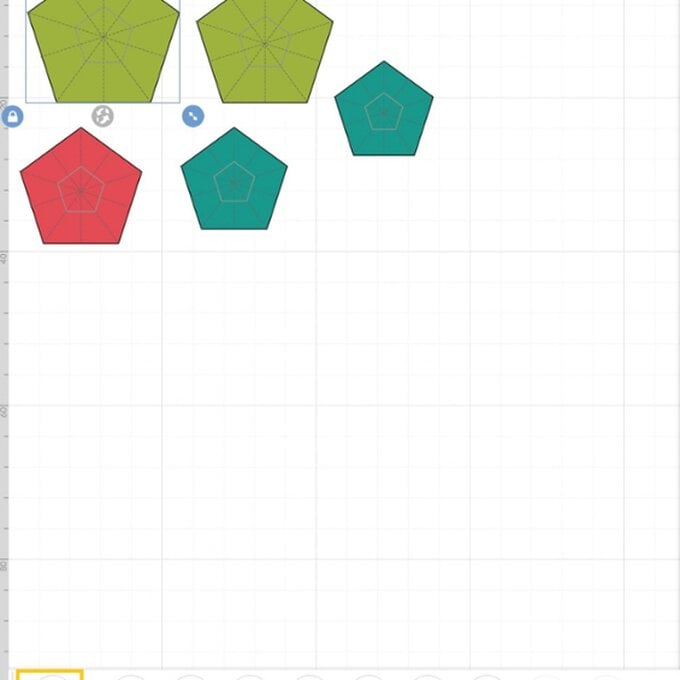
Within each of the colour sets re-size the pentagons so that you have one of each of the following widths; 13, 14, 16, 18 and 20cm. As before, select edit from the toolbar at the bottom of the screen and enter the chosen width into the corresponding box.
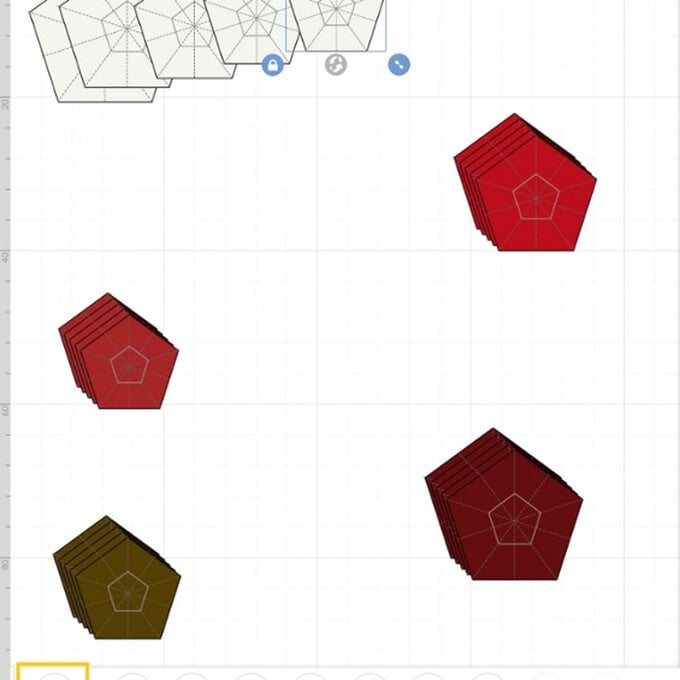
Once you have a canvas that looks similar to the below, you're ready to select 'Make It' from the bottom right-hand corner of the screen.
You'll then be taken through to the mats screen where you will need to change the size of the material you will be cutting and scoring the pentagons from. Design Space automatically defaults to 12 x 12, however for this project it will need to be changed to A4. To do this, click on one of the mat previews, and select 'Material Size'.
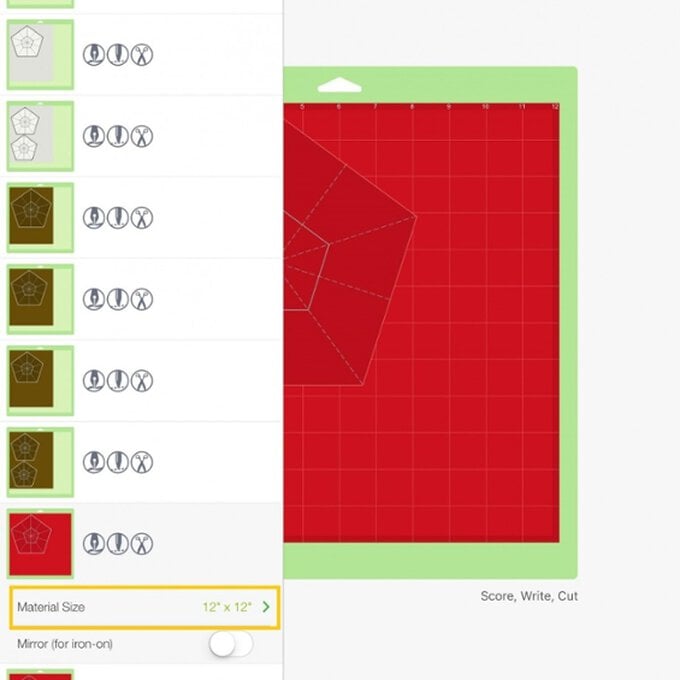
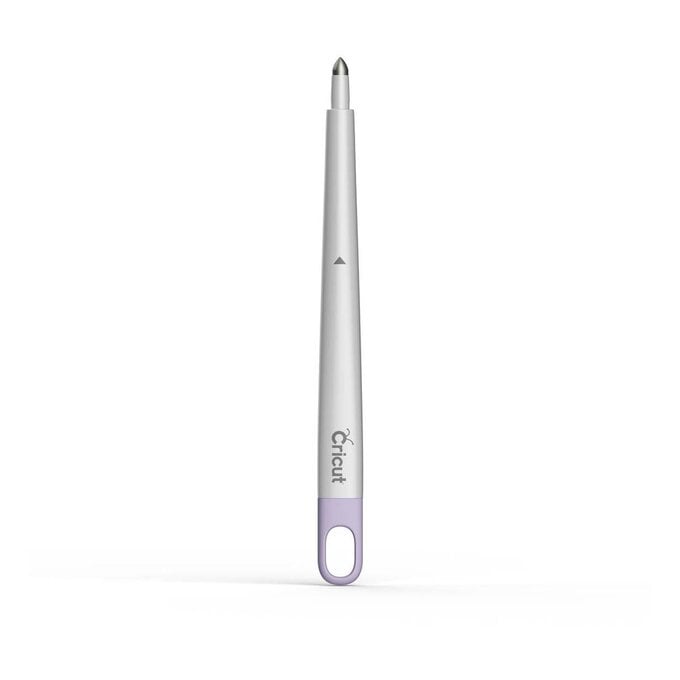
Amend the material size to 8.5 x 11″ inches on all of the mats. Select contine. Follow the onscreen instructions to score and cut the pentagons, making sure that you have the Cricut Scoring Stylus inserted into port A of your machine.
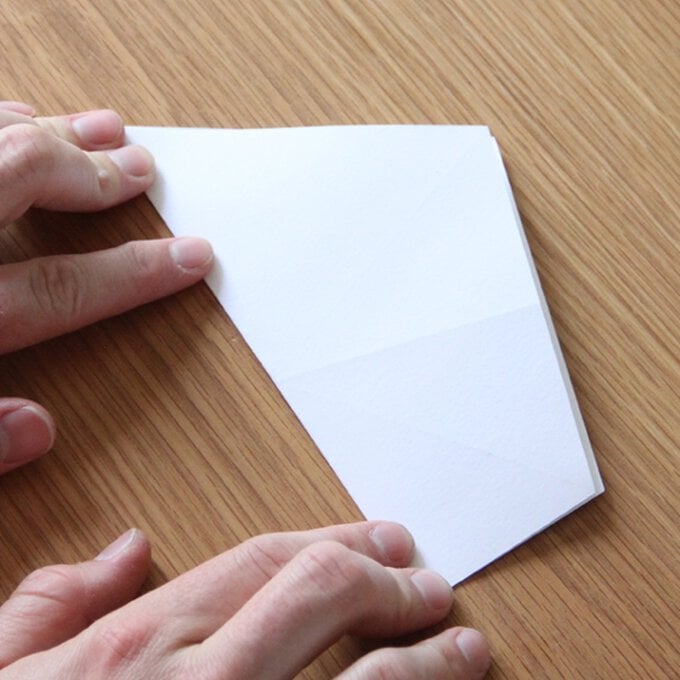
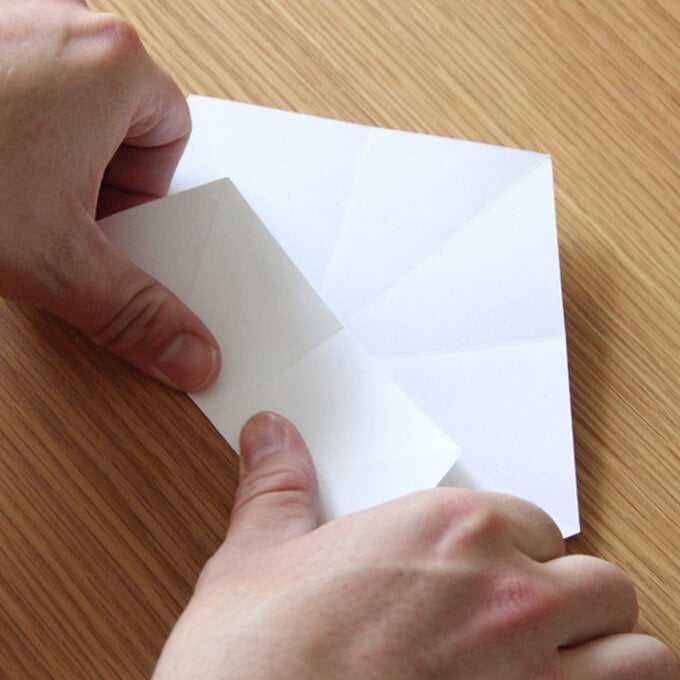
Once all of the stars have been cut it's time to get folding! Take a pentagon and fold it in half through each point along the score lines, unfold.
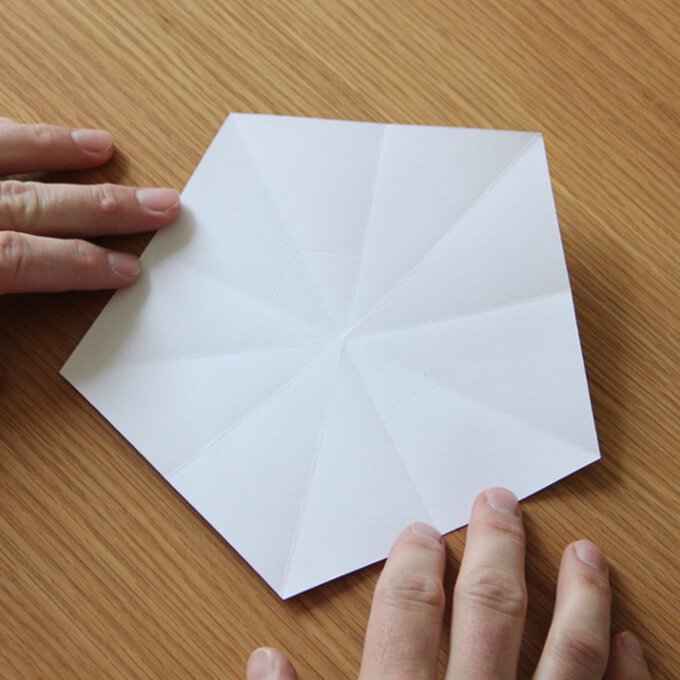
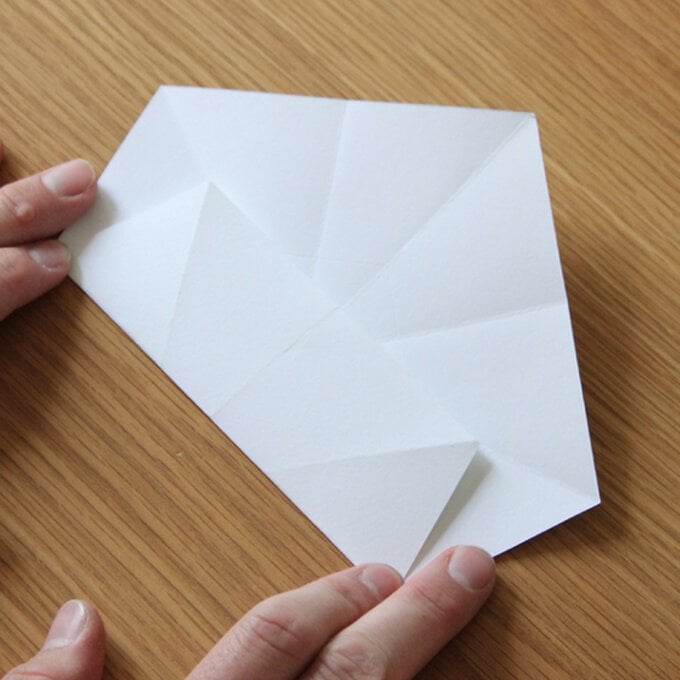
Repeat the process on the remaining sides until you end up with a pentagon that looks like the below.
With a horizontal edge nearest to you, fold that edge up slightly over halfway across the pentagon, so the two corners on it meet two of the creases formed in step 10 and 11. Crease, unfold, and repeat on the remaining four edges.
Pinch one of the corners together, and fold the resulting flap down so the new point is pointing to your left. Crease the new internal fold heavily. Unfold, and repeat on the remaining four corners.
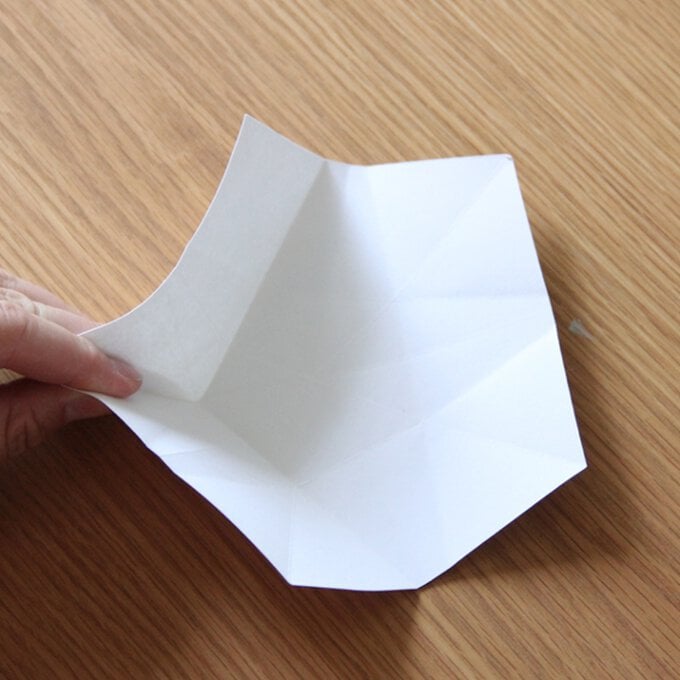
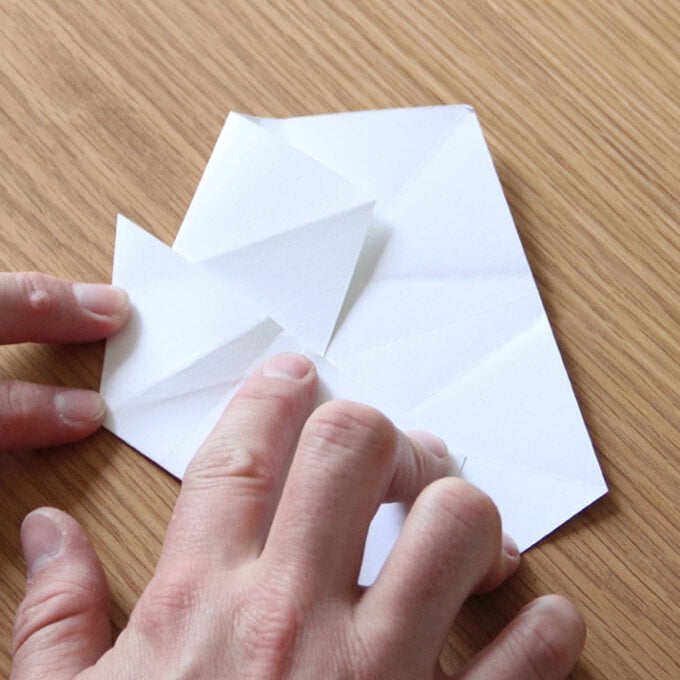
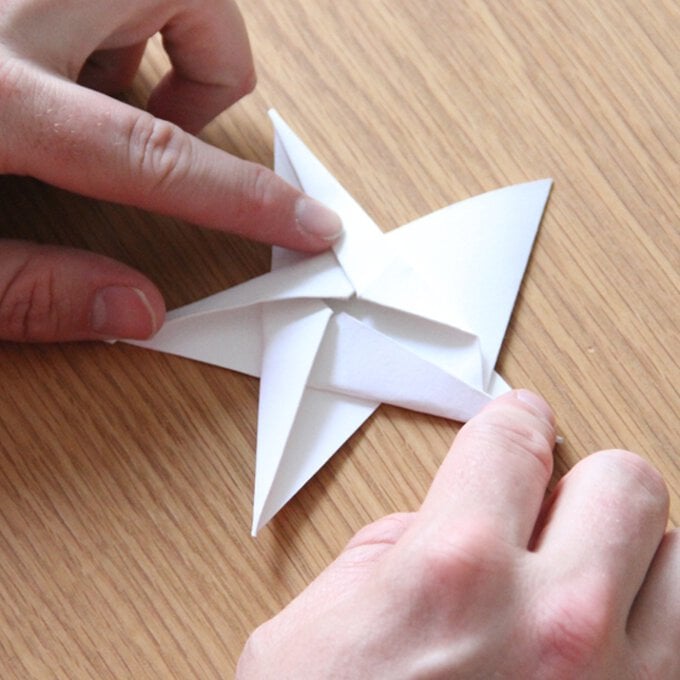
Re-fold one corner from step 13. Rotate the unit anticlockwise until you get to the next point. Gently re-fold this corner, keeping the first one still folded.
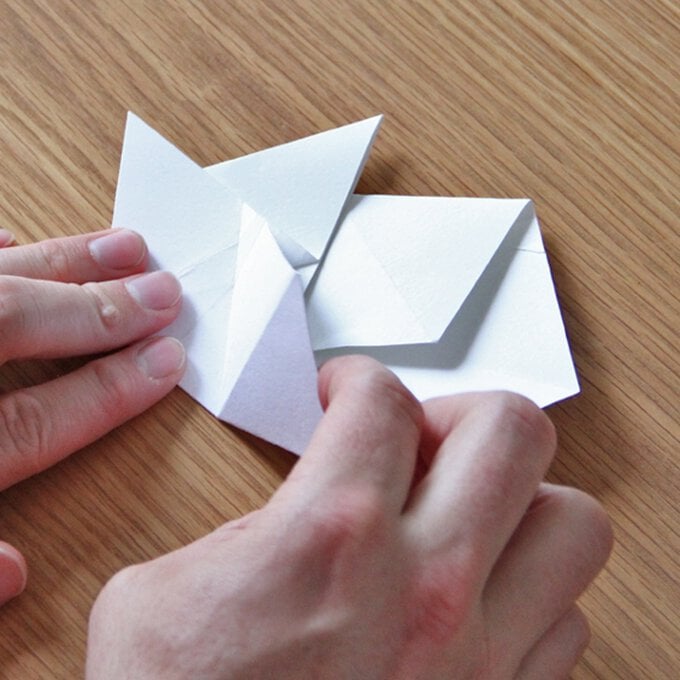
Repeat on the remaining three corners. This may be tricky for the last point, but be gentle and patient and you will make it. You will now have a star shape.
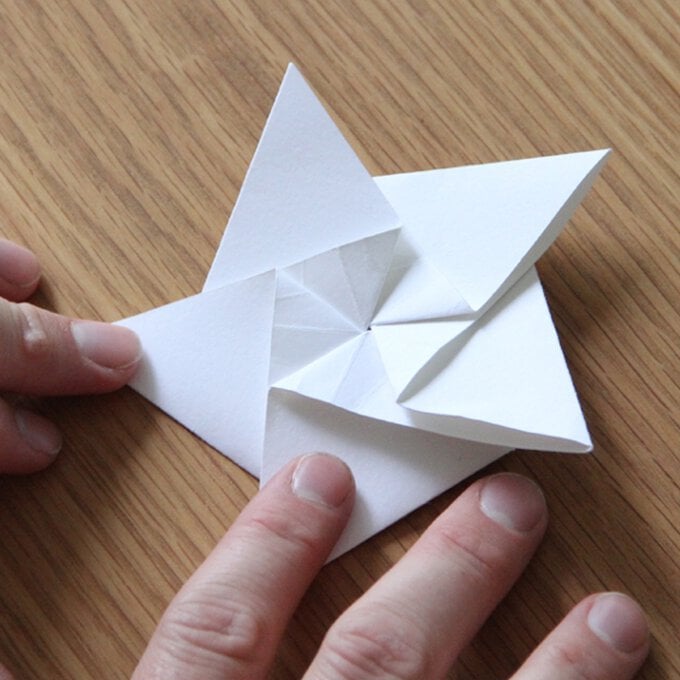
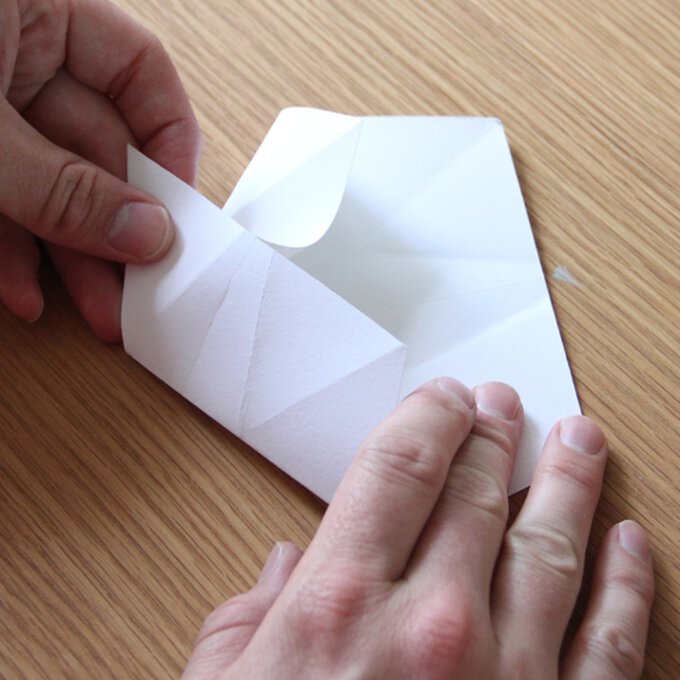
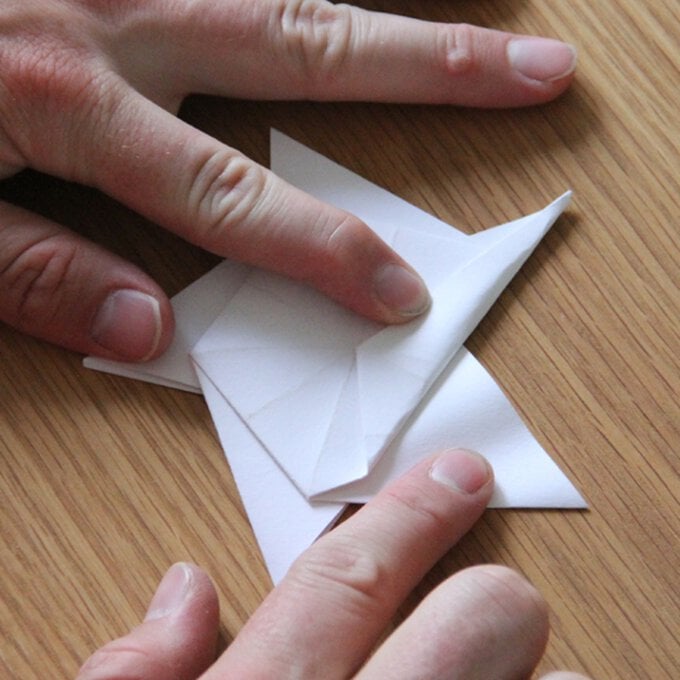
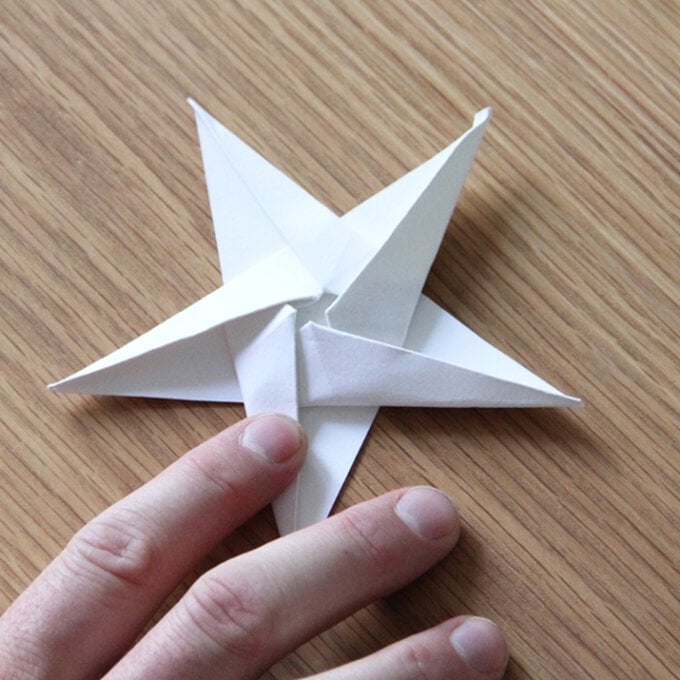
Turn the star over. Fold one of the five longer edge in so its inner-most point meets the centre. Repeat for the remaining four points. The last one will be trickier as the first fold will overlap part of it.
You now have your completed star! Repeat steps 12 – 18 on the remaining pentagons.
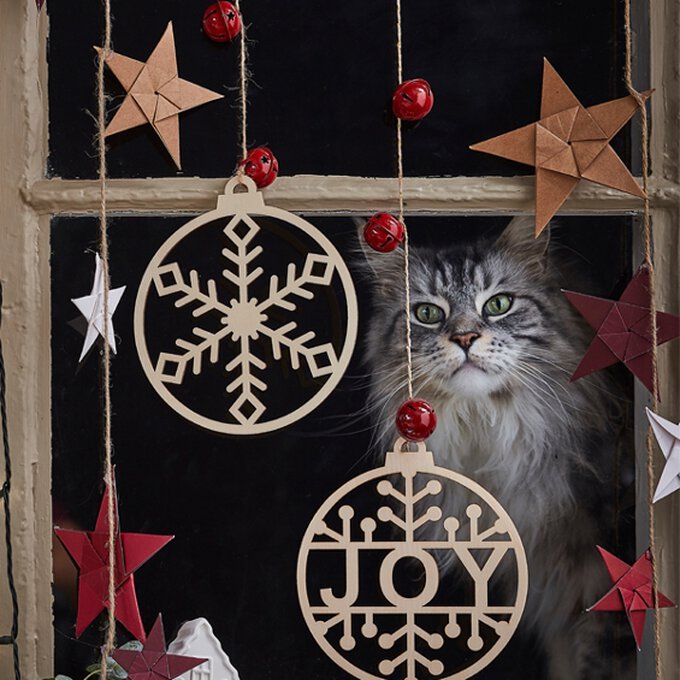
Secure the stars to a length a twine using a hot melt glue gun.
Related Products


Is $ 20.00