Cricut: How To Make Easter Bunny Favours
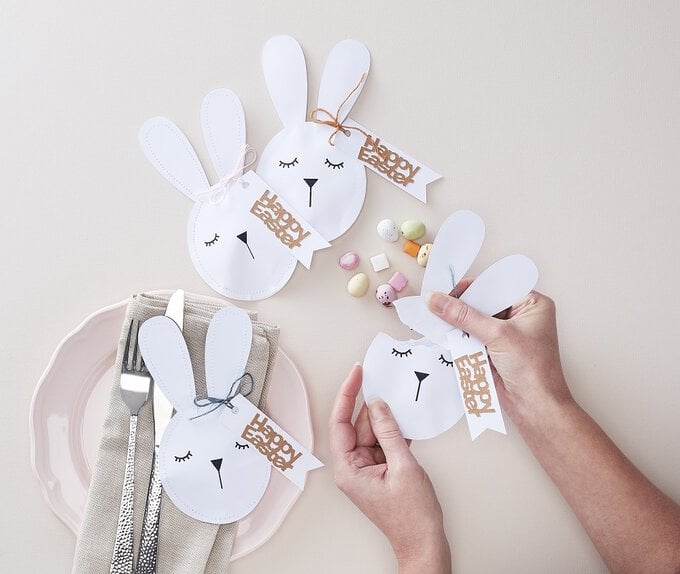
If you're planning an Easter dinner party for family and friends, theses super-cute rabbit favours should be at the top of your to-make list!
They can be made on an Explore Air 2 or a Maker and all you need is some cardstock and a needle and thread and some sweet treats.
Project and instructions by Hobbycraft Artisan Chrissie Ellson
Discover more Easter Cricut projects here >
Please note: This project includes paid for Design Space images. Screen reference images are taken from the Desktop version of Design Space
You will need

Subtotal
Is $ 606.00
Subtotal
Is $ 12.00
Subtotal
Is $ 17.00
Subtotal
Is $ 8.49
Out of stock
How to make
* Cricut Maker 3
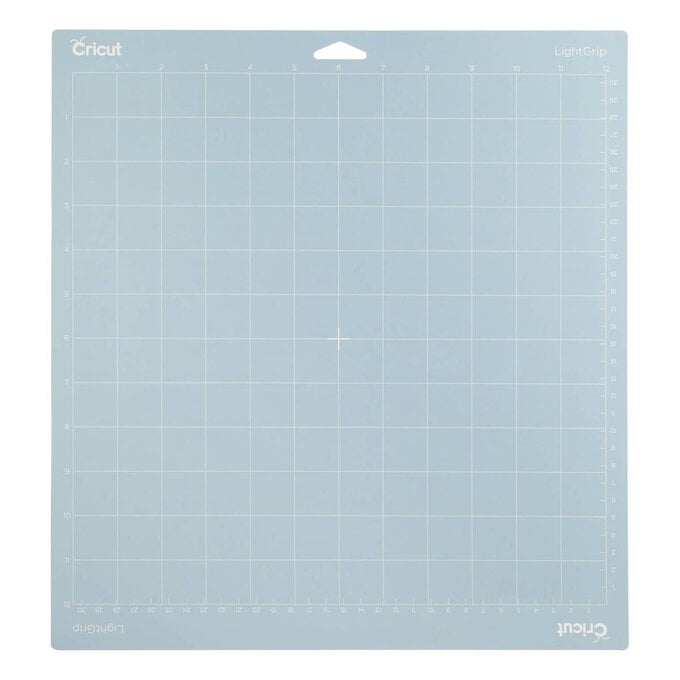
* Cricut LightGrip Cutting Mat 12 x 12"
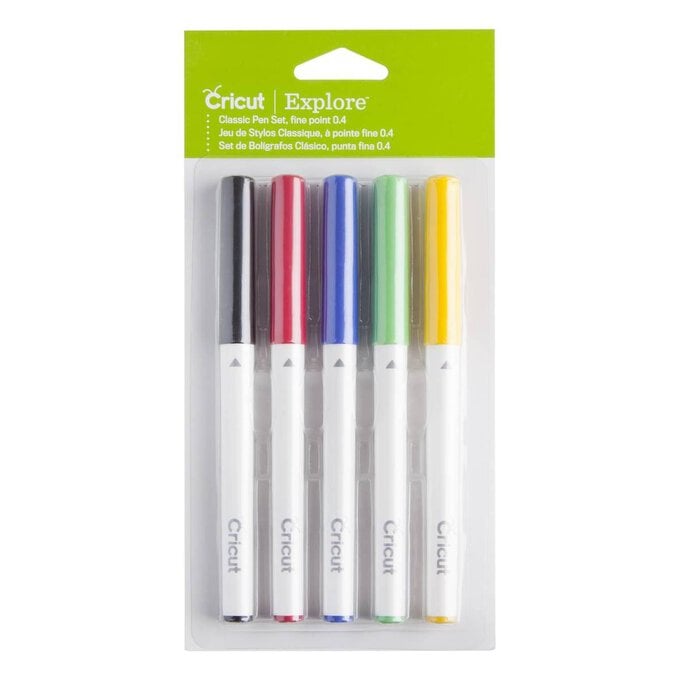
* Cricut Black Pen
* Basic Cricut Tools
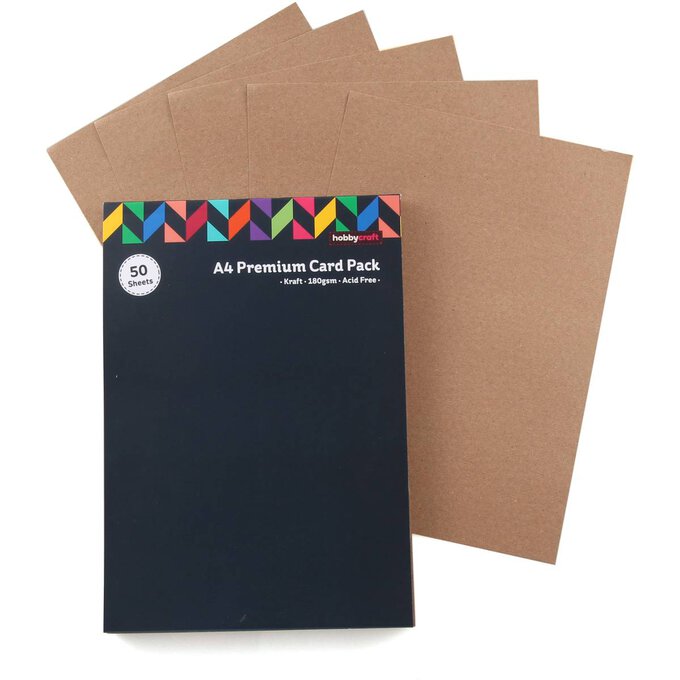
* Kraft Card A4
* White Card A4
* Sewing Machine/Needle and White Thread
* Twine
* Cricut Design Space App (installed on a laptop, PC, tablet or mobile device)
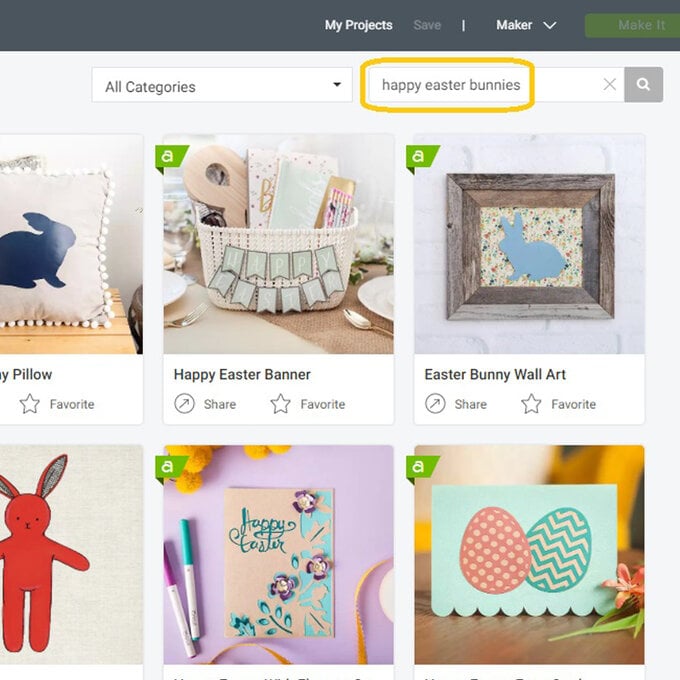
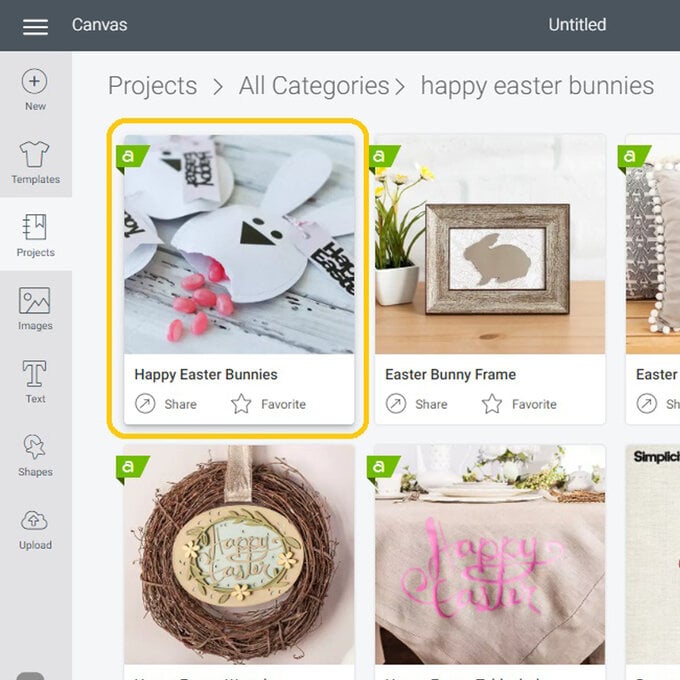
Once logged into your Design Space account, search “Easter Bunny Favours” in the ready to make projects. Select the “Happy Easter Bunnies” project.
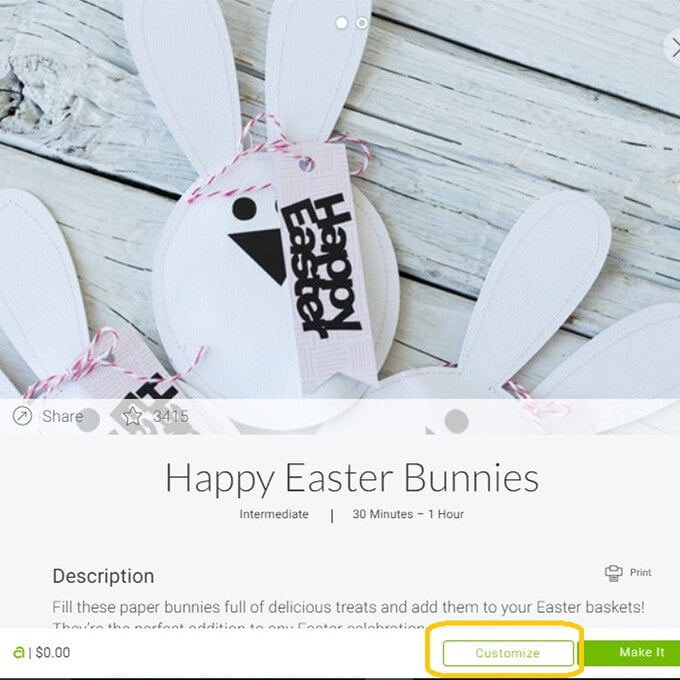
A project pop up will then appear on screen. Select “Customise” from the two options.
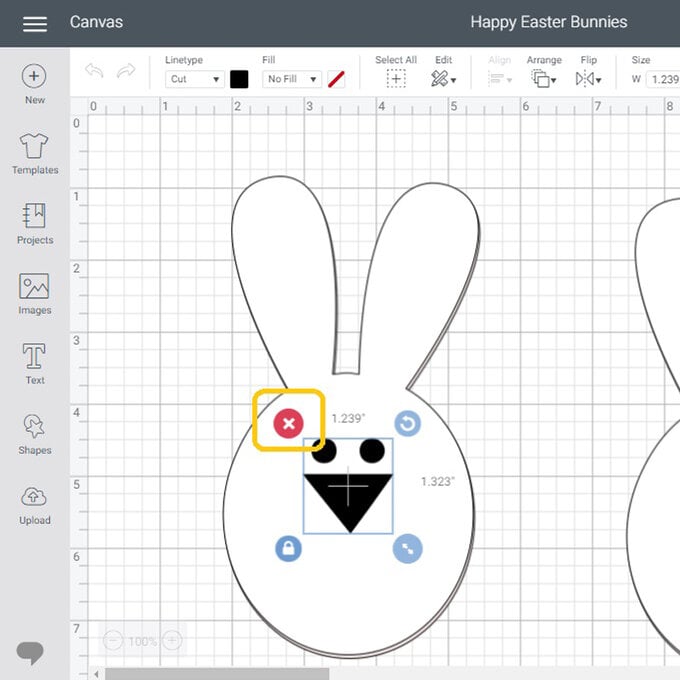
Once the project has populated onto the canvas, remove the face elements by clicking on them and selecting the red cross on the top left-hand corner of the selection box.
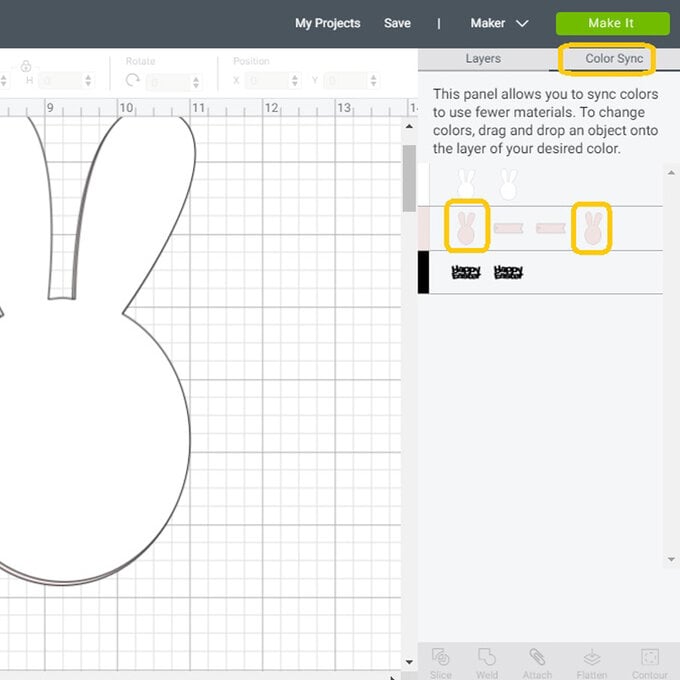
“Colour Sync” the head shapes by clicking and dragging the pink layers next to the existing white head shapes.
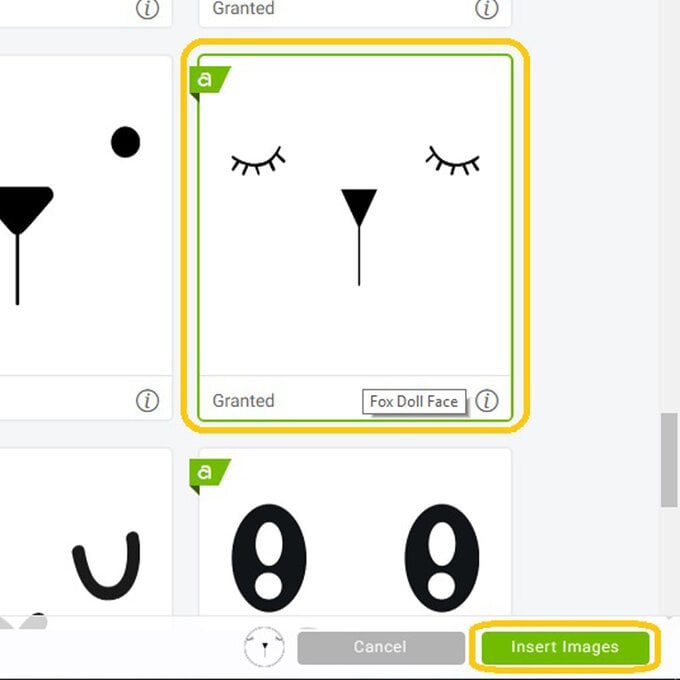
To add new faces select “Images”, then “Cartridges” and then search “Faces”. We used images from the “Face It” cartridges. Select your chosen face and click “Insert Images”.
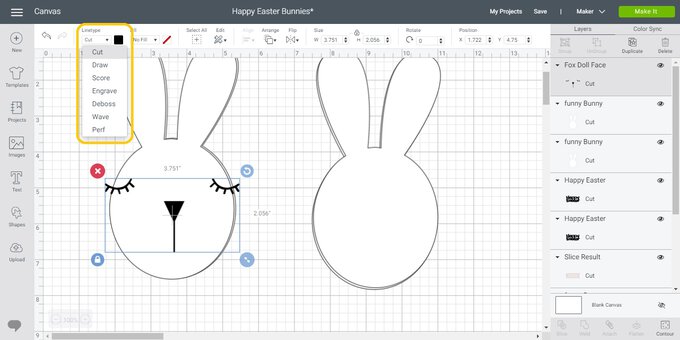
Change the line type to “Draw” and resize the image so that it's comfortably on the rabbit's face.
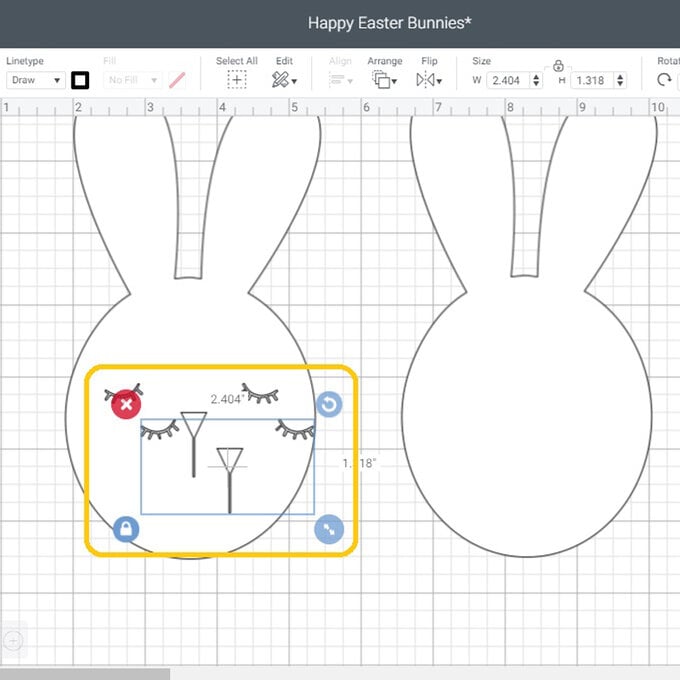
Use the “Duplicate” function to copy the drawn facial element onto each of the rabbit favours.
Within the layers panel highlight the front rabbit face and the corresponding eyes and nose, and select “Attach”. Repeat the same process on the front of the remaining rabbit faces.

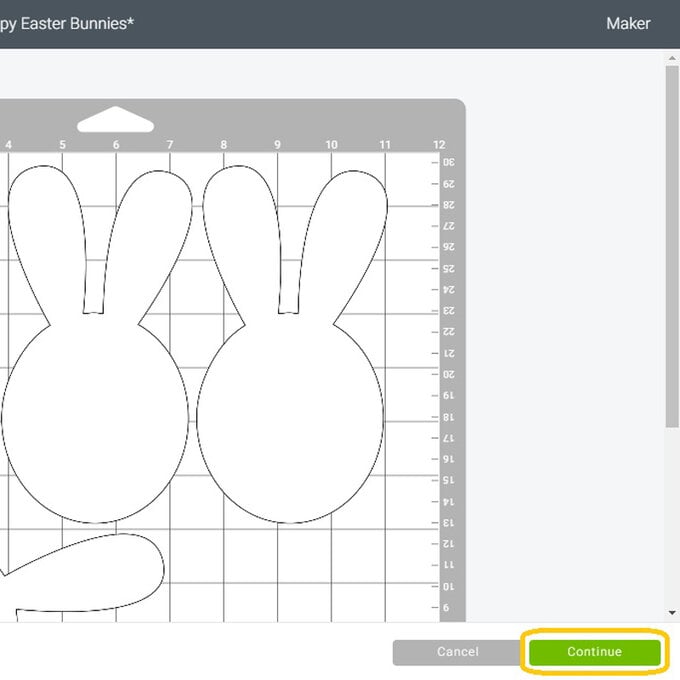
Once happy with the design click the green “Make it” button, you will then be taken through to the mat preview screen, after you have checked your design fits on to your mat/s accordingly click “Continue”.
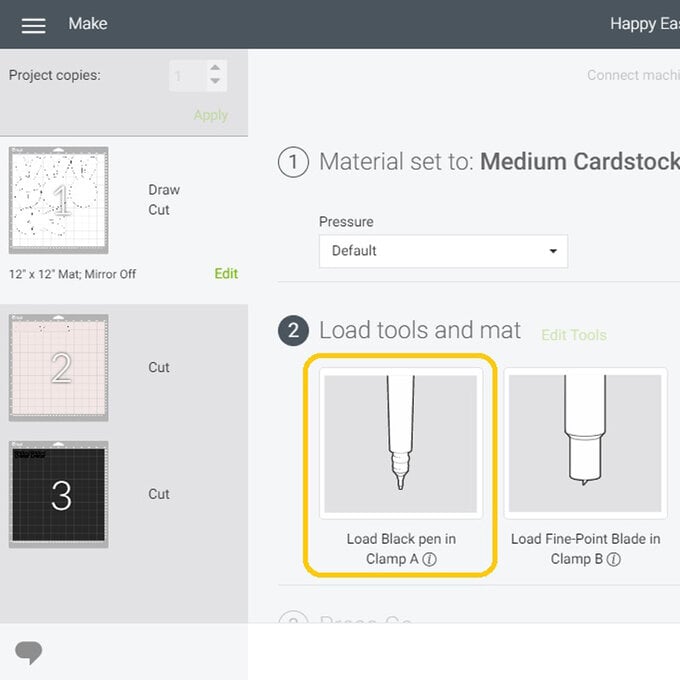
Once through to the machine set up screen, select the material you want to from your favourites or search by “Browsing All Materials”. We used the “Medium Cardstock – 80lb (216gsm)” setting to cut the white premium cardstock (listed in the “You will need” section) we used.

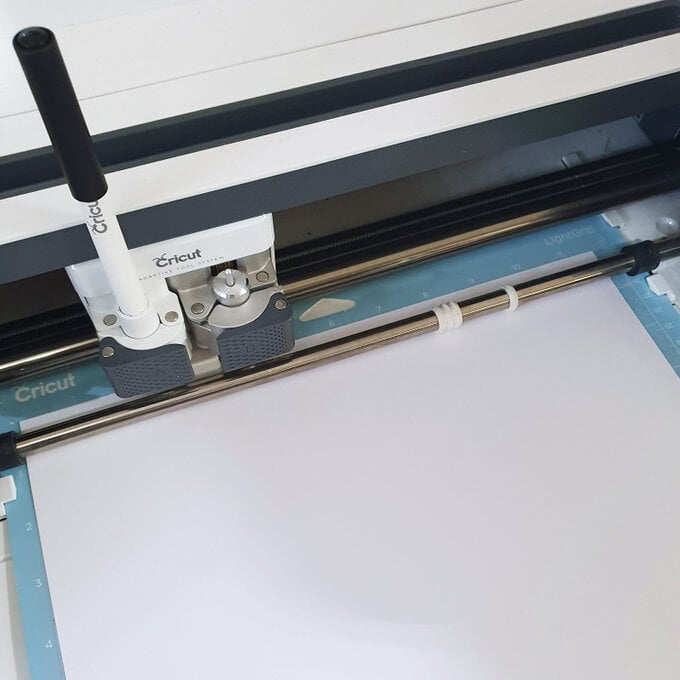
Load the black pen that came with your Cricut machine in to Clamp A of the machine, then load the cutting mat with the paper securely attached. Cut each of the elements in turn, following the on-screen instructions for guidance.
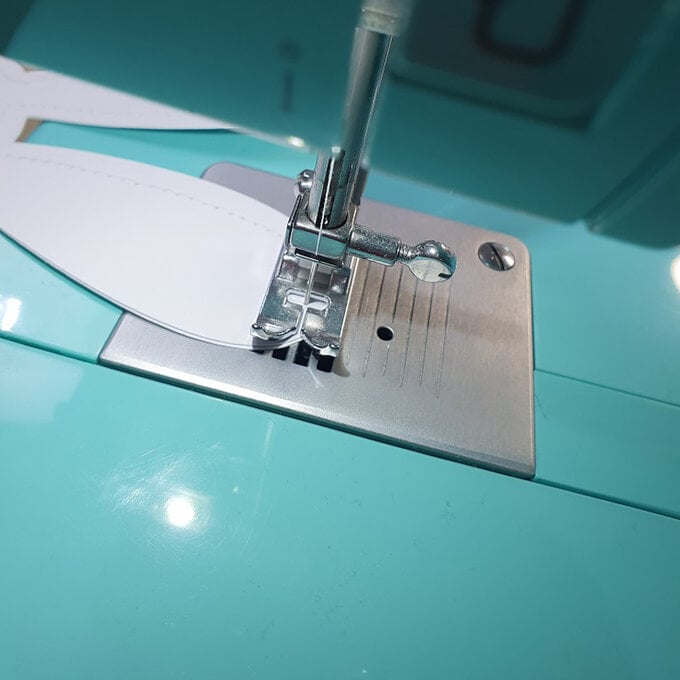
Layer the front and back of the rabbit face on top of each other, so that all of the edges line up, then use a sewing machine or needle and thread to create a running stich around the rabbits face, 5mm in from the edge, and leaving the bottom open.
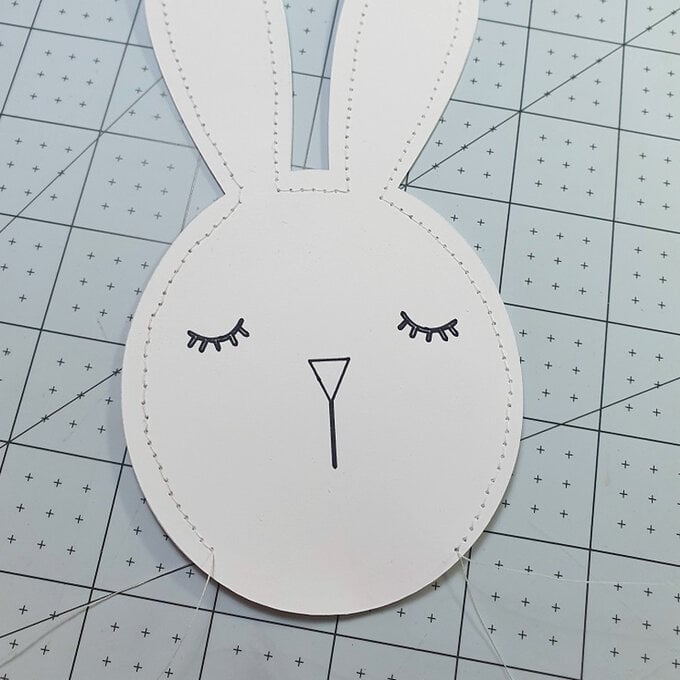
Use the black pen once more to fill in the nose and eyes on the rabbit's face, then fill the rabbit with sweets and sew up. Construct the tags and then attach it to one of the rabbit's ears
Related Products