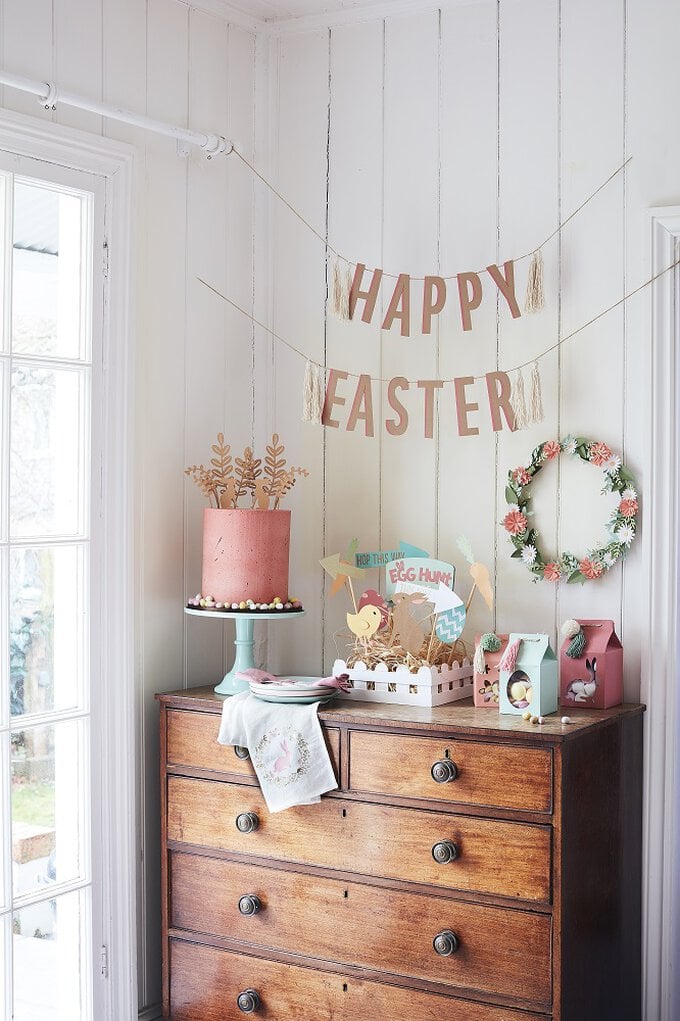
Cricut: How To Make Easter Bunting
If you're looking for a beginner Cricut project to try your hand at this Easter, this cardstock bunting is ideal, and all you need is some cardstock, twine and a hot melt glue gun.
This project can be made on a Cricut Maker or an Explore Air 2 and can be made as big or small as you like – why not recreate this project in miniature as a cute bunting topper for your Easter cake!? Or scale things up and create a beautiful piece of décor ready for your outdoor egg hunt – weather permitting of course!
Project and instructions by Aisha Cluitt
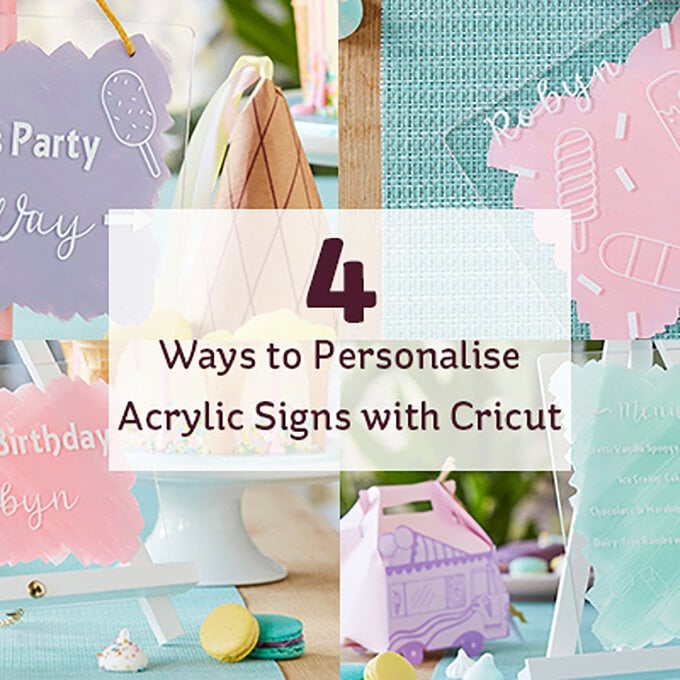
Discover more Easter Cricut projects here >
This project includes paid for Design Space images
Screen reference images are taken from the iPad version of Design Space
You will need

Subtotal
Is $ 606.00

Subtotal
Is $ 40.00

Subtotal
Is $ 8.49
Out of stock
Subtotal
Is $ 4.49
How to make
You will also need:
Cricut Design Space app installed on a laptop, PC, Tablet or mobile device
* Cricut Maker
* Basic Cricut Tools
* Kraft Card A4
* Pink Card A4
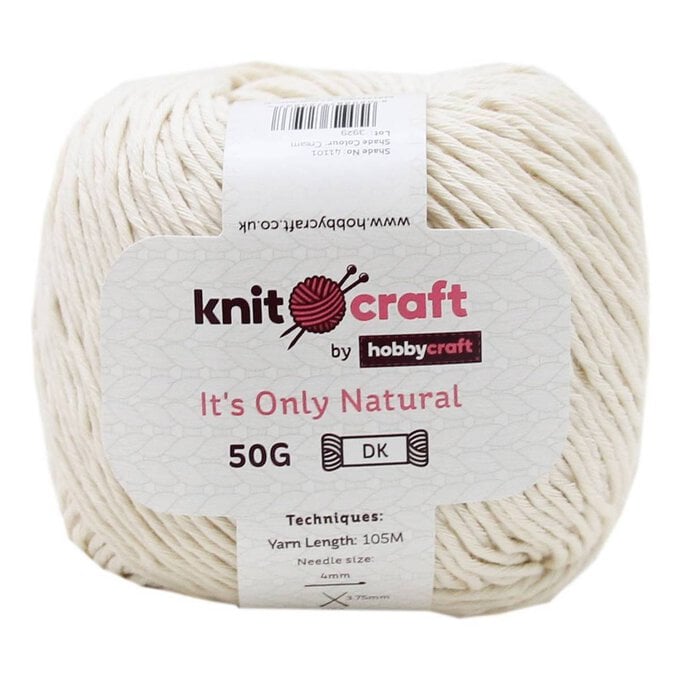
* Knitcraft It's Only Natural Light DK Yarn 50g - Cream
* Hot Glue Gun/Hot Glue Sticks
* Cricut Design Space App (installed on a laptop, PC, Tablet or mobile device)

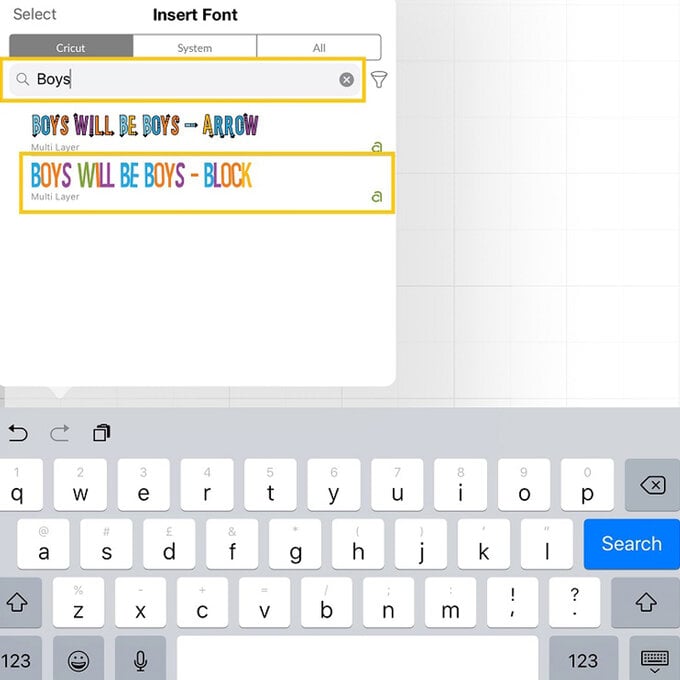
Open the Design Space app and start a new project. Click on the “Text” menu at the bottom of the screen and start to type 'Boys will be Boys' into the search bar. Select the “Block” font.
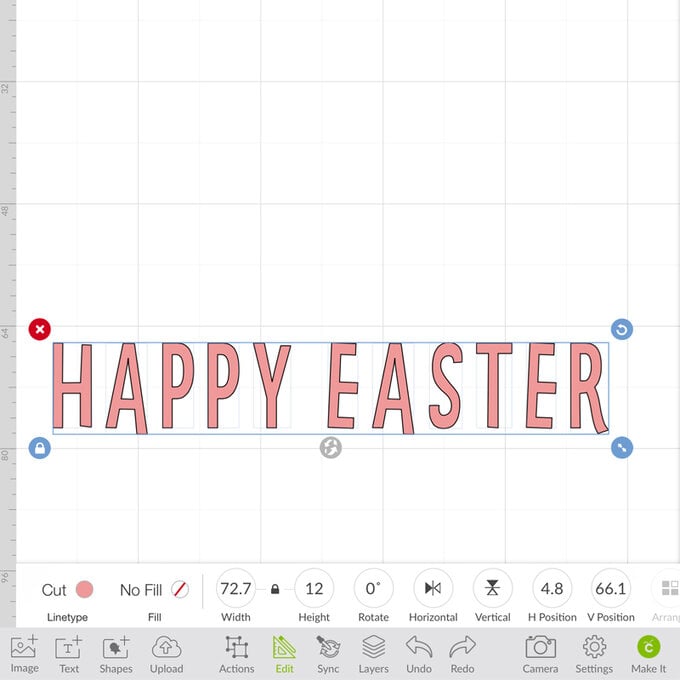
Type “Happy Easter” into the text box that appears on screen.
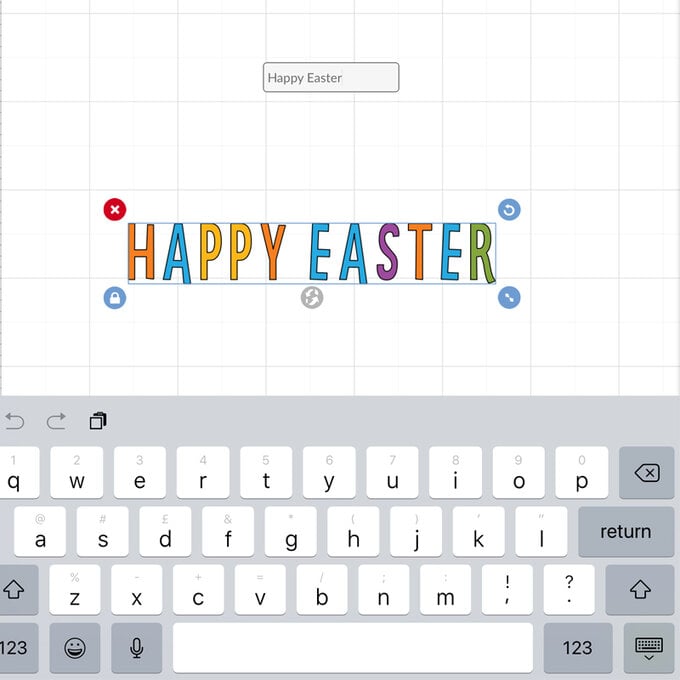
With the text selected open the “Edit” menu from the toolbar at the bottom of the screen and amend the size of the text to your desired dimensions.

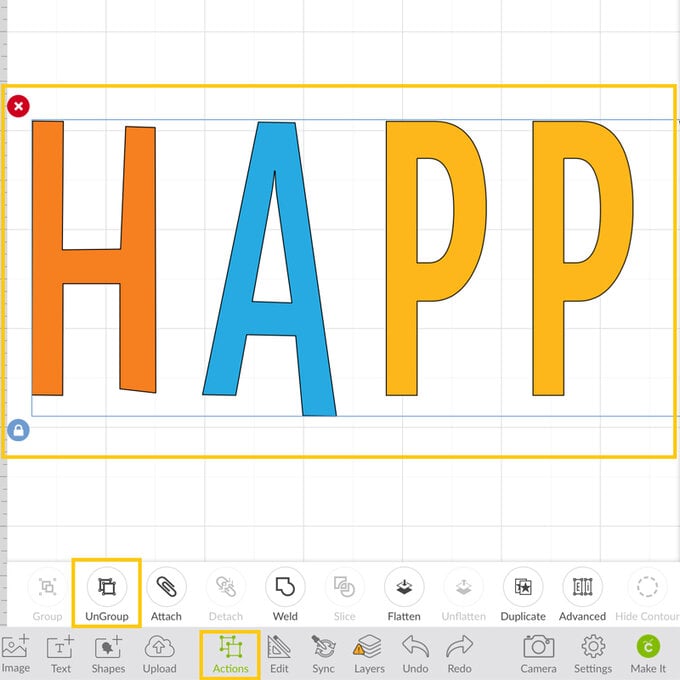
With the text still selected, open the “Actions” menu and ungroup each of the letter groups.
Drag a selection box over the entire greeting, then open the “Edit” menu and change the colour of the text to match one of your chosen cardstocks.

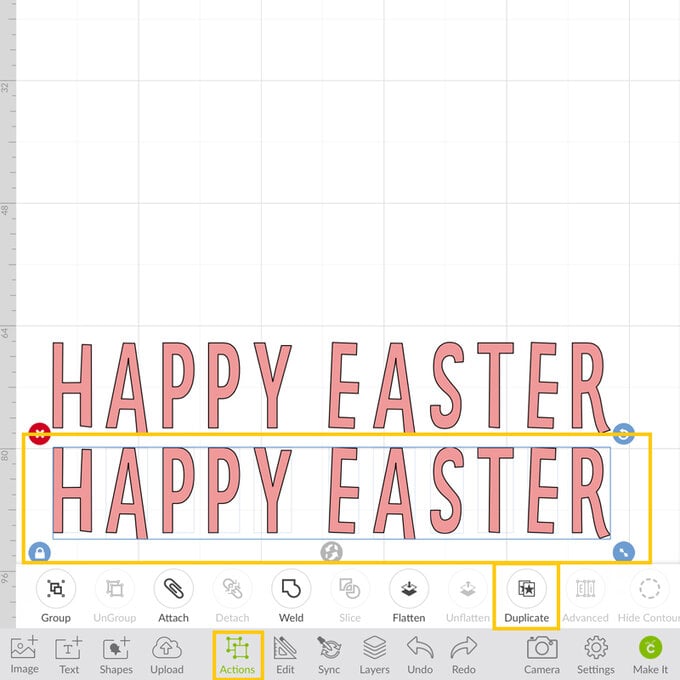
With the text selected once more, open the “Actions” menu and select “Duplicate” to create another greeting.
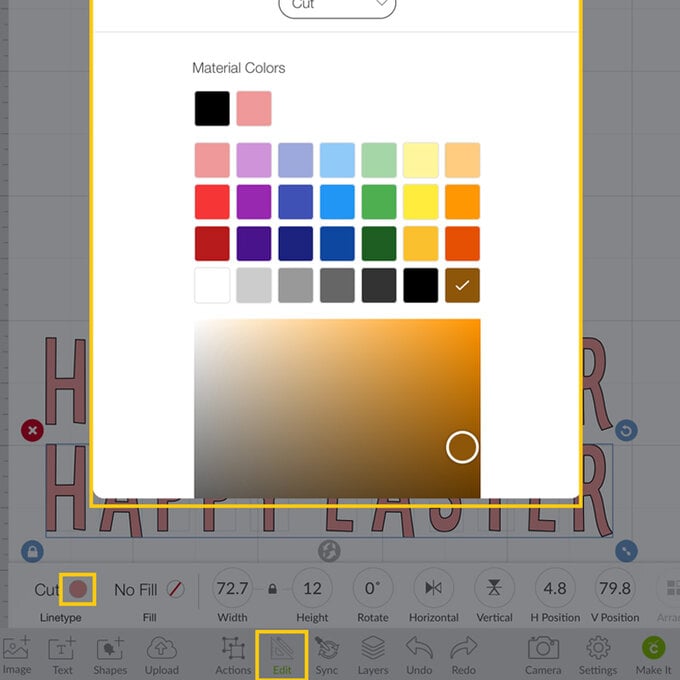
With the duplicated greeting selected, open the “Edit” menu one last time and amend the colour to your second chosen colour of cardstock.
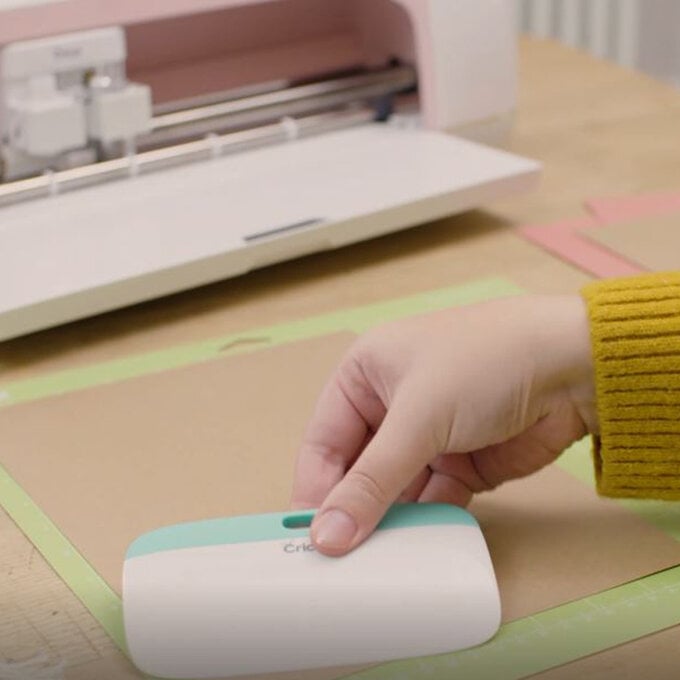
Once happy with the design, select the green “Make It” button.
In the mat preview screen, amend the material size to reflect the size of cardstock you'll be cutting. Click the green “Continue” button once the material size has been checked and amended for each mat.

Apply your cardstock to the Standard Grip Cutting mat using the XL scraper tool for larger sheets. Load the mat into the machine and follow the on-screen instructions to cut the design.
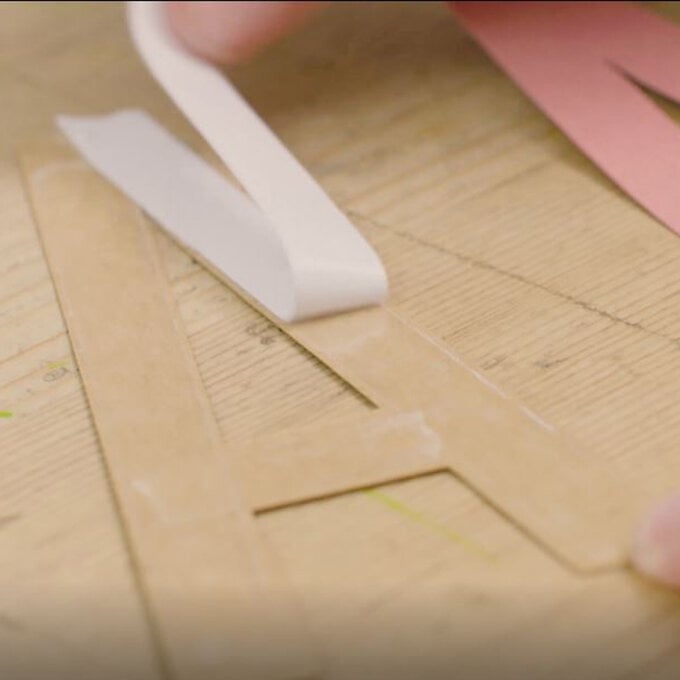
Carefully remove the cut letters from the mat and apply double-sided tape to the back of one set.
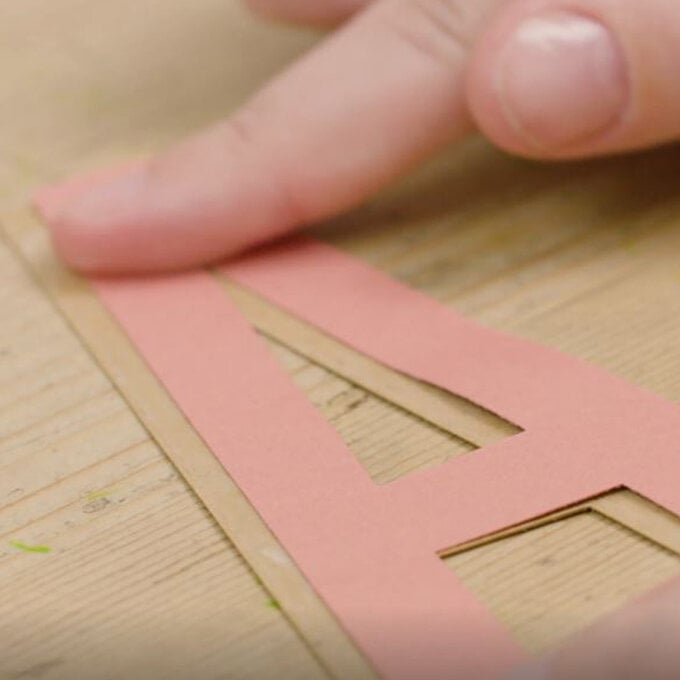
Secure the matching letter on top, offsetting it slightly to the right. Repeat this process for all of the letters.
Carefully secure each letter to a length of twine using a hot melt glue gun
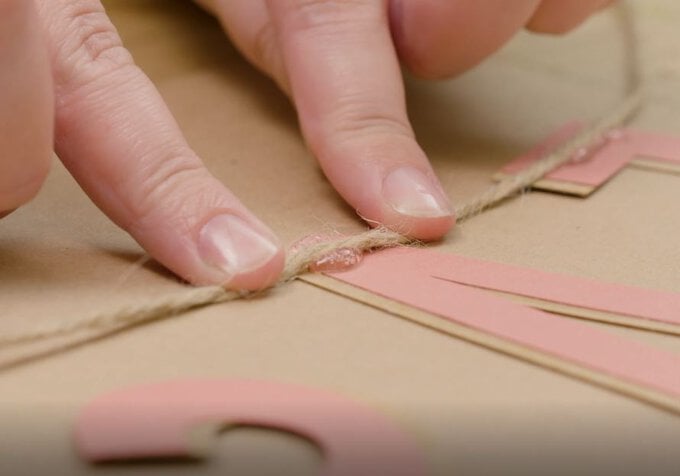
Create two tassels for each end of the banner; secure them using a double knot.
Related Products