Cricut: How to Make Easter Egg Wall Art
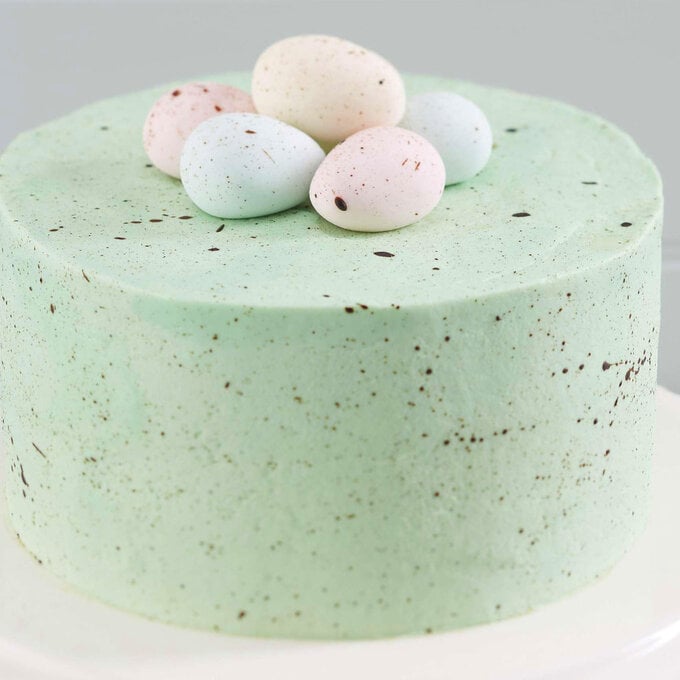
This colourful, Easter egg-inspired wall art will be the perfect addition to your spring décor! Choose whatever pastel colours you like, or go for a mix like we have.
This tutorial features how to upcycle a photo frame and how to create unique Easter Egg designs using the free shapes in Cricut Design Space!
Project and instructions by Rebecca Marie Creative
You will need

Subtotal
Is $ 604.00

Subtotal
Is $ 40.00
Subtotal
Is $ 4.49
Subtotal
Is $ 7.49
How to make
* Cricut Maker
* Basic Cricut Tools
* Cricut LightGrip Cutting Mat 12x12"
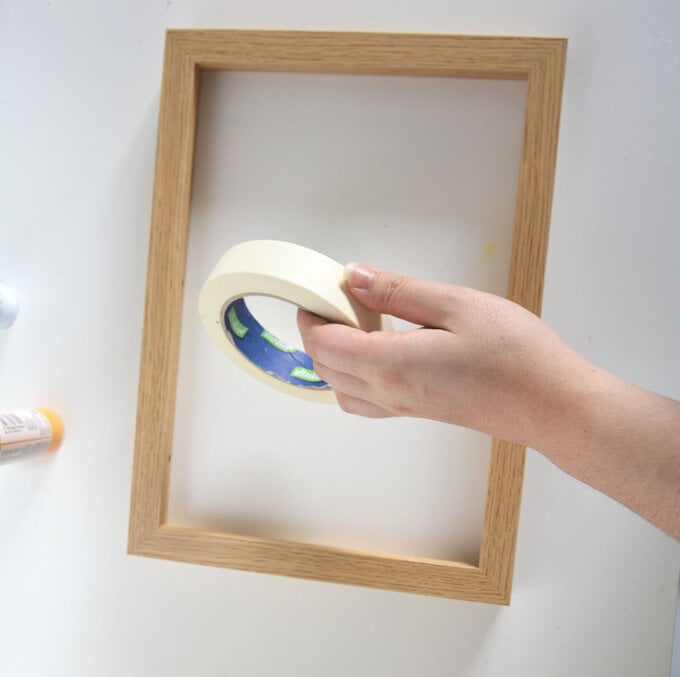
* A4 Frame
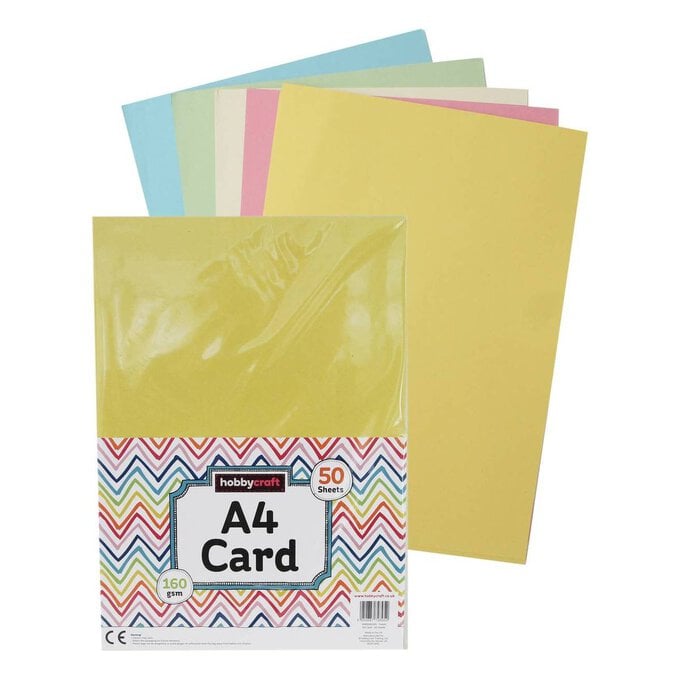
* Pastel Card A4
* Glue
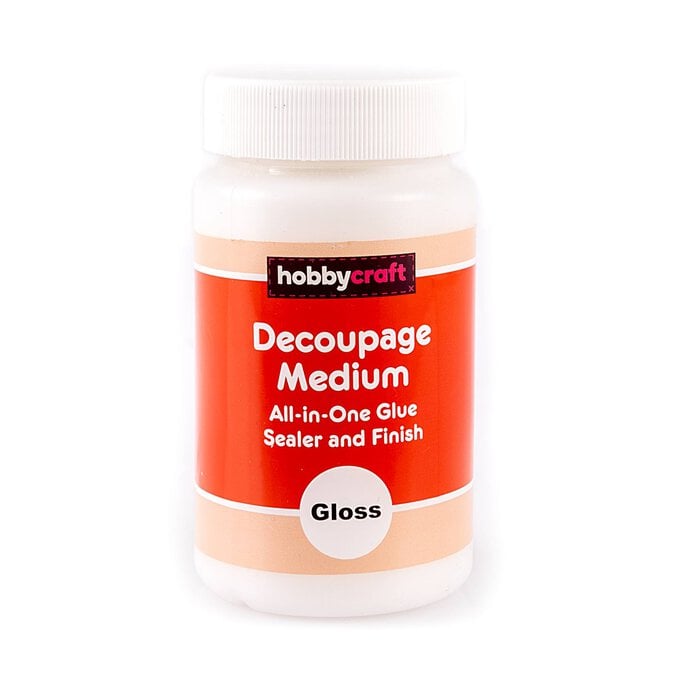
* Mod Podge
* Acrylic Paint (we've used three different colours)
* Masking Tape

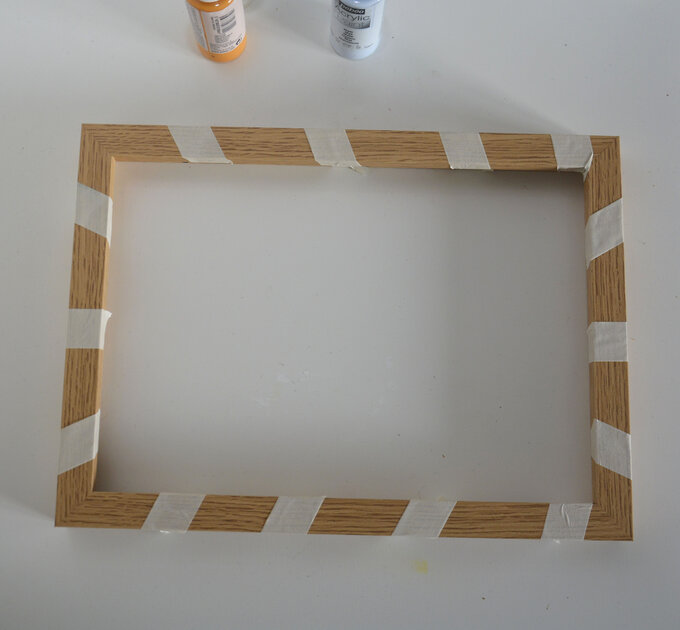
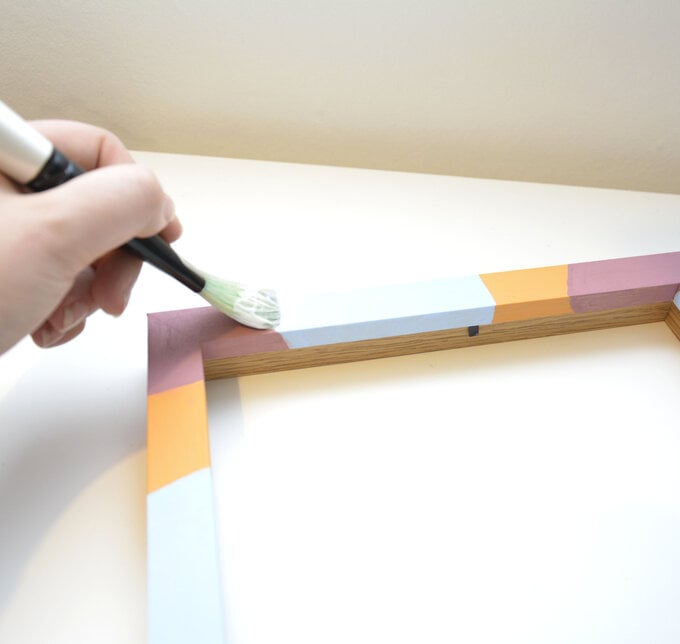
Using Masking tape, adhere in diagonals around the frame to identify the sections of each colour. I have alternated in pink, yellow and blue paint. Make sure to count all the way around to ensure the pattern fits in all the way around the frame.
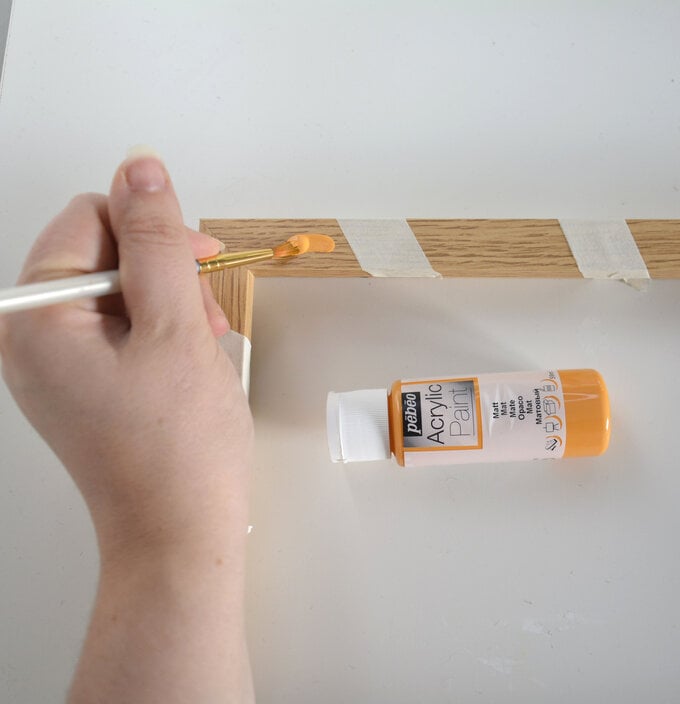
Start with your first colour and paint this on the designated segments in the frame. You will then need to allow It to dry and then paint on a new layer. I painted three layers of each colour in total.
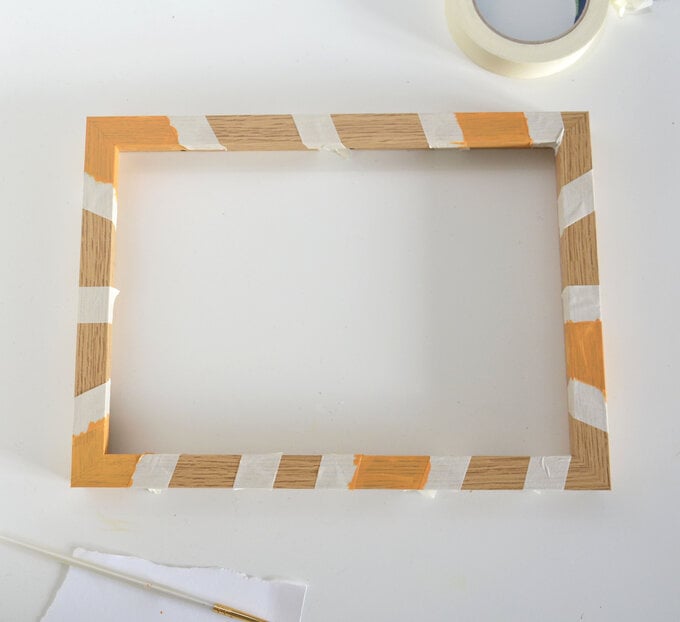
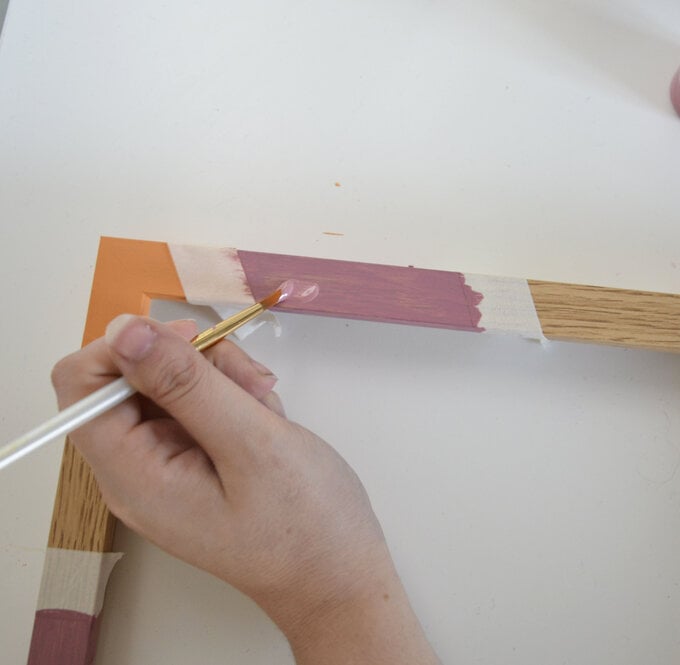
Once the first colour is dry, remove the masking tape that touches these colours. You can either place new masking tape to cover the painted areas (so that when you paint the colour next colour beside it, there is a sharp line defining them) or if you have a steady hand you would not need to put the masking tape back on. Paint all the segments of the second colour repeating the same process, and then the final third colour. Seal with Mod Podge to finish the frame.

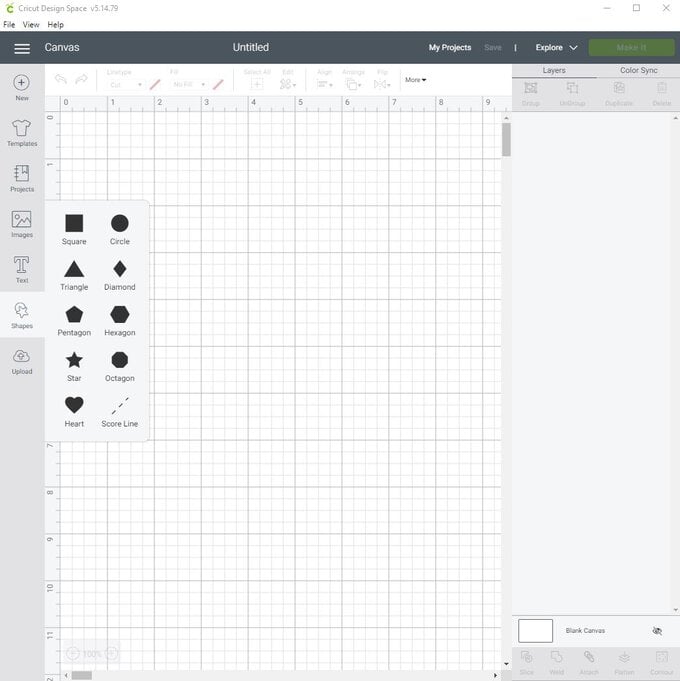
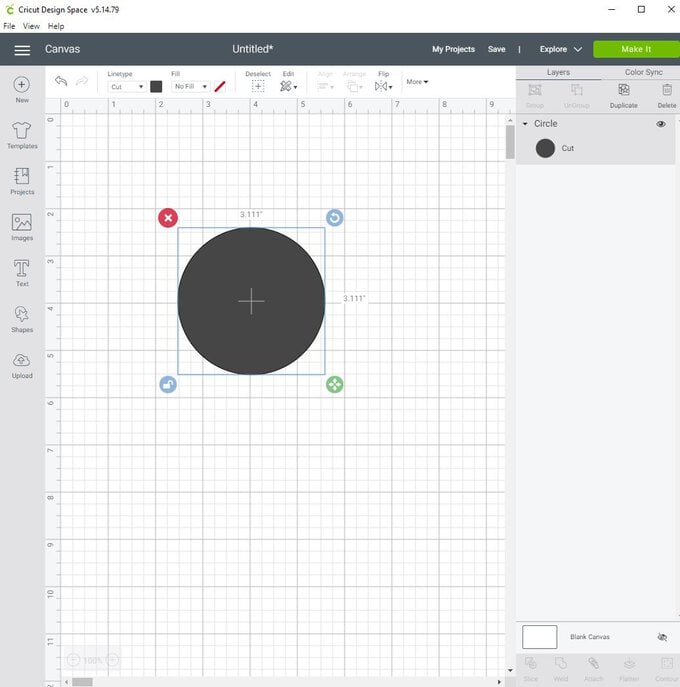
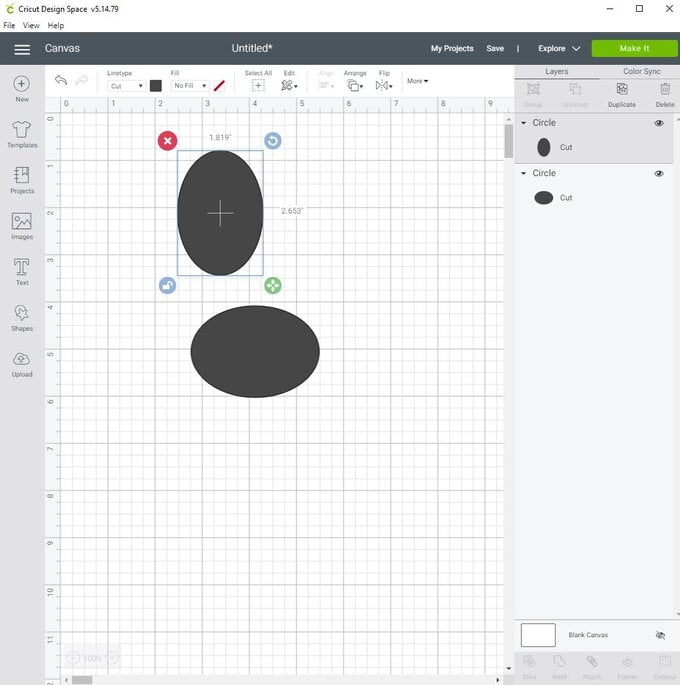
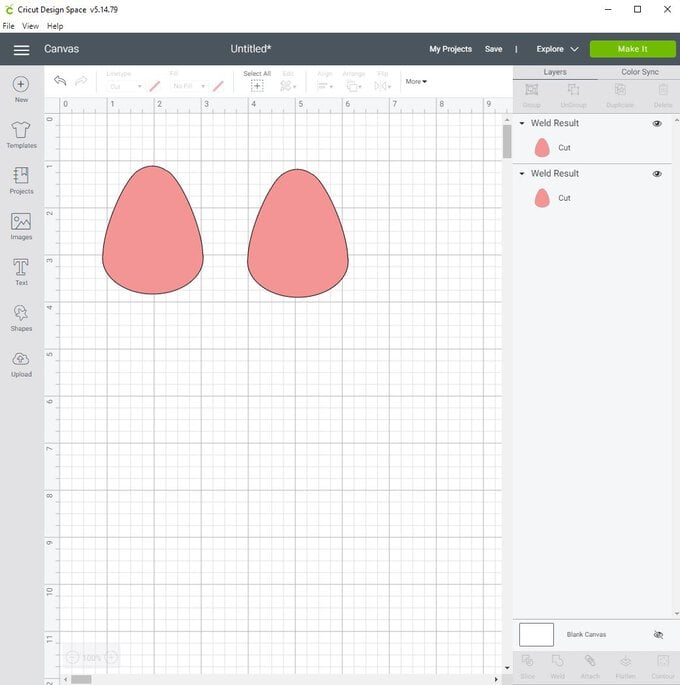
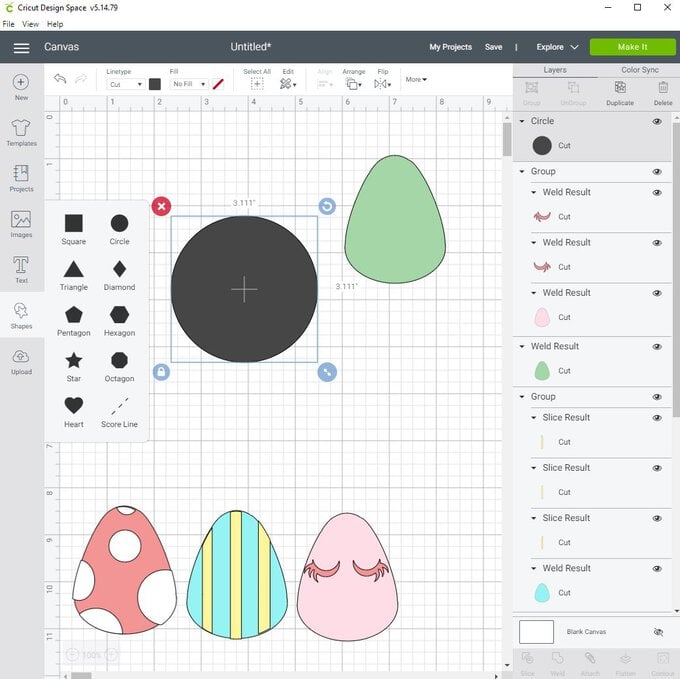
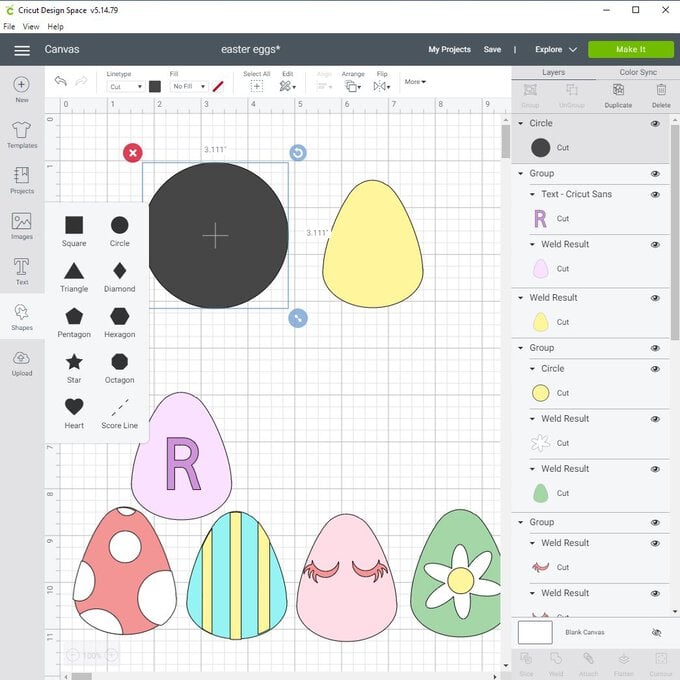
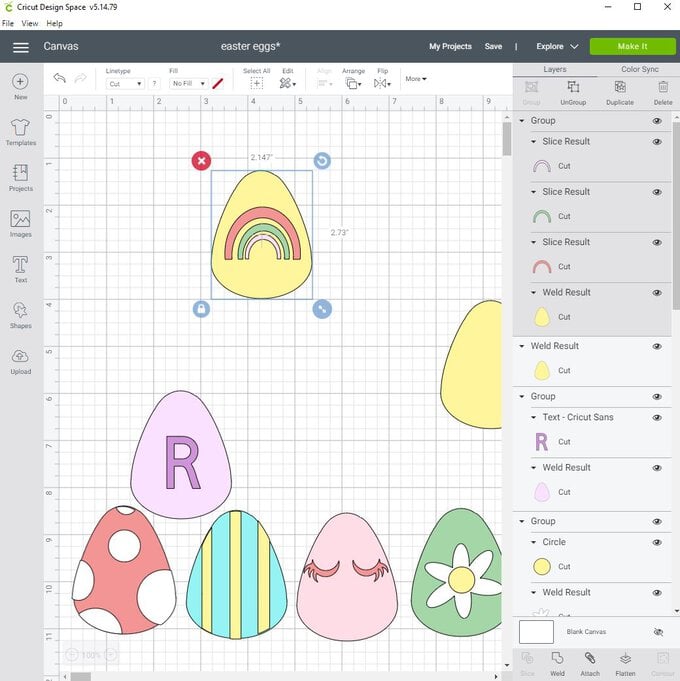
In Cricut Design Space, select new project and then the shapes option in the left-hand bar. Select a circle. Select the unlock icon and change the shape to an oval. This will make the base of your egg.
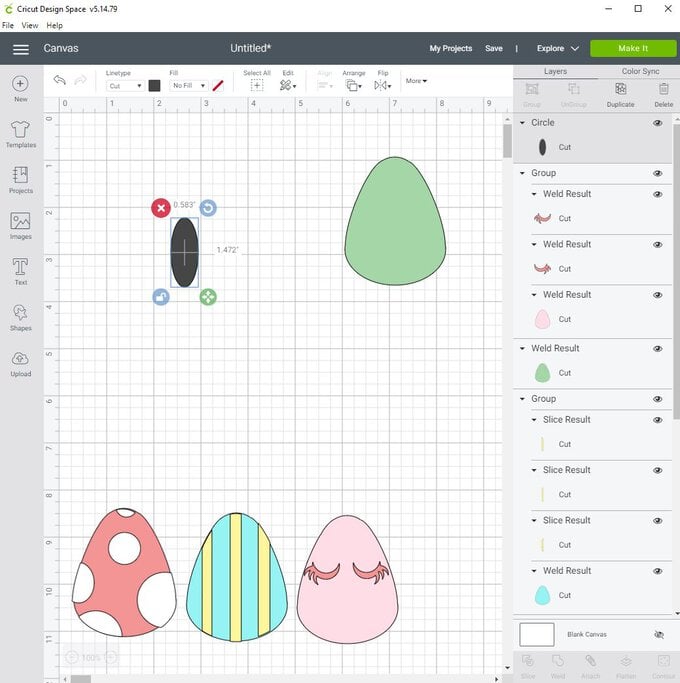
Select another circle and unlock to create a larger vertical oval. Place this on top of the original oval. These will be the points for the top of the egg and bottom of the egg.1. Select another circle and unlock to create a larger vertical oval. Place this on top of the original oval. These will be the points for the top of the egg and bottom of the egg.

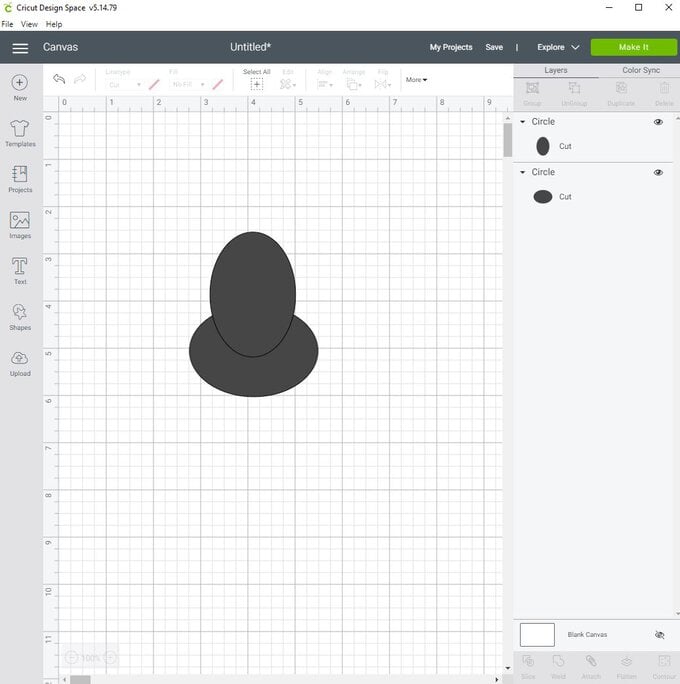
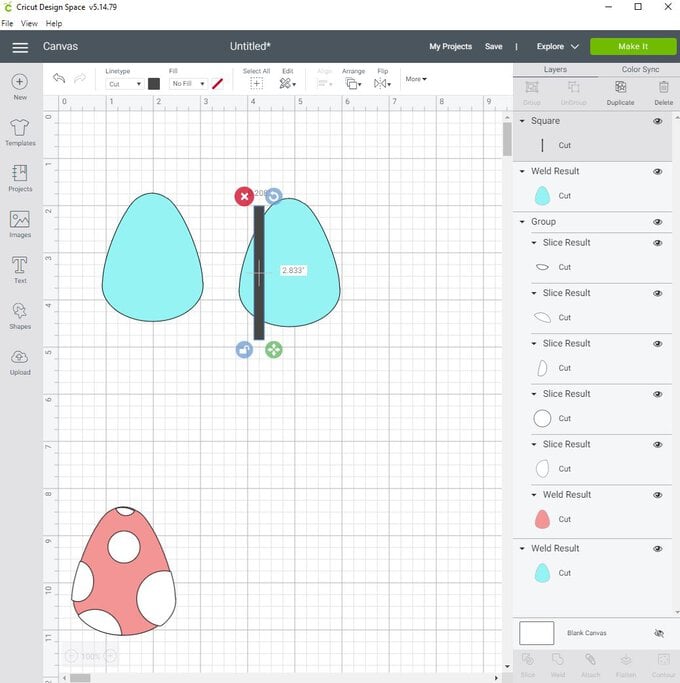
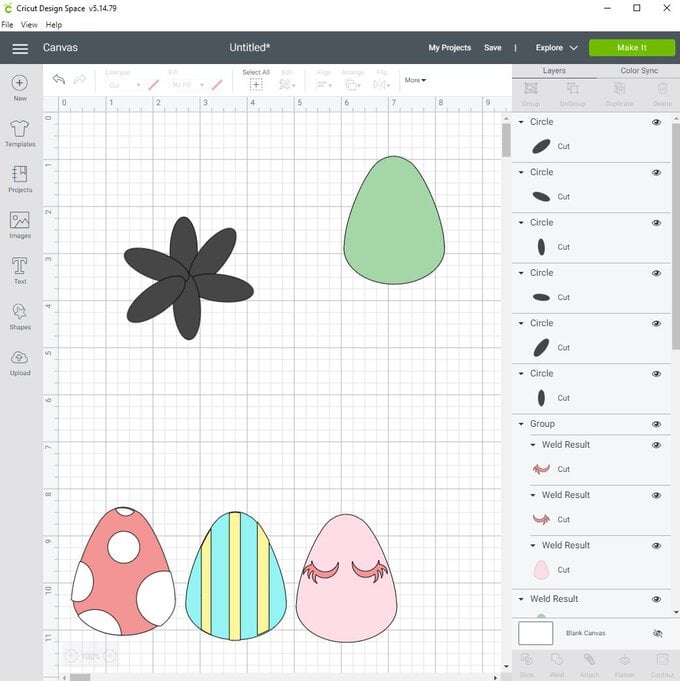
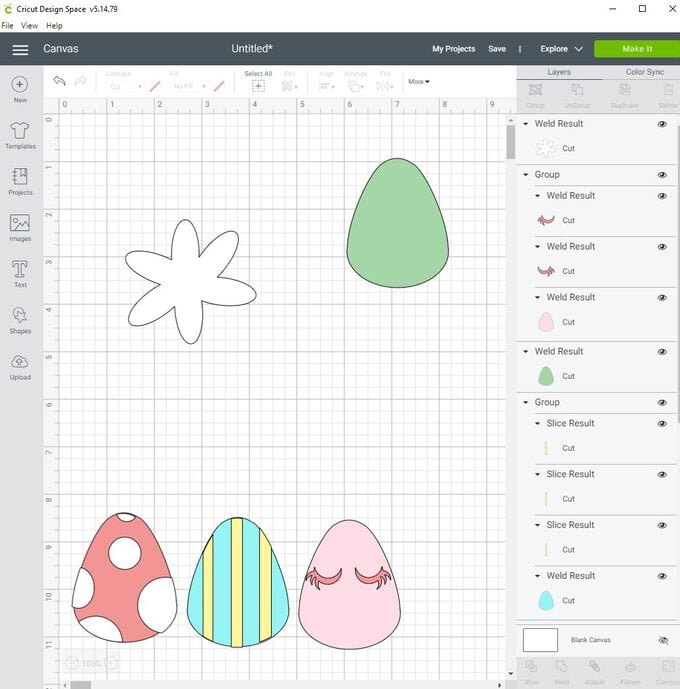
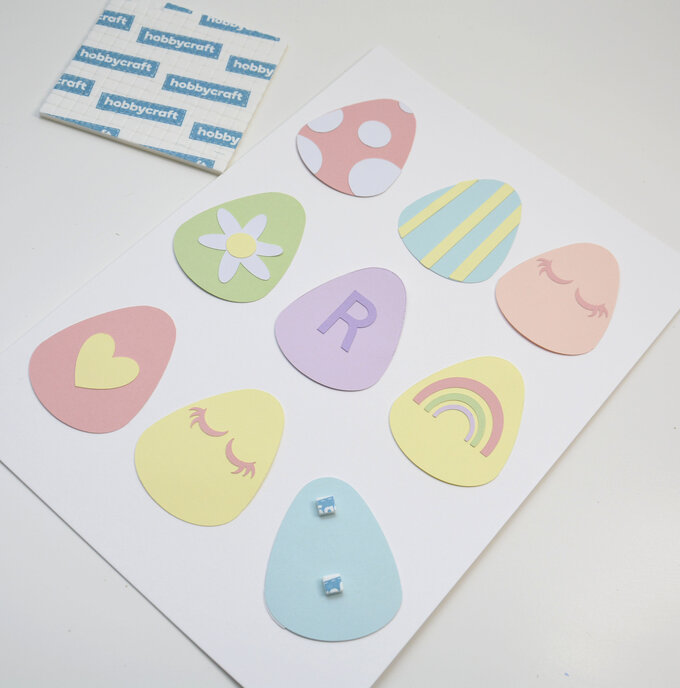
Select another circle and unlock this shape to make a long thin oval. This is going to create the side of your egg and so shape until the outer line is smooth and creating the desired egg shape. Duplicate this and add to the opposite side. Select all and weld together. You now have your egg shape which is duplicated for all the eggs (9 in total).
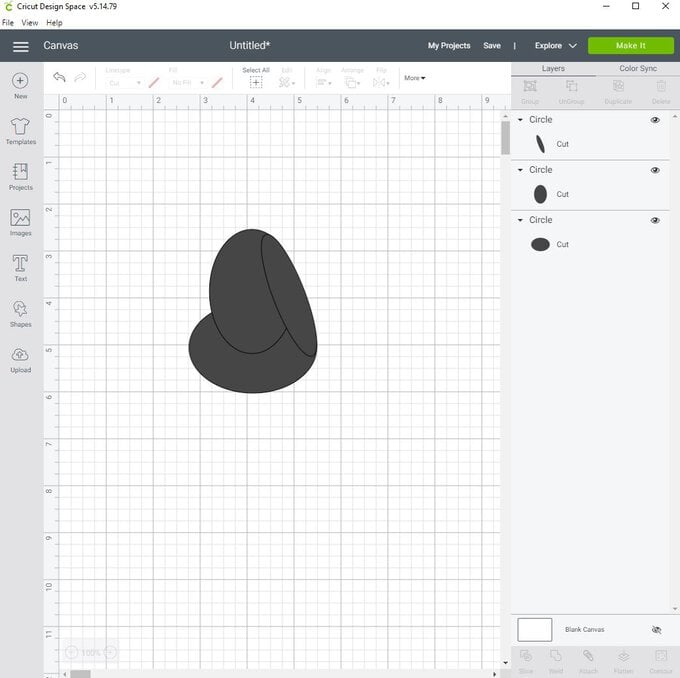

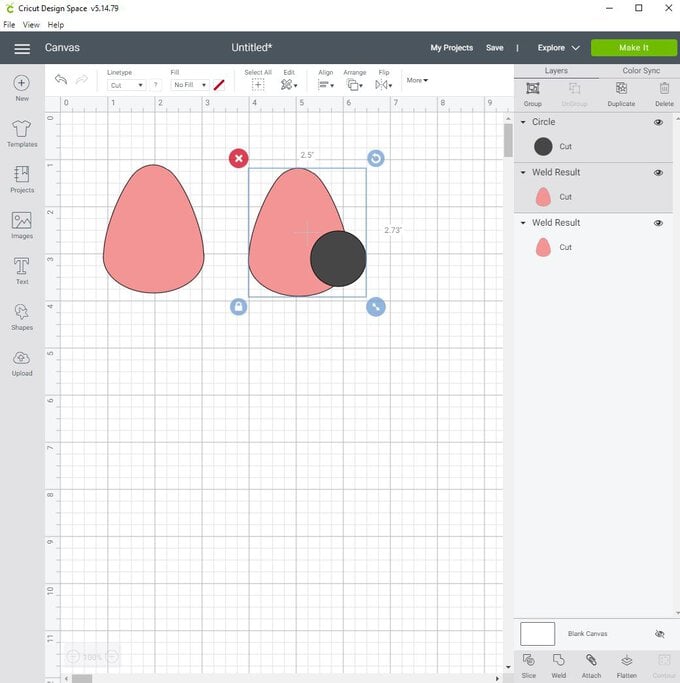
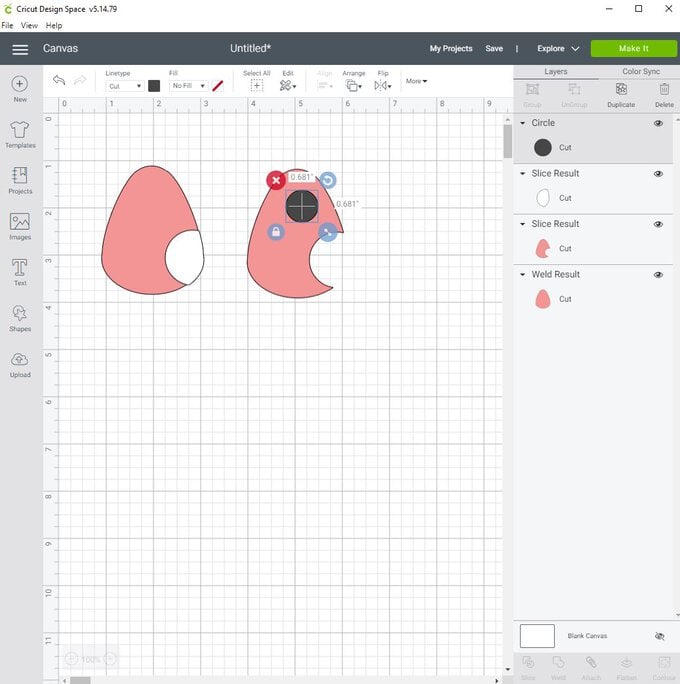
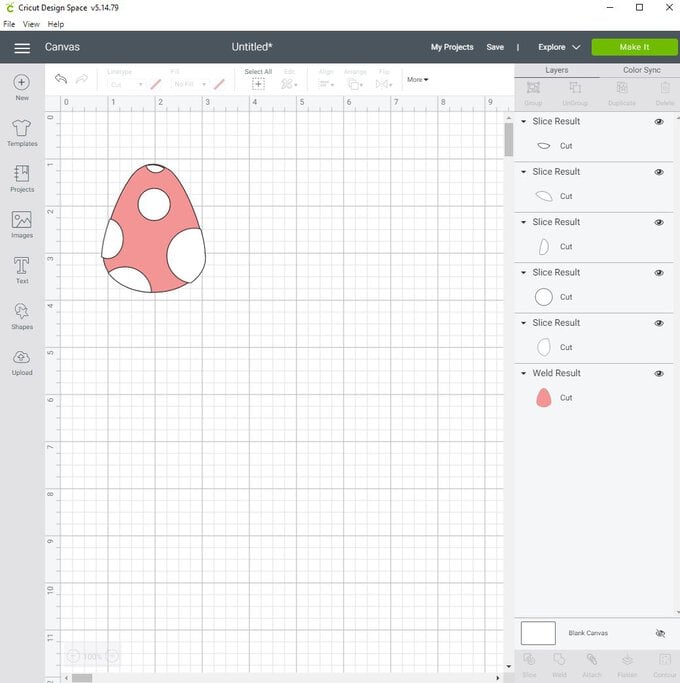
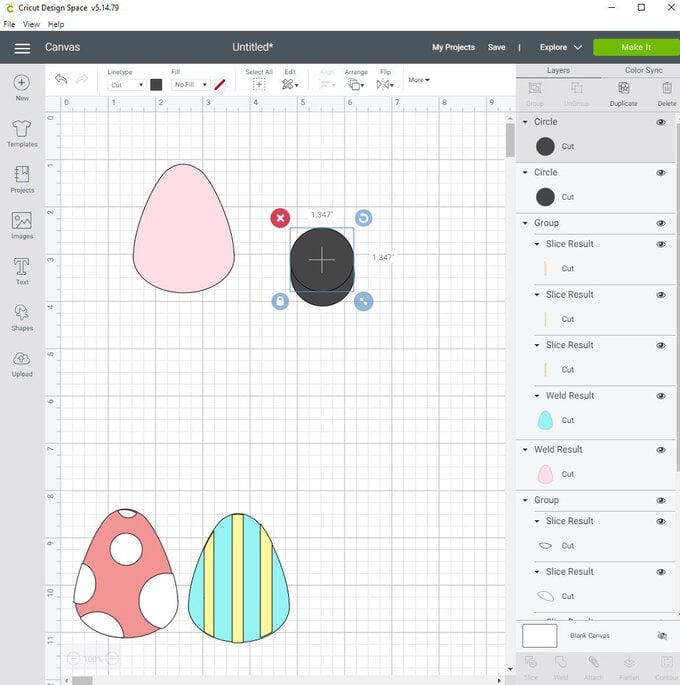
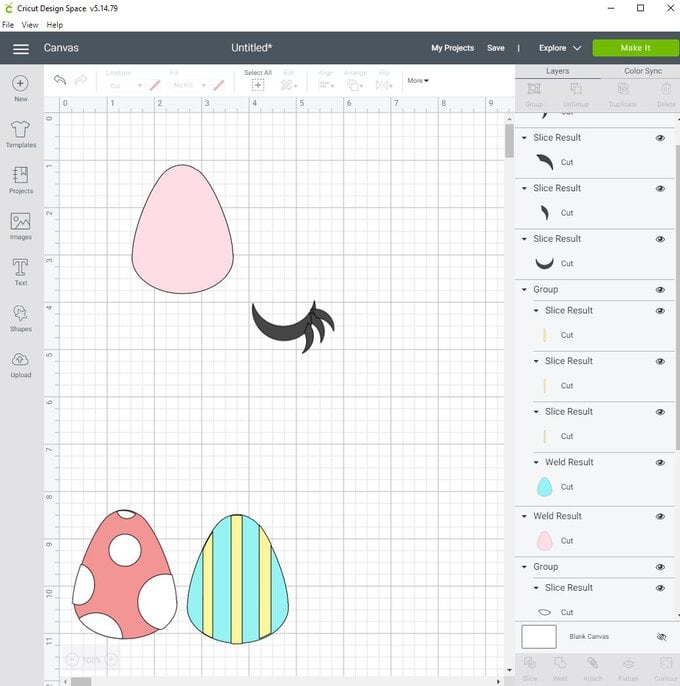
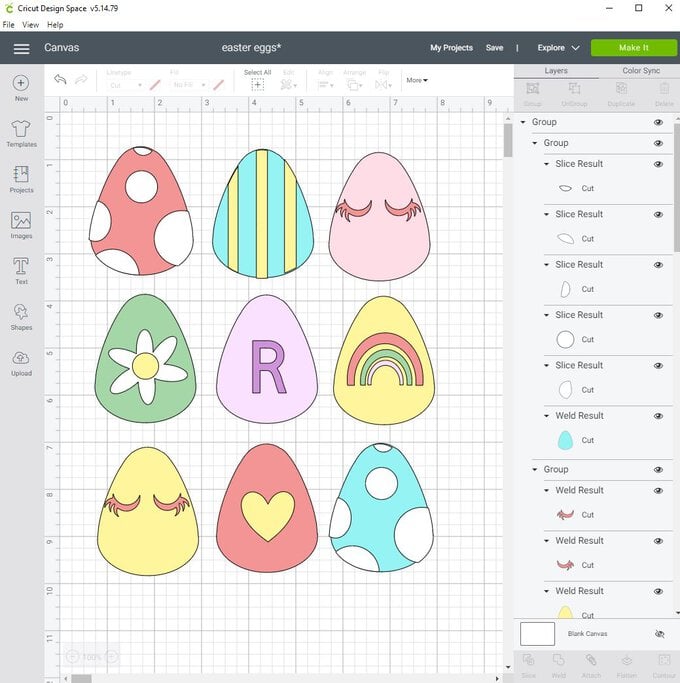
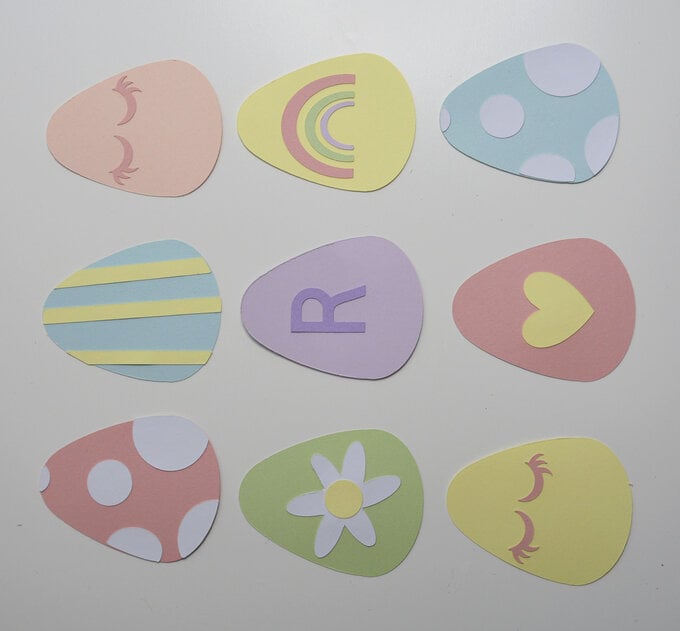
Spotty Egg Design – Duplicate your egg shape and select a circle shape from the shapes tool. Place different sized circles on one of the egg shapes and overlap them with the egg design. Selecting the egg layer and one spot at a time, use the slice tool. Do this for any that overlap. These will create the spots that will fit snug in your first egg! Add these spots to the original egg design and group them together.
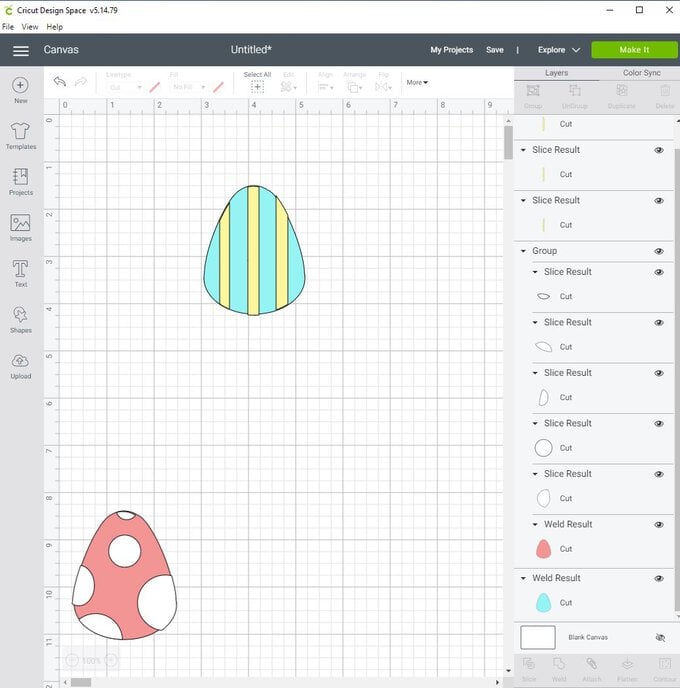
Striped Egg Design – Similar to the above, duplicate the egg shape. Take a square shape from the shapes tool and unlock this. Stretch the square to a thin strip. Position these over one of the egg shapes. Select the egg layer and one of the stripe shapes at a time and select the slice tool. Take these sliced stripes and fit over the original egg shape. You will see the stripes fit perfectly. Select the layers and group together.

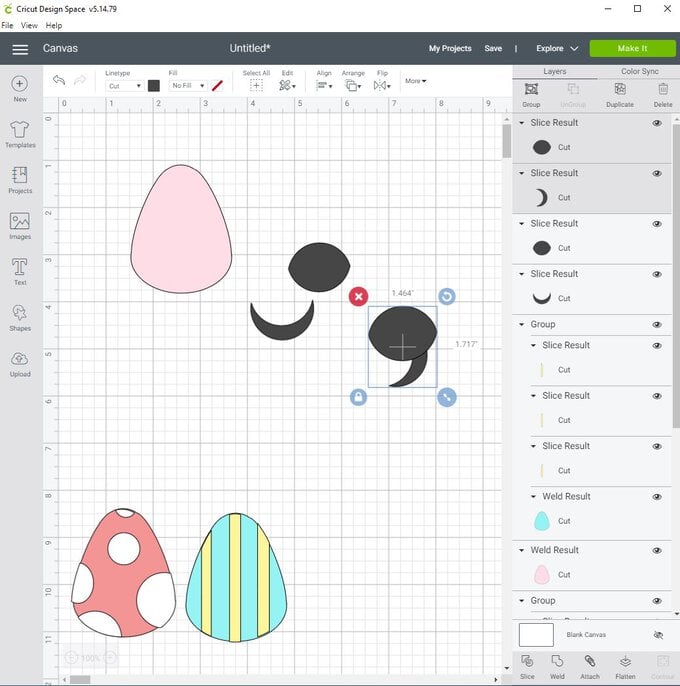
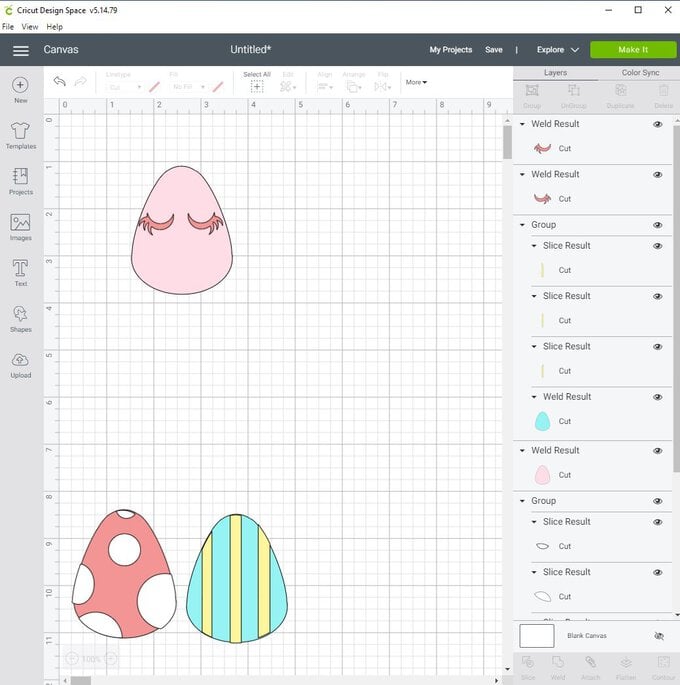
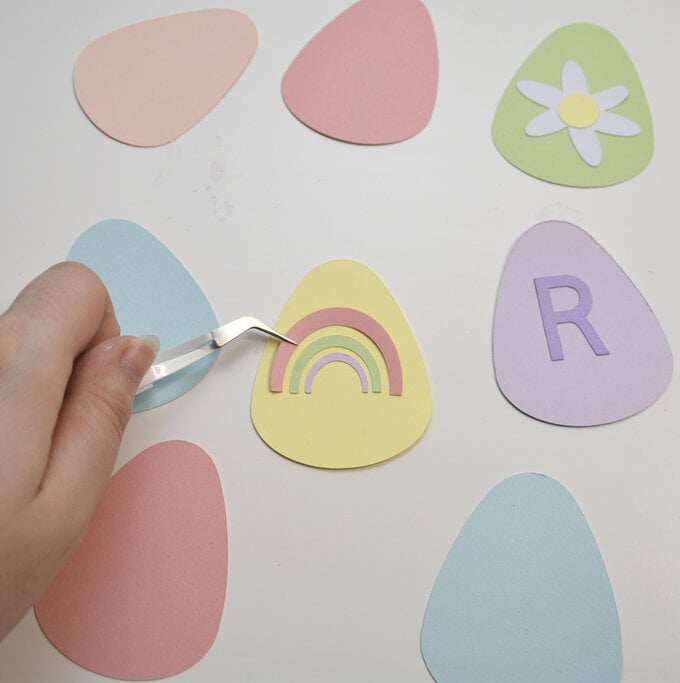
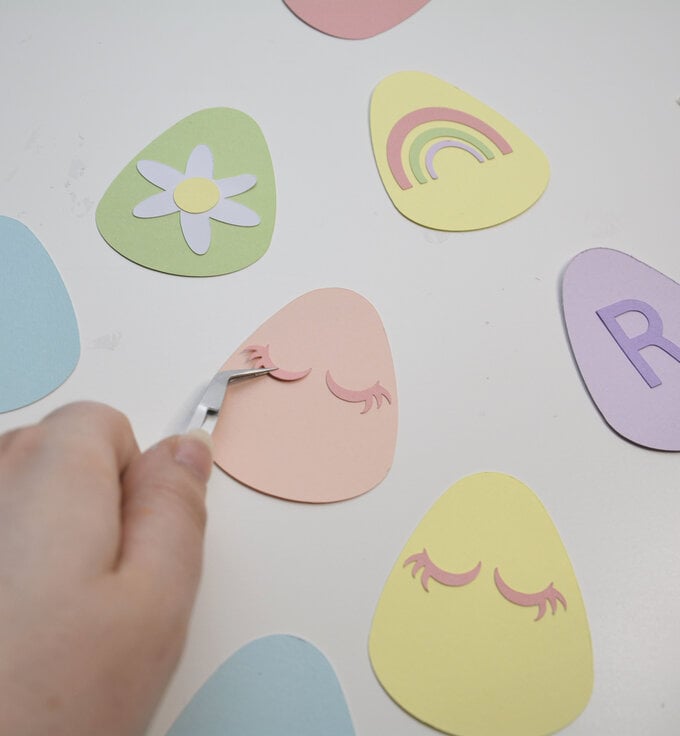
Eyelash Egg – Take 2 circles from the shapes area on the left-hand side toolbar. Overlap one over the over, vertically. Select both and use the slice tool. This will create a thin crescent for the eye lid shape. Keep the other crescent shape that would have been made when slicing. Slice this in half with the left-over shapes. Position the half crescent on the full crescent like an eyelash, duplicate twice and position these on the eyelid shape. Select all layers and weld together. Duplicate this and flip horizontally.
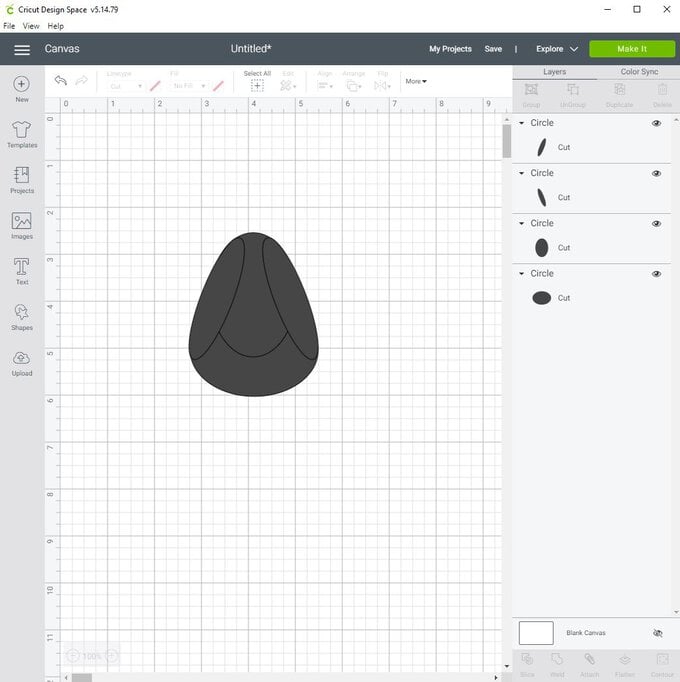
Daisy Egg Design – Take a circle shape and select the unlock symbol. Reshape to an oval. Duplicate this four times and position like a flower. Select all layers and weld together. Select a circle and position over the top of the flower as its centre. Select this as well as the egg design and group the layers together.
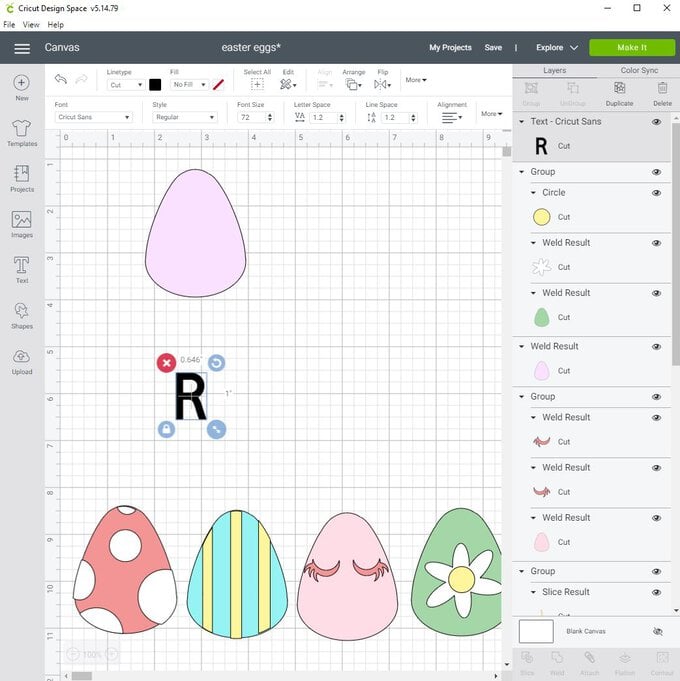
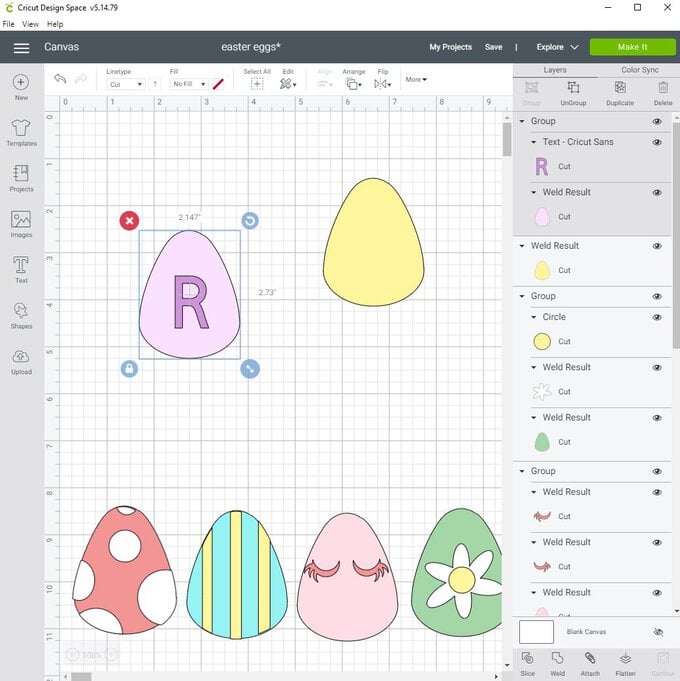
R Egg Design – I used the first letter of my name, Rebecca! Use the text tool on the left side bar and the font Cricut Sans which is free to use. Type in the desired letter and position in the centre of the egg design.
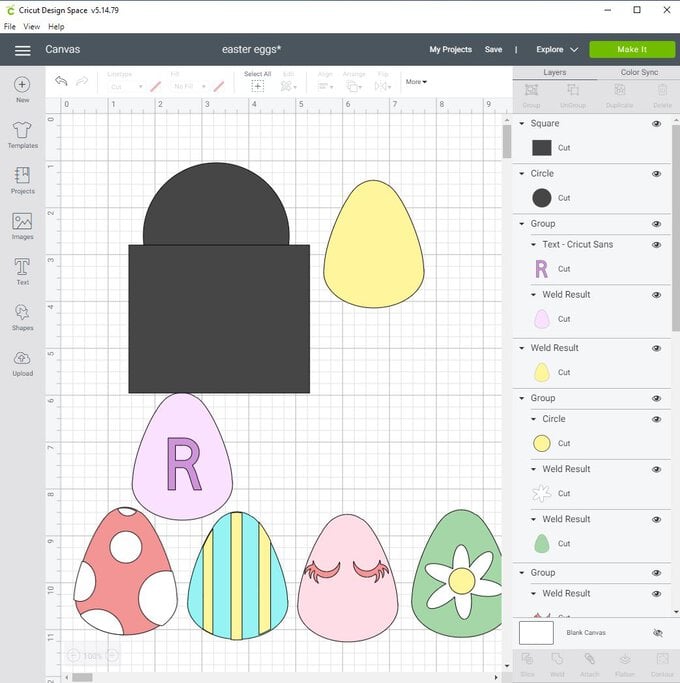
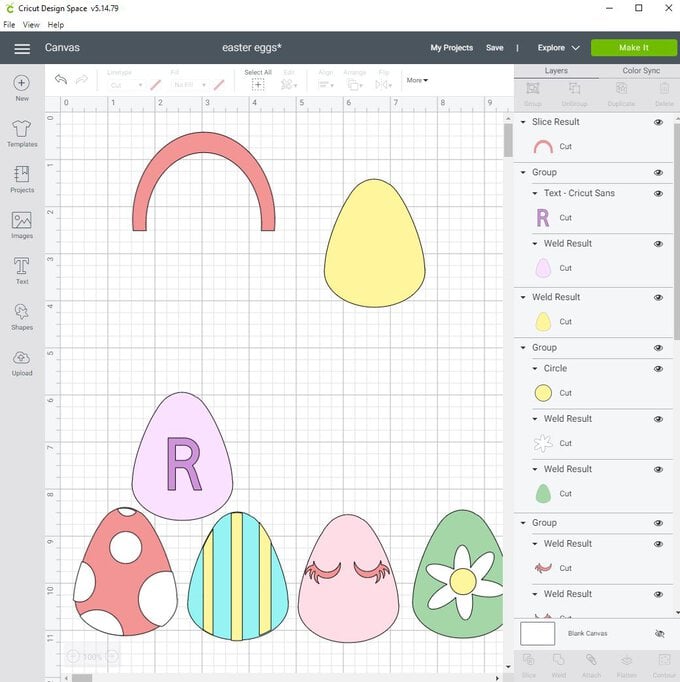
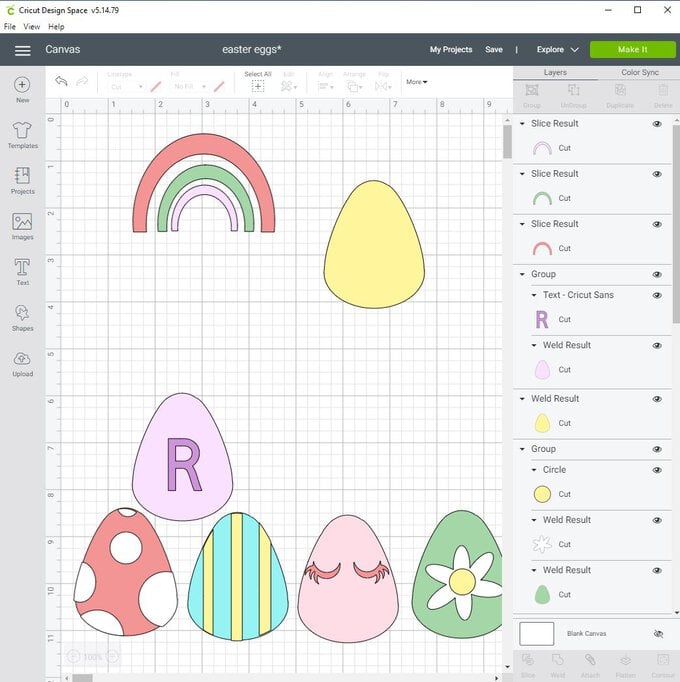
Rainbow Egg Design – Take a circle and a square from the shapes area. Position the square halfway down the circle covering the full width of the circle. Select both and slice leaving you with a half circle. Use the other sliced half circle and make is slightly smaller. Position over the top of the other so you can see the strip you have made. Select both layers and slice. Duplicate twice making each one slightly smaller. This makes your rainbow. Position together in the centre of your egg and group together.

Select 9 eggs and duplicate whichever designs you like. Ensure that the egg designs will fit on the card you will be securing them to ( I used A4 card).
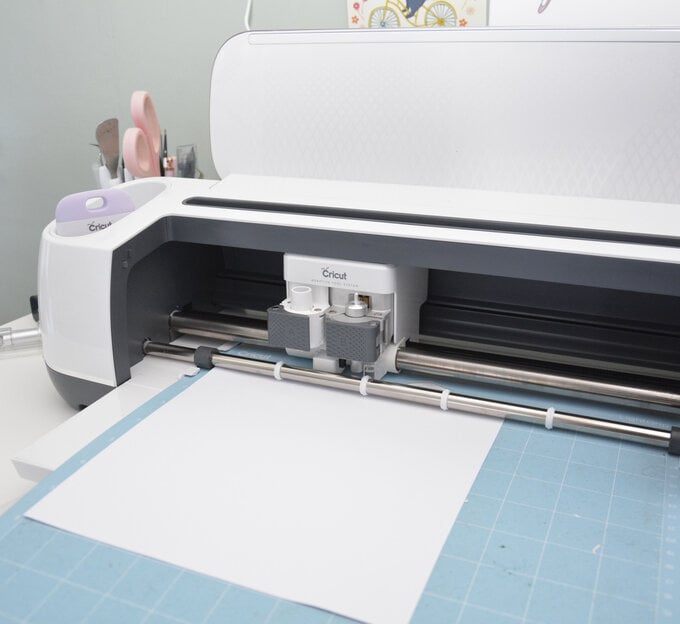
Time to cut out all your eggs in your desired cardstock colours. I used a pastel colour pallet with the pastel cardstock range and soda pop colour range.
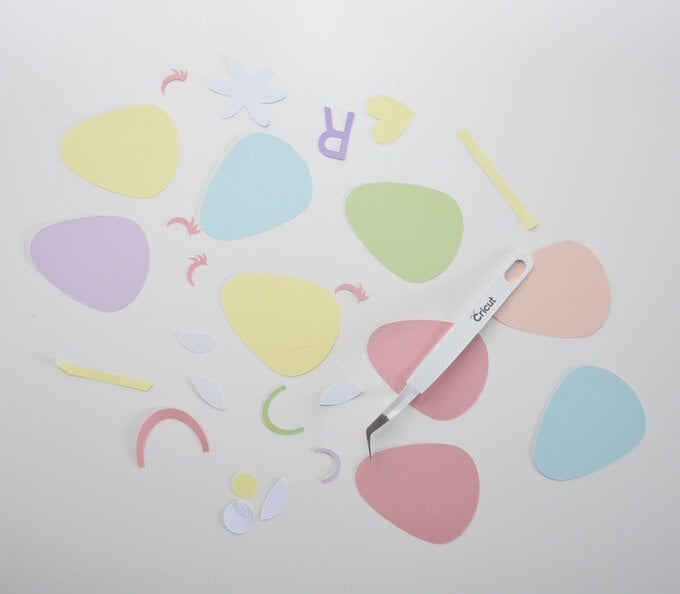
Begin assembling your eggs. I use the precision tweezers, a paint brush and clear dry glue to adhere each part onto the egg.

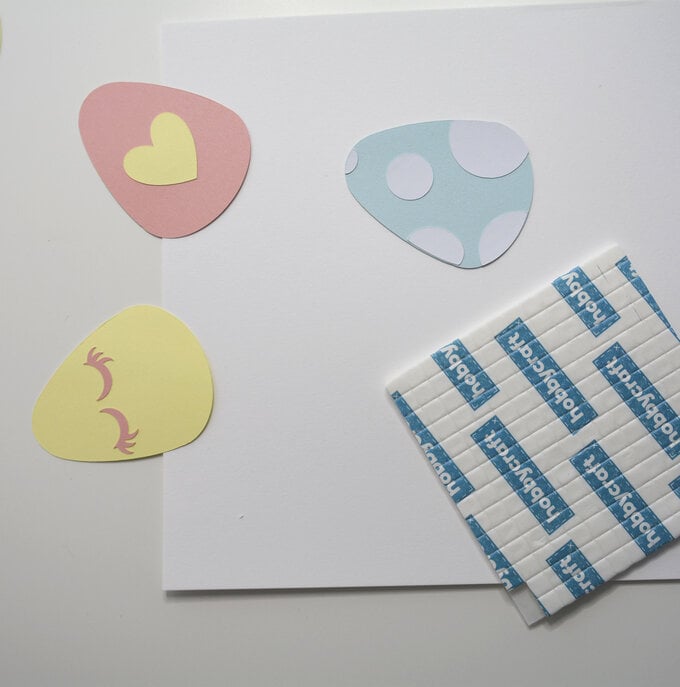
Use 3D foam pads to secure your eggs to the A4 Card. Add this design to your striped frame and there you go! A colourful Egg inspired wall art for your home!
Related Products