Cricut: How to Make Foil Wall Art
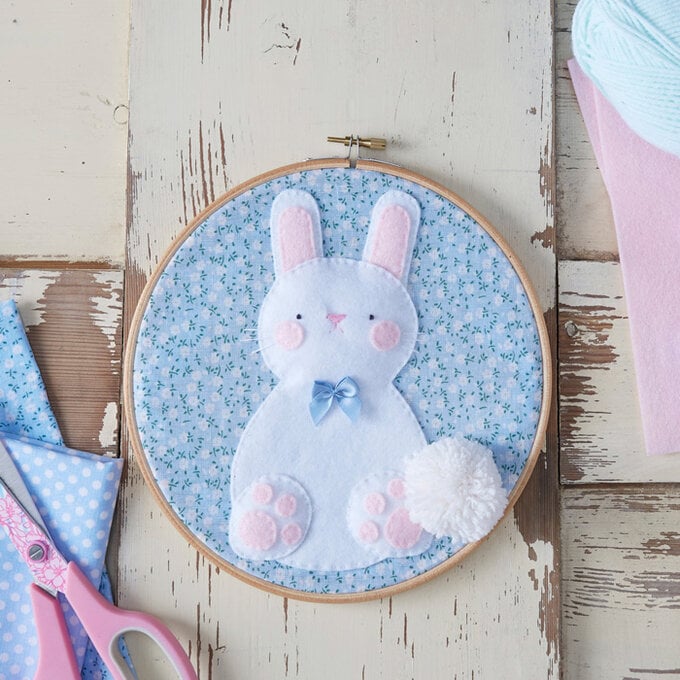
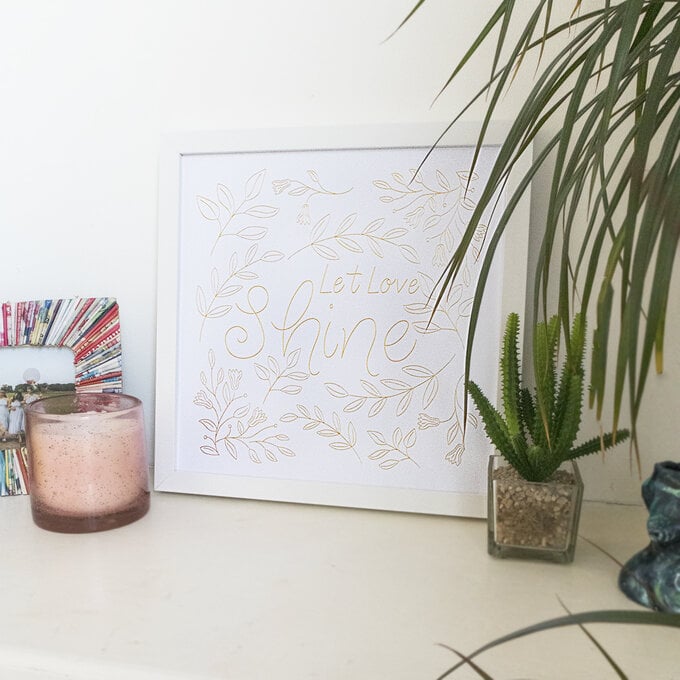
It's a lovely time of year to add some new decorations into the home to give your space a new lease of life. With the brand new Cricut Foil Transfer system, you can embellish your designs to make them shine. This project shows how to make your very own 'Let Love Shine' botanical foiled wall art.
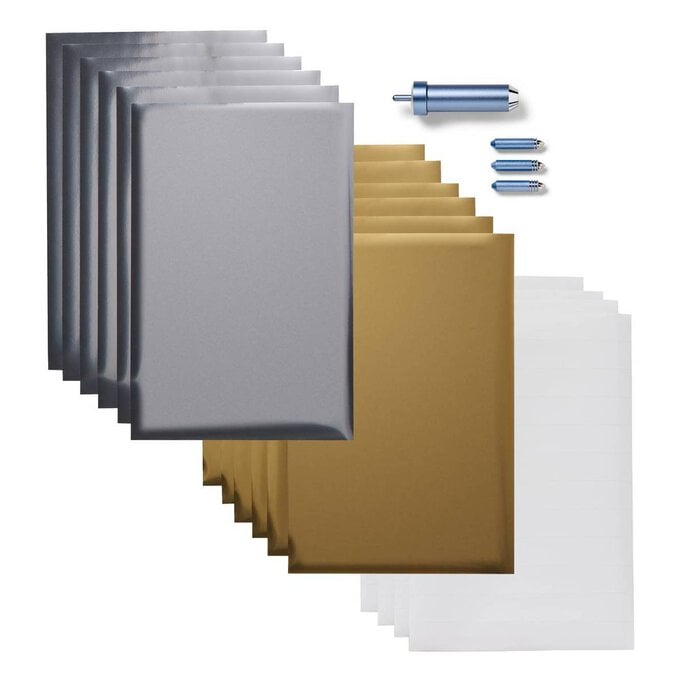
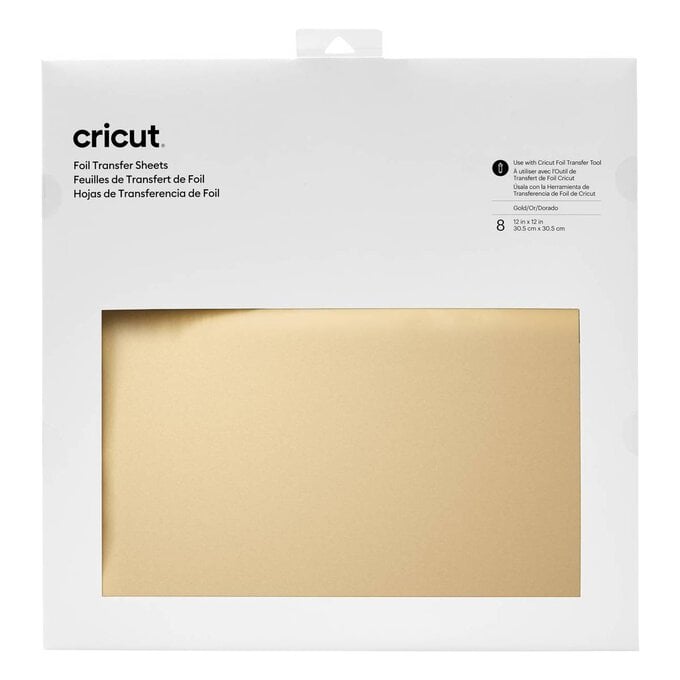
All you need is your Cricut machine (you can use the Maker or the Explore Air 2), white 12x12” craft board, Cricut Gold Foil in 12x12” sheets and the Cricut Foil Transfer Kit.
Project and instructions by Paige Joanna.
You will need
Subtotal
Is $ 64.00
Subtotal
Is $ 22.00

Subtotal
Is $ 602.00
Subtotal
Is $ 12.00
Subtotal
Is $ 23.00
How to make
You will also need -
* Cricut Design Space app installed on your Mac, PC or laptop.
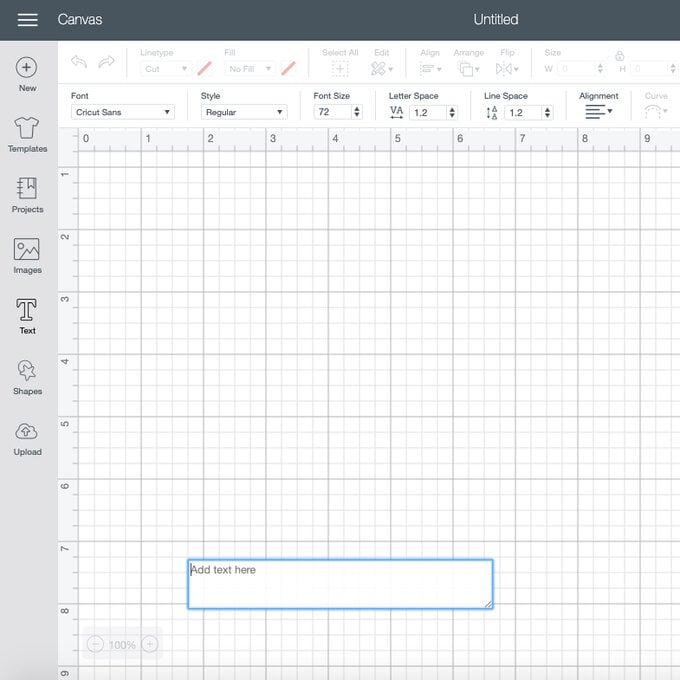
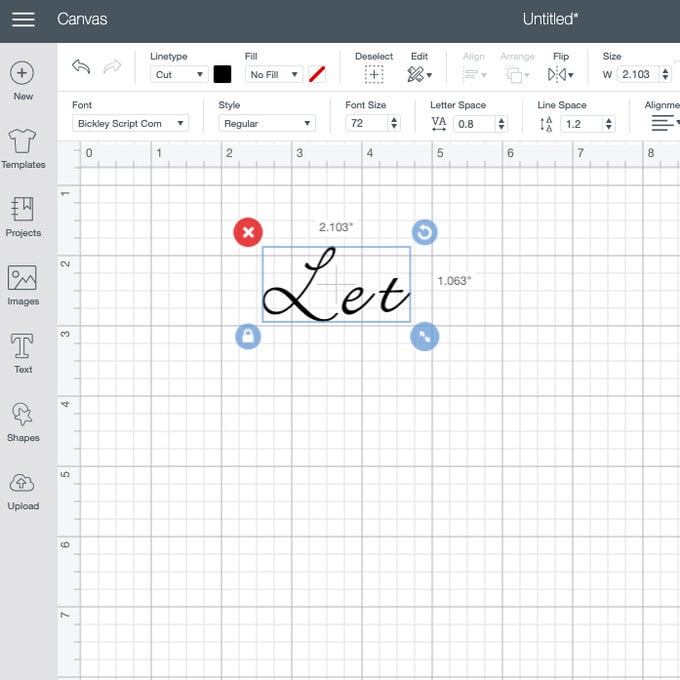
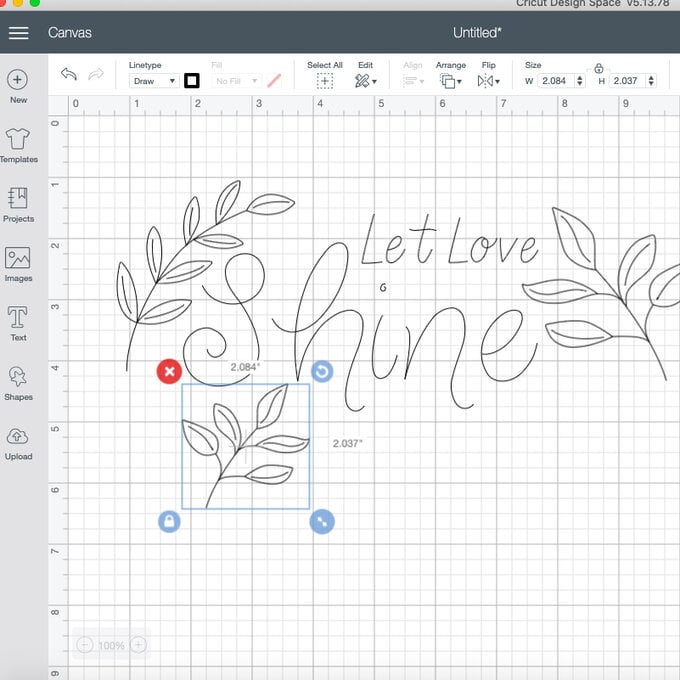
Open Cricut Design Space on your desktop and create a new file. Insert text saying 'let love shine'. Once you've chosen your fonts, you can place it exactly where you want to put it.
Then insert an image. There are thousands to choose from on Design Space.
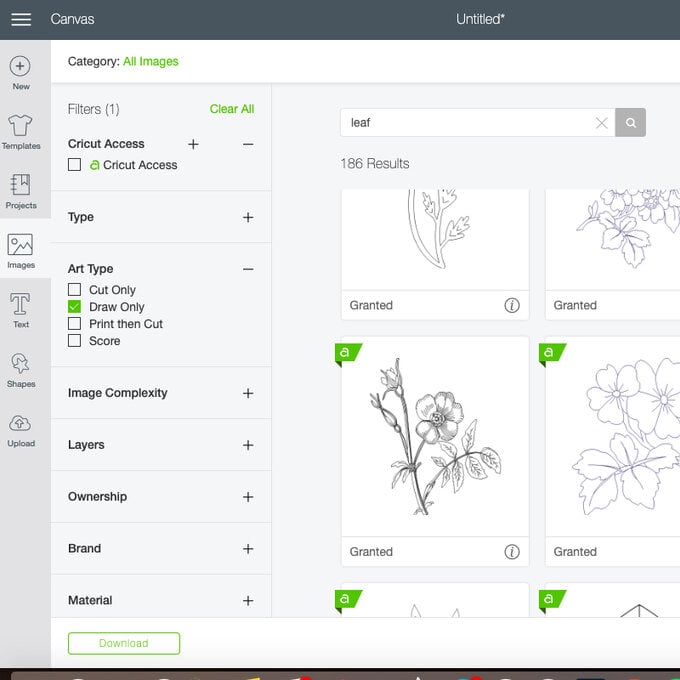
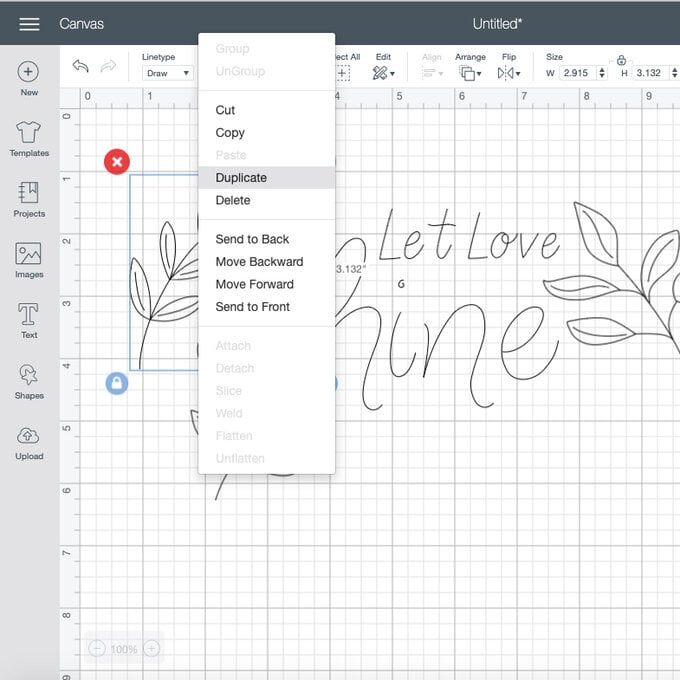
Move your botanical shapes around and right click to duplicate them. You can also select 'flip horizontally' to mirror them so that they don't all look the same. Having them all different sizes will give the design a balanced look and feel. Keep the text central and place the leaves and flowers around it.
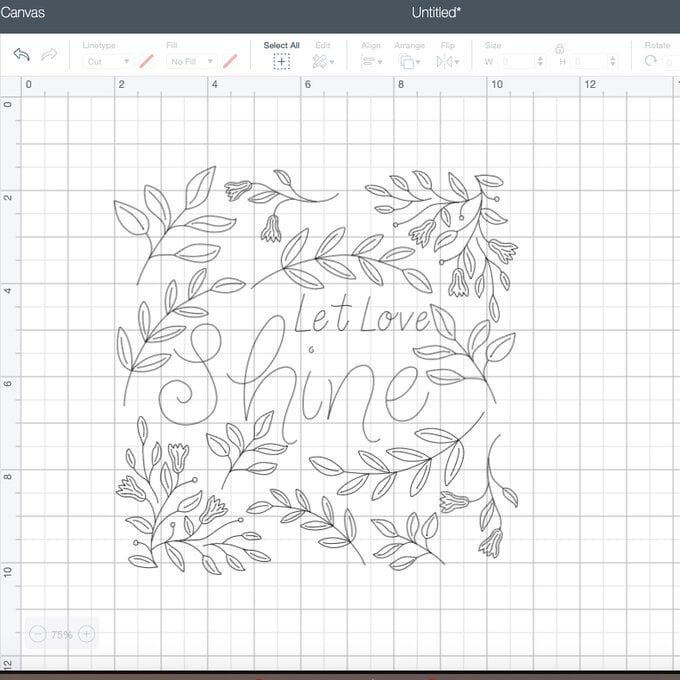
The design measures 10x10 inches (allowing room for the photo frame, and to fit on the 12x12 material) and it should look like a square. You can select all the layers to re-size more easily if needed.
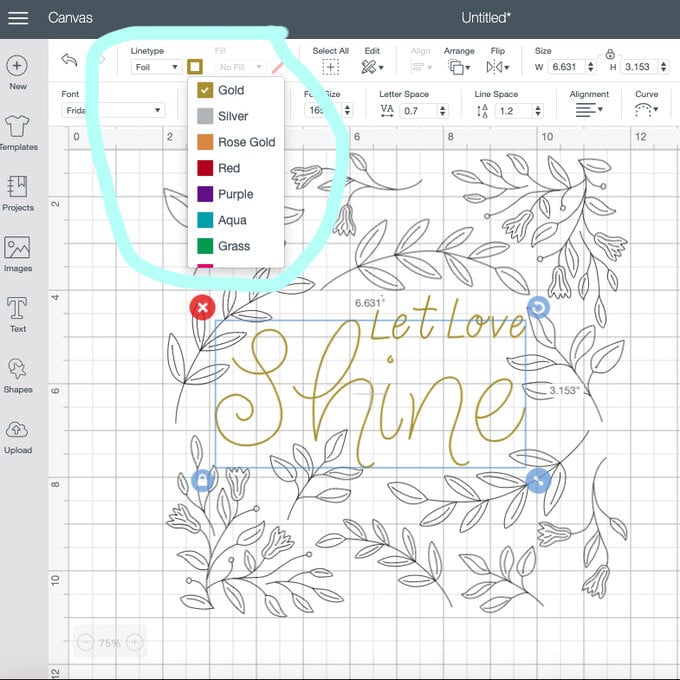
Select your test layers and on the top left of the design space banner. Hover over 'linetype', then hover over 'foil' and you will see an option for fine, medium and bold. Select bold for the text and medium for the flowers.
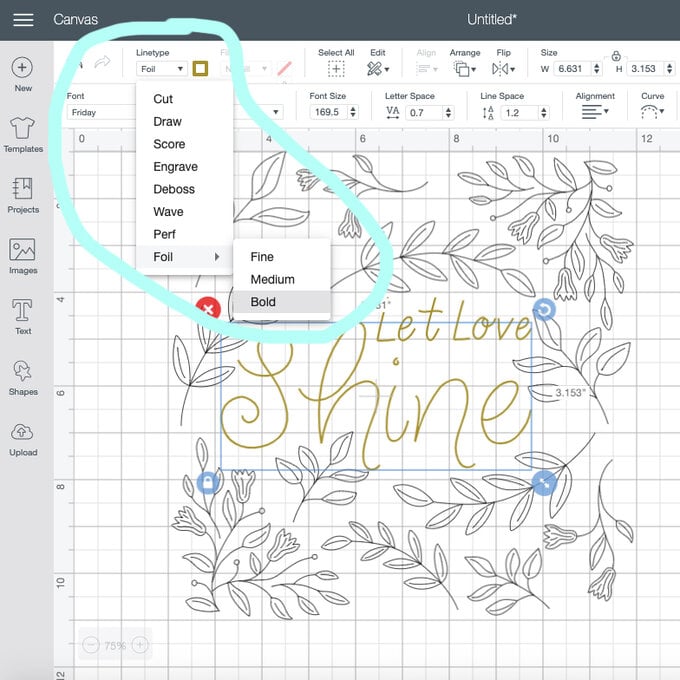
Make sure your foil colour is selected. As you can see, I have selected gold. This helps the Cricut Design Space system recognise the colour and add this into alert popups.
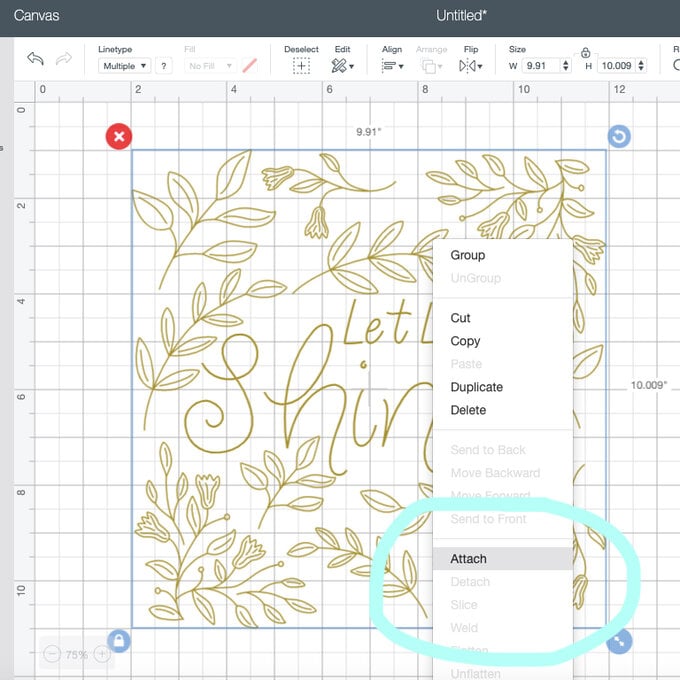
Select all layers, right click and select 'attach' to keep all the layers in the same place for foiling onto the kraft board.
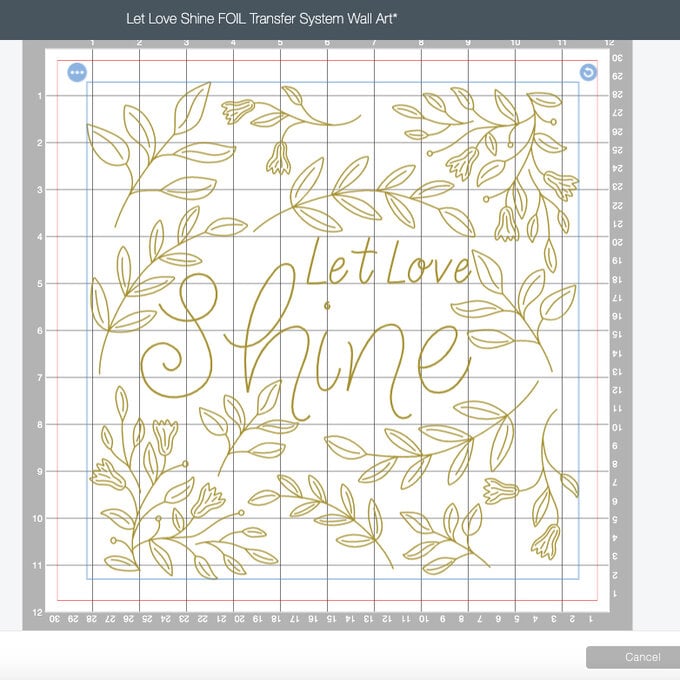
Select 'make it' and it will take you to the window with your mat. Move the design into a central position on the mat.
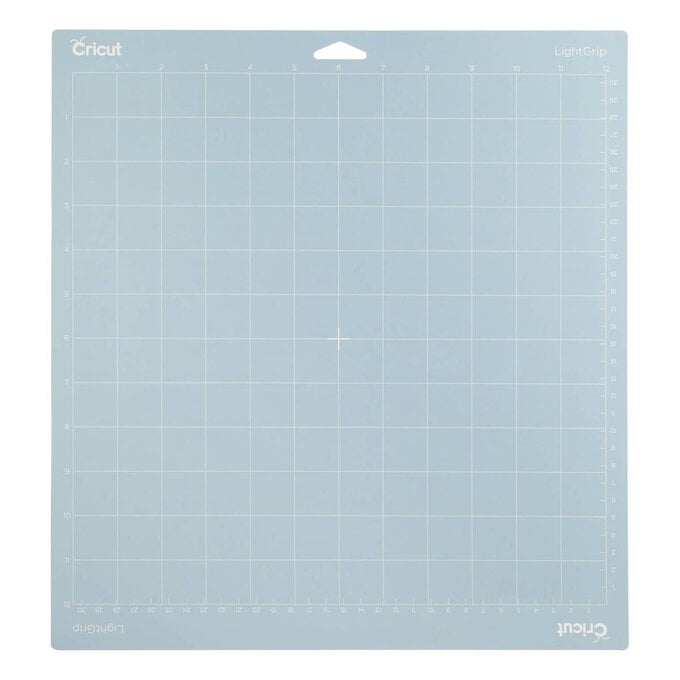
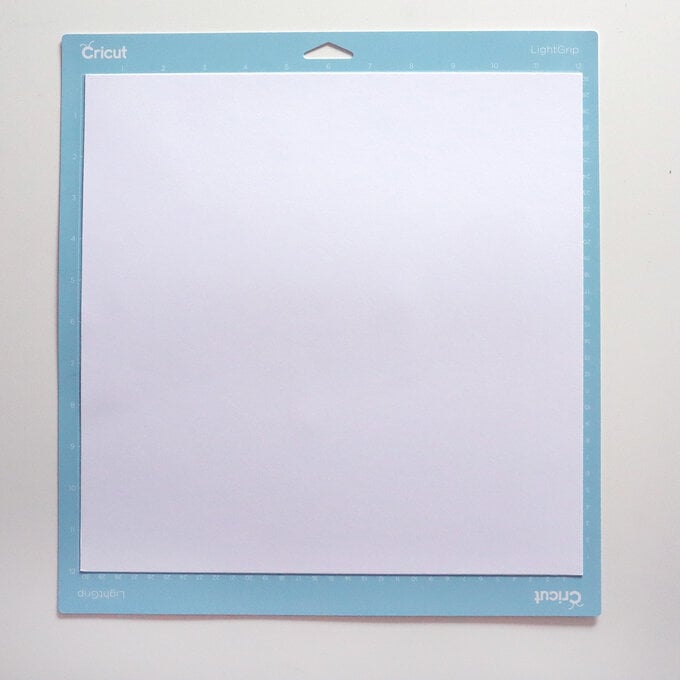
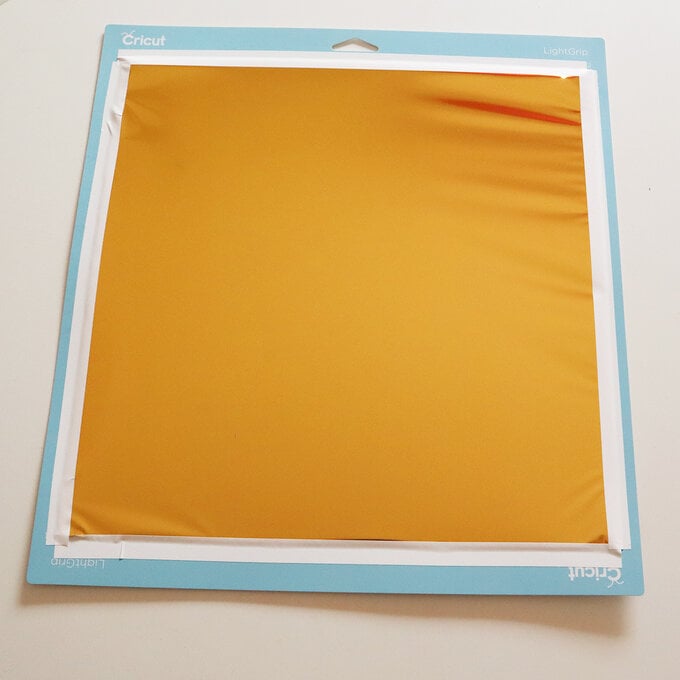
Prepare your mat – place your white kraft board on the mat.
Place the gold foil sheet on top, using the tape provided to tightly hold this in place.
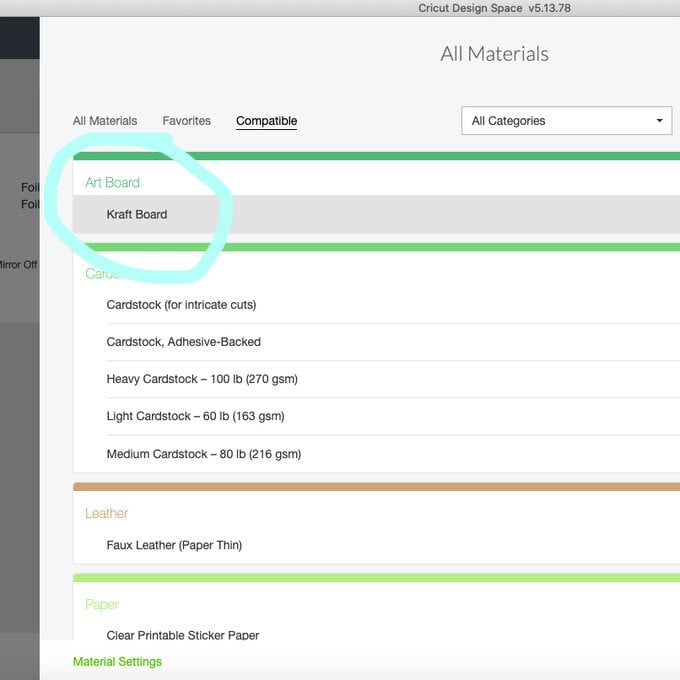
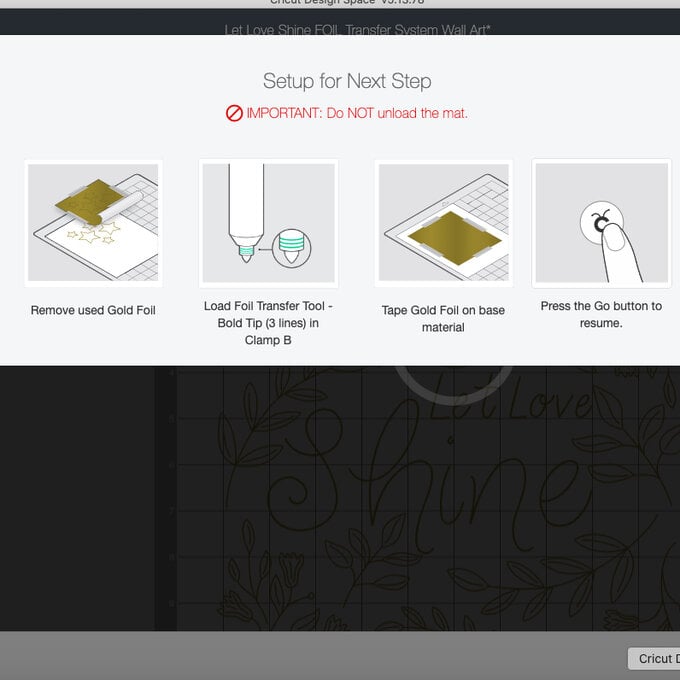
Follow the instructions on the machine by selecting your base material and inserting the foil housing into the 'B' clamp. Once you have done this, you can start to foil your first layer.
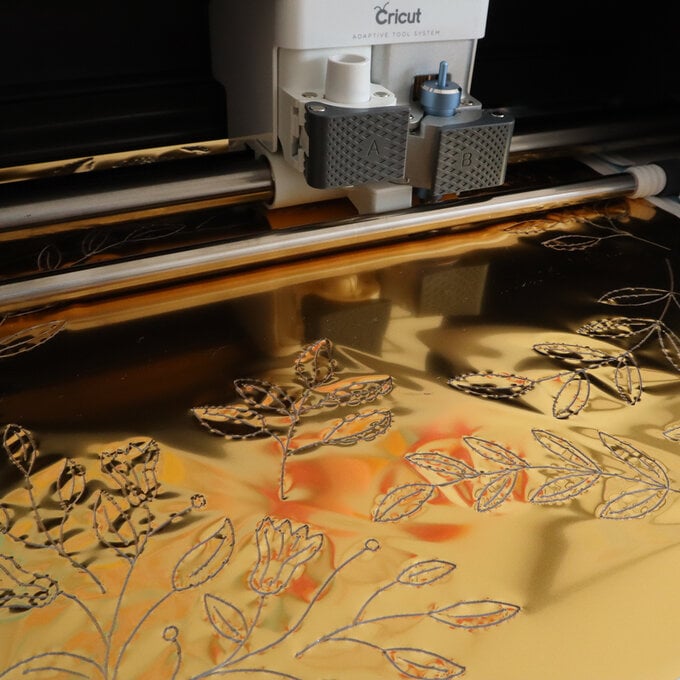
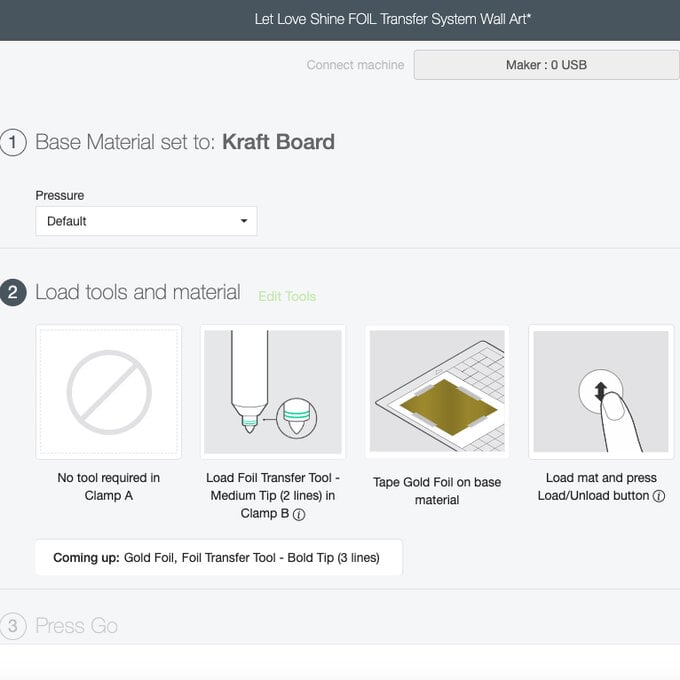
Halfway through, it will prompt you on Design Space to load in your different tip for the thicker line. Do not unfeed your mat at this point. Open clamp B and change over your tip to the large one (with three lines on), place back into the clamp and then the c will flash. Press to continue.
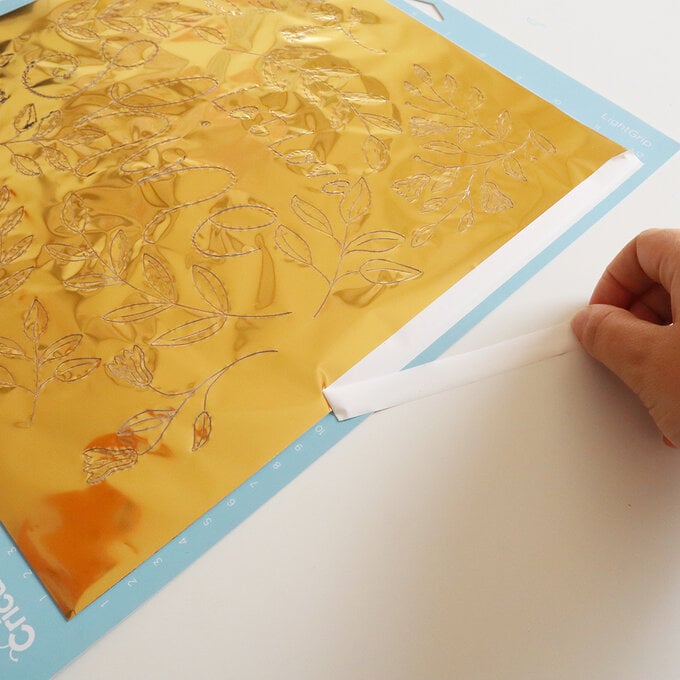
Once this is done, you can remove your mat and carefully take off the tape holding the foil onto the mat to reveal your design.
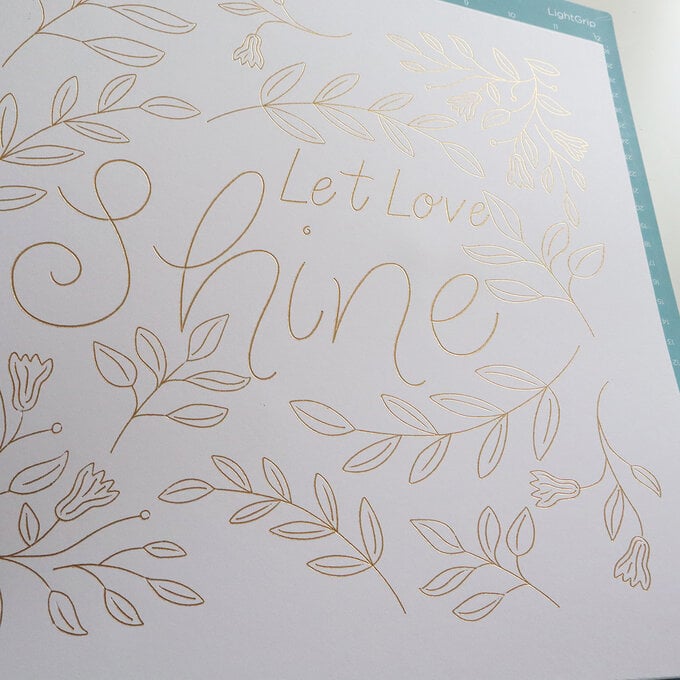
And that is it! Super easy to do and a beautiful way of adding a luxe looking wall art to your home.
Related Products