Cricut: How to Personalise a T-Shirt with a Snow Globe Digital Download
Create your own personalised Christmas t-shirt with our first downloadable design! Just download the digital SVG file and use your Cricut machine to bring it to life. The project pictured has been made with the Cricut Maker, with Design Space on desktop, to utilise the curved text feature.
You can also use the Explore Air 2 or the Cricut Joy.
Project and instructions by Hobbycraft Artisan Chrissie Ellson.
This project contains paid-for content from Cricut's Design Space app.
Screen reference images are taken from the desktop version of Design Space. The curved text feature used for this project is only available on desktop.
You will need
Subtotal
Is $ 177.00
Subtotal
Is $ 37.00
Subtotal
Is $ 17.00

Subtotal
Is $ 601.00
How to make
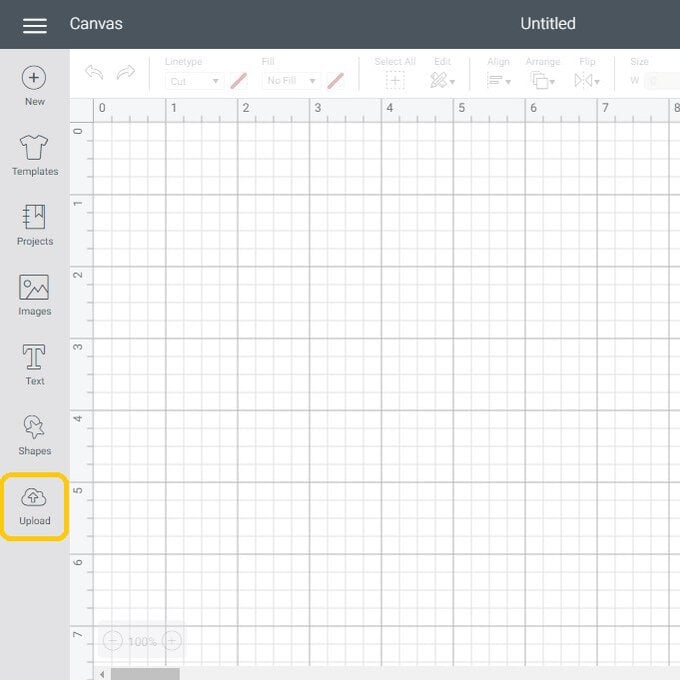
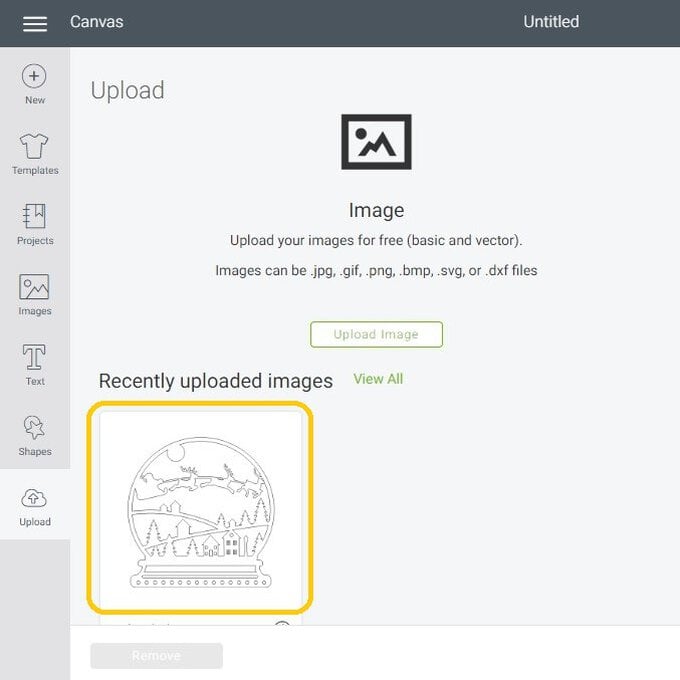
Start with a blank Design Space Canvas. To upload your snow globe SVG to Design Space click “Upload”.
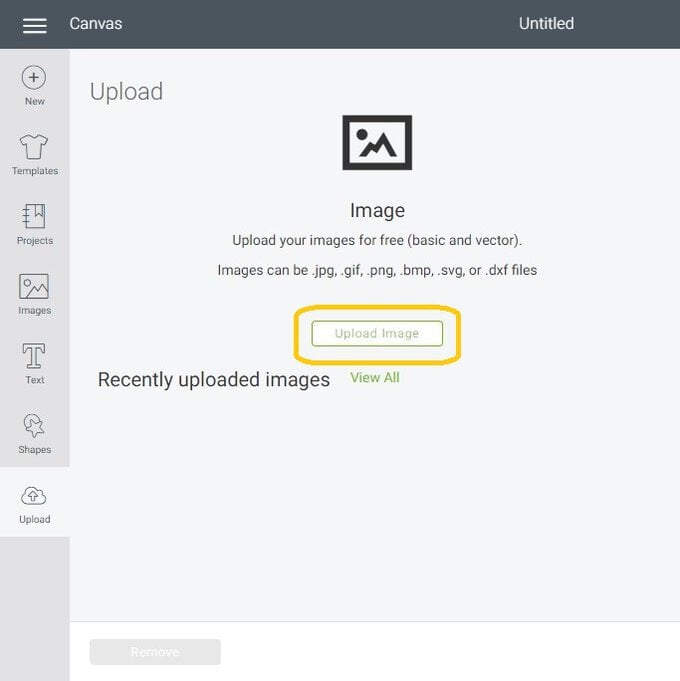
Click “Upload Image”.
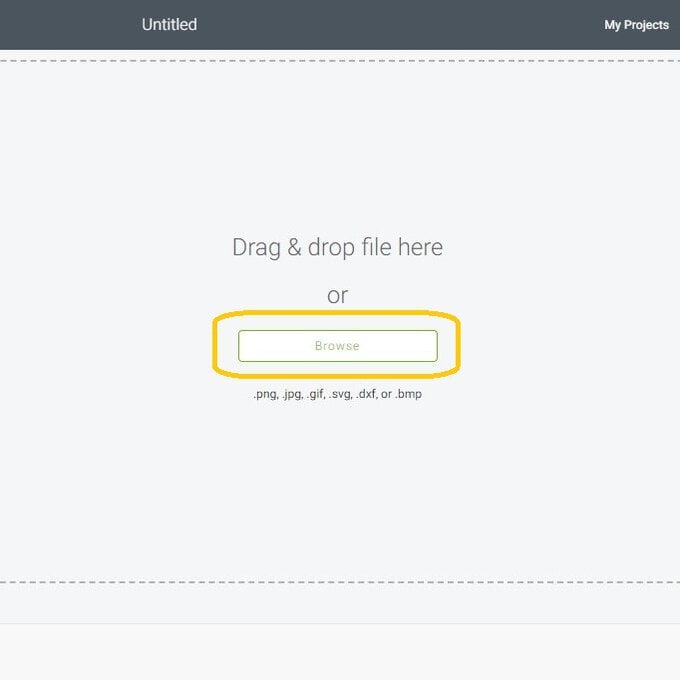
Click “Browse” and then locate your chosen SVG on your computer.
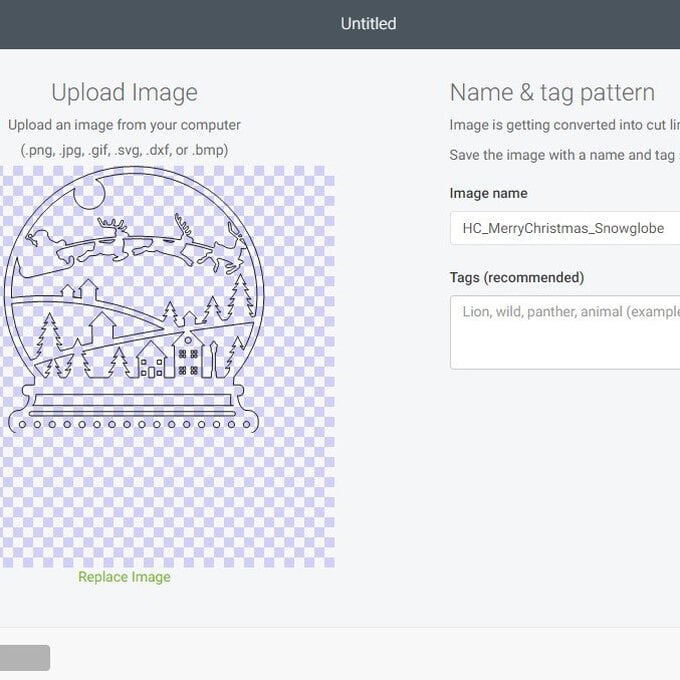
Rename your image if you wish to and then click “Save”
Click on your design and then click “Insert”.
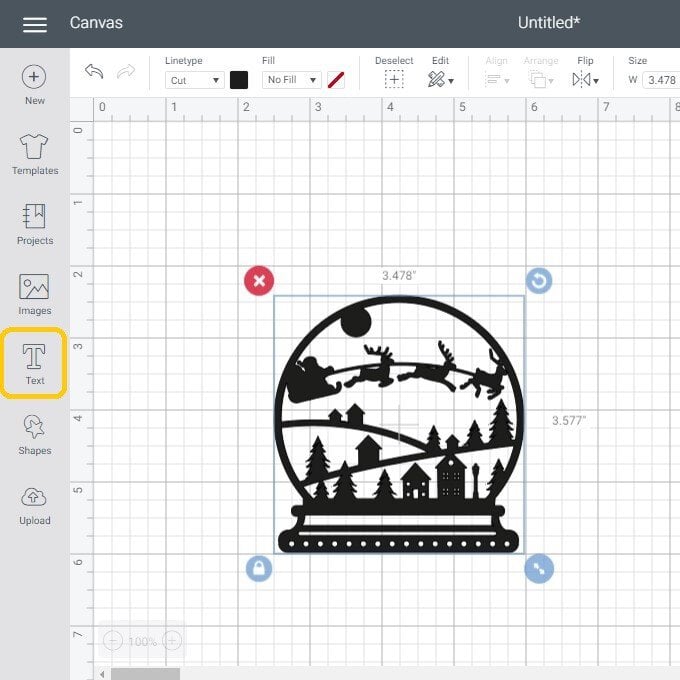
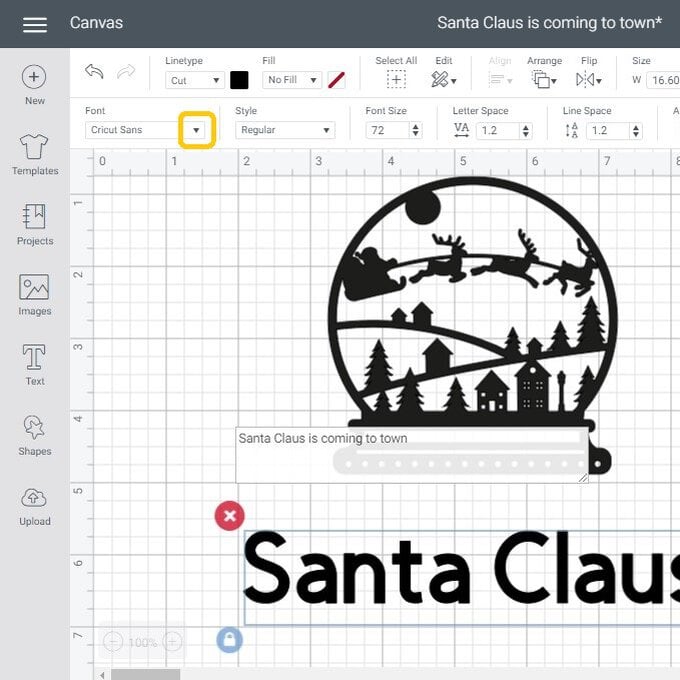
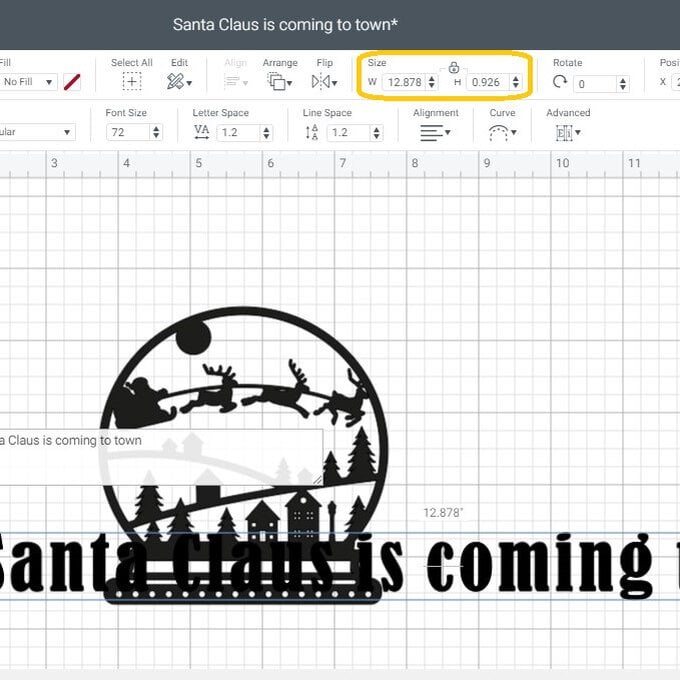
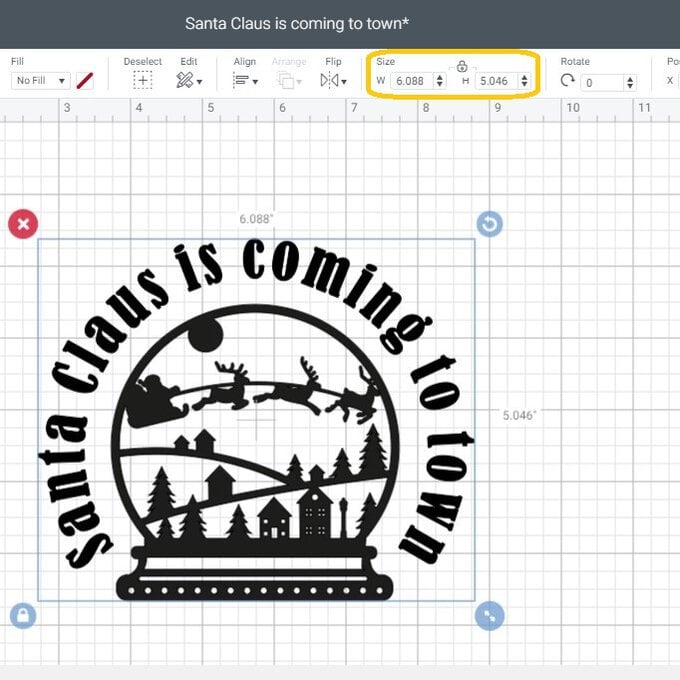
Your design will now be inserted on your Design Space canvas. To add your text click “Text”, type your phrase and then to change the font click the down arrow in the font selection.
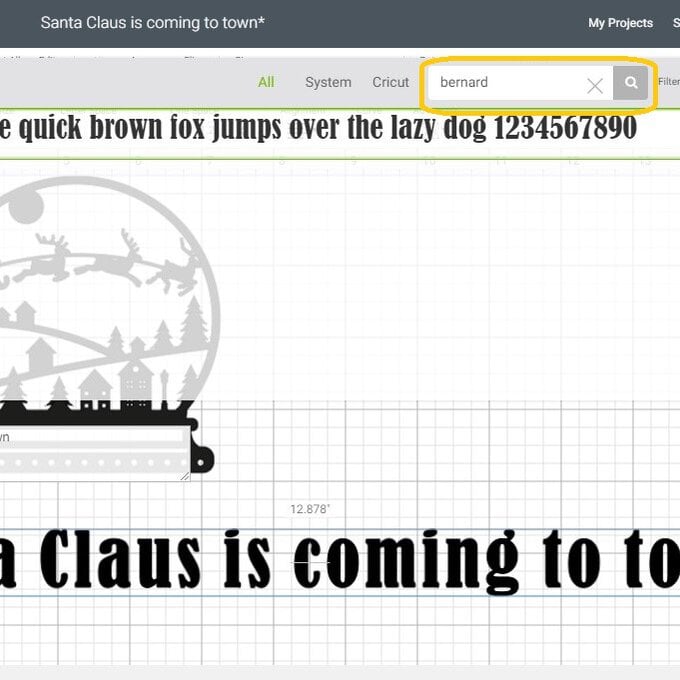
We've used the “Bernard MT Condensed” font.
To resize your font select the height and adjust your measurement.
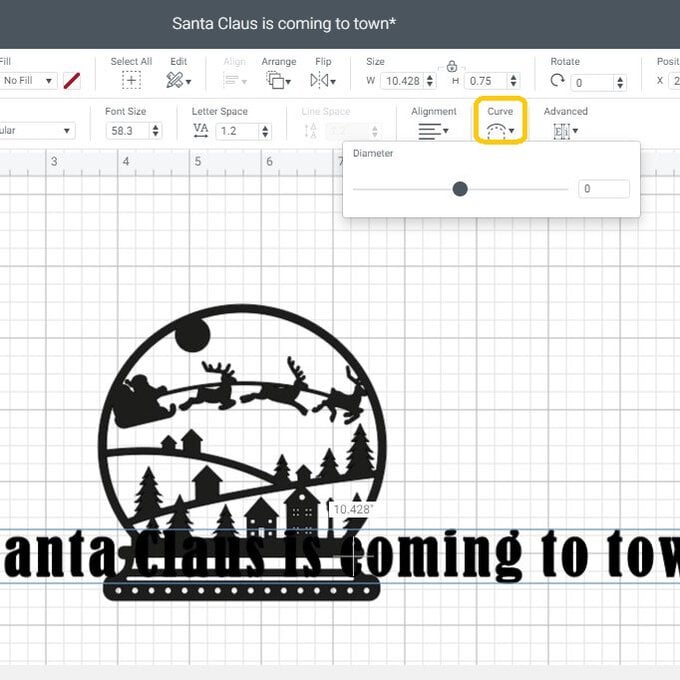
To curve your text select “Curve” and then either move the slider or change the number. We've changed ours to 4.7.
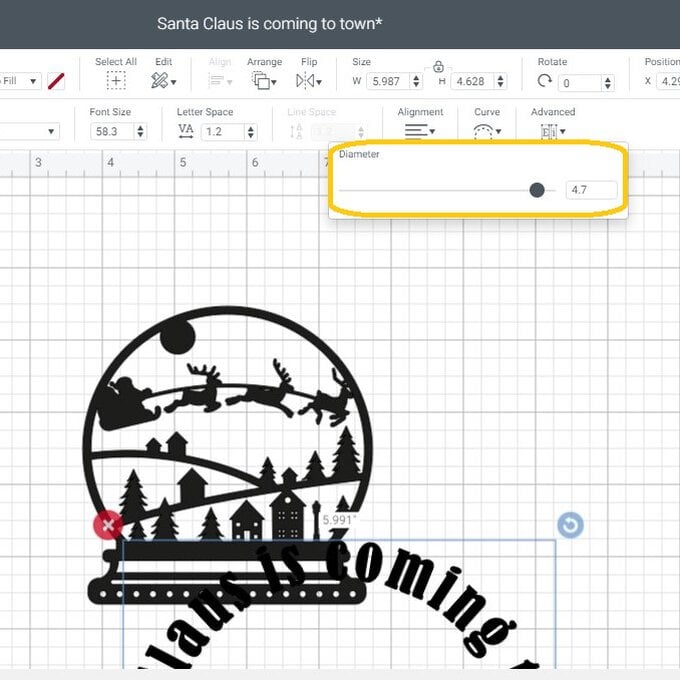
Drag and drop your curved text in to position (you may find you need to adjust your curve slightly). Once you are happy with the positioning select both of your parts by clicking and moving across your whole design. Then click “Attach”.
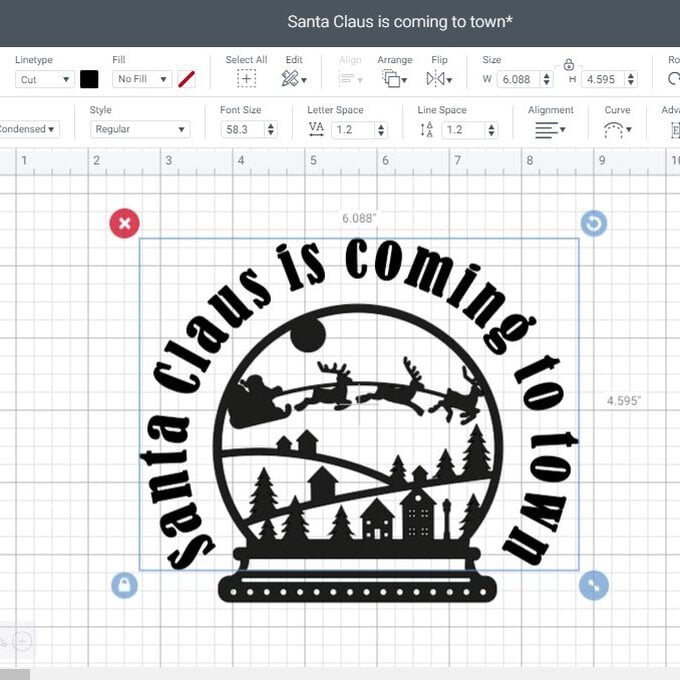
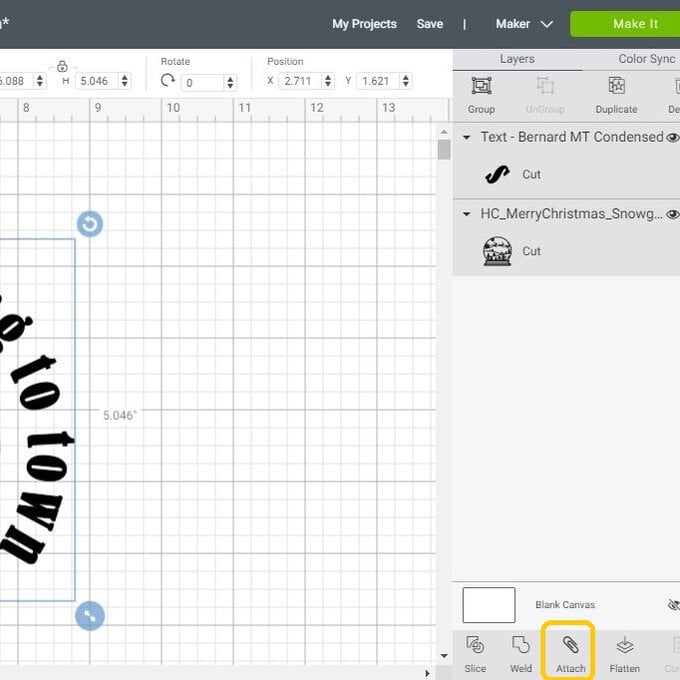
If you need to resize your design click on the image and then change the measurements in the size section. Once you have your design at the correct size click “Make It”.
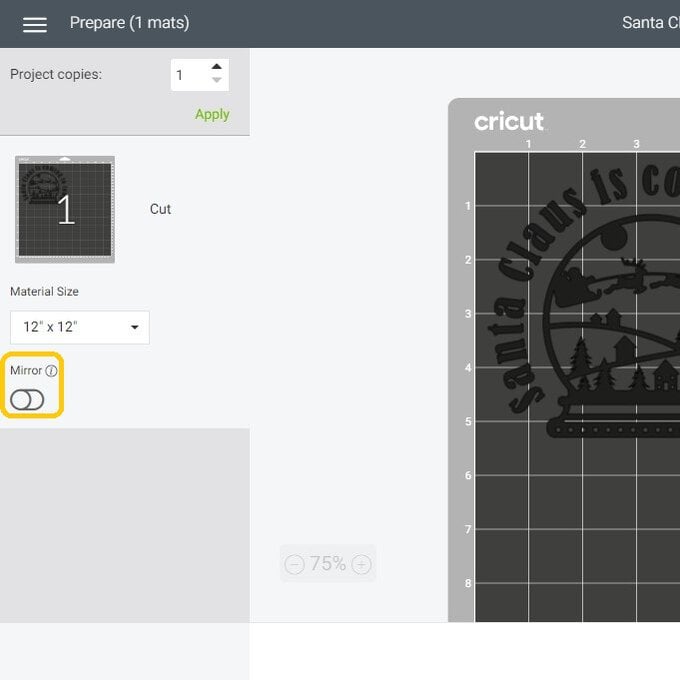
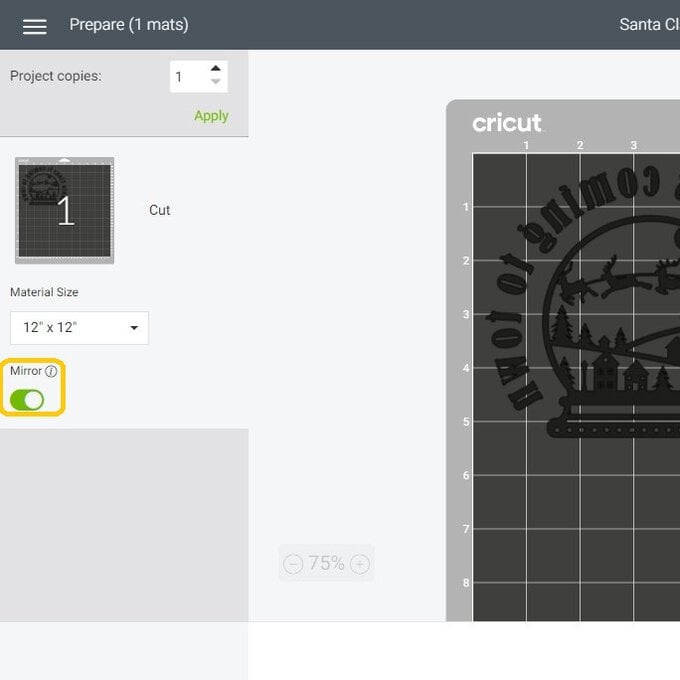
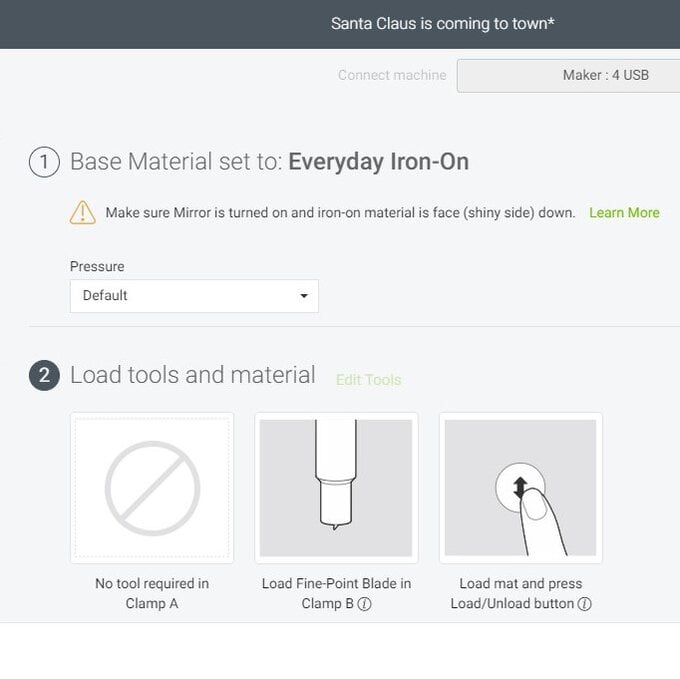
As we are making a tshirt you will need to mirror your image. Click on the button and it will slide across. Then click “Continue”
Select your material from the options available.

When ready press the “Go” button on your machine.
Once cut weed all your layers.

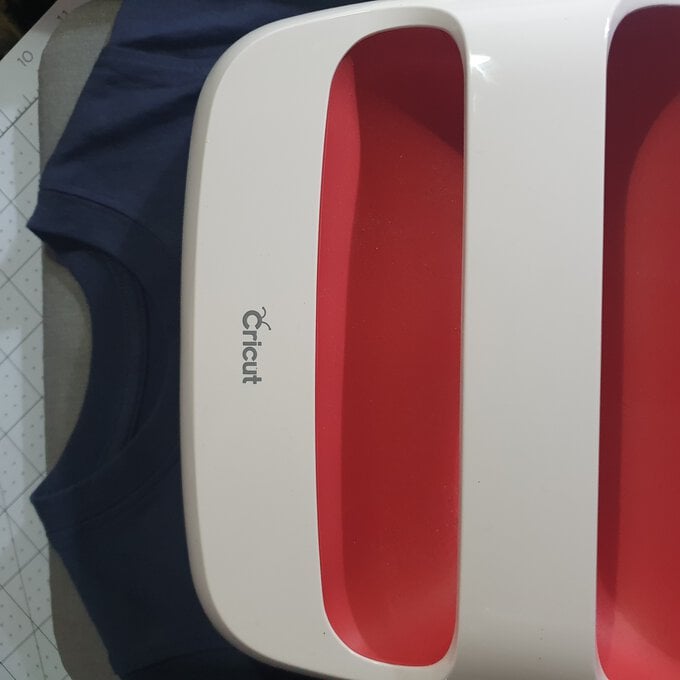
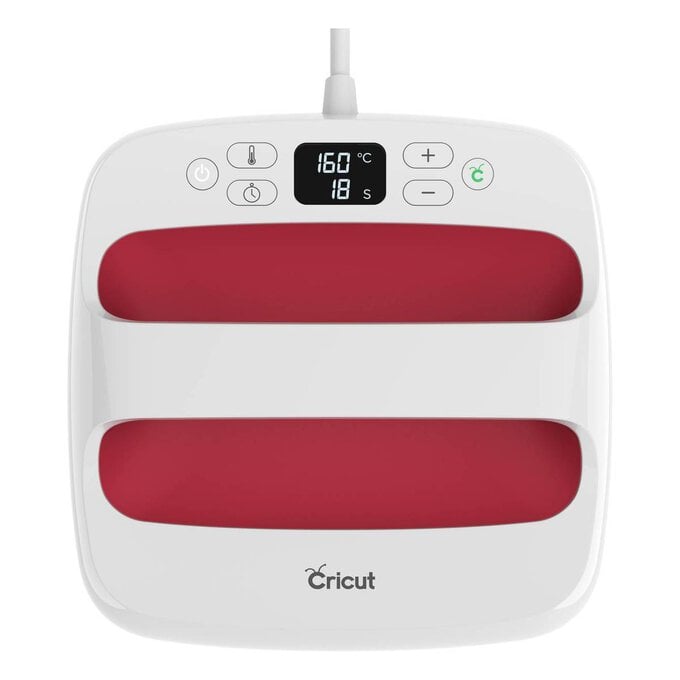
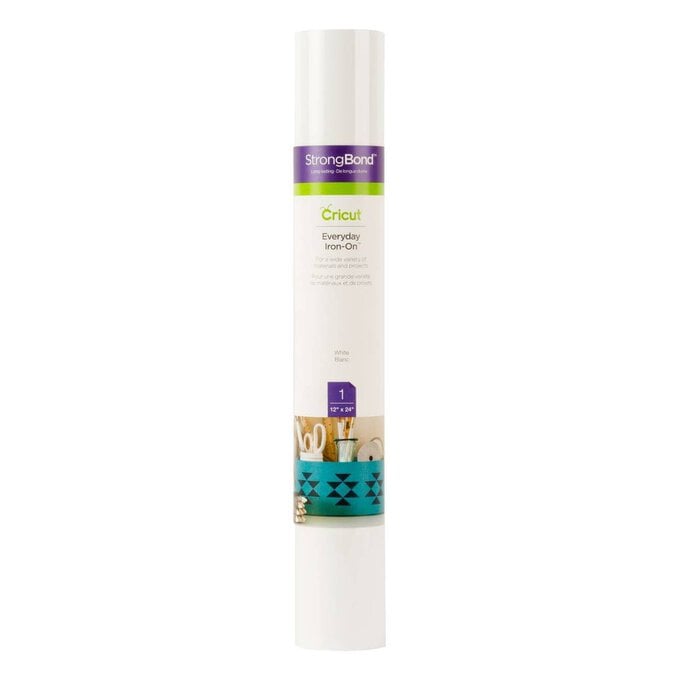
Apply your Everyday Iron using your Easy Press and the correct heating settings.