Cricut: How to Personalise a Play Tent
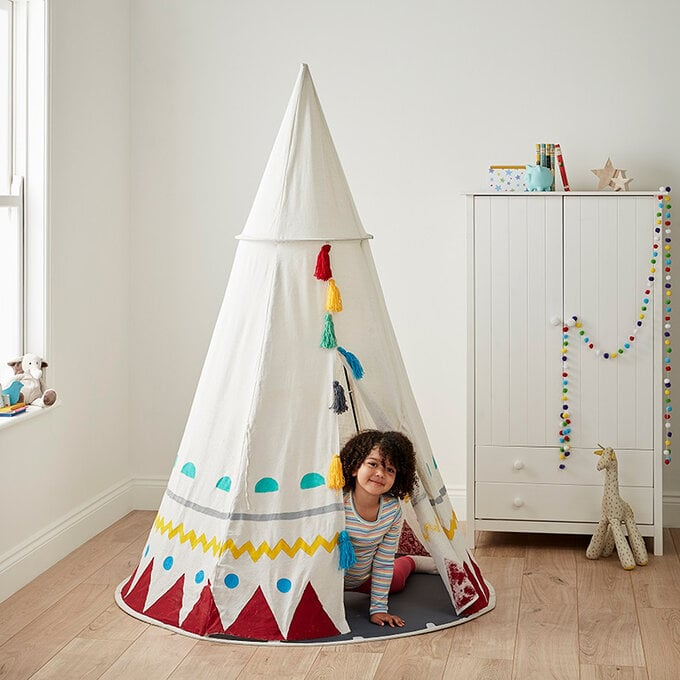
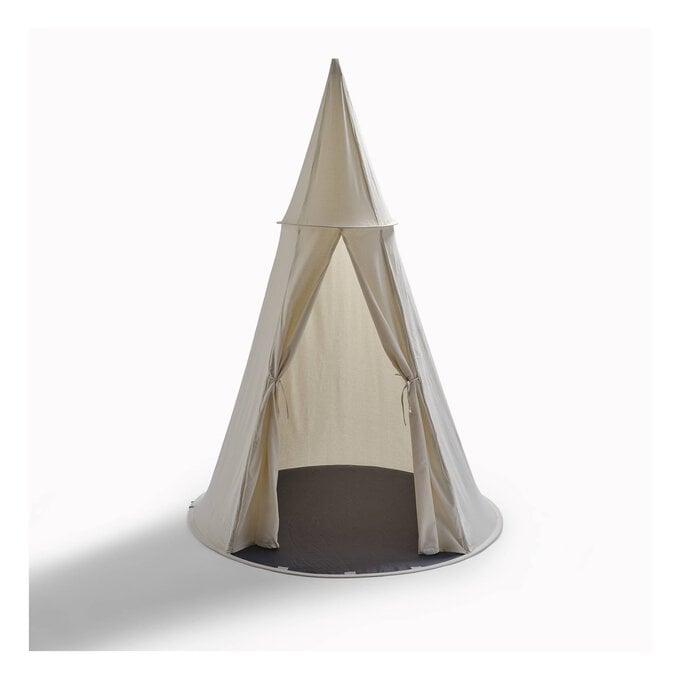
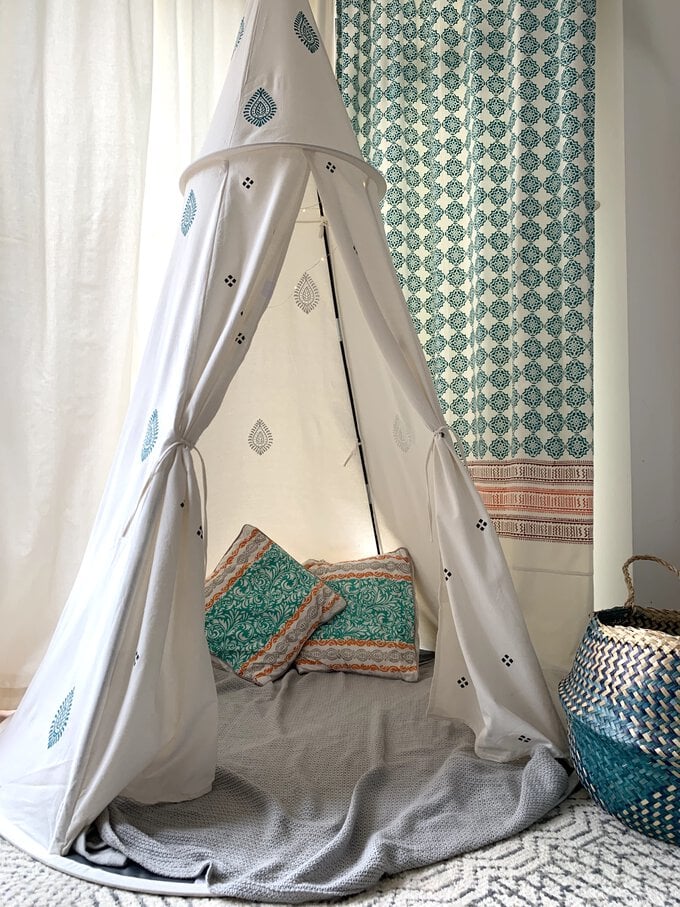
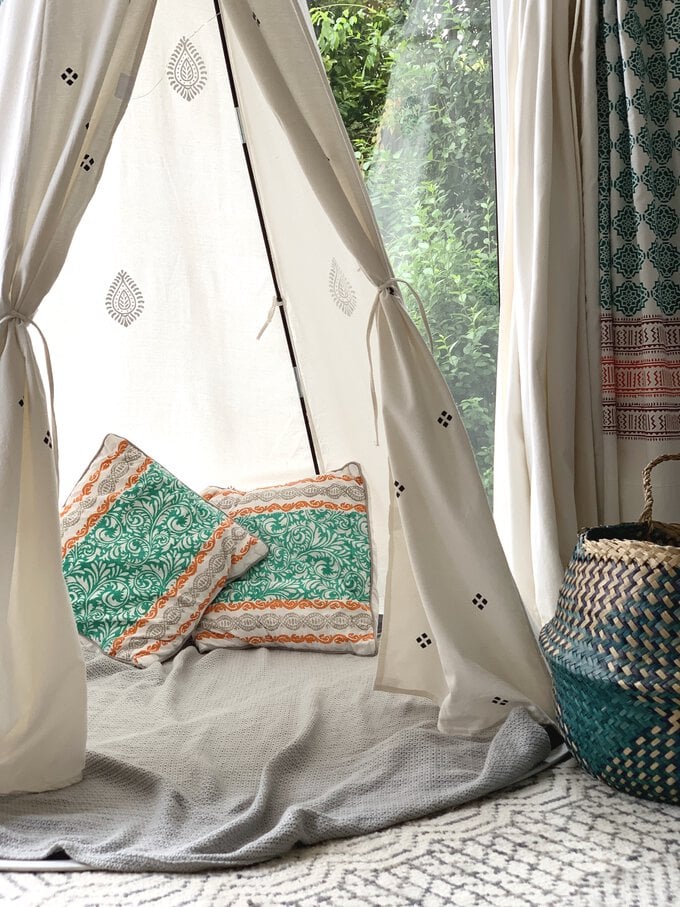
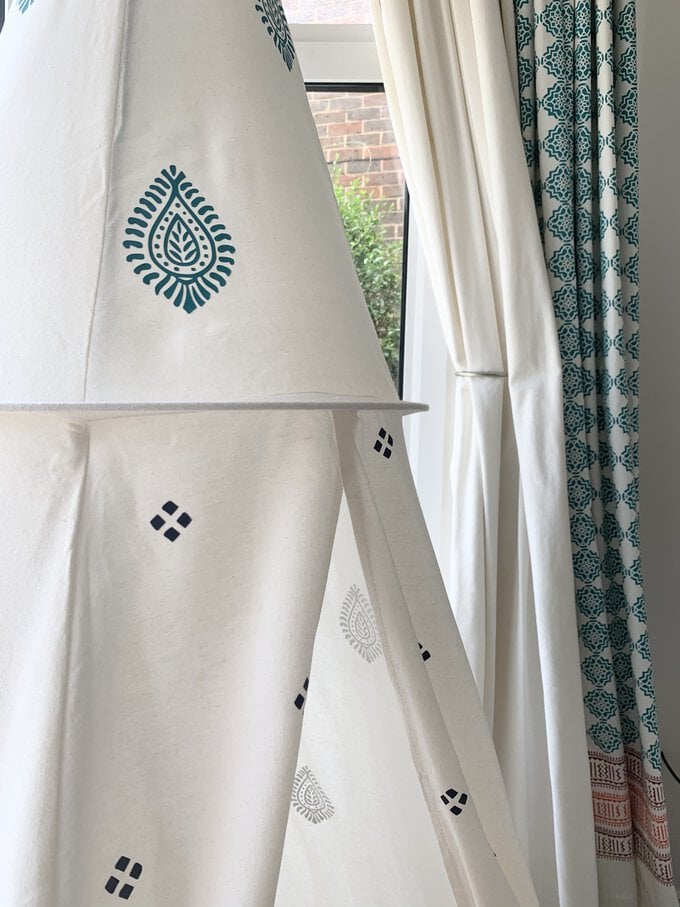
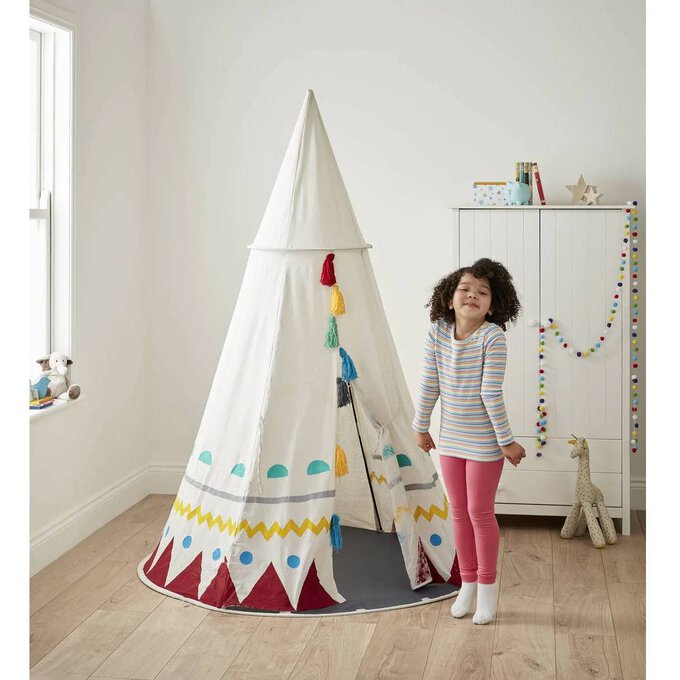
Create a place where your little ones can sit back and relax with this canvas tent! It's the ideal blank canvas for customising with Cricut iron-on designs of your choice using the Design Space app and your trusty EasyPress.
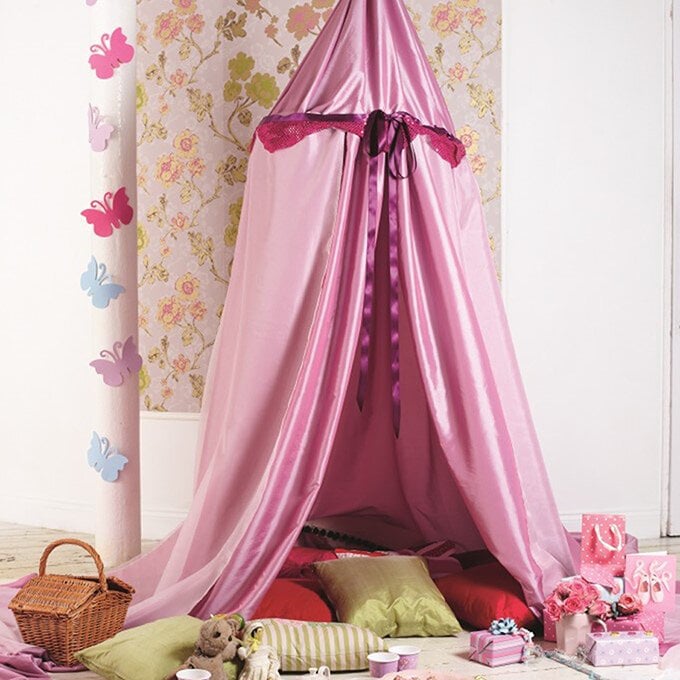
With curtain doors that can be tied open or pulled across, kids can enjoy their own creative den while reading, colouring, crafting and more – and, best of all, it can be set up either indoors or in your garden. It'll offer shade on warm summer days, or a festive retreat in winter.
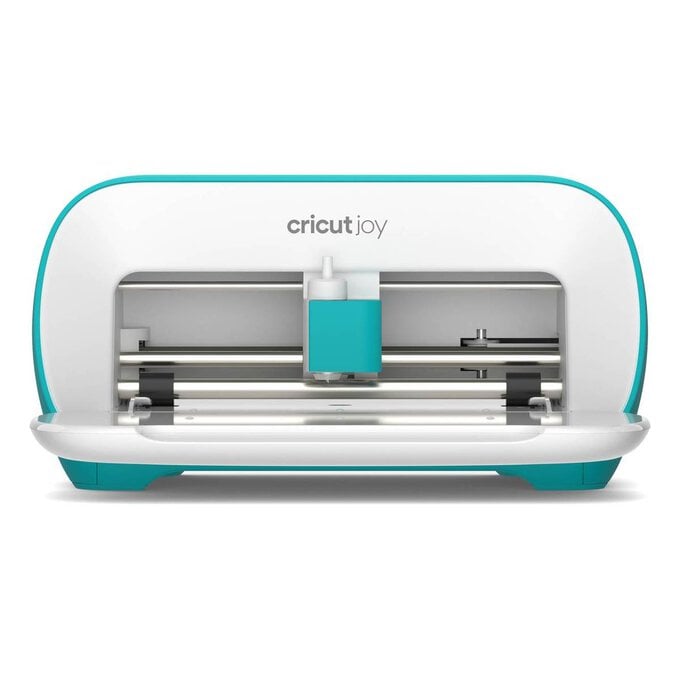
The Cricut Joy has been used to create this project, but it can be made with the Explore Air 2 and Maker machines too!
Project and instructions by Rumana from The Little Pomegranate
Please note: This project contains paid-for content from Cricut's Design Space app. Screen reference images are taken from the iOS version of Design Space.
You will need
Subtotal
Is $ 63.00
Subtotal
Is $ 12.00
Subtotal
Is $ 239.00 , was $ 267.00
Subtotal
Is $ 24.00

Subtotal
Is $ 52.00
Subtotal
Is $ 37.00
How to make
You will also need:
* Cricut Design Space app installed on a laptop, PC, Tablet or mobile device
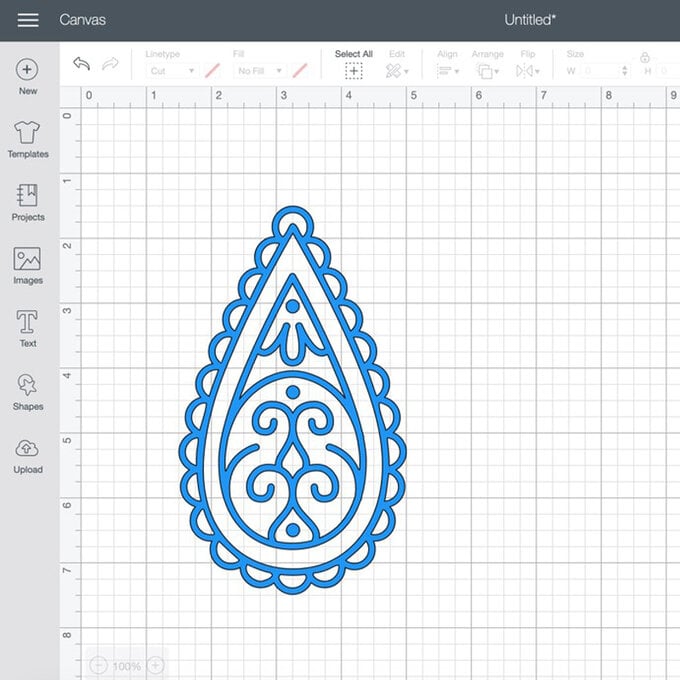
Grab your supplies and open up the Cricut Design Space app, click on 'Images' and search for 'Teardrop'.
Insert your chosen image onto your canvas then go to 'Make it'.
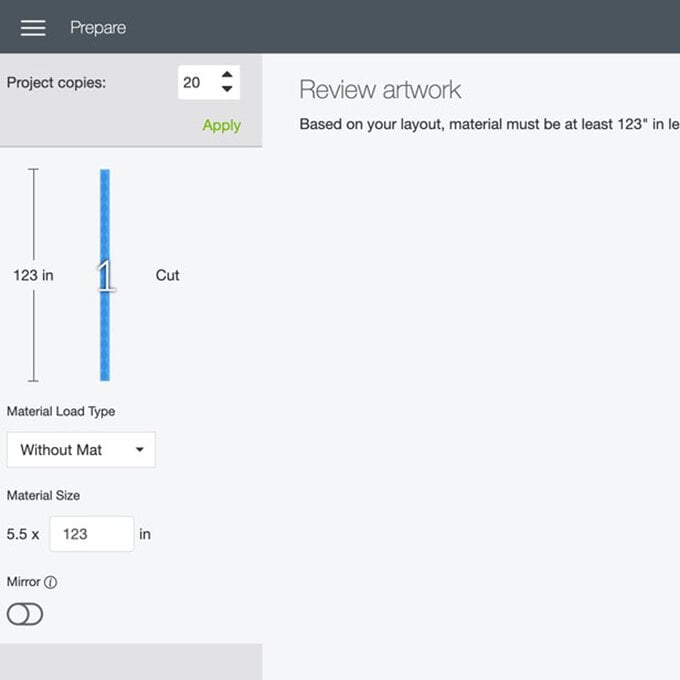
You'll need lots of your design to fill your tent. Change the project copies to '20' and click 'Mirror', then hit 'Continue'.
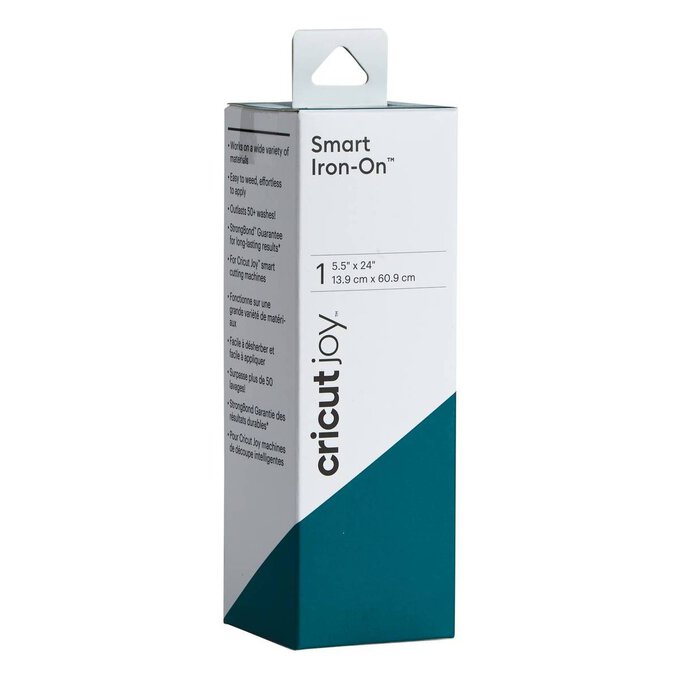
Select your material (Smart Joy Iron-On) from the materials list.
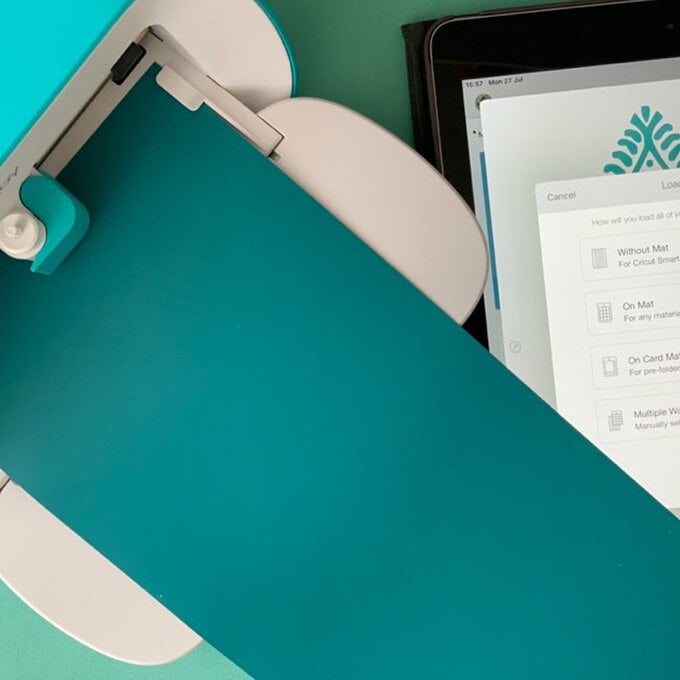
Follow the prompts on Design Space to cut your project.
Start by loading the Iron-on into the machine, and then follow the on-screen instructions to complete the cut.
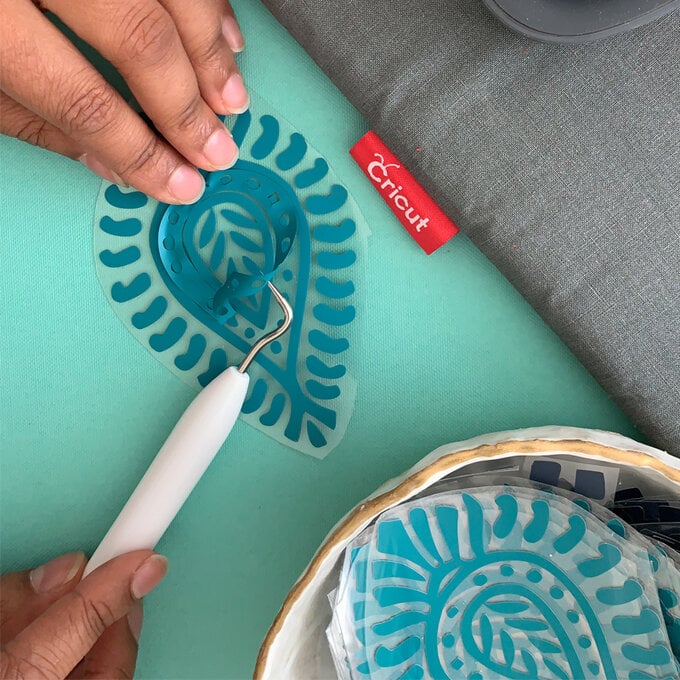
Once it's finished cutting, weed away the pieces that you don't need using your weeding tool.
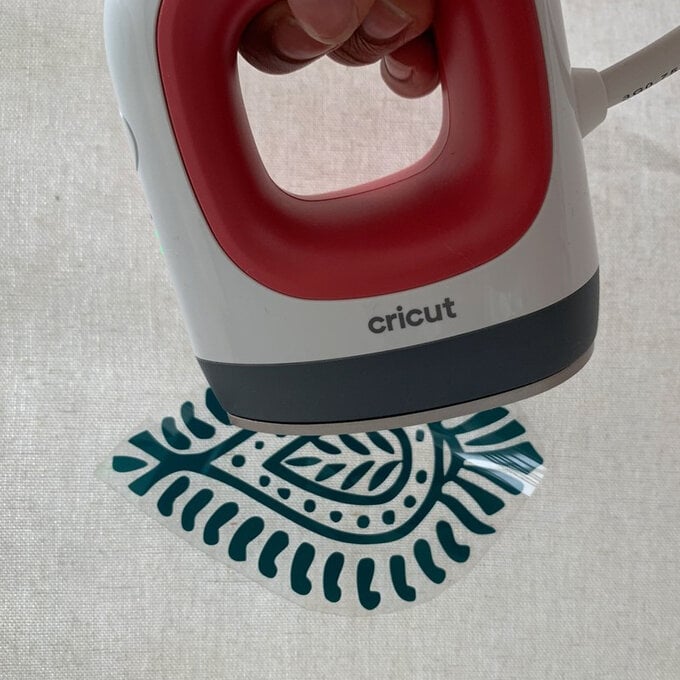
Set your Cricut Mini EasyPress at the correct temperature. You can find the correct heat and pressing instructions by visiting the Cricut Heat Guide (https://cricut.com/en_us/heatguide).
Place your individual designs onto the teepee and then adhere to the canvas using the Mini EasyPress.
Press down onto the design with your Mini EasyPress and move around in a circular motion until all elements have stuck to the material, then carefully peel away the carrier sheet.
Repeat this process for all design pieces.

Style your tent with some cushions and toys and you're done!
Related Products
Is $ 63.00

Is $ 67.00