Cricut: How to Sew a Lunch Bag
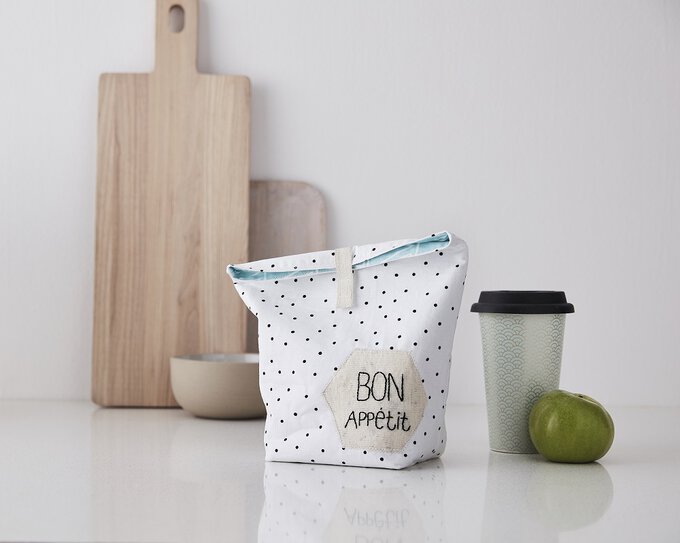
This custom-made lunch bag project is the perfect way to discover even more ways to utilise your Cricut Maker or Explore Air 2 machine. Our tutorial takes you through how to make this reusable lunch bag and is certain to inspire even more Cricut personalisation ideas!
You will need

Subtotal
Is $ 40.00

Subtotal
Is N/A
Subtotal
Is $ 8.49
Subtotal
Is $ 50.00 , was $ 78.00
Subtotal
Is $ 4.49
Subtotal
Is $ 5.49
Subtotal
Is $ 3.49
Subtotal
Is $ 4.49
Subtotal
Is $ 6.49
Subtotal
Is $ 3.49
Subtotal
Is $ 6.49
Subtotal
Is $ 421.00
Subtotal
Is $ 6.49
How to make
Open the Cricut Design Space app and open a blank canvas.
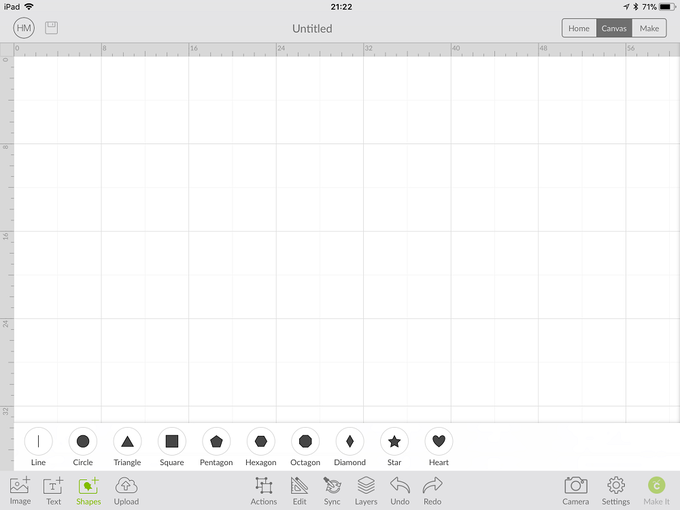
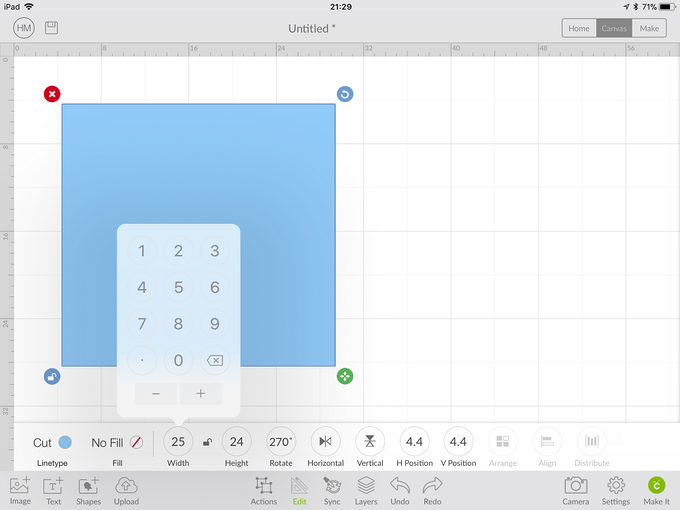
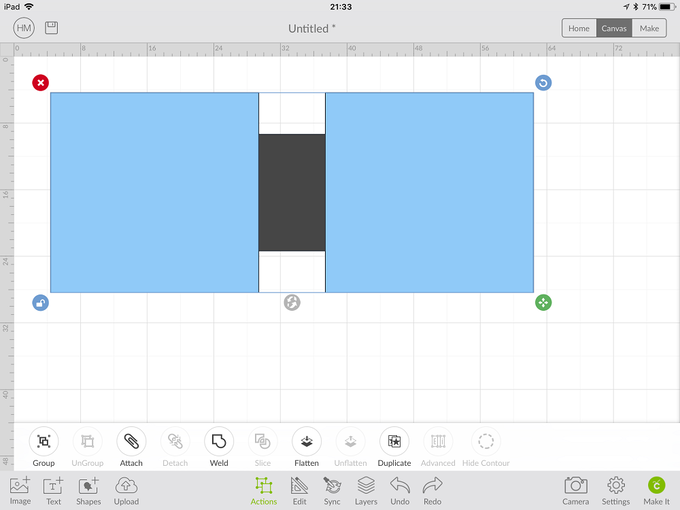
Insert a square, unlock the shape and resize to 25 x 24cm.
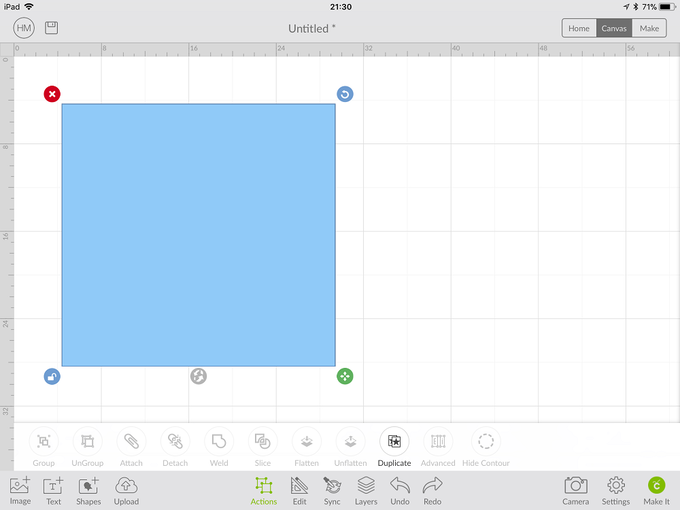
Lock again and duplicate this square.
Insert a third square.
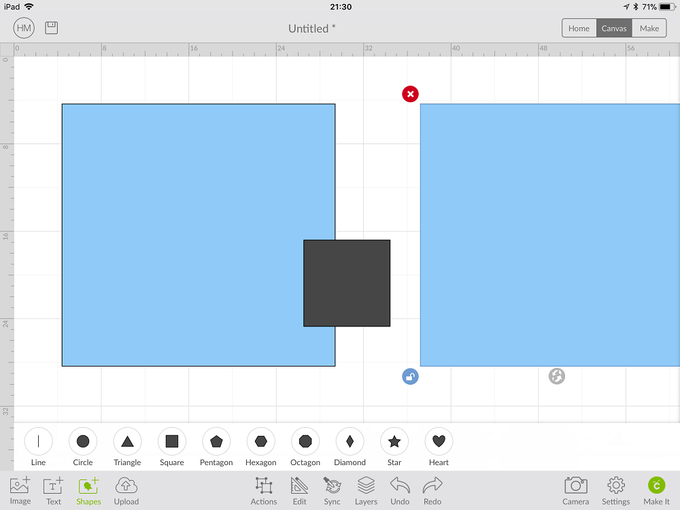
Place in the centre of the two large squares. Unlock and resize to 8 x 14cm.
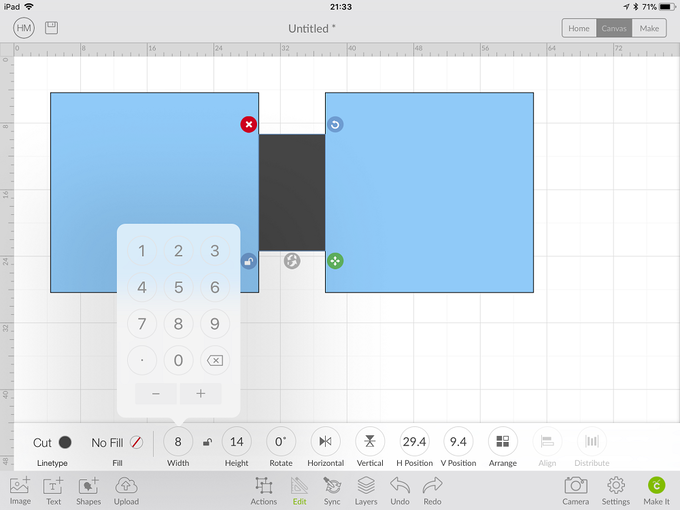
Select all three squares and attach together.
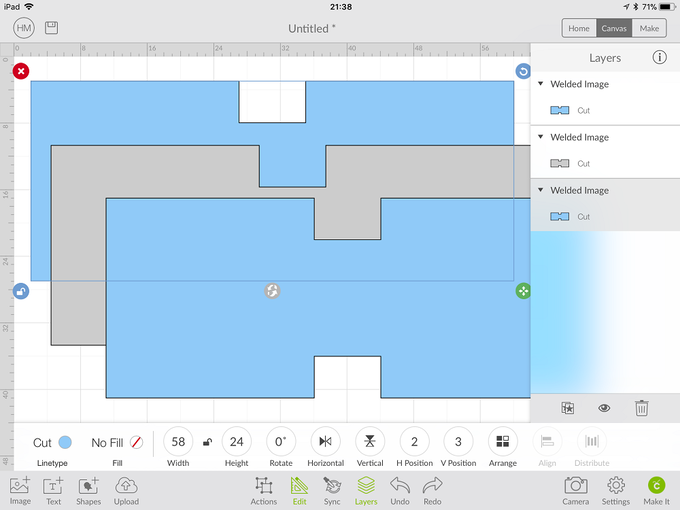
Duplicate the shape twice.
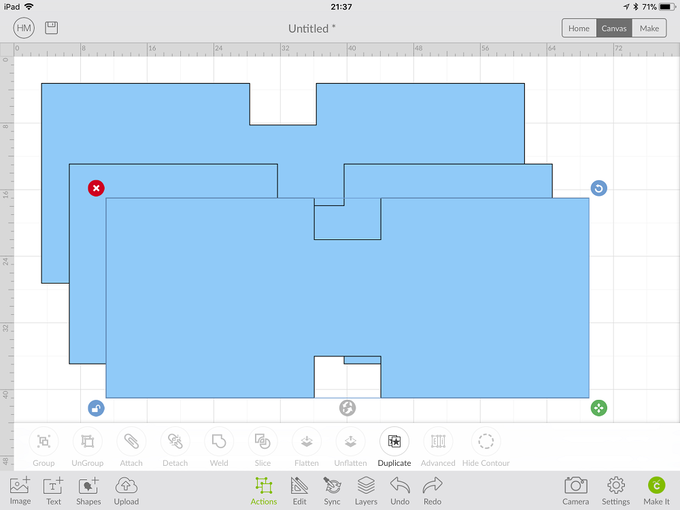
Change the cut colour of one of the shapes; this will be your interfacing.
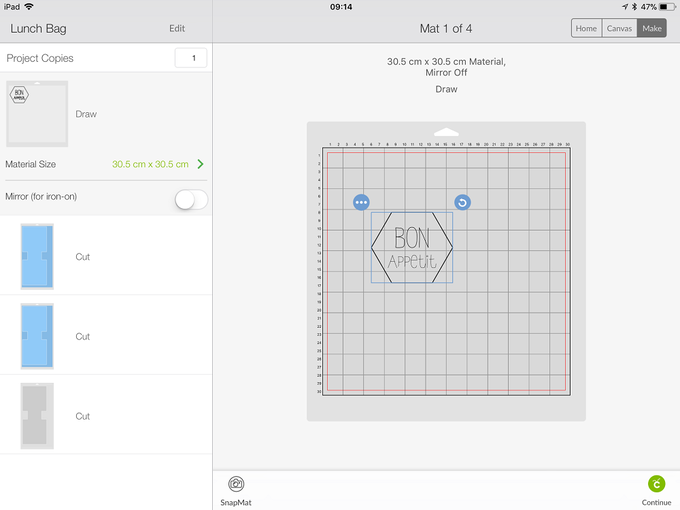
Insert a Hexagon.
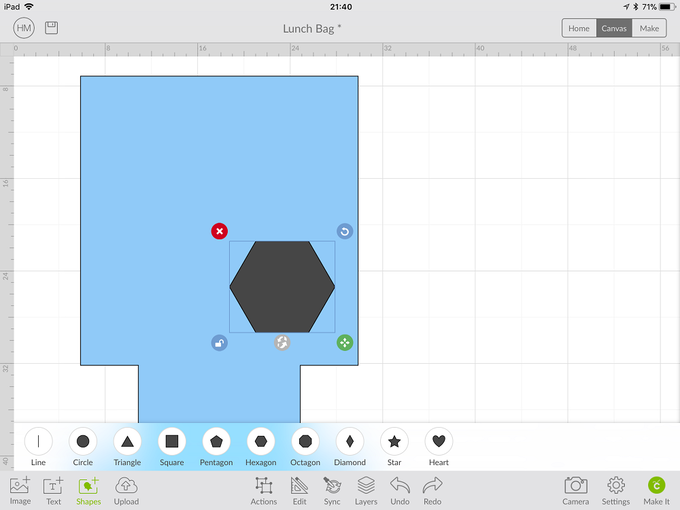
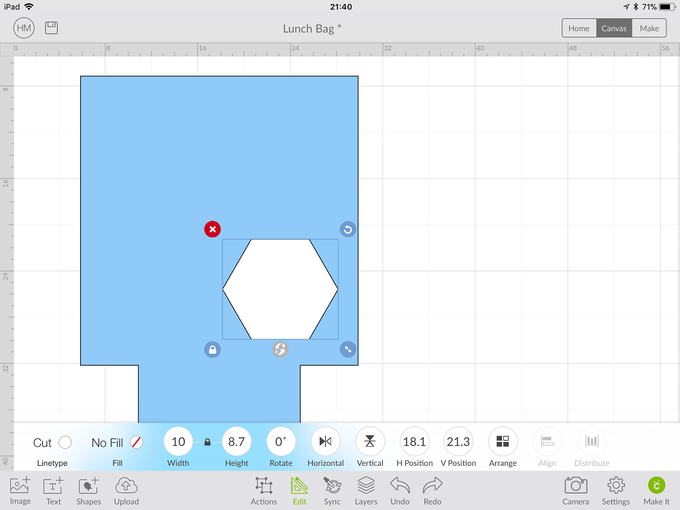
Resize the Hexagon to be 10 x 8.7cm.
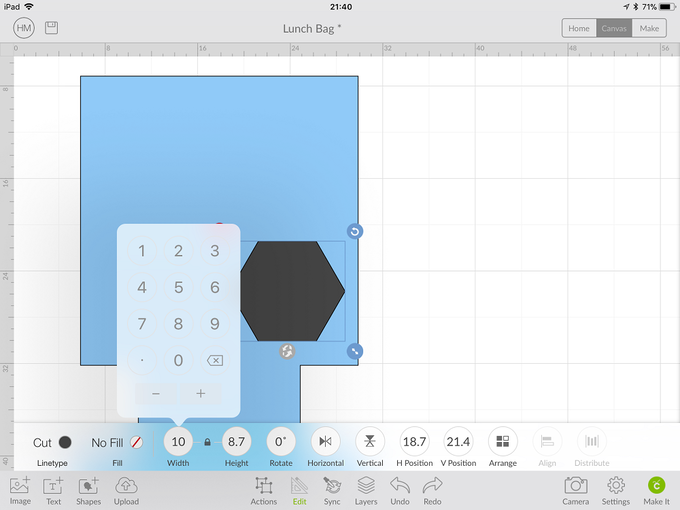
Change the cut colour of the Hexagon to White.
Click on Text and pick the font Bicycle for Two.
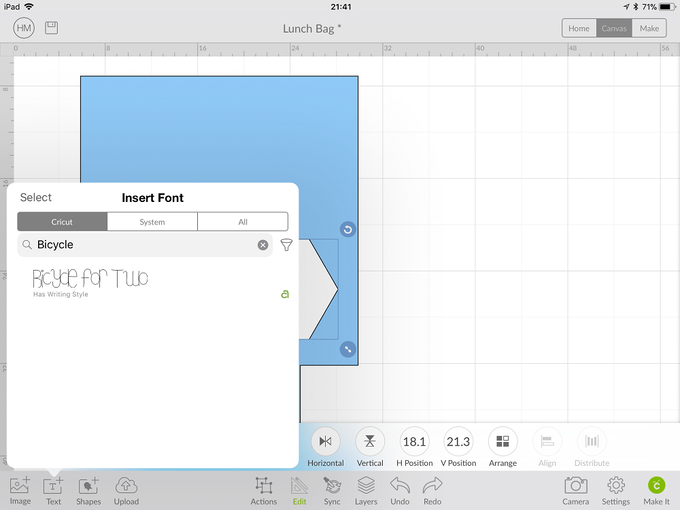
Insert and type the words BON and Appetit
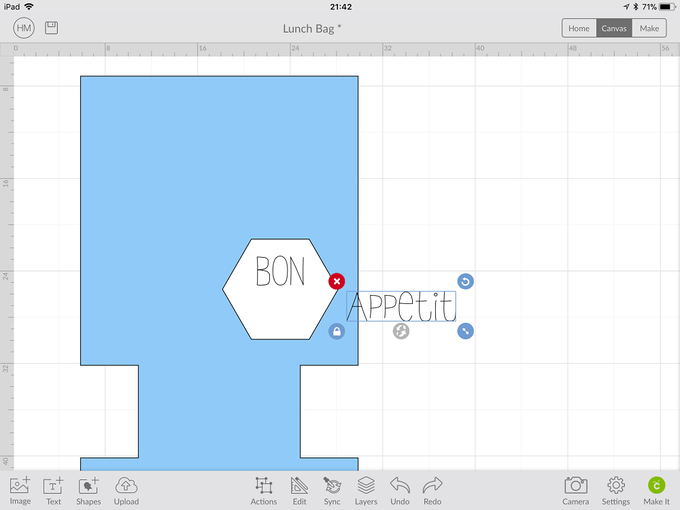
Resize the text so they fit into the Hexagon.
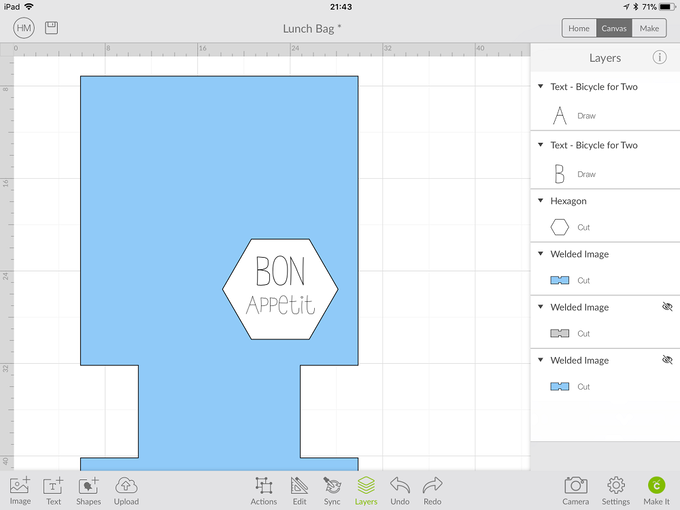
Attach the text together.
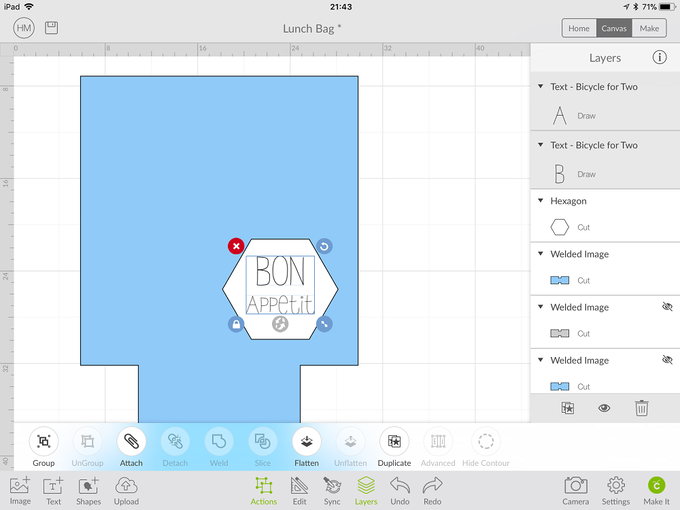
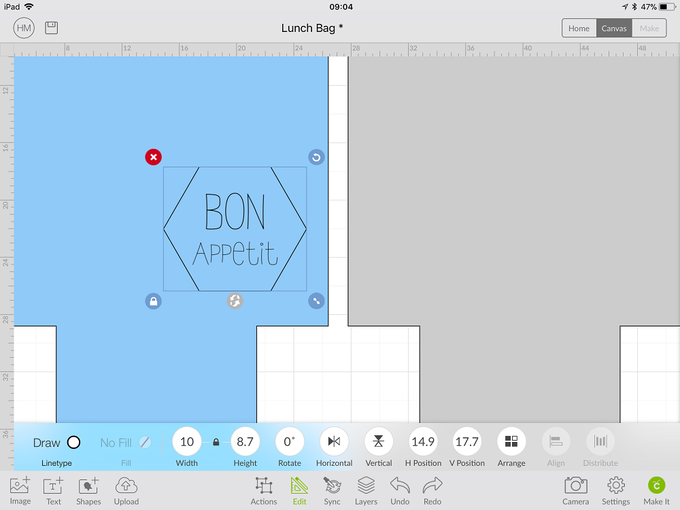
Change the type of the Hexagon and text shape to Draw. You will need excess fabric around the shape to be able to embroider it.
Make sure the text is central in the Hexagon and attach the two together.
Click Make it and preview your cuts.
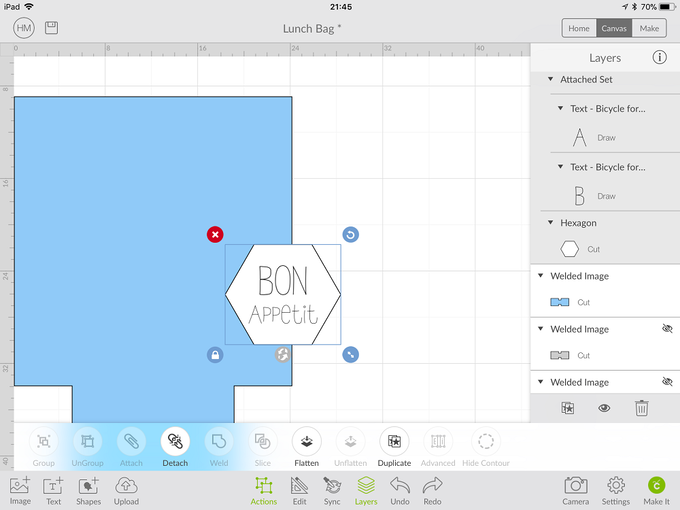
Move the Hexagon to the middle of the mat, again this is so you have enough excess fabric to be able to put it into a hoop.
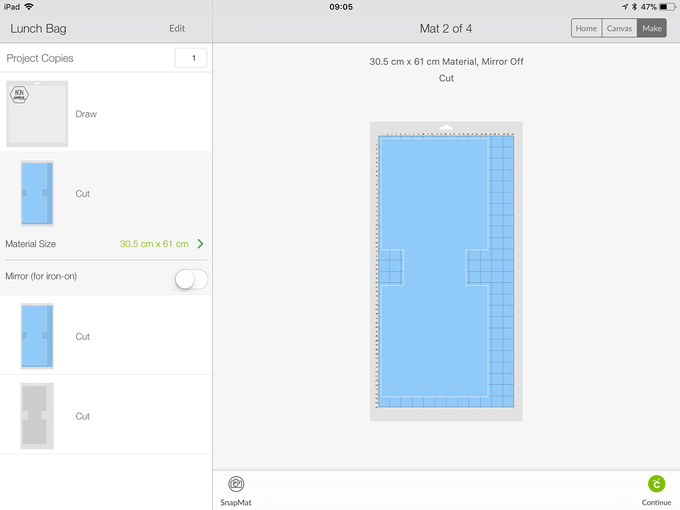
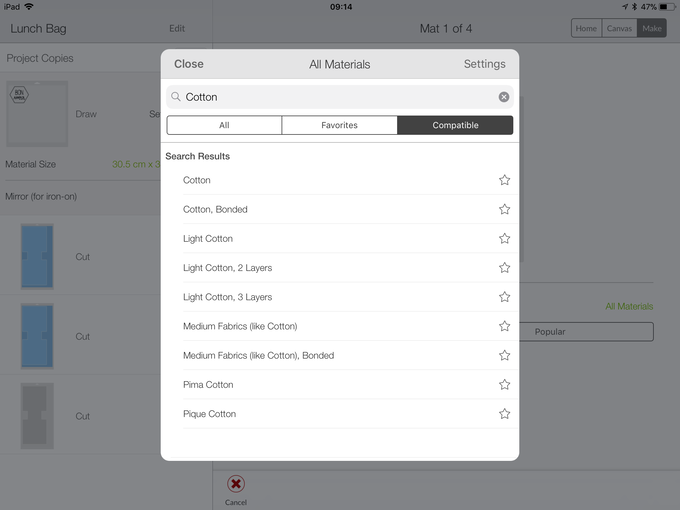
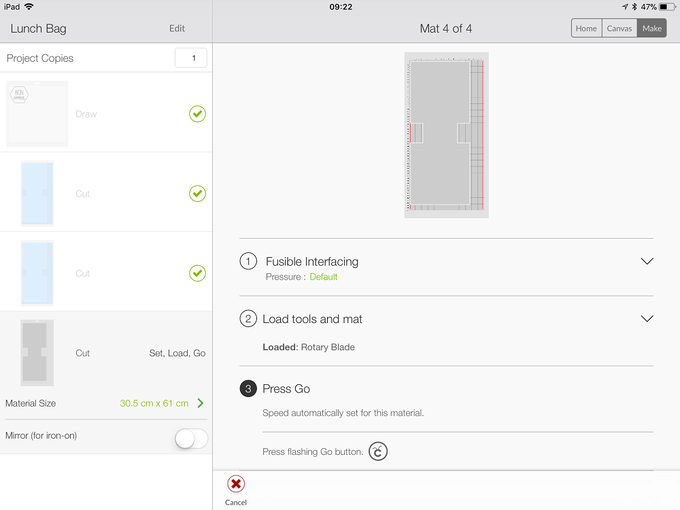
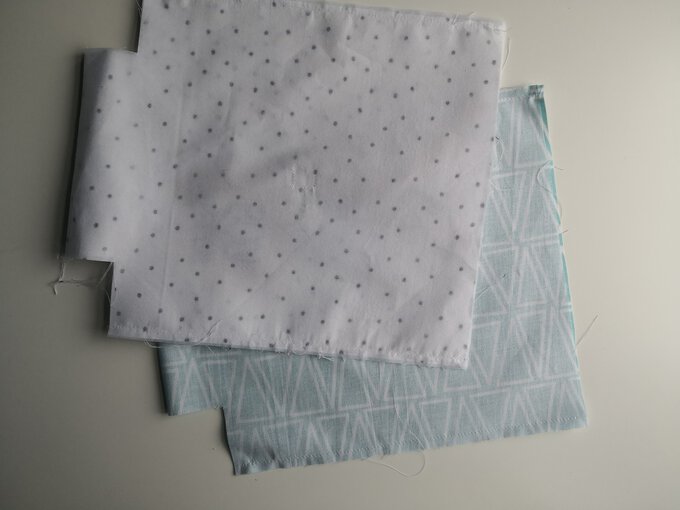
Set your fabric to cotton for the first three mats and then change to interfacing for the fourth. You will need to make sure your fabric marker pen is also loaded. Follow the on screen instructions until all pieces have been cut. Carefully remove them from the mat to ensure minimal fabric fraying.
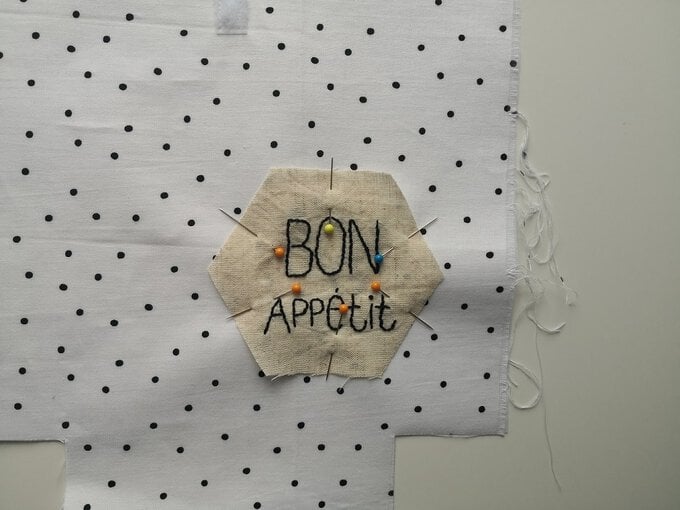
Take your patch fabric and place into an embroidery hoop.
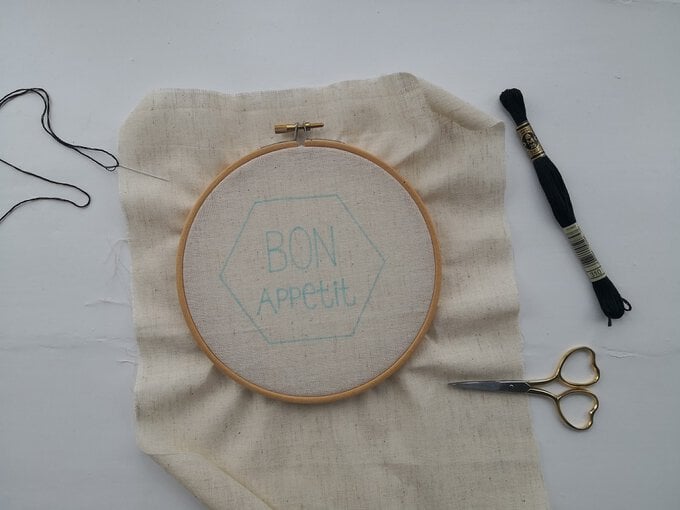
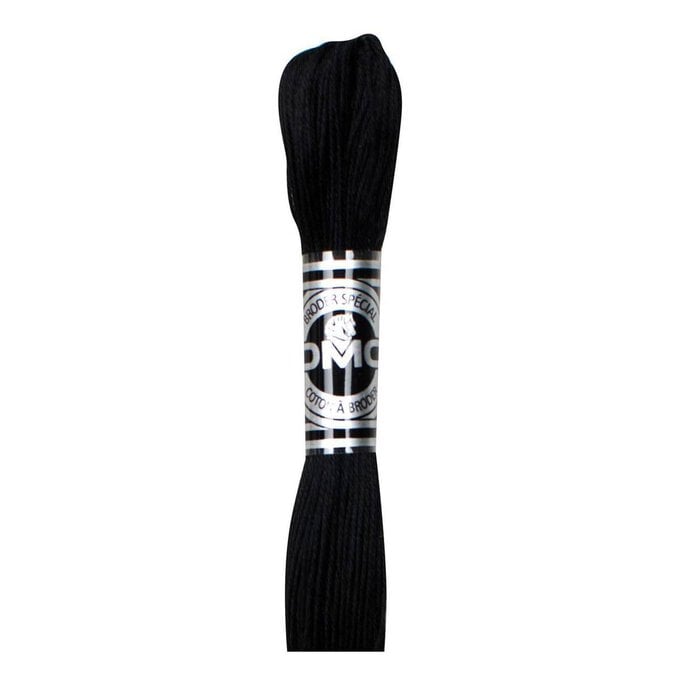
Take three strands of your black embroidery thread and back stitch the design.

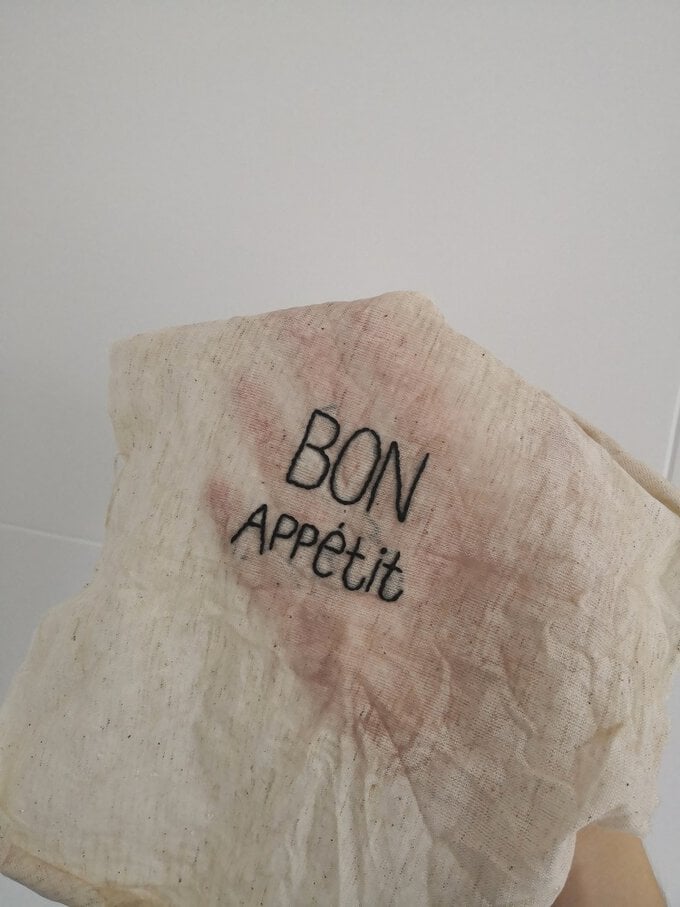
Wash away the fabric pen markings with warm water, dry and iron. Cut out the patch into the hexagon shape and place to one side.
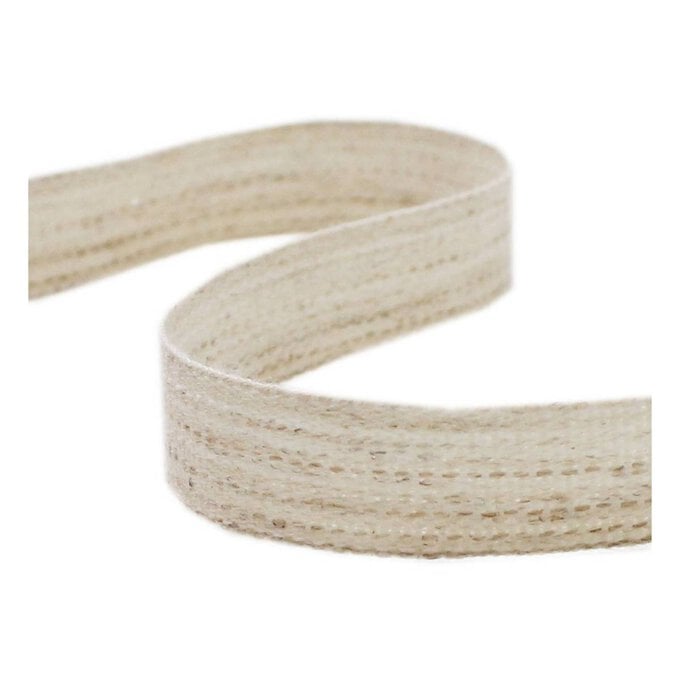
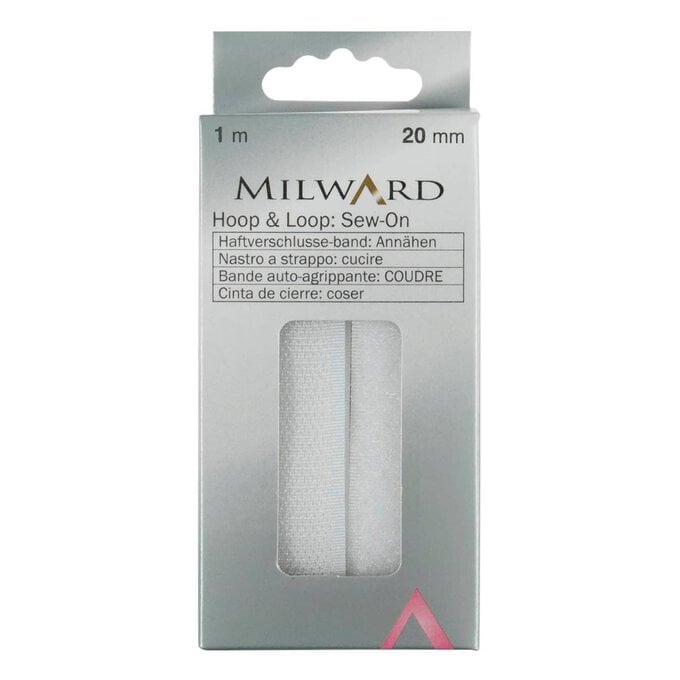
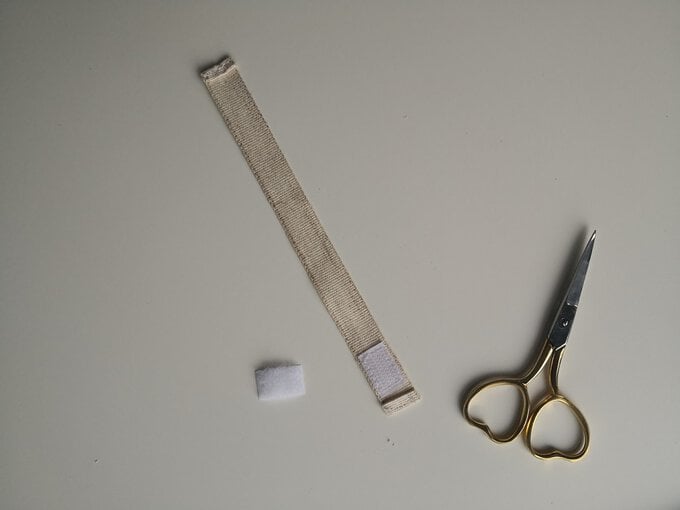
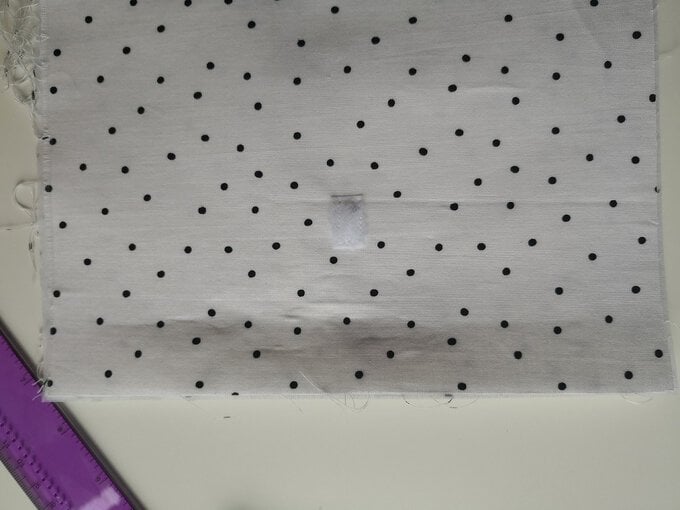
Next you will need your Velcro and ribbon. Cut the ribbon to the desired length approx. 14cm. Fold the ends over twice and sew with your machine. On one end of the fabric sew on a small piece of Velcro, cutting the same size from the opposite piece.
Take your cut piece of your outer lunch bag and mark in the middle where this piece of Velcro will go, a few centimetres from the top.
Pin the piece of Velcro in place.
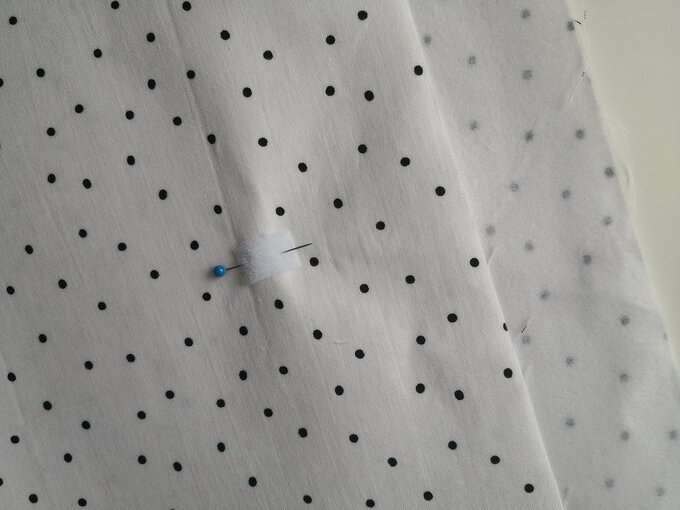
Sew the Velcro into place.
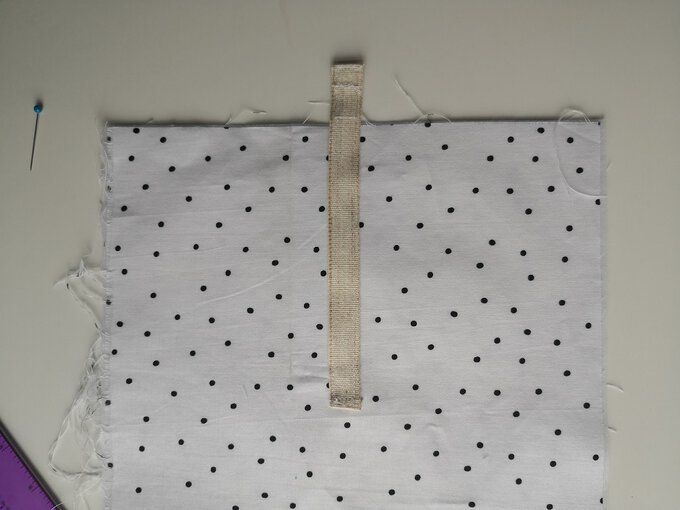
Place and pin your ribbon strap into place on the back side of the lunch bag piece. Making sure the strap meets where the front piece of Velcro is.
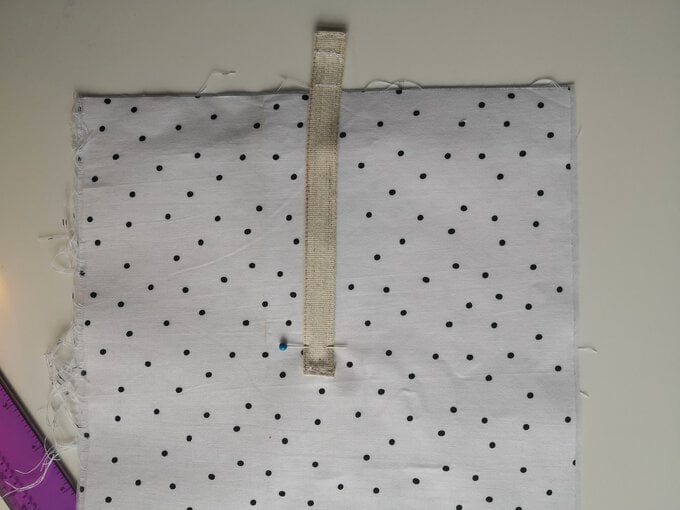
Sew into place.
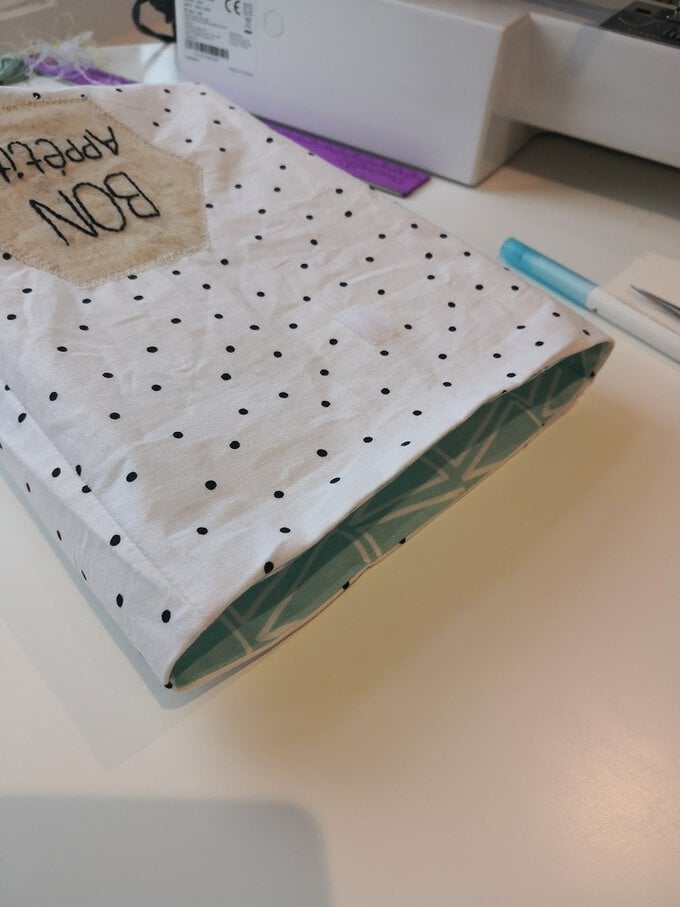
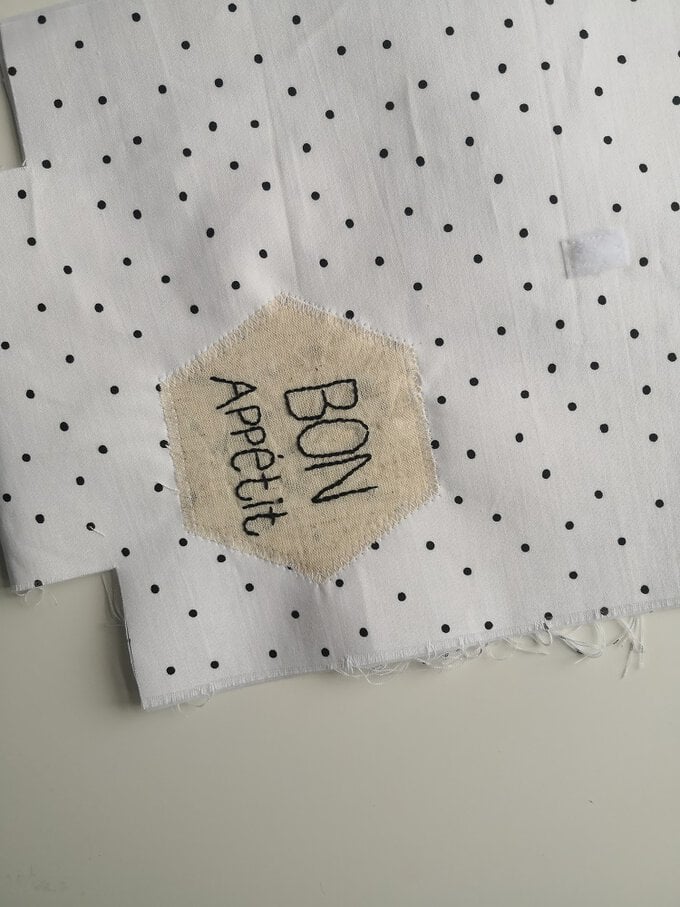
Take your 'Bon Appetit' patch and pin to the front of the lunch bag fabric.
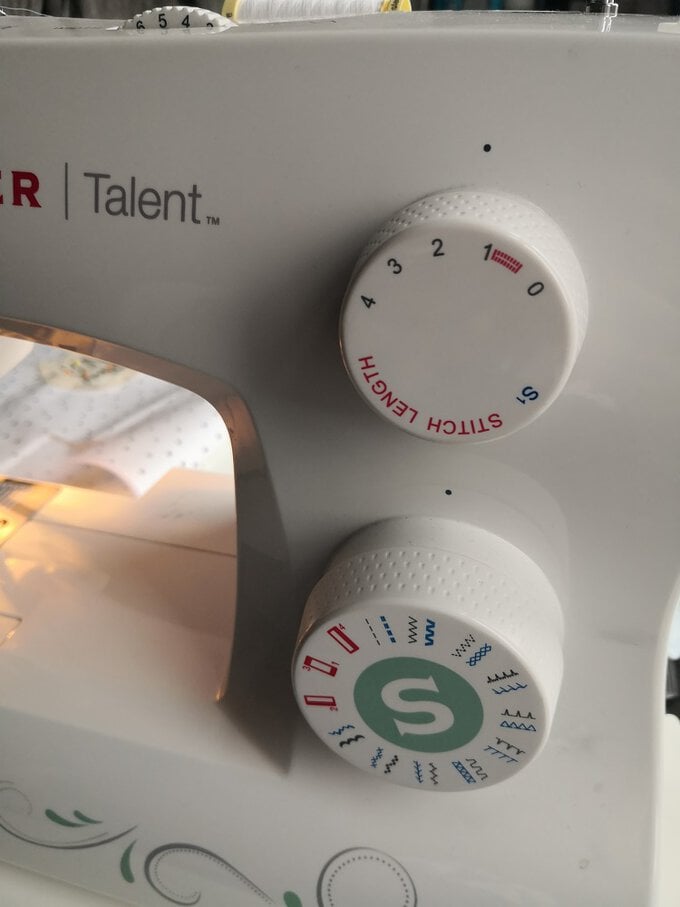
Adjust your machine settings to Zig Zag stitch, the stitch length should be 1.5 and the width should be between 4 and 5.
Stitch around the patch shape onto the fabric.
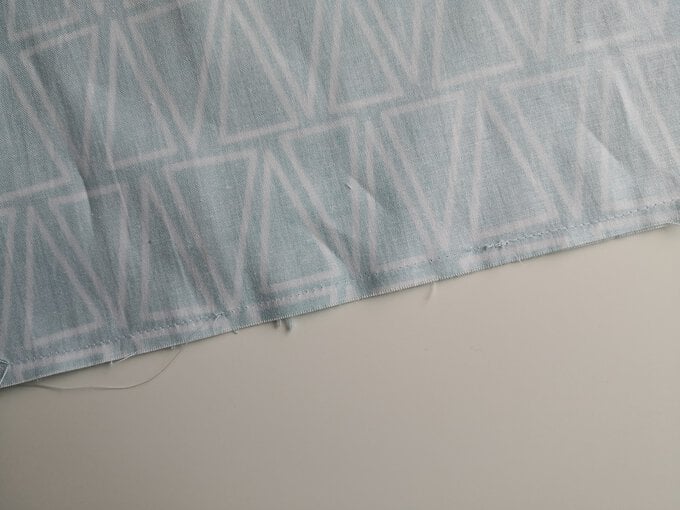
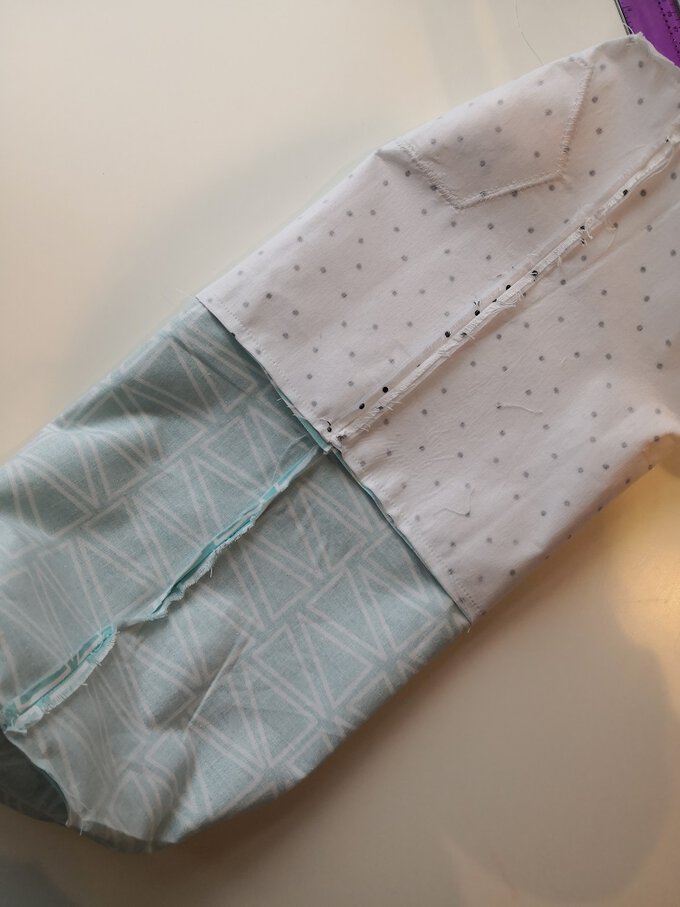
Right sides together, sew along the two edges of the fabric pieces. Leave a gap big enough to be able to turn the piece through on one side of the lining piece.
Pin the four bottom edges.
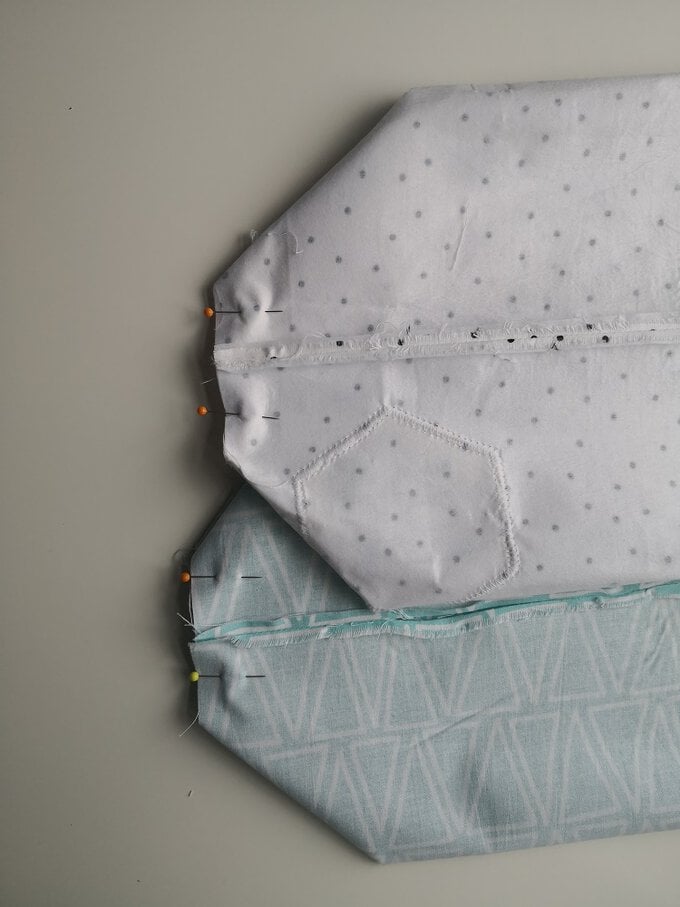
Sew together, your lining and outer fabrics should now stand up!
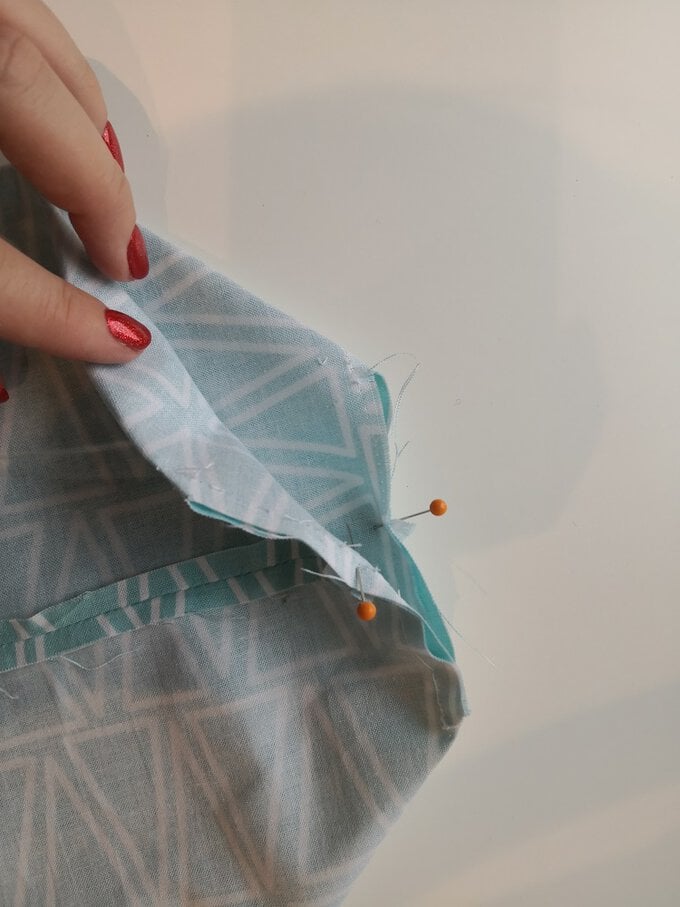
Right sides together, insert your lining into the outer fabric and pin.
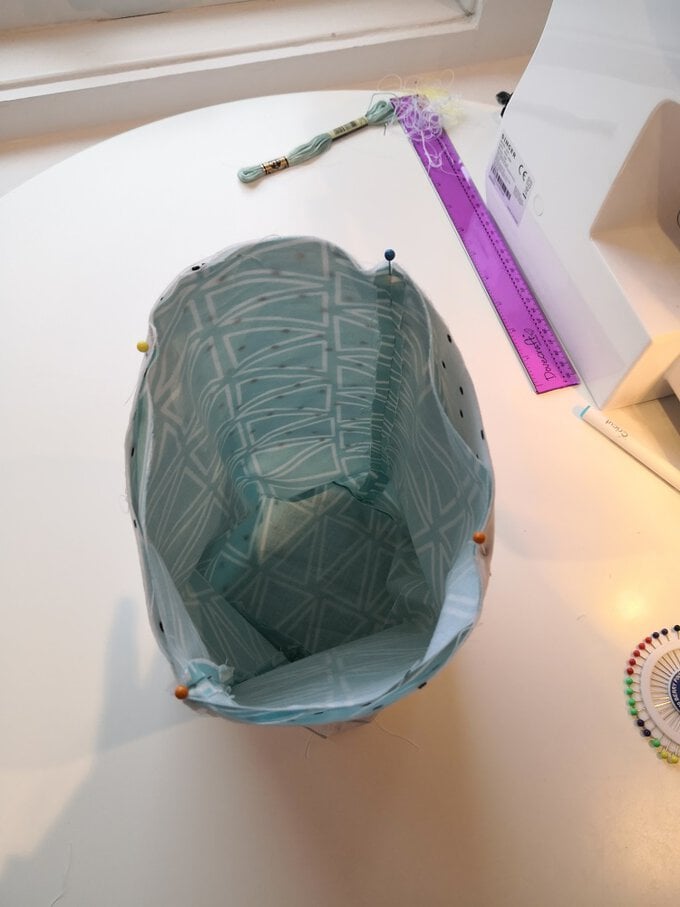
Sew all the way around the edge.
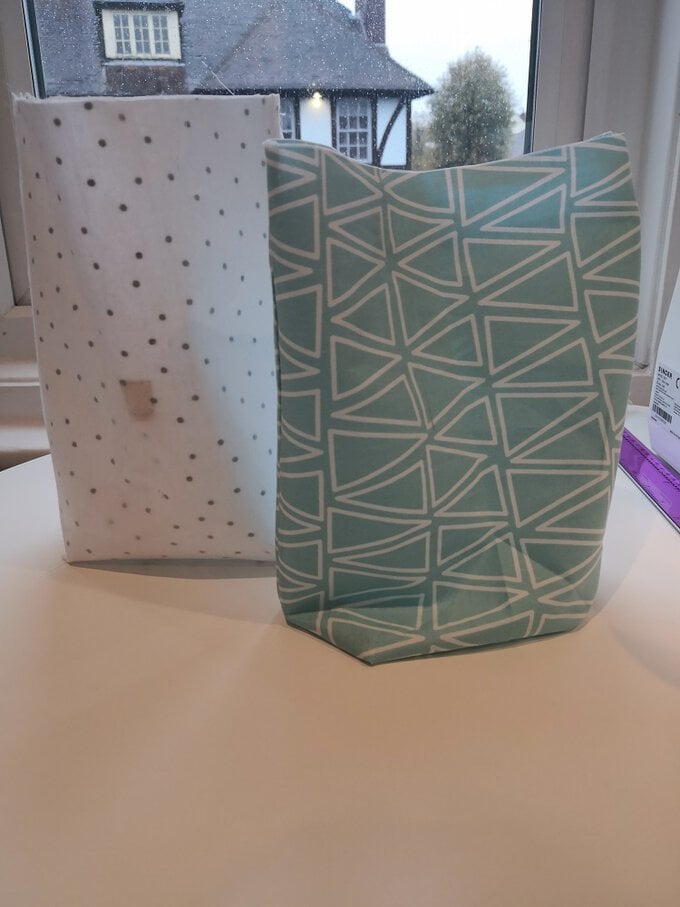
Turn the bag through using the gap you left in the lining. Pin the gap you left and neatly stitch.

Press the bag well and you're finished!