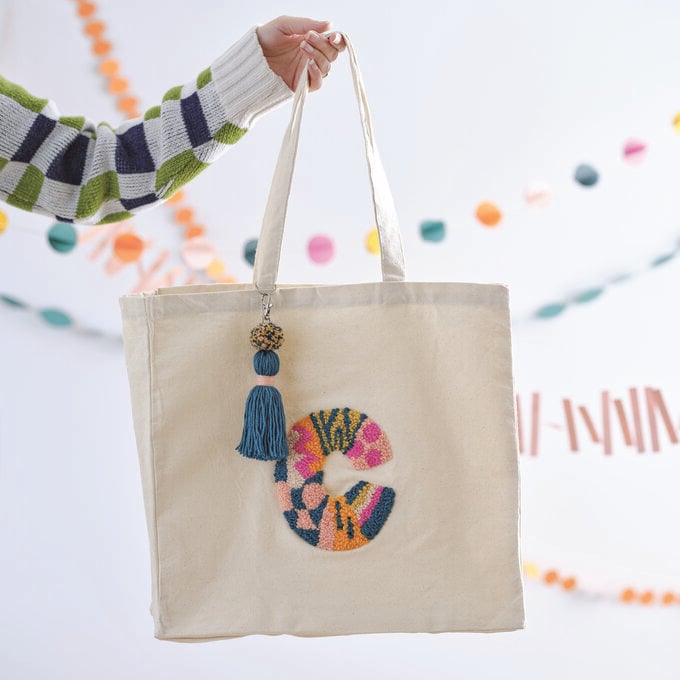
Cricut Joy: How to Make an Infusible Ink Tote Bag
With the aid of the Cricut Joy and Cricut Easy Press, create a wonderful bespoke bag with Infusible Ink sheets!
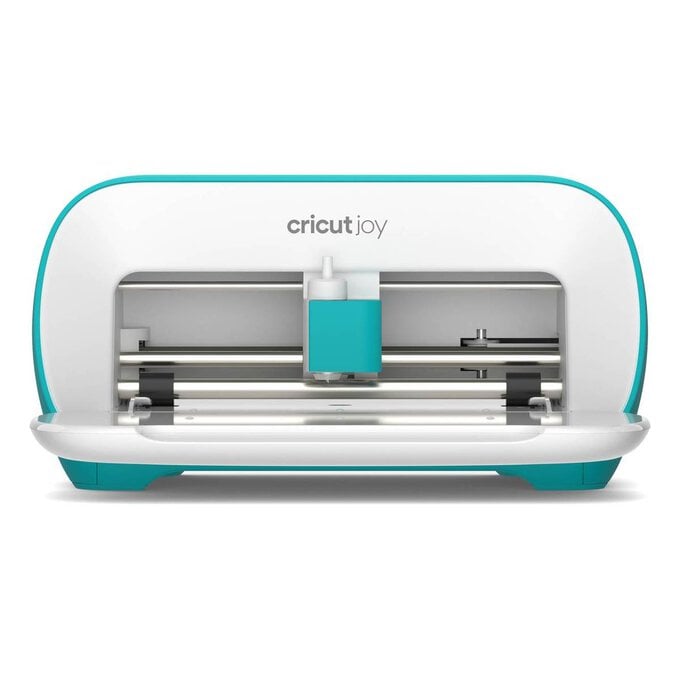
The Cricut Joy machine was used to create this card, however this project can be made using an Cricut Air Explore 2 or the Cricut Maker with revised materials.
Project and how-to make instructions by Hobbycrafter Joey Daley
Please note: This project contains paid for content from Cricut's Design Space app. Screen reference images are taken from the iPad version of Design Space.
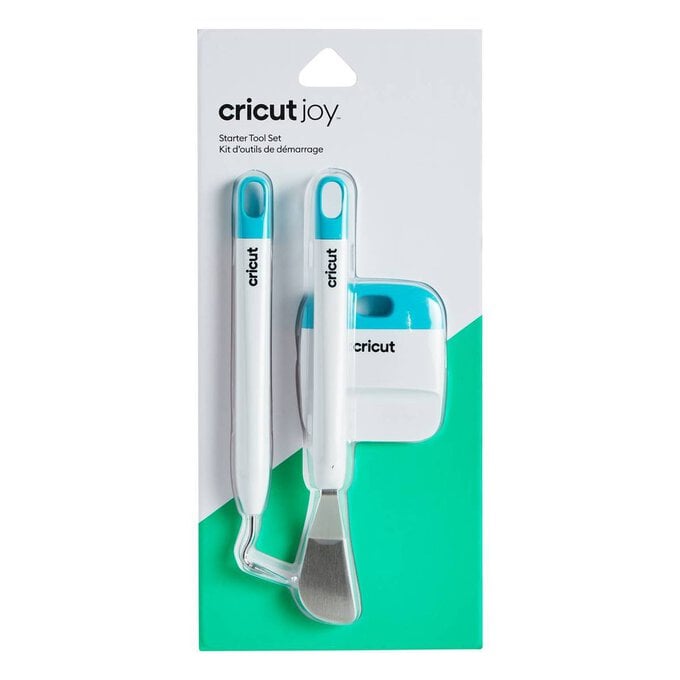
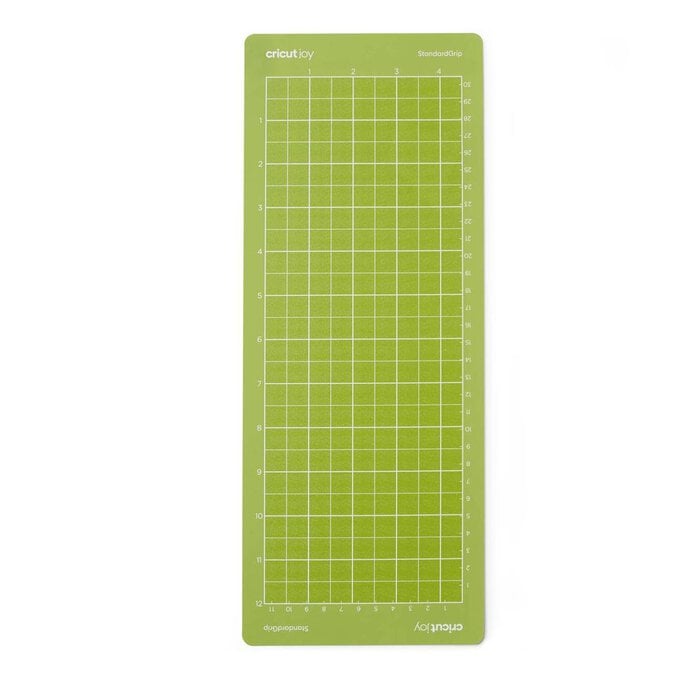
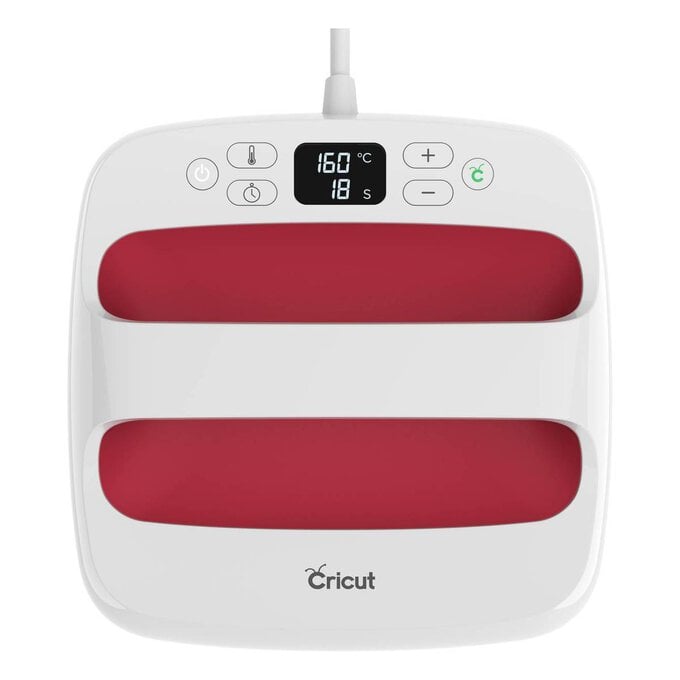
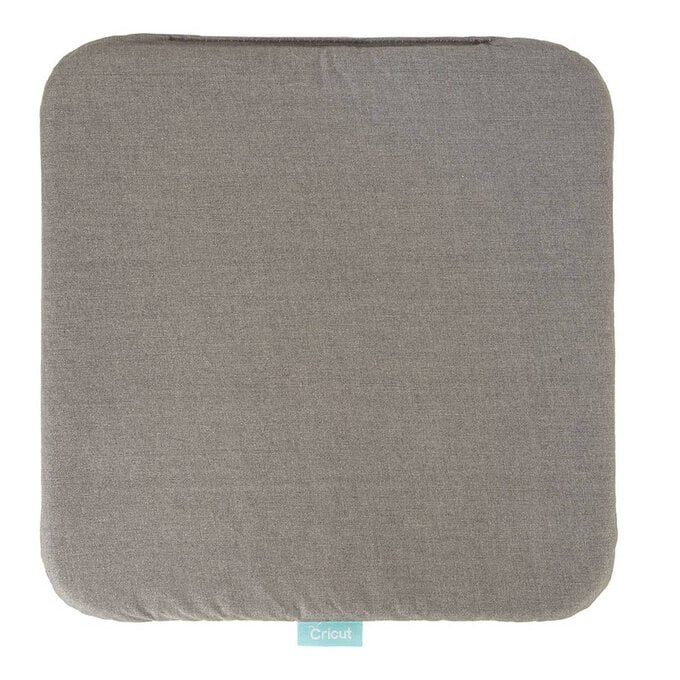
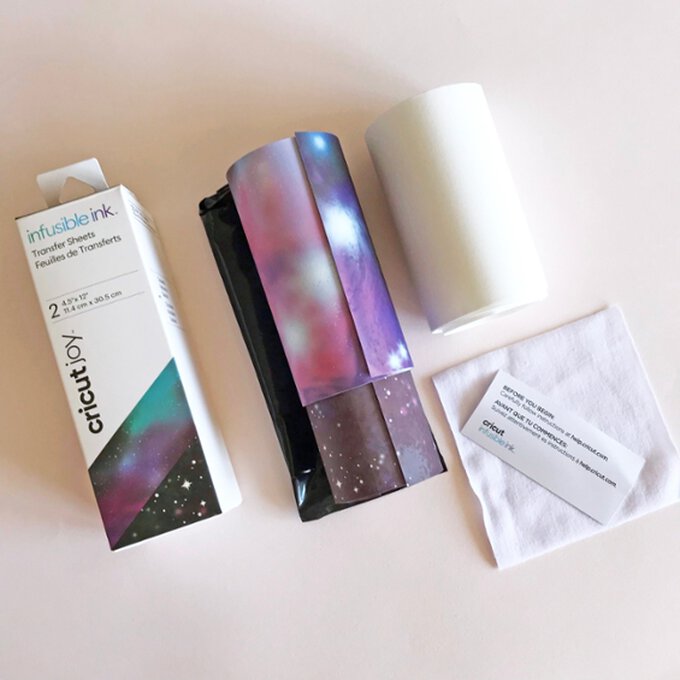
You will need
Subtotal
Is $ 237.00 , was $ 265.00
Subtotal
Is $ 24.00
Subtotal
Is $ 16.00
Subtotal
Is $ 177.00
Subtotal
Is $ 37.00

Subtotal
Is $ 17.00

Subtotal
Is N/A
Subtotal
Is $ 14.00
How to make
You will also need:
Cricut Design Space app installed on a laptop, PC, Tablet or mobile device
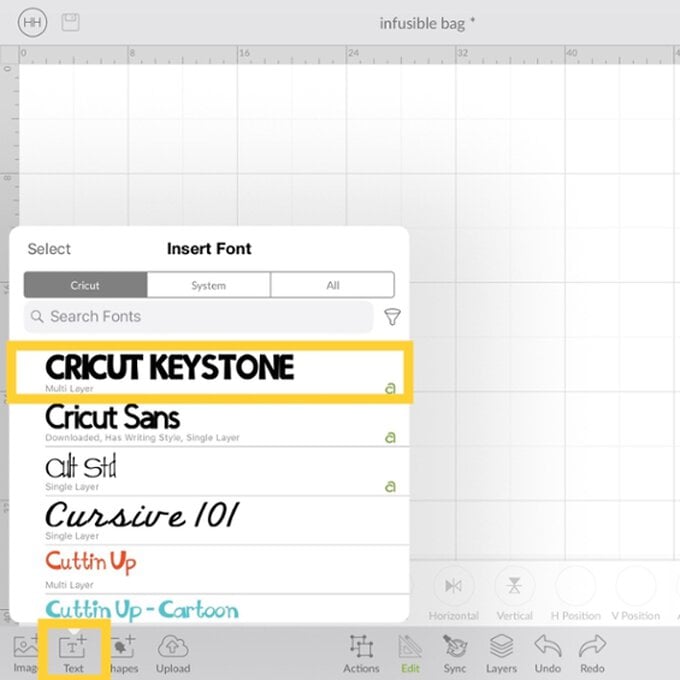
Open Cricut Design Space and start a new project.
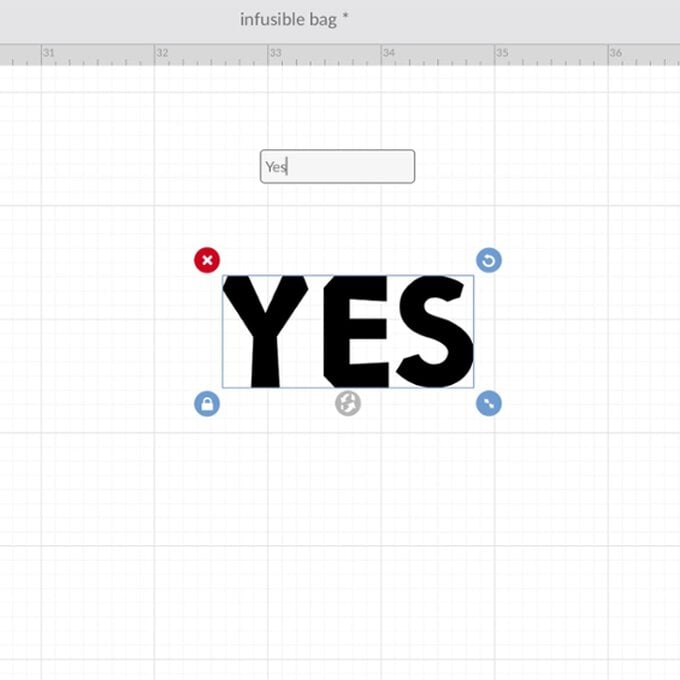
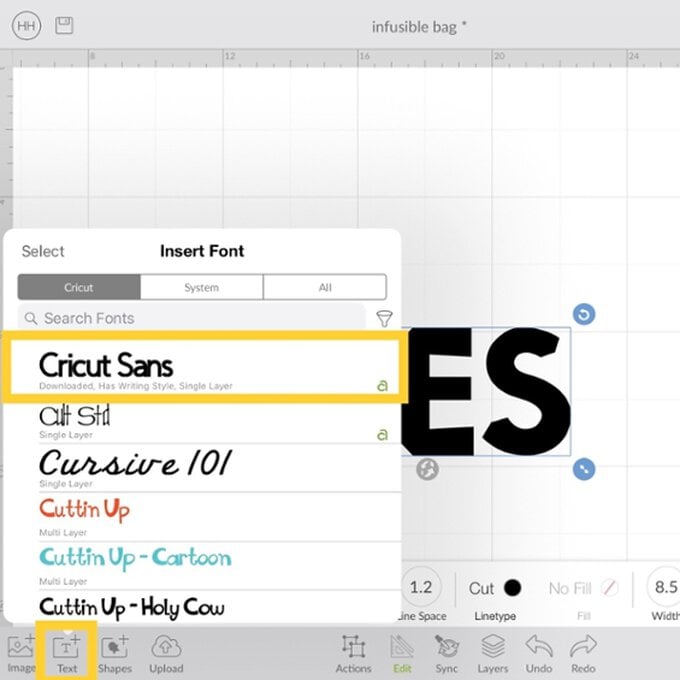
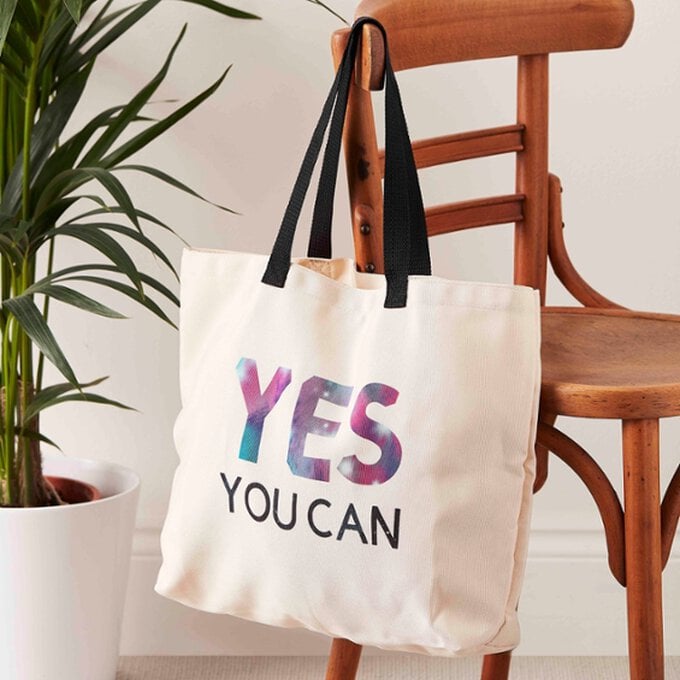
In the “Text” library, find the font 'Cricut Keystone' and type the word 'Yes'.
Top Tip: This font will automatically change your text to uppercase lettering
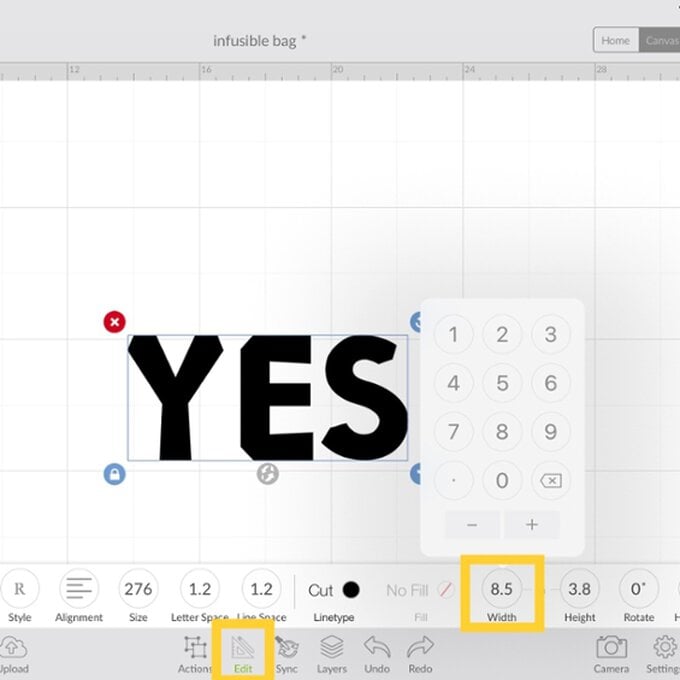
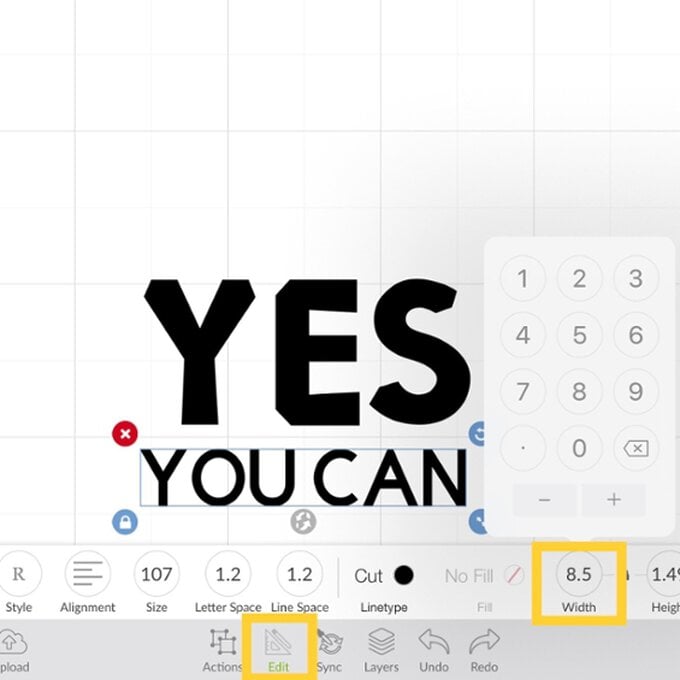
In the "Edit" menu change the "Width" to 8.5", ensuring the padlock icon is locaked so that the word resizes proportionately.
Repeat Step 2, selecting the font 'Cricut Sans' and typing 'YOU CAN', this font will be case sensitive
Resize 'YOU CAN' to 8.5” wide in the “Edit” menu.
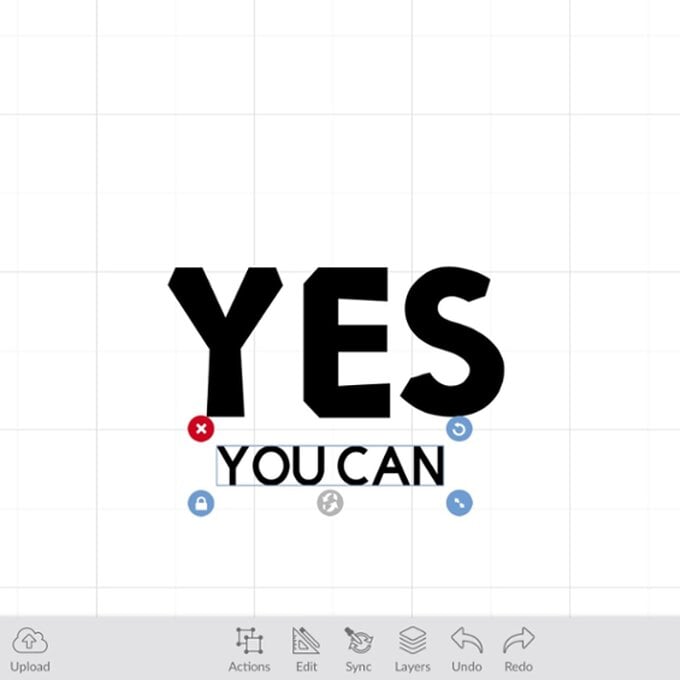
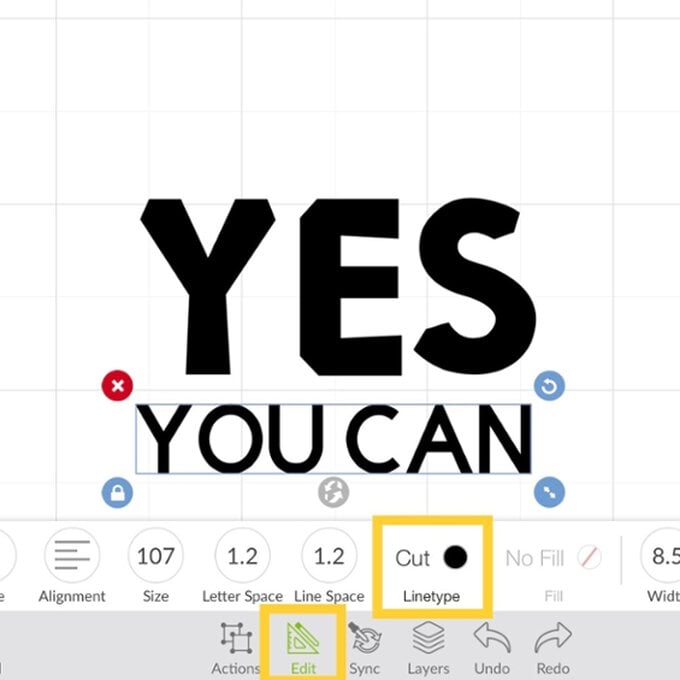
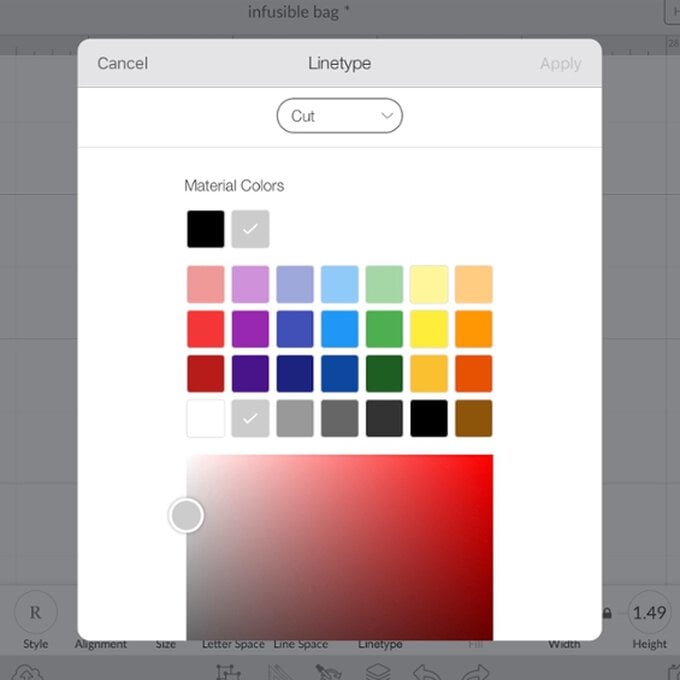
With the "You Can" part of the phrase selected, open the “Edit” menu and change the colour of the text - this will ensure both text items cut on a separate material mat.
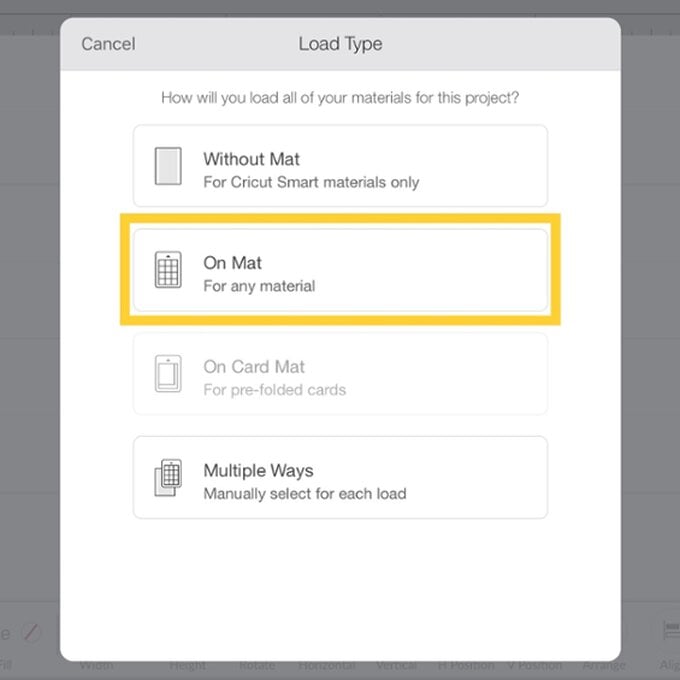
Once happy with the deisgn select the green "Make It" button in the bottom right-hand corner of the screen.
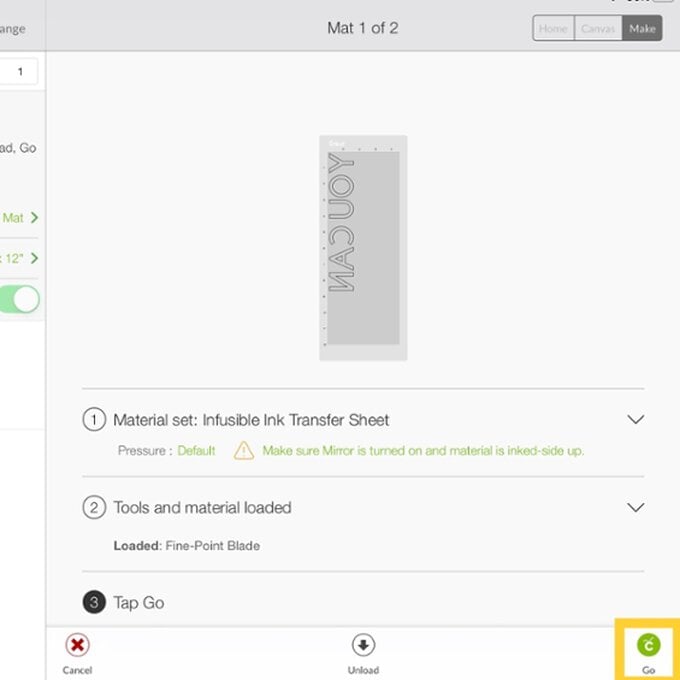
A "Load Type" pop-up will then appear on screen, select the "On Mat" option.
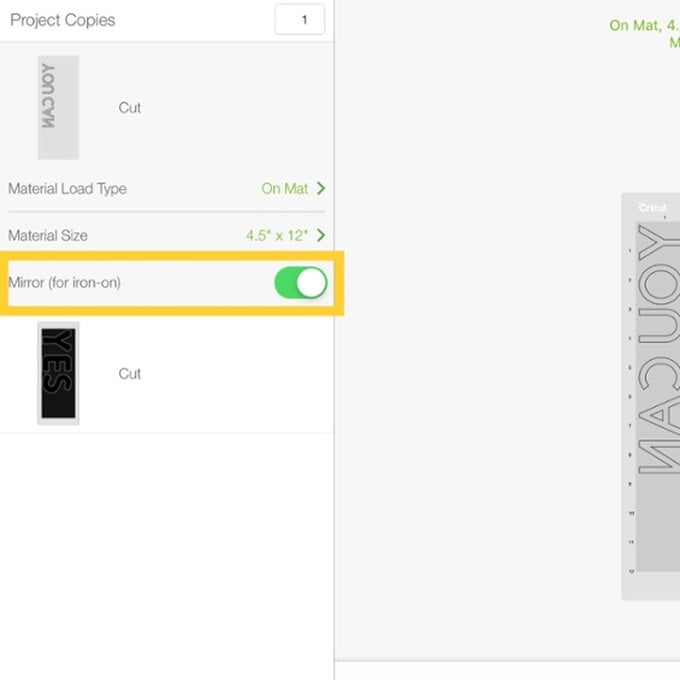
On the mat preview screen, mirror both mats ready for cutting.
Top Tip: This is essential for EasyPress projects as the materials are ironed on the reverse.
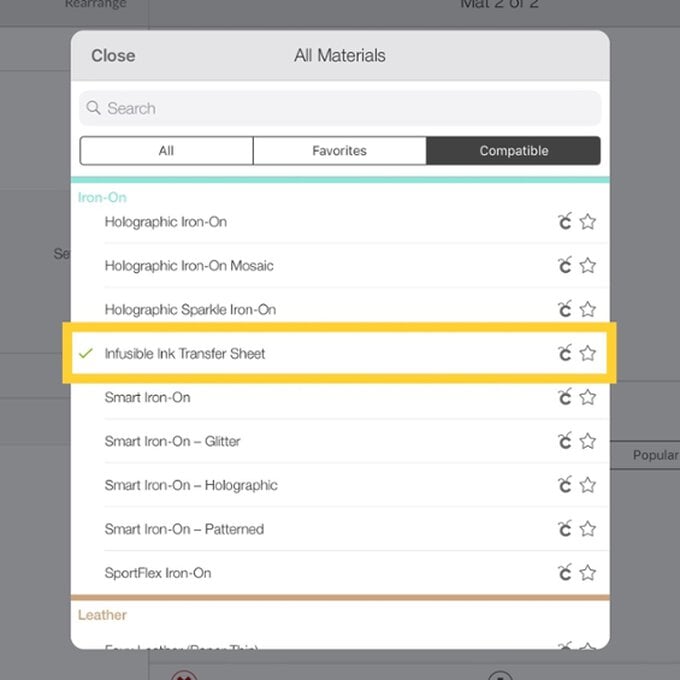
Press “Continue” and follow the on-screen instructions to select the material setting for the Infusible Ink Sheets.
Carefully open the Infusible Ink pack. Inside you will find the Ink sheets in a black packet, a fabric sample for testing if you wish and butcher paper needed for the heating process.
Top Tip: The Ink sheets are sensitive to liquid and moisture, so keep in a dry place to avoid damage.
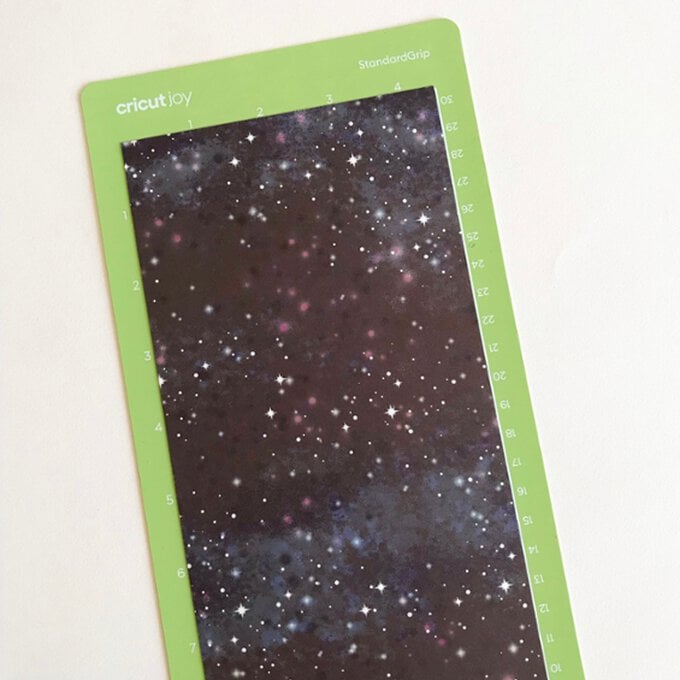
Take one of the Ink sheets and apply, ink side up, onto the Cricut Joy large StandardGrip mat. We selected the multi-colour galaxy sheet for the 'YES' and the black star Ink sheet for the 'YOU CAN'.
Follow the on-screen instructions for inserting the mat into the Cricut Joy machine and starting the cut. Press 'Go' when prompted.
Once you have cut both sheets, trim away the excess Infusible sheet to use on another project, and weed away the waste.
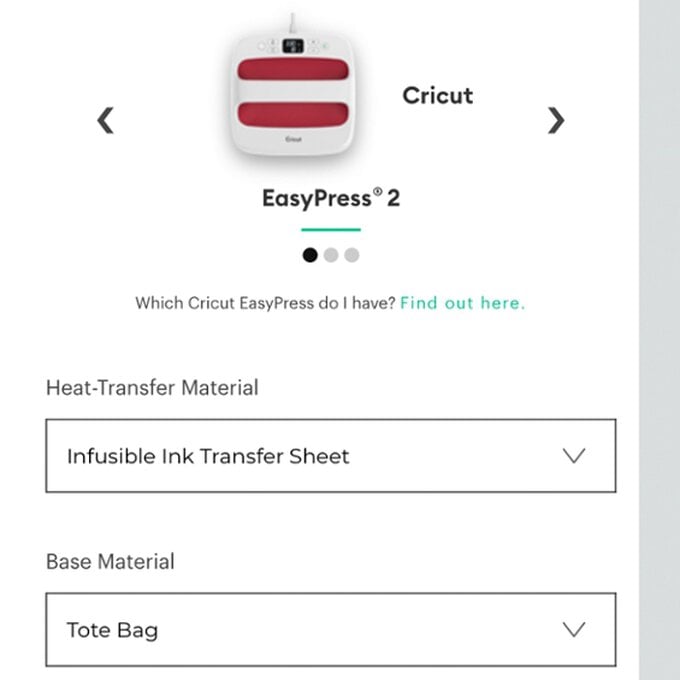
Using the Easy Press Guide (https://cricut.com/en_us/heatguide), follow the instructions fully to press your design, including pre-heating and ironing out the creases and moisture in the bag, as well as lint rolling to remove unwanted loose fibres.
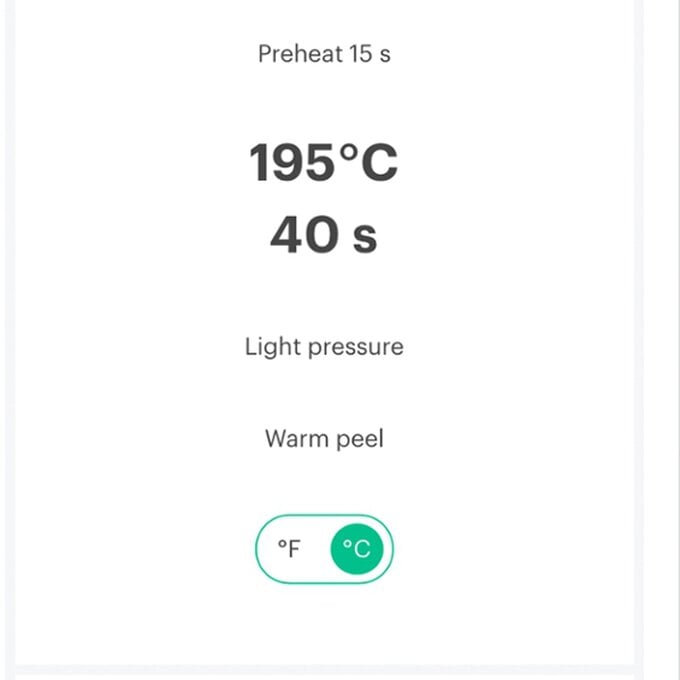
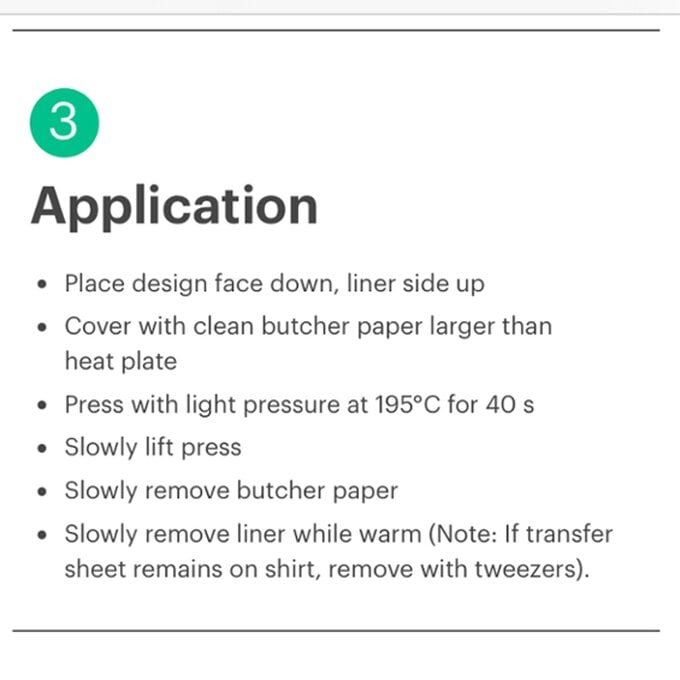
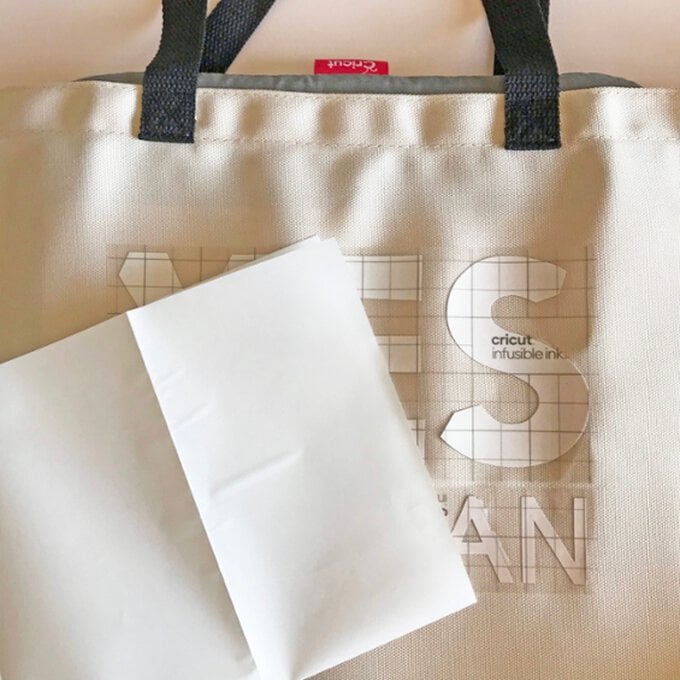
Place your cut design face (ink side) down and place your butcher paper over the top and press, leave to cool before removing and using the finished bag.
Related Products