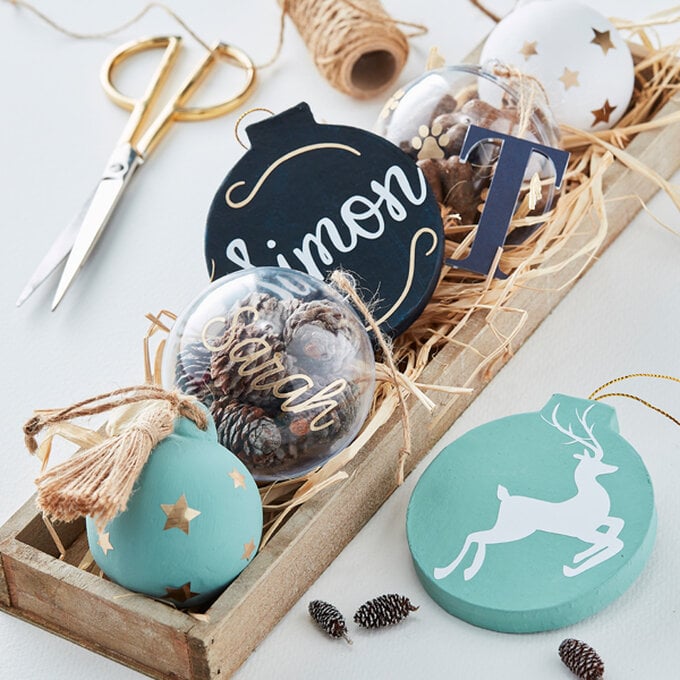
Cricut: How to Make Personalised Christmas Decorations
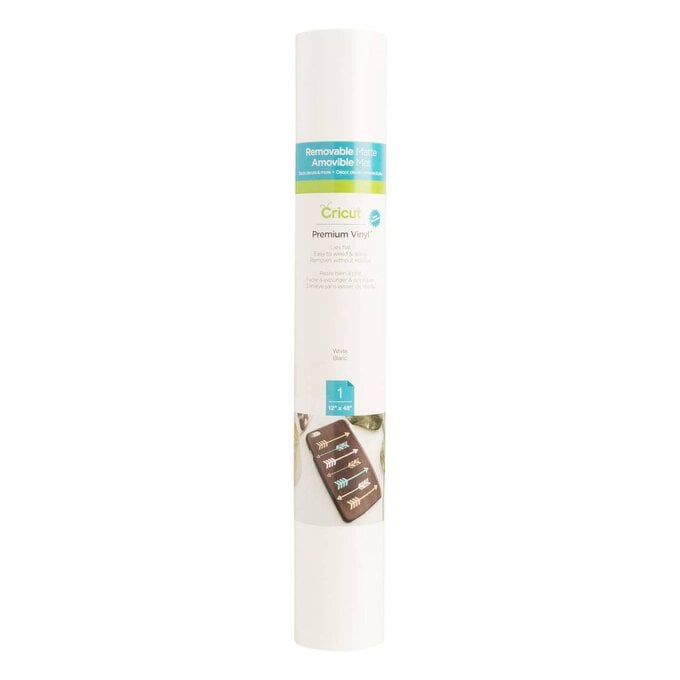
If you're looking to create some show-stopping personalised Christmas decorations, adhesive vinyl is ideal. There are hundreds of colours and finishes available so you can create truly one-of-a-kind decorations for your lucky recipients.
Top Tip: If you want to use Cricut Glitter vinyl on your decorations, make sure Strong Grip Transfer Tape is used.
You will need
Subtotal
Is $ 12.00
Subtotal
Is $ 12.00

Subtotal
Is $ 8.49
Subtotal
Is $ 12.00
Subtotal
Is $ 422.00
How to make
Text can be added in three ways to your decorations, either by adding a text Image from the Cricut Design Space library, uploading your own illustrated image or using the font's within Design Space. For this tutorial we're going to be showing you how to use fonts within Design Space.
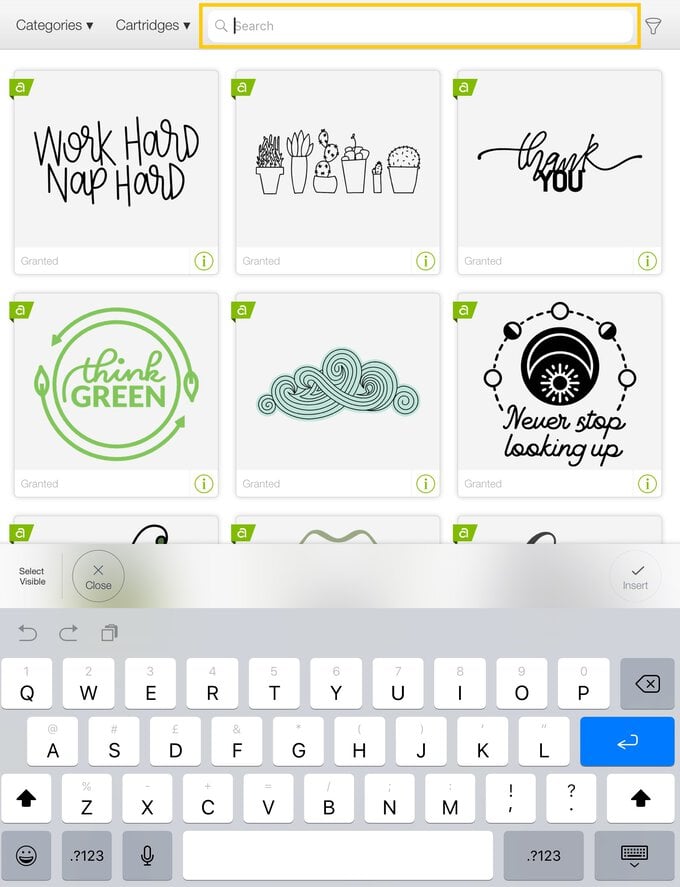
Once logged in to Design Space, click 'New Project'. On the canvas screen, select the 'Image' menu from the toolbar at the bottom of the screen. Type your desired keyword into the search bar at the top of the screen.
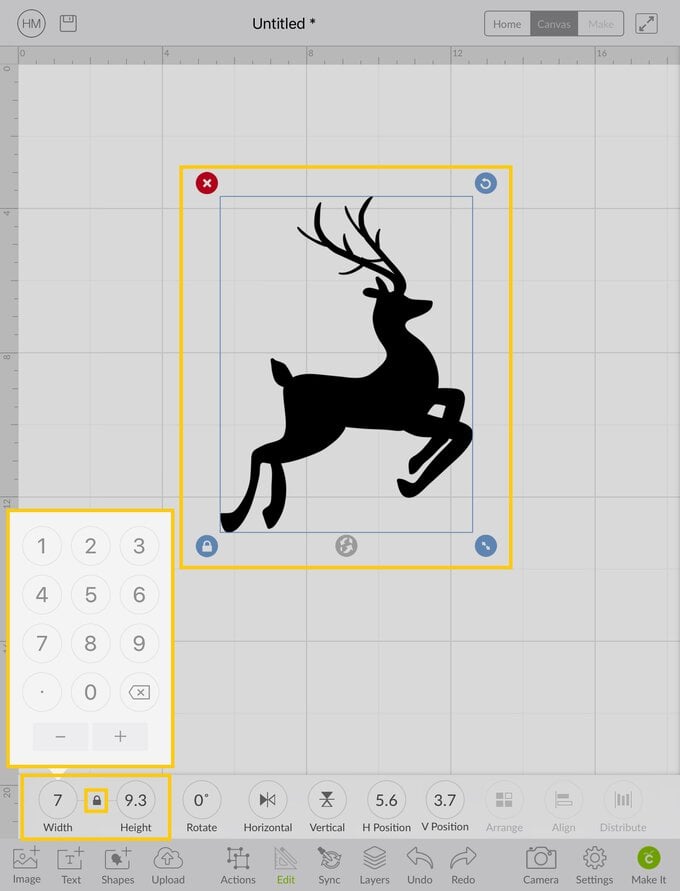
Using a tape measure, measure the area where you would like your image to sit, making a note of both the height and width. Open the 'Edit' menu for the toolbar at the bottom of the screen and amend height measurement, ensuring the padlock icon is locked.
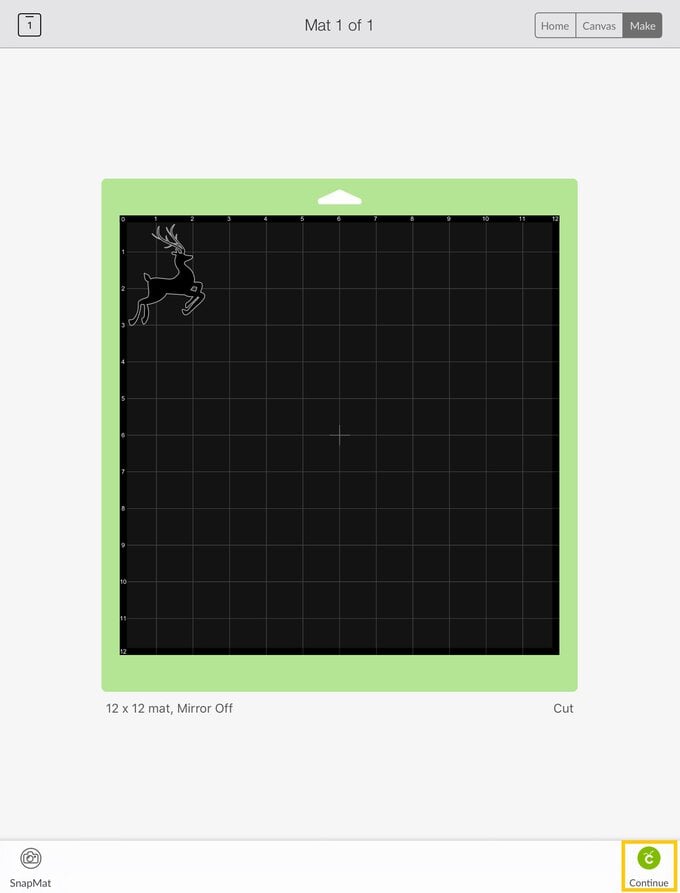
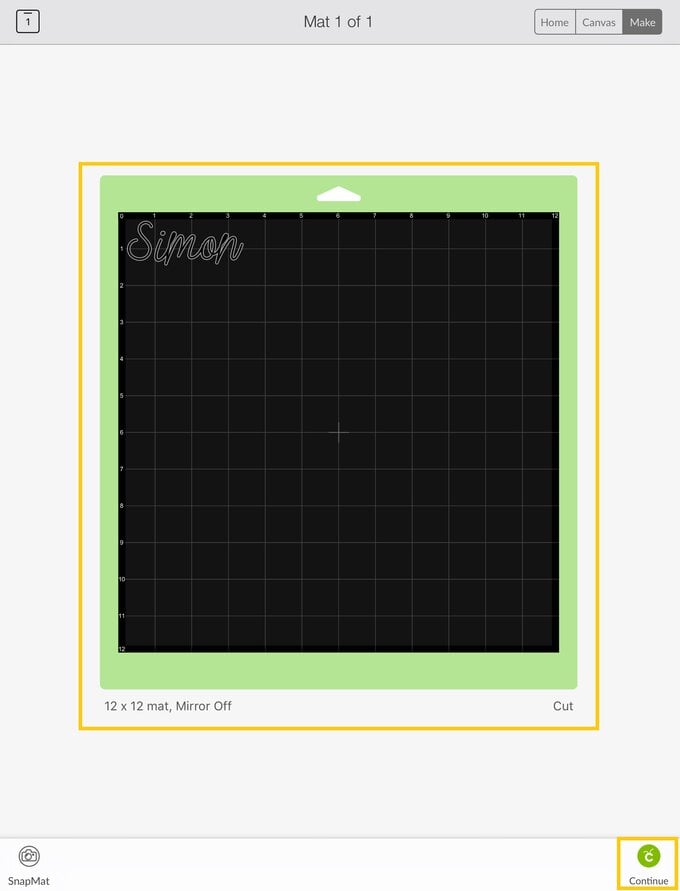
Once happy with the image size, click the green 'Make it' button in the bottom right-hand corner of the screen, you will then be taken through to the mat preview screen. Check everything is correct, then select 'Continue'.
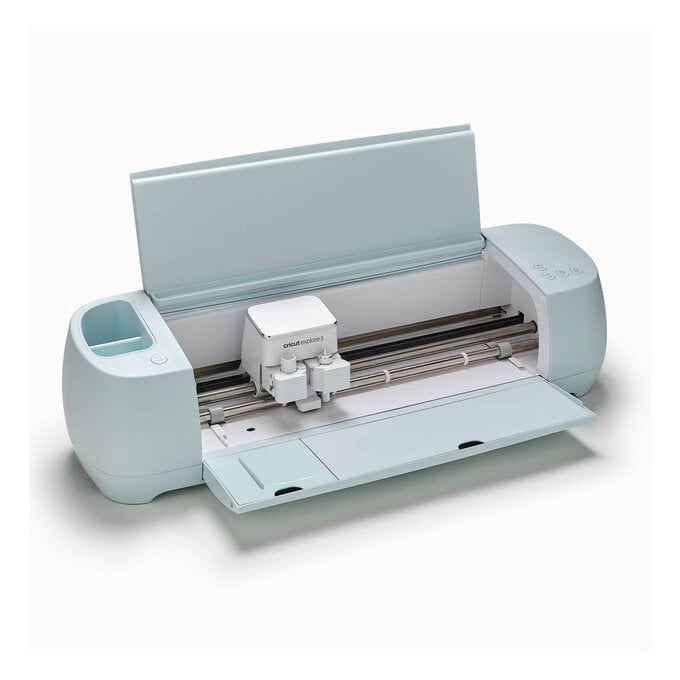
You'll then be taken through to the machine setup screen. Click the 'All Materials' button and select the adhesive vinyl you're using from the list. Follow the on-screen instructions to cut your design.
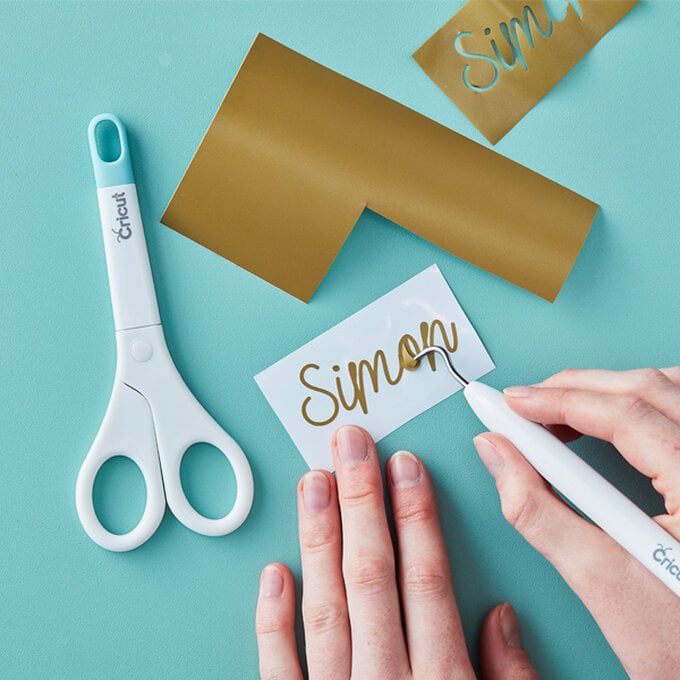
Once the design has cut, carefully remove it from the mat and use the pink weeding tool from the Basic Tool Set to remove the unwanted vinyl from around the design.
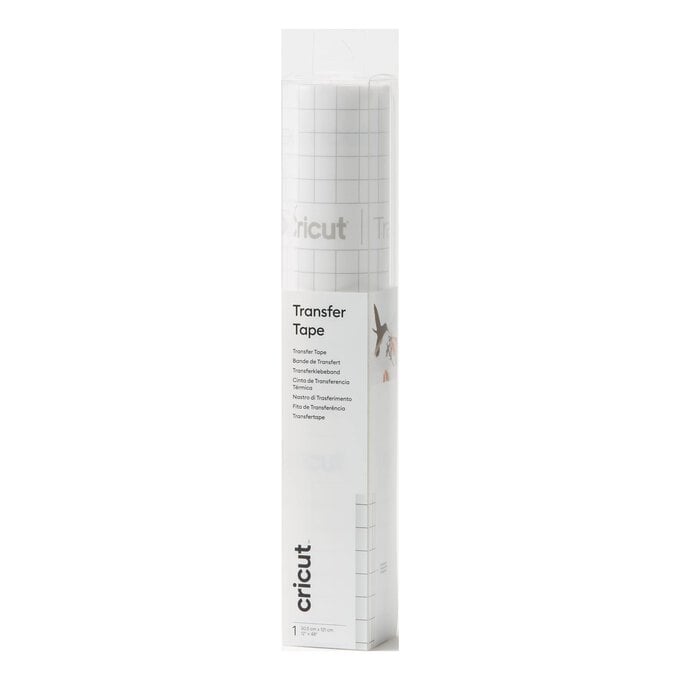
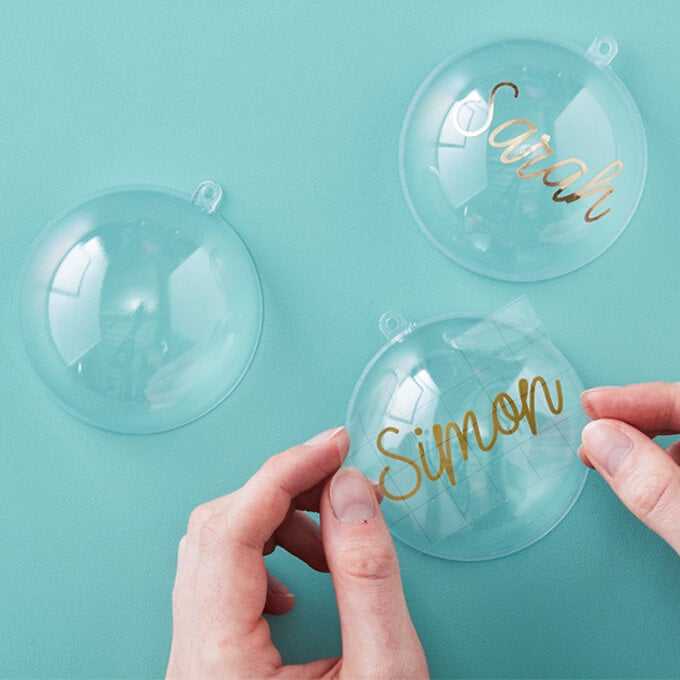
Remove the backing paper from a piece of Transfer Tape cut to the same size as your greeting/name. Apply over the top of the weeded design and position on your bauble. Run the scraper tool over the name/greeting to secure it to the bauble.
Gently peel away the Transfer Tape, leaving the image behind.
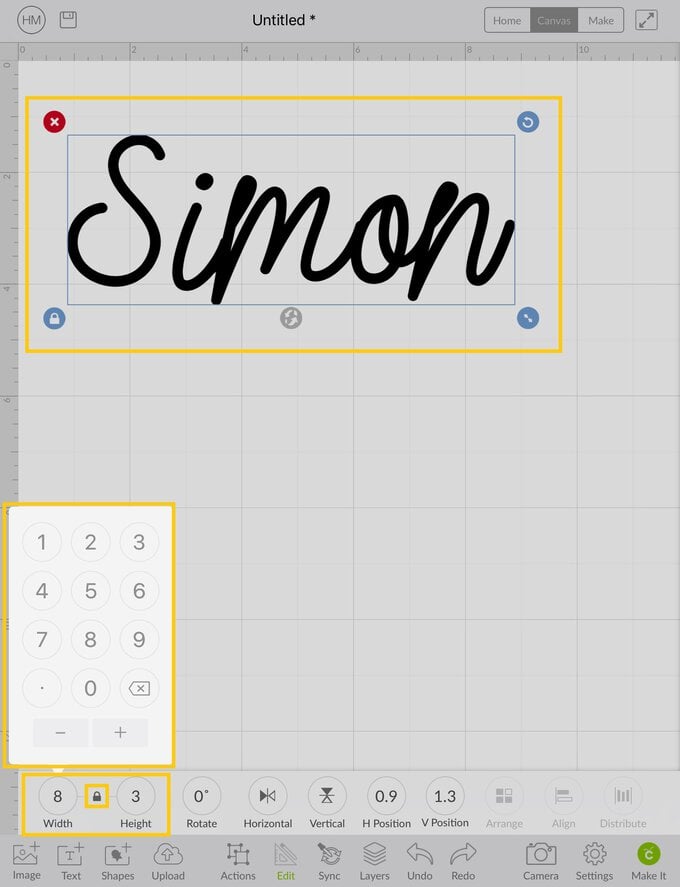
Amend the size of your greeting/word to your width measurement, to do this open the 'Edit' menu and type the width into the box ensuring the padlock icon is locked so that the text re-sizes proportionately. Make sure to double-check the height does not exceed the height measurement taken in step seven.
Once happy with the greeting/name, click the green 'Make it' button in the bottom right-hand corner of the screen, you will then be taken through to the mat preview screen. Check everything is correct, then select 'Continue'.
You'll then be taken through to the machine setup screen. Click the 'All Materials' button and select the adhesive vinyl you're using from the list. Follow the on-screen instructions to cut your design.
Once the design has cut, carefully remove it from the mat and use the pink weeding tool from the Basic Tool Set to remove the unwanted vinyl.
Remove the backing paper from a piece of Transfer Tape cut to the same size as your greeting/name. Apply over the top of the weeded design and position on your bauble. Run the scraper tool over the name/greeting to secure it to the bauble.
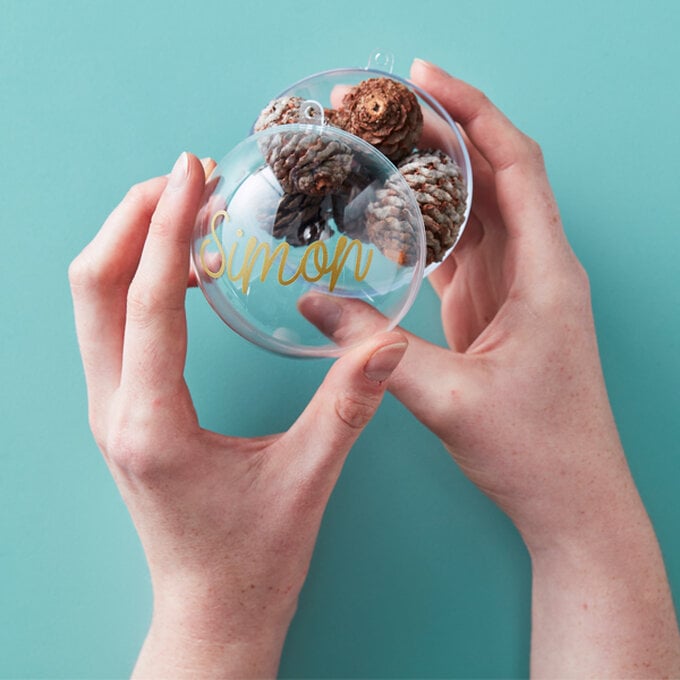
Gently peel away the Transfer Tape, leaving the name/greeting behind. Add your filling of choice to the other bauble half the clip the front half on top.
Adding images to your decorations is really easy, just like with text there are a couple of options available with regards to how this are added; you can either use images within the extensive library on Design Space (there are thousands to choose from!) or upload you own image. Here we'll show you how to use an image and add it to your decoration. If you'd like to use larger, solid shapes like the reindeer below, flat decorations work best.
Related Products