Your Cricut Explore: Three Home Decor Projects to Make
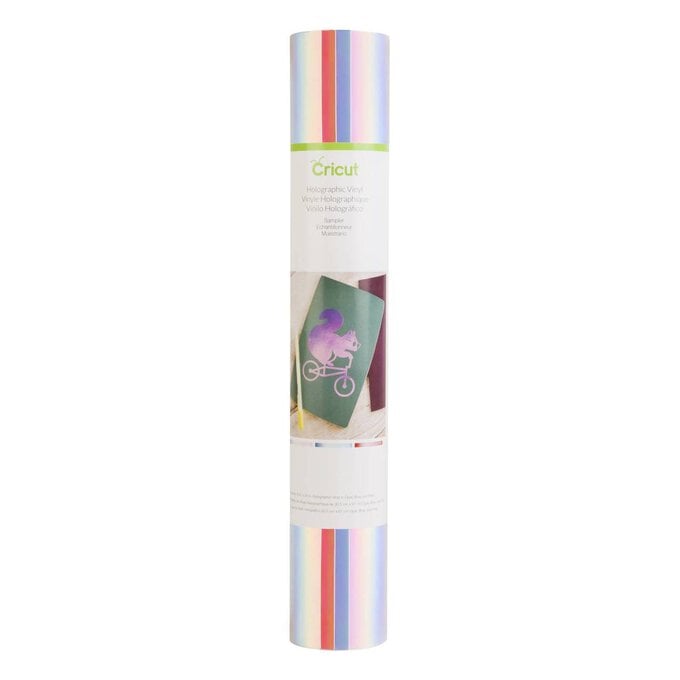
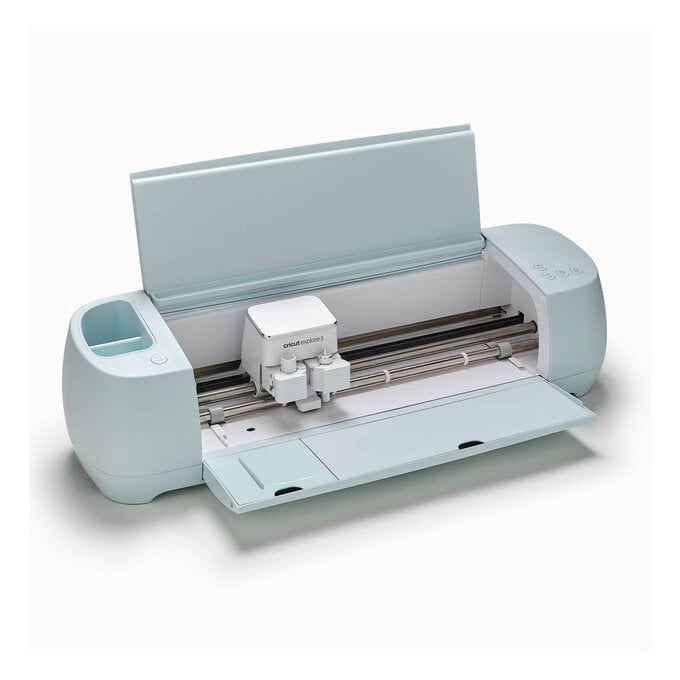
Create unique and individual items for your home with the Cricut Explore Air 2 and Cricut's Design Space. From photo frames to wall art, decorative planters to one-of-a-kind stationery, you can create it all! The Cricut vinyl is perfect for making projects that will withstand the rough and tumble of everyday life, and with over 90 different colours, textures and finishes to choose from there's something for every type of project. If you've never used vinyl do not fear, it's super-simple! Find out everything you need to know in the how-to video below.
You will need

Subtotal
Is $ 40.00
Subtotal
Is $ 31.00
Subtotal
Is $ 19.00
Subtotal
Is $ 12.00

Subtotal
Is $ 4.49
Subtotal
Is $ 3.49
Subtotal
Is $ 3.49 , was $ 6.49
Subtotal
Is $ 3.49
Subtotal
Is $ 10.00
Subtotal
Is $ 421.00
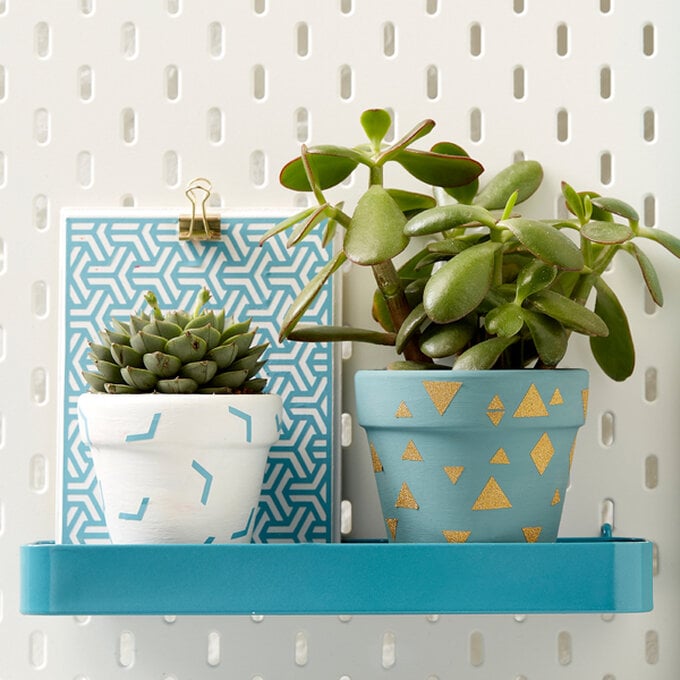
How to make
1. Paint a wooden rectangular panel with two coats of craft acrylic, leaving the first coat to dry before applying the next. Place to one side.
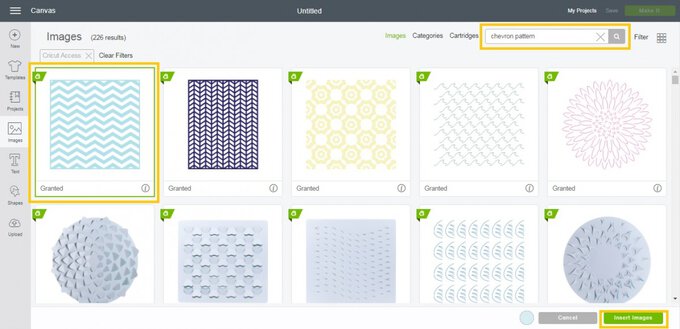
2. Using a laptop/Mac/iPad/iPhone, log on to your Design Space™ account and make sure you are connected to your Explore™ machine. Open a new project and search for 'Chevron Pattern' in the search bar and select the below design.
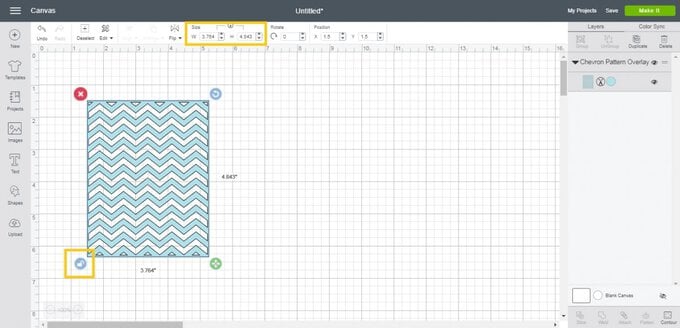
3. Re-size the design so that it is the same size as the top section of the rectangular wooden panel. To do this click the padlock in the bottom right-hand corner of the design so that it becomes unlocked.
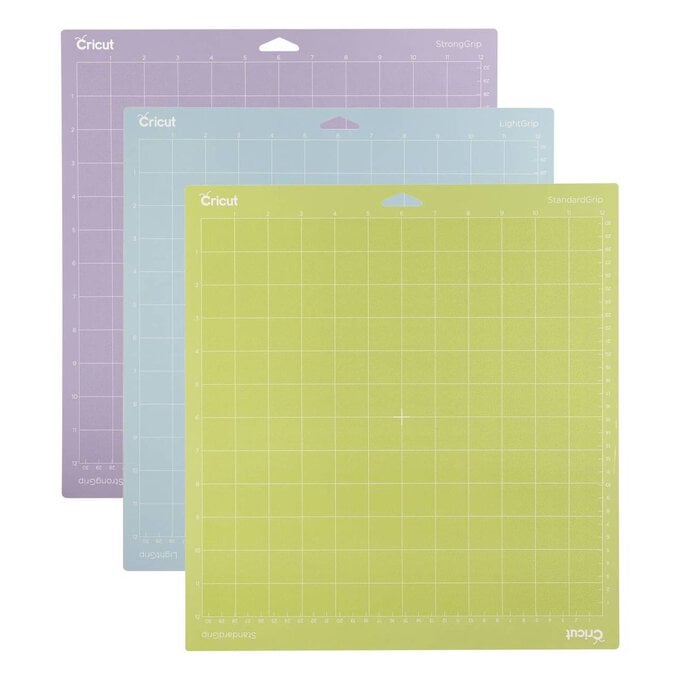
4. Place a piece of light blue vinyl onto a standard grip cutting mat, and follow the on-screen instructions to cut the design.
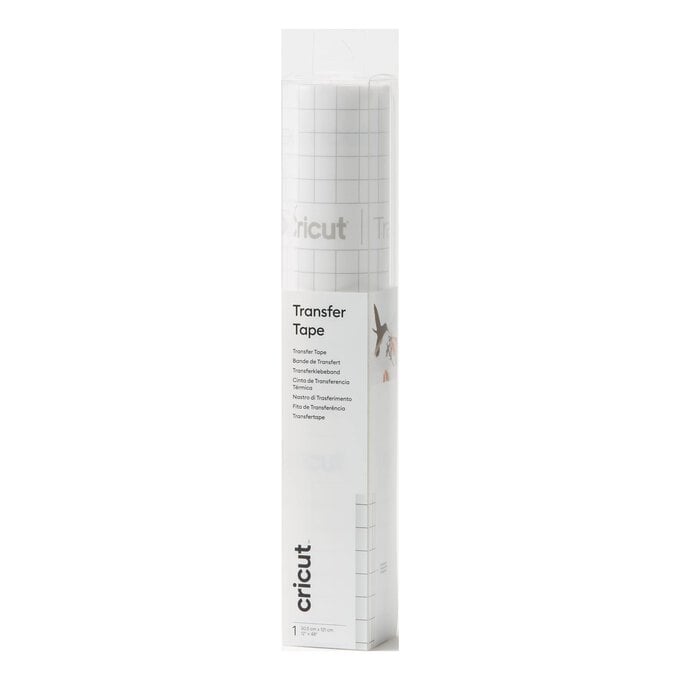
5. Remove the cut design from the cutting mat and use the weeding tool kit to remove all of the negative parts of the design and set aside for later. Once the design has been fully weeded, place a sheet of transfer tape over the top of the vinyl and remove the backing paper. Position the transfer tape over the wooden panel and smooth over the design with the XL Scraper Tool to adhere it to the wooden panel. Once adhered slowly remove the transfer tape at a 45 degree angle.
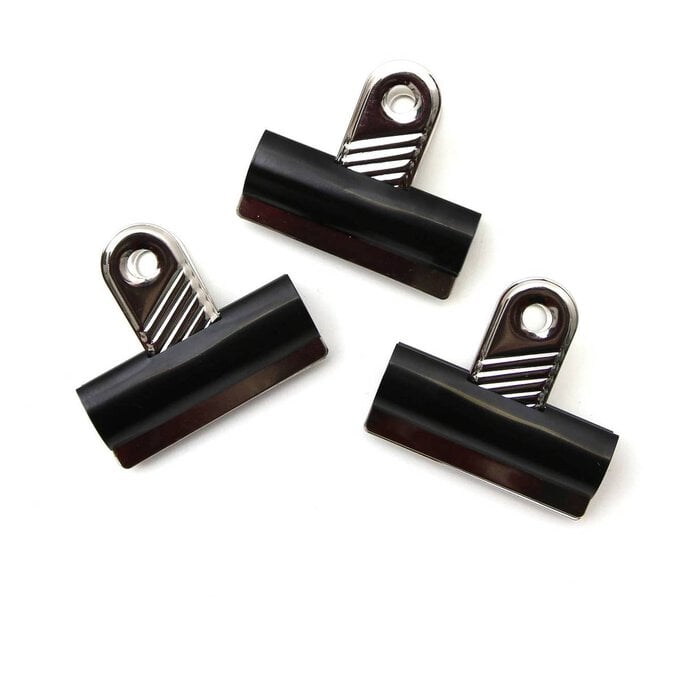
6. Secure a bulldog clip to the centre top of the wooden rectangular panel with a hot glue gun.

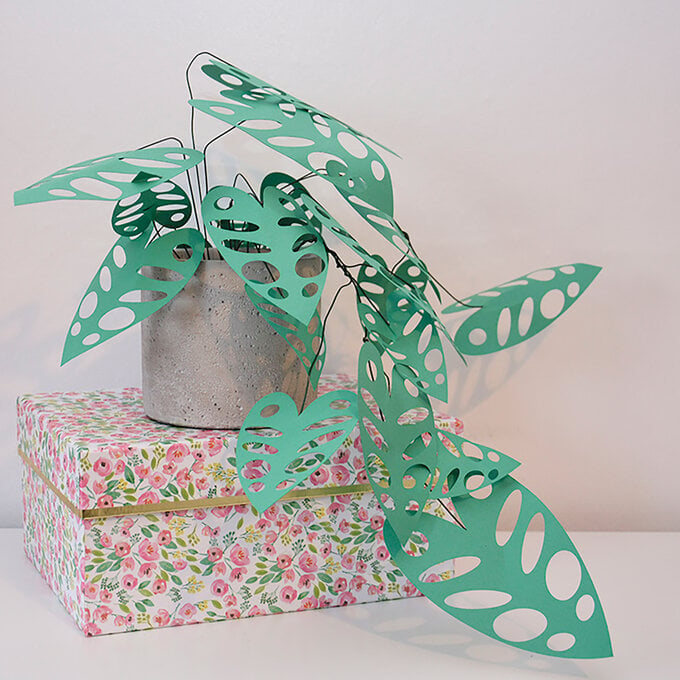
1. Paint a selection of terracotta pots using craft acrylic paint, make sure to apply a few coats to get a nice even coverage.
2. Take the negatives pieces from the chevron design and stick randomly to one of the plant pots.
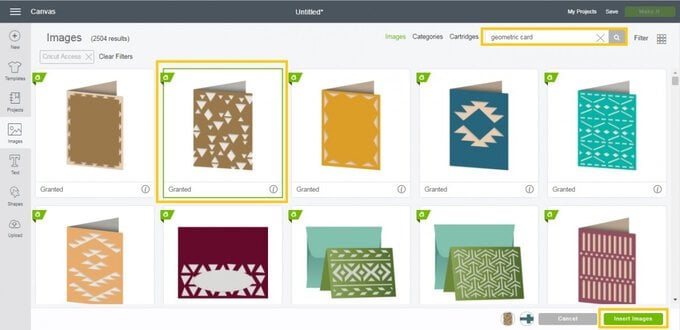
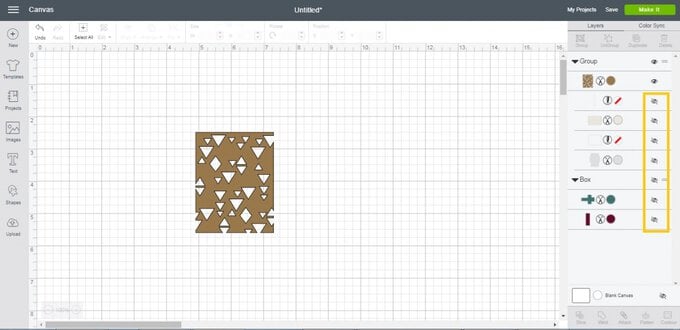
3. Using a laptop/Mac/iPad/iPhone, log on to your Design Space™ account and make sure you are connected to your Explore™ machine. Open a new project and search for 'Geometric Card' in the search bar and select the below design.
4. Hide the box along with all of the remaining layers except the triangular pattern by selecting the eye icon from the toolbar on the right-hand side.
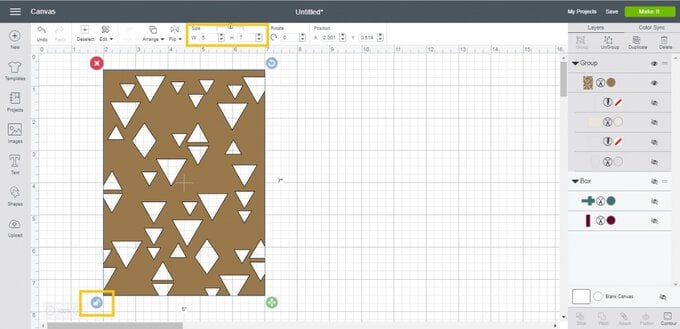
5. Resize the panel to 7 x 5″ by selecting the padlock in the bottom left-hand corner of the image (this will become unlocked) then type in the desired measurements into the toolbar at the top of the canvas.
6. Cut the design from gold glitter vinyl following the on-screen instructions.
7. Once cut, weed the design and remove the triangular sections to then adhere to your plant pot.
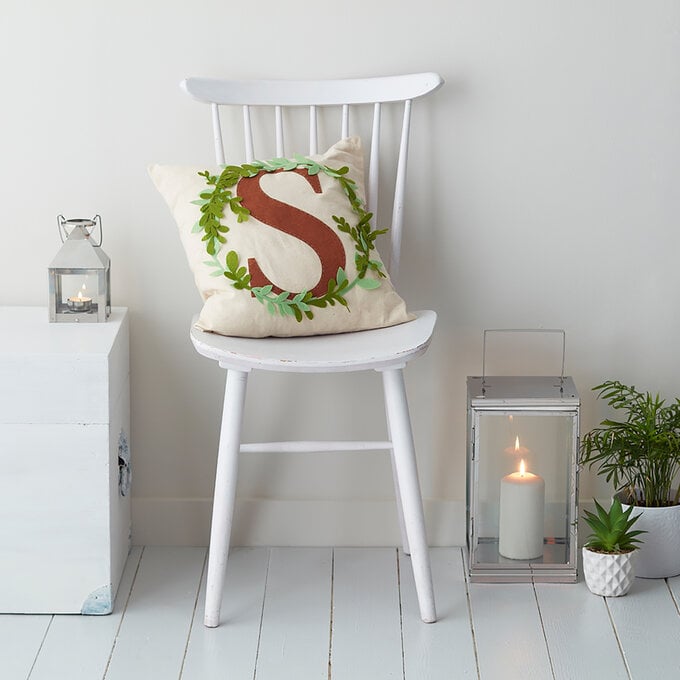
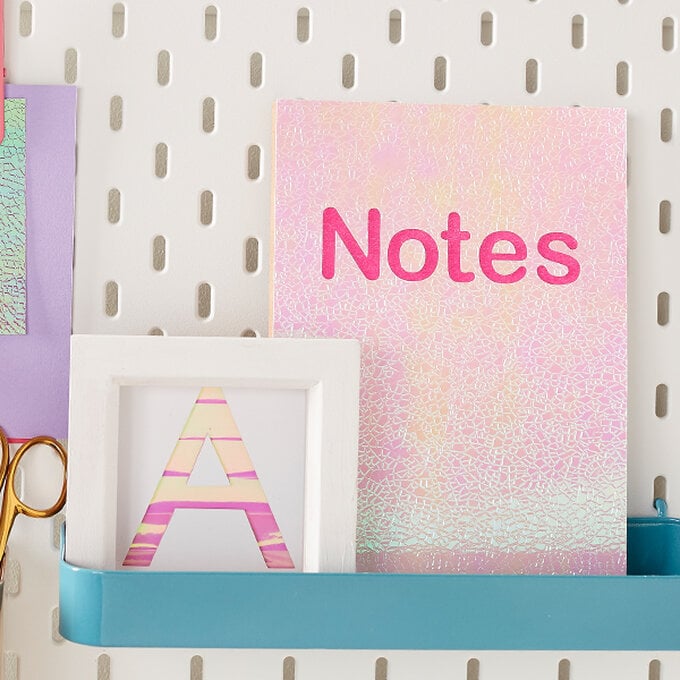
1. Using a laptop/Mac/iPad/iPhone, log on to your Design Space™ account and make sure you are connected to your Explore™ machine. Open a new project and add a 7.5cm square to the canvas space.
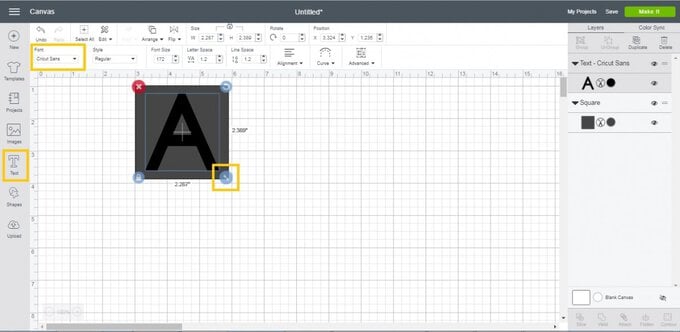
2. Add a text box and add you initial of choice in your chosen font (we opted for Cricut Sans). Position the letter within the square and re-size as desired.
3. Select both layers in the toolbar on the right-hand side, then select the “Slice” function. Hide the top two slice layers so that you are left with the below. Follow the on-screen instructions to cut your design.
4. Trim a piece of white cardstock to 7.5cm square and cover with strips of washi tape. Mount the cut panel on top with foam pads, before inserting into the box frame.

Related Products