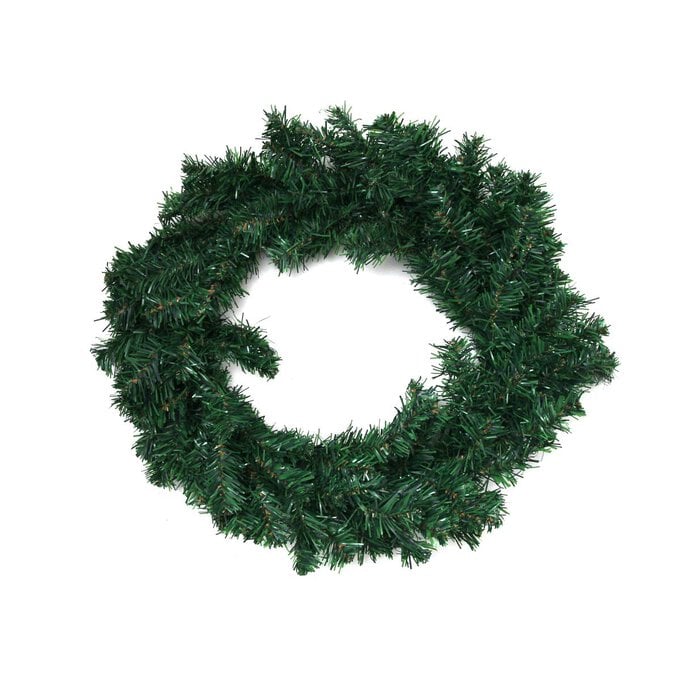
3 Ways to Make a Wire Star Wreath
Wreath making doesn't have to be lengthy and complicated; if your style is more simple but sophisticated, try one of these three ways to use our wire star wreath for a beautiful but simple festive addition to your decor.
These three designs can be completely customised to suit your decor. Why not spray they wreath base a different colour? Get creative, the possibilities of what you can create are endless!
You will need

Subtotal
Is $ 7.49
Subtotal
Is $ 4.49
Subtotal
Is $ 4.49
Subtotal
Is $ 7.49
Subtotal
Is $ 4.49 , was $ 7.49
Out of stock
Subtotal
Is $ 1.49
Out of stock

Subtotal
Is N/A
Out of stock
How to make
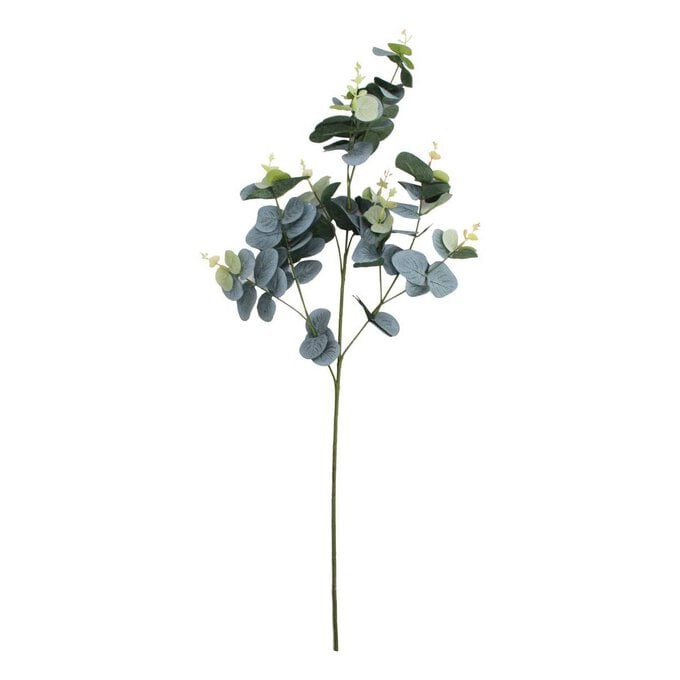
1. Cut a sprig of foliage roughly one quarter of the size of the star.
2. Trim the stem of your foliage, so that it is about 2 inches long and will sit flat along the length of wire.
3. Place the sprig of foliage so that it hangs down into the middle of the star, with the stem laying flat along the wire of one point of the star.
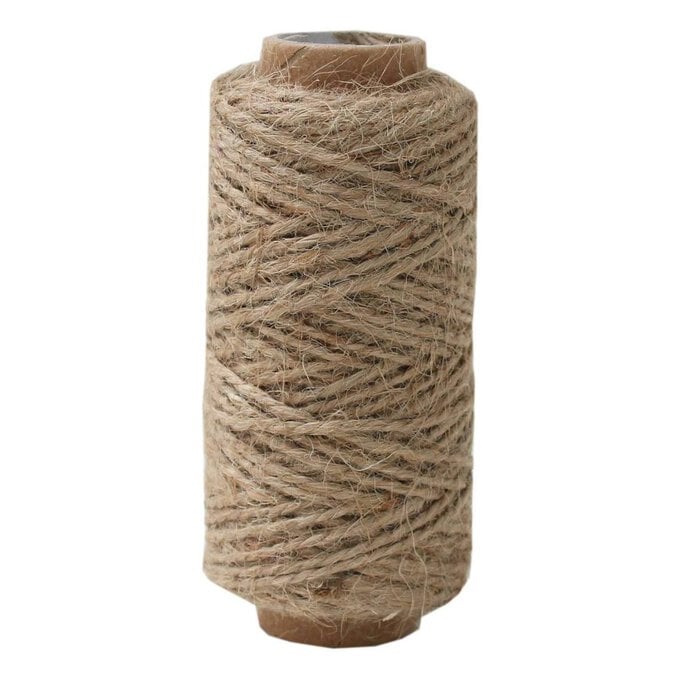
4. Use twine to wrap the stem around tightly to the wire base – you can reinforce by using floral wire or a glue gun underneath the twine.
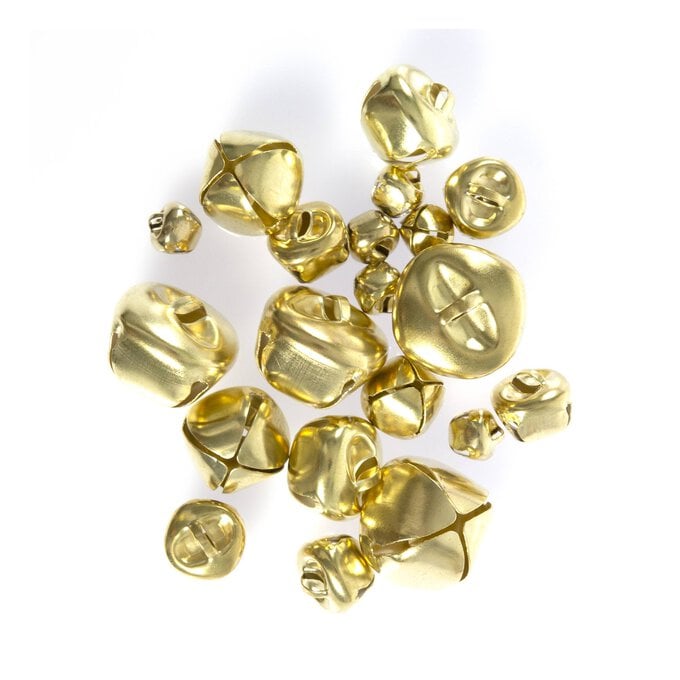
5. Finish off by cutting a short length of a bell garland, hang in front of the foliage, and wrap the twine at the top around your existing twine join – then use glue to stick the end down in place, at the back of the wreath.
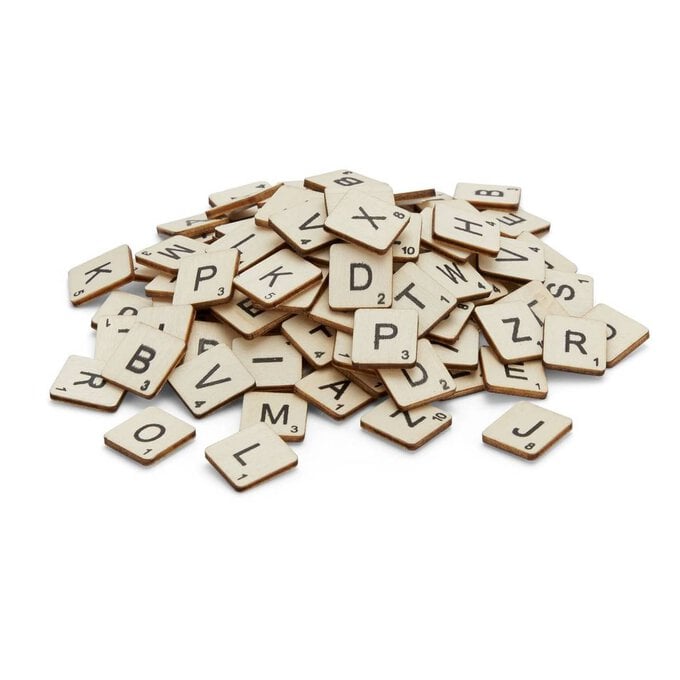
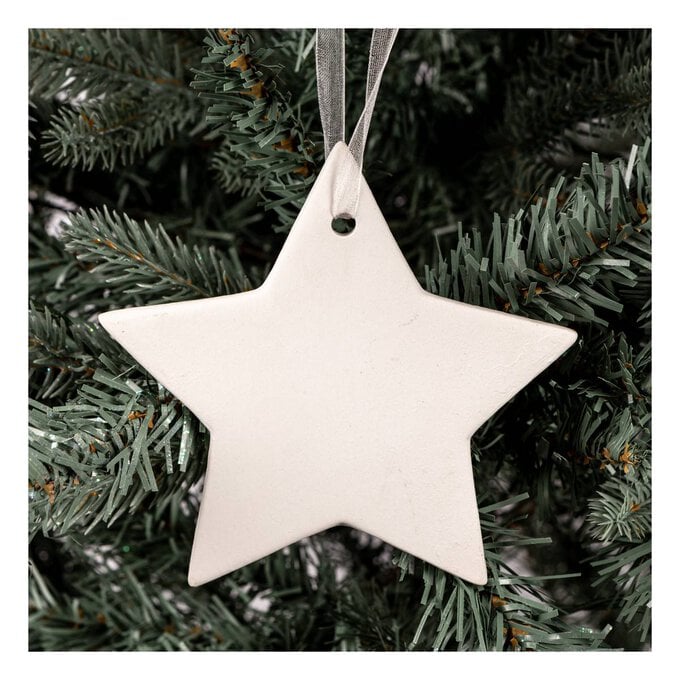
1. Begin by preparing your ceramic star. Pick a festive word and spell it out with your wooden letters.
2. Place the wooden letters in place on the front of the ceramic star and check you are happy with the spacing, then stick down using the sticky pads on the backs of the letters.
3. Tie the ceramic star to the top hanging loop of the wire star using twine, double checking the hanging length as you go to make sure it sits in the middle of the wire star.
1. Unravel a box of LED lights and straighten them out a bit. Test that all the lights work before you begin!
2. Starting from the top hanging loop, begin winding your lights around the wire base so that the lights sit an equal distance from each other as you go along.
3. Make sure the wire of the lights sits flush to the wire base of the star – you can use a glue gun to stick in place if they keep slipping.
4. Finish off by winding the rest of the light around the hanging string.

Related Products

Is $ 8.49