5 Personalised Table Decor Ideas for Christmas
Craft a Christmas table that truly represents your style this year by adding small crafts and touches. There are so many possibilities! We've created a few totally different decor examples for you to draw inspiration from below.
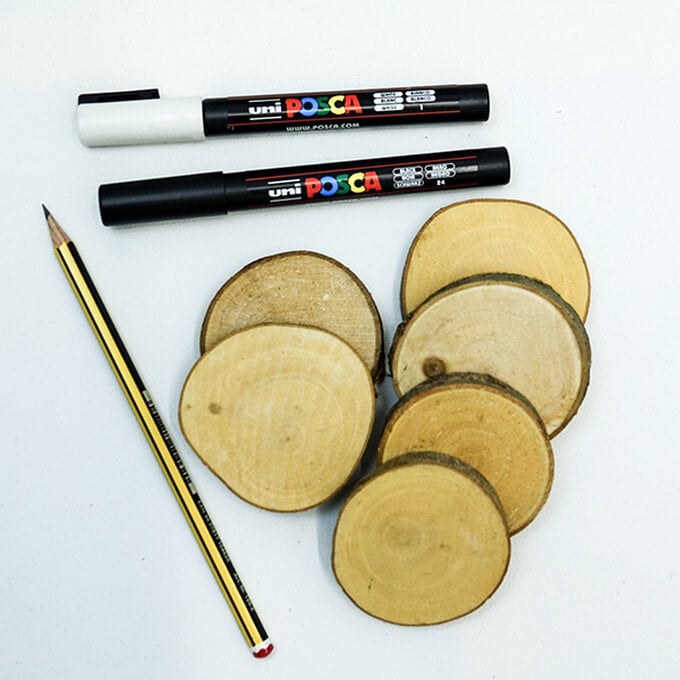
You will need

Subtotal
Is $ 5.49
Subtotal
Is $ 6.49
Subtotal
Is $ 8.49
Subtotal
Is $ 6.49
Subtotal
Is $ 7.49
Subtotal
Is $ 6.49

Subtotal
Is $ 13.00
Out of stock
Subtotal
Is $ 7.49
How to make
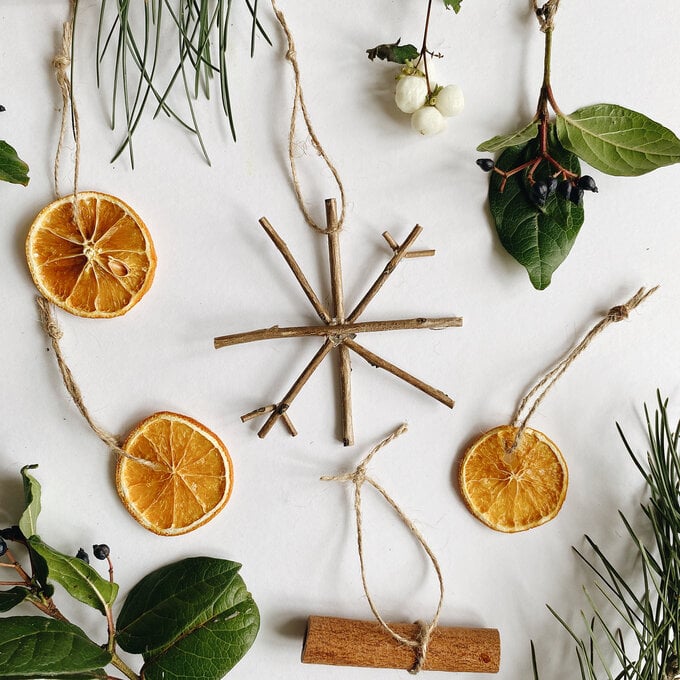
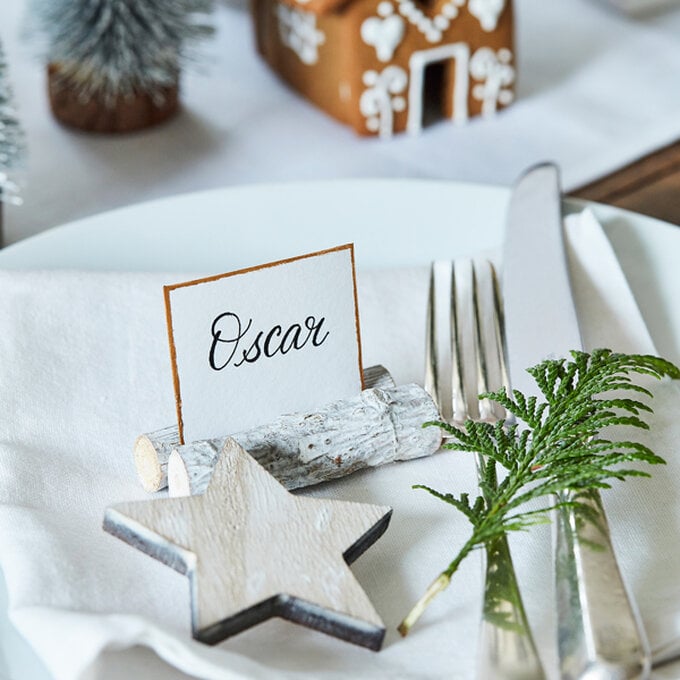
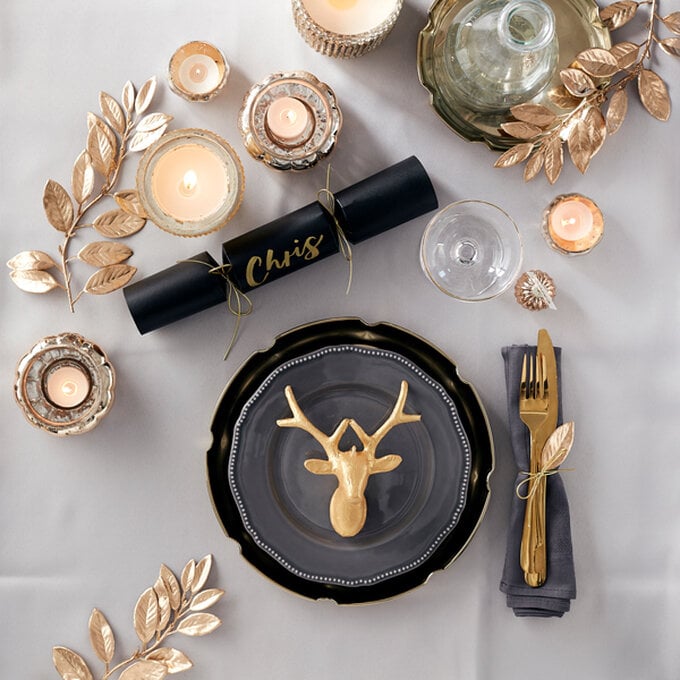
Our table decor show stopper this year involves an entire town of gingerbread houses, a hanging artificial foliage installation complete with fillable glass bauble decorations, ceramic houses, bottle brush trees, and hand lettered mini log nameplates!
Recreate the scene for an ambitious and memorable Christmas meal, or take elements as inspiration for a more pared back version.
1. Glue together two mini logs using a dot of glue on either side, leaving a gap in the middle.
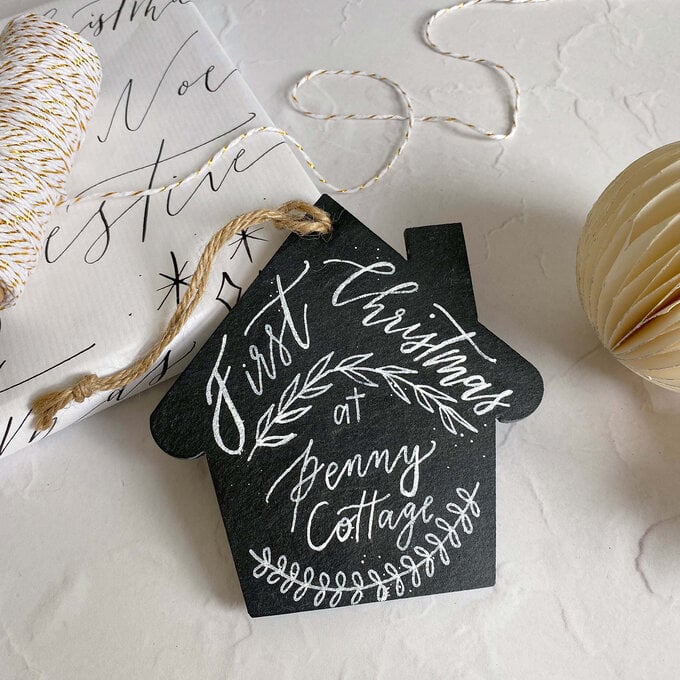
2. Write out the names in light pencil on high quality card
3. Go over the names using a black brush lettering pen. For more brush lettering tips, head to our Get Started In Brush Lettering page on the Hobbycraft website.
4. Cut out the name in a rectangle, including a tab in the centre underneath the name big enough to tuck in between the mini logs and balance
5. Decorate the edges of the paper using the gold gilding wax
6. Place the names within the mini logs
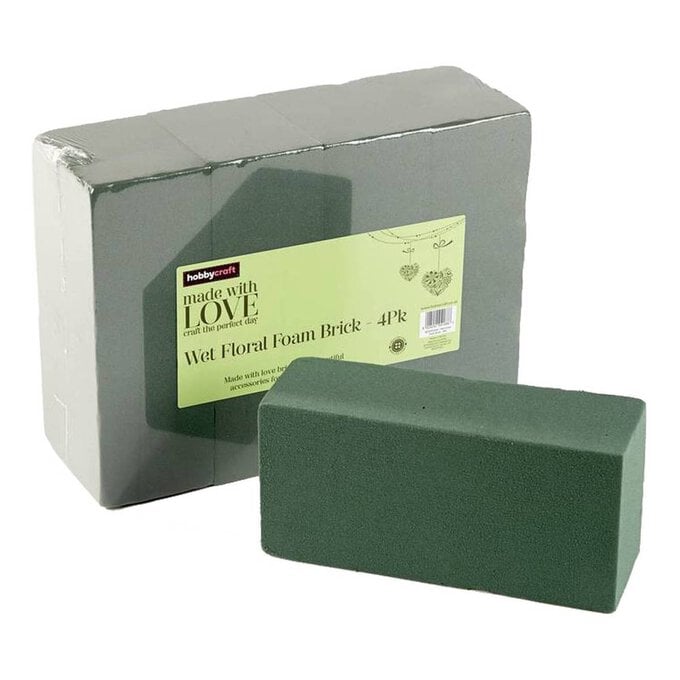
1. Lay out floral foam lengthways until you reach your desired length, and skewer together with wooden sticks.
2. Wrap chicken wire around the floral foam to encase and secure using cable ties
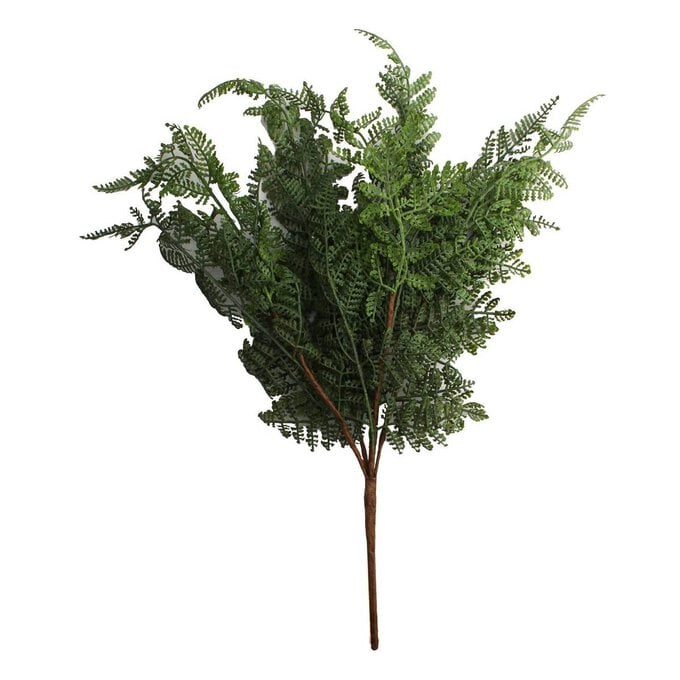
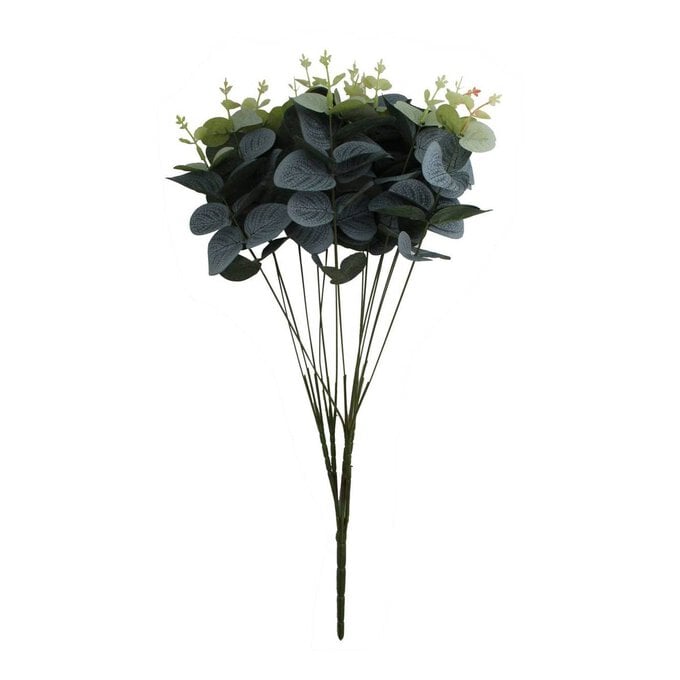
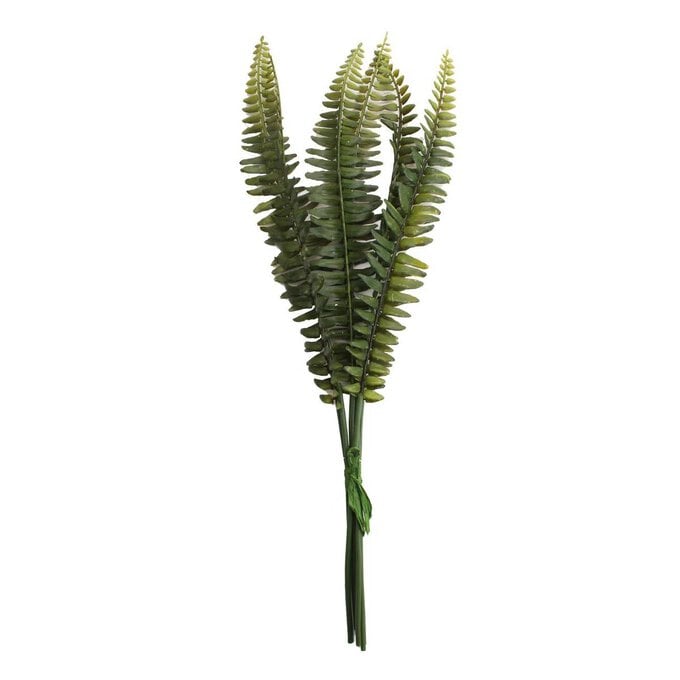
3. Use artificial parsely fern and asparagus bush to fill out the base
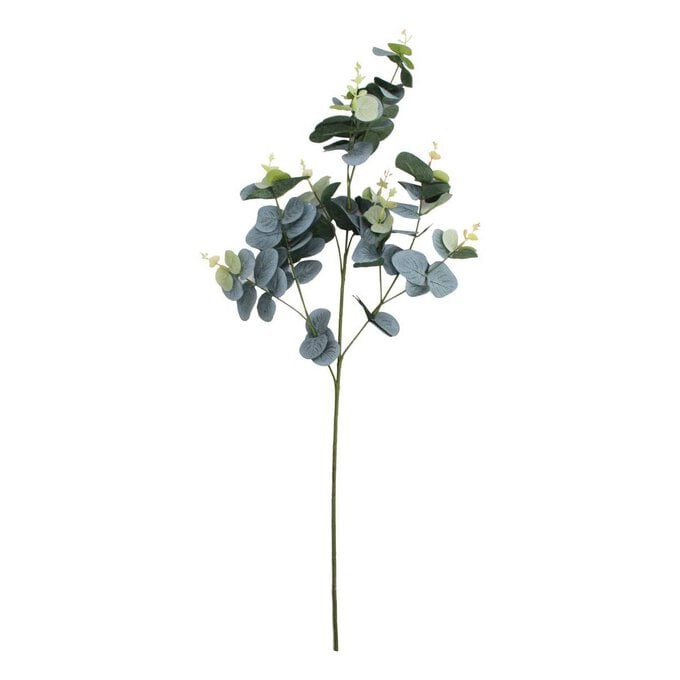
4. Add in artificial ferns and eucalyptus to create a fuller appearance
5. Use invisible thread to attach the fillable baubles to the underside of the chicken wire
6. Use invisible thread to attach the installation to secured hooks in the ceiling
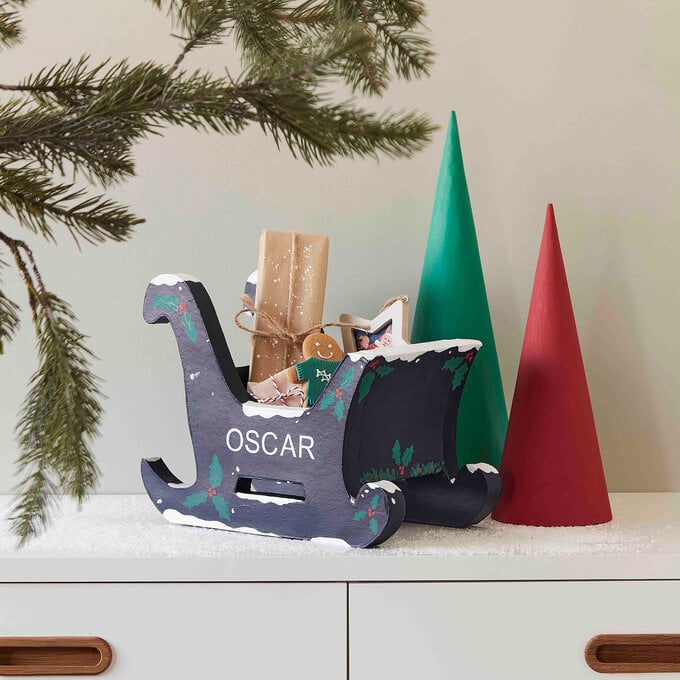
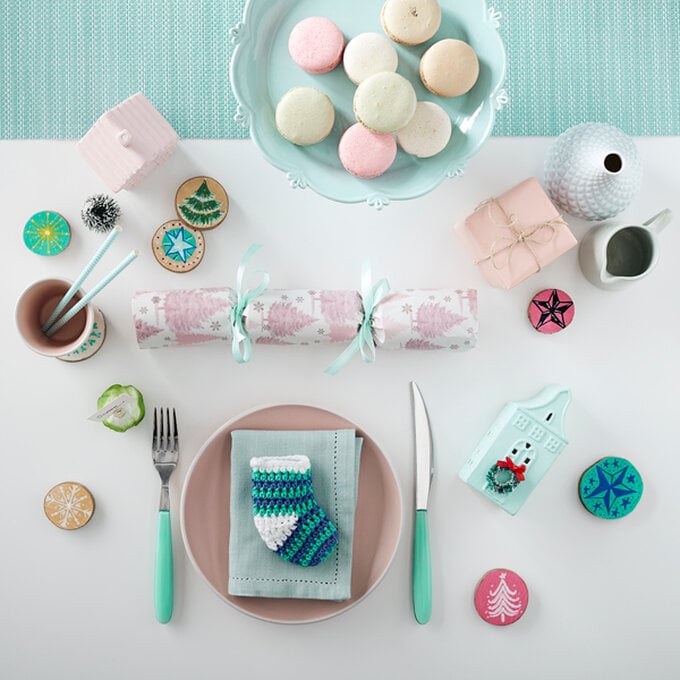
Create this bubbly, alternative table with a few simple colour coordinated makes! Paint ceramic decorations in light pastel colours and match the plates, cutlery and accessories, adding in some touches of satin ribbon and personalised wood illustrated wood slice decorations.
1. Fill the crackers with inserts of your choosing
2. Paint the kraft brown crackers with black paint and leave to dry
3. Using a gold brush pen, hand write the names of your dinner guests. It may help to first lightly draw the names out using a pencil. For more brush lettering tips, head to our Get Started In Brush Lettering page on the Hobbycraft website.
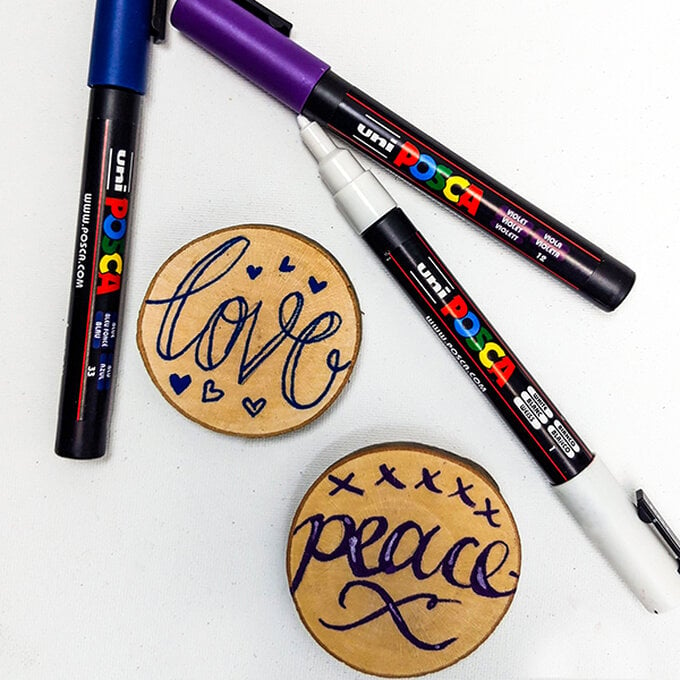
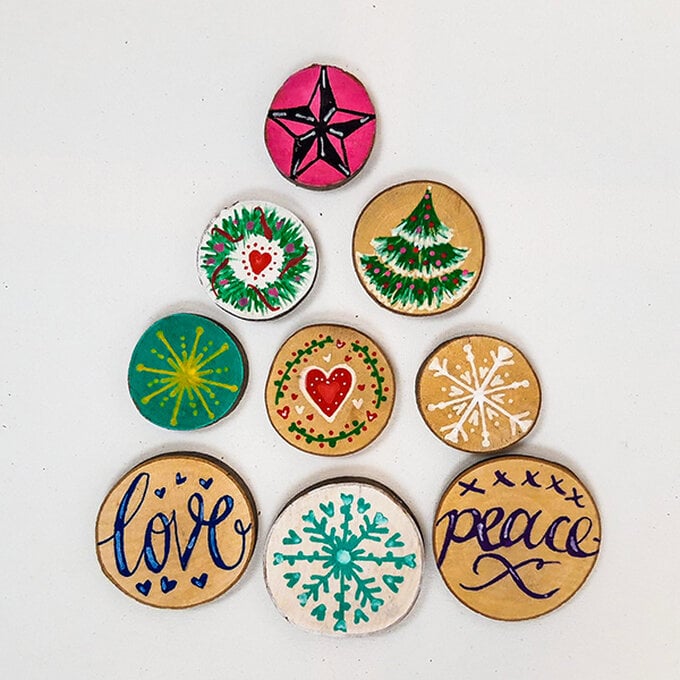
1. To create your hand-script coasters, first write out your text in the pen, then create lines around the outside of the initial, adding accents and curves as you connect the lines. Colour in your text. Wait for it to dry and then add highlights with white POSCA pen.
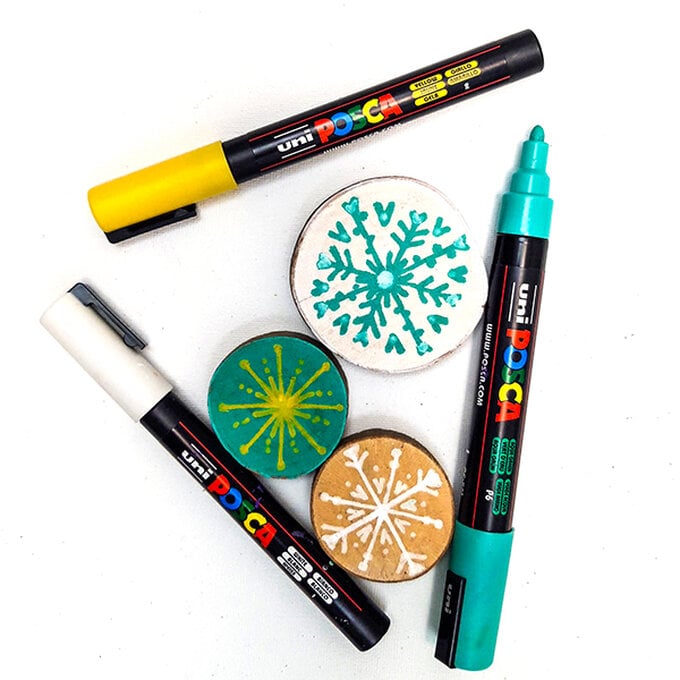
2. For the snowflake coasters, colour two of your coasters with the 8k white and the 5M green POSCAs. Leave to dry. Now use your contrasting 3m POSCA pens to make a cross, then make two diagonal intersecting lines over the cross as shown. Then embellish the intersecting lines with dashes, dots and heart shapes as shown to make snowflakes.
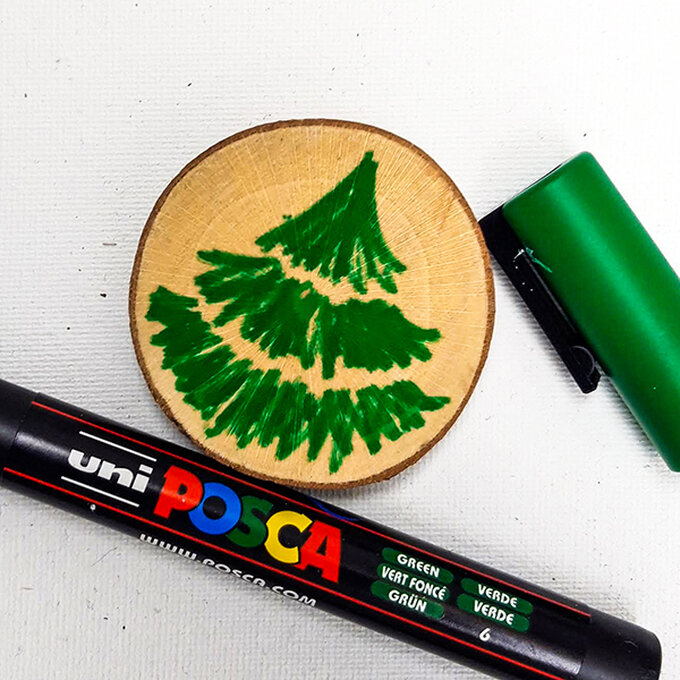
3. Now embellish your discs with a Christmas tree design. Make three zigzag tiers with the green 3m POSCA pen. Create a snow effect by using the white 3m POSCA to add zigzags at the bottom of every tier. Dot in coloured baubles with a contrasting POSCA colour. You can make a simpler tree by stacking downward facing 'v' shapes on top of each other.
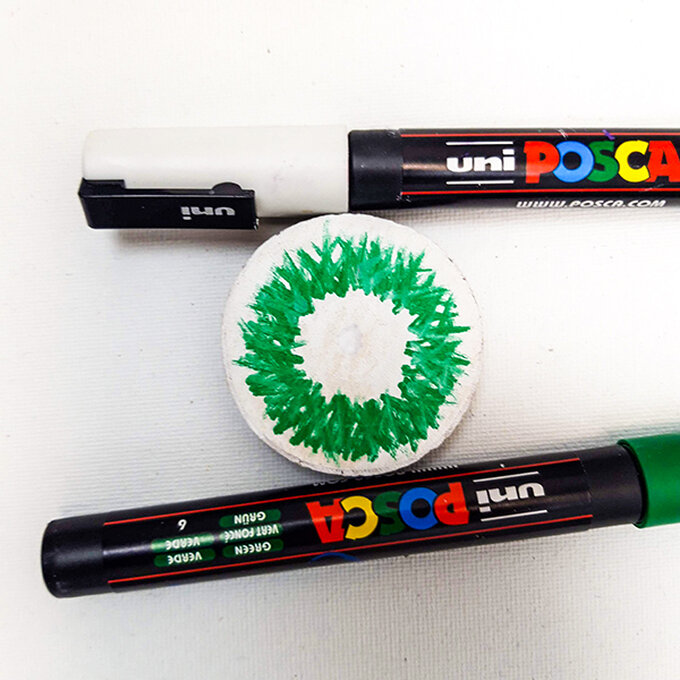
4. To illustrate a Christmas wreath, simply make a circle using rough layered pen strokes with the green 3m POSCA pen. Blend and add texture by overlaying green and white pen marks. Once dry embellish the wreath as you wish.
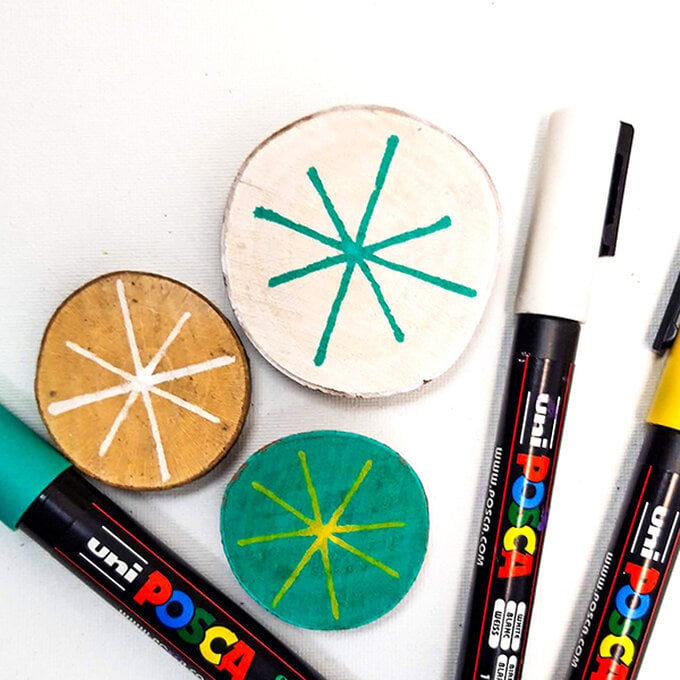
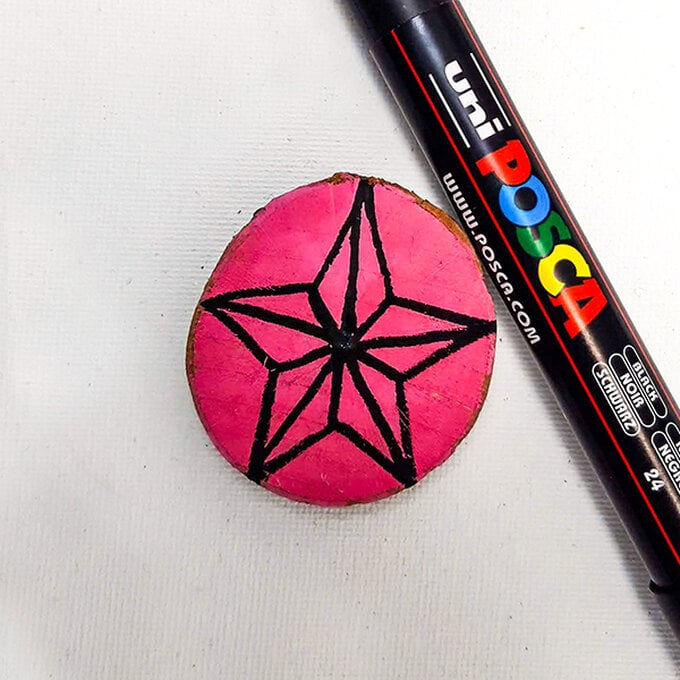
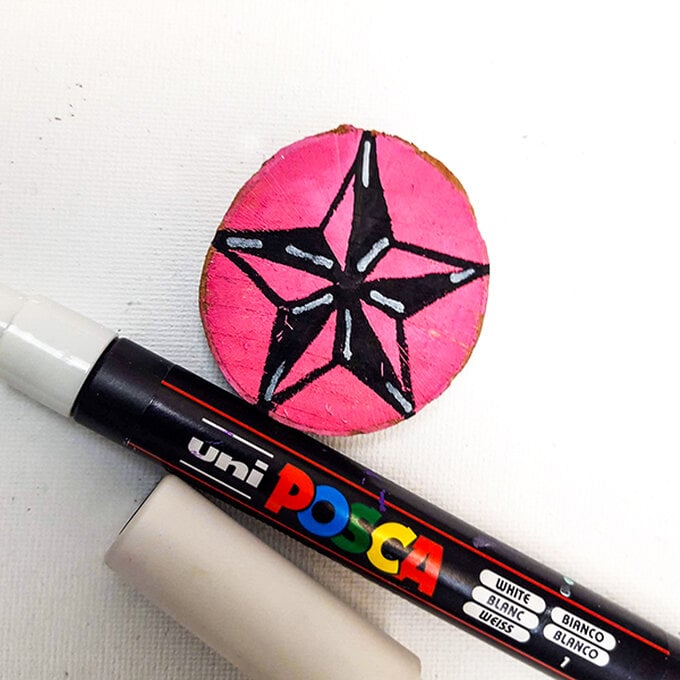
5. The star design is easy to recreate. Just draw five connecting diamond shapes and then draw lines connecting the tip of each point to where each shape joins as shown. Now colour in half of each shape and, once this is dry, add high lights with a contrasting pen. We've coloured in the background of our star designs prior to embellishing but you can go with your own style.
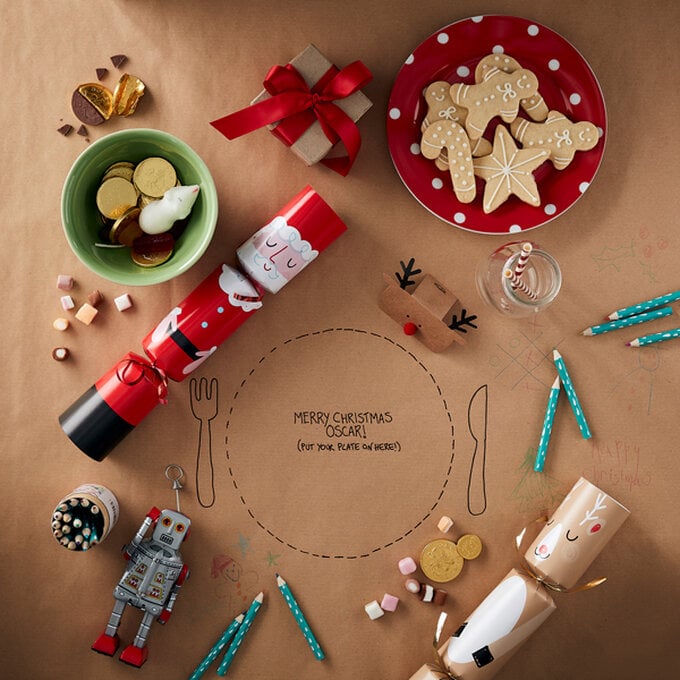
Keep the kids entertained at the dinner table with a table cloth they can draw all over! Create sweet character crackers and dot around delicious sweets and cute candy cane paper straws for the perfect finishing touch. This quick table setting idea is perfect for busy family life as it does not take a huge amount of time to set up
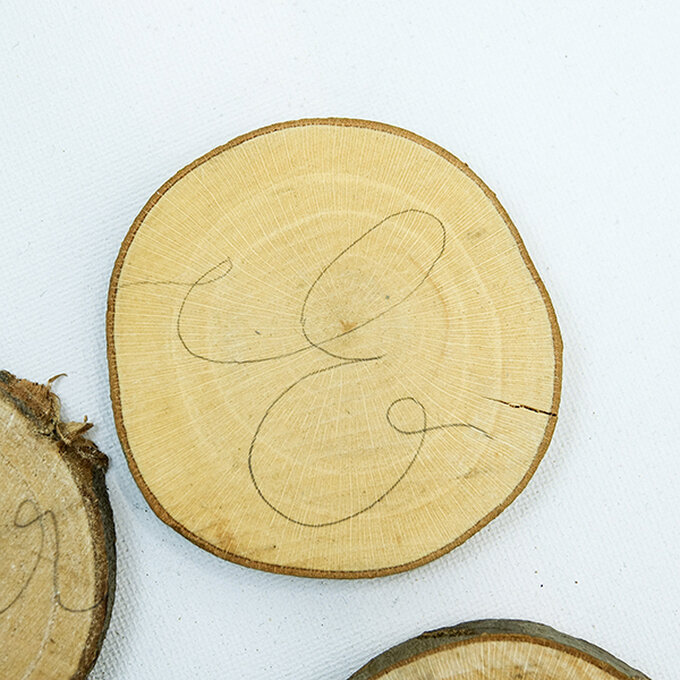
1. Using a pencil, make a very loose, light sketch of your initials and names.
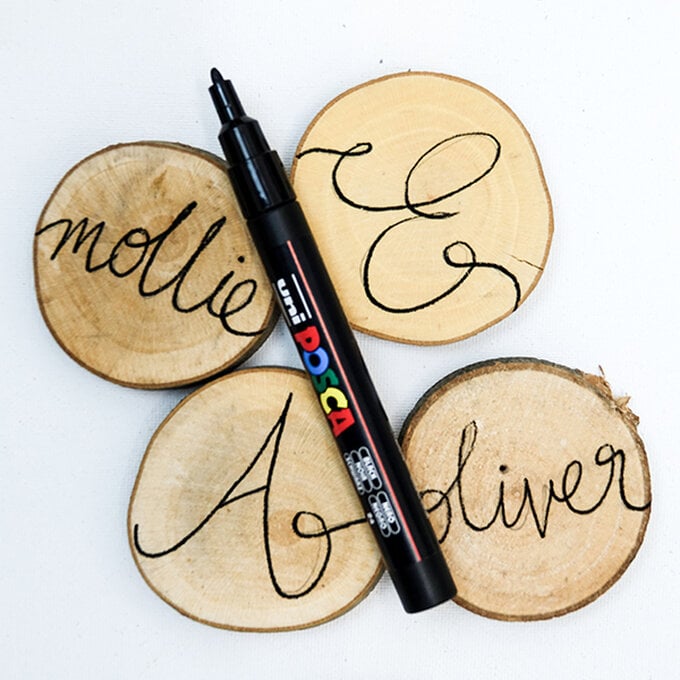
2. Go over your pencil text with a black POSCA.
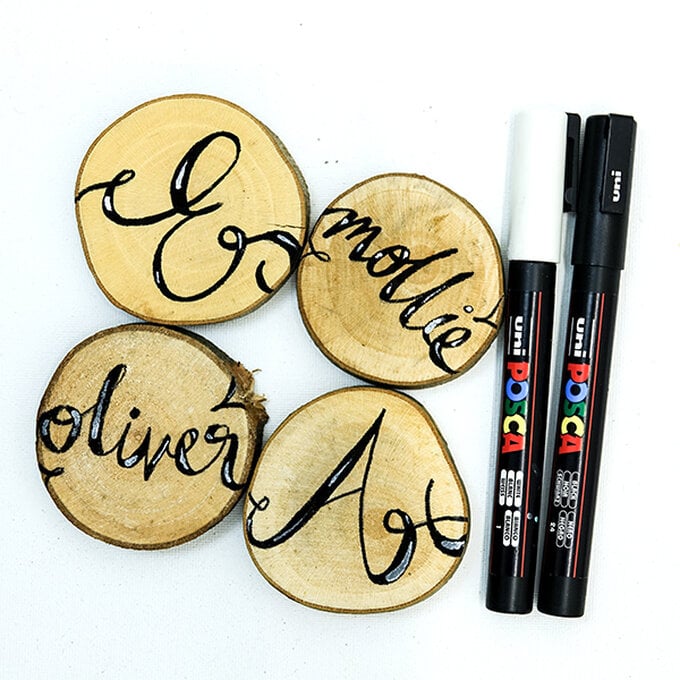
3. Add lines around the outside of the initial, adding accents and curves as you connect the lines.
4. Colour in your text. Wait for it to dry and then add highlights with white POSCA pen. To protect your coasters brush on clear varnish.
Related Products