Cricut: How to Create a Floral Bunny Wreath
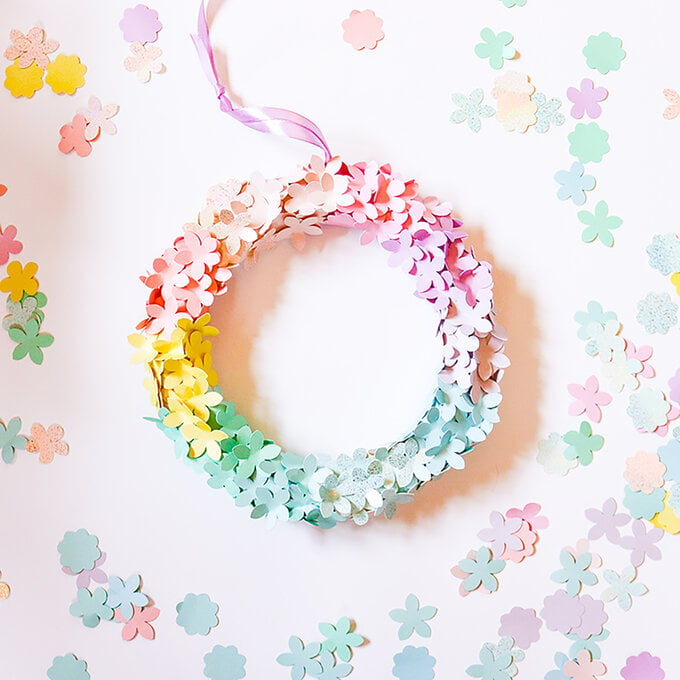
Hop into spring with this floral bunny wreath! An Easter bunny wreath is a great way to celebrate the season, adding a touch of spring to your home and transforming your décor with a fun flourish that'll help set the scene. Hang it on a wall or door for a lovely effect.
This simple wreath is made using free shapes in Cricut's Design Space app. Create paper leaves and flowers to decorate the wreath base.
Project and instructions by Rebecca Marie Creative.
This project has been created using the Cricut Maker, however it can also be created on the Explore Air 2. Screen reference images are taken from the desktop Windows version of Design Space.
You will need

Subtotal
Is $ 604.00

Subtotal
Is $ 40.00
Subtotal
Is $ 4.49

Subtotal
Is $ 12.00
How to make
* Cricut Machine ( A Cricut Maker or Explore Air 2 is Needed)
* Cricut Basic Tool Set
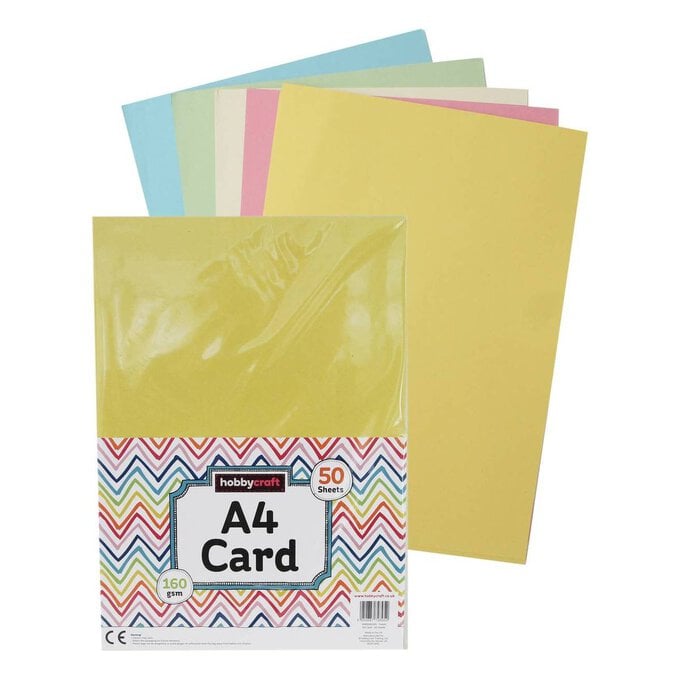
* A4 Pastel Card
* Cricut LightGrip Cutting Mat
* Wire Wreath
* 4cm Polystyrene Ball
* Yellow Felt Tip or Marker Pen
* Glue Gun and Glue

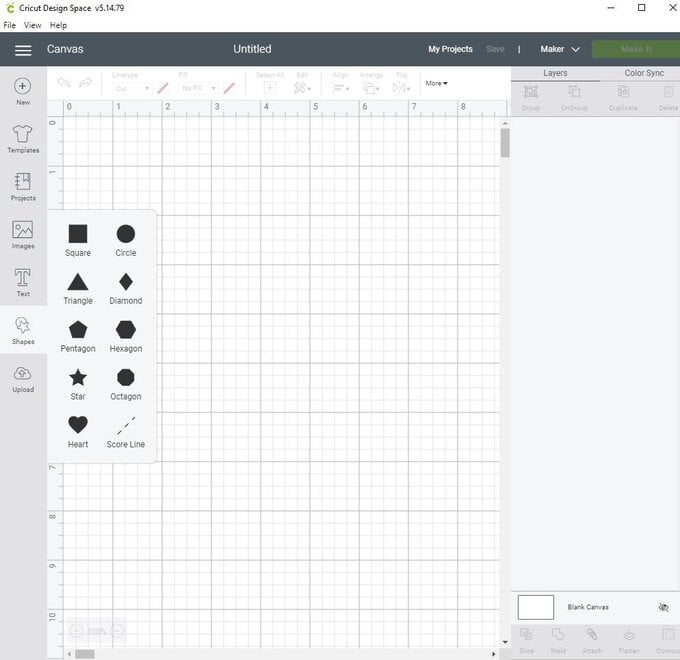
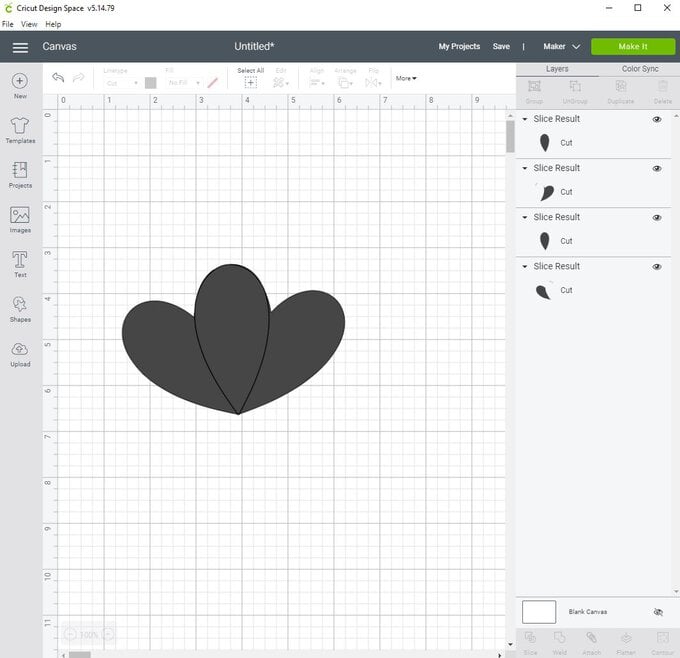
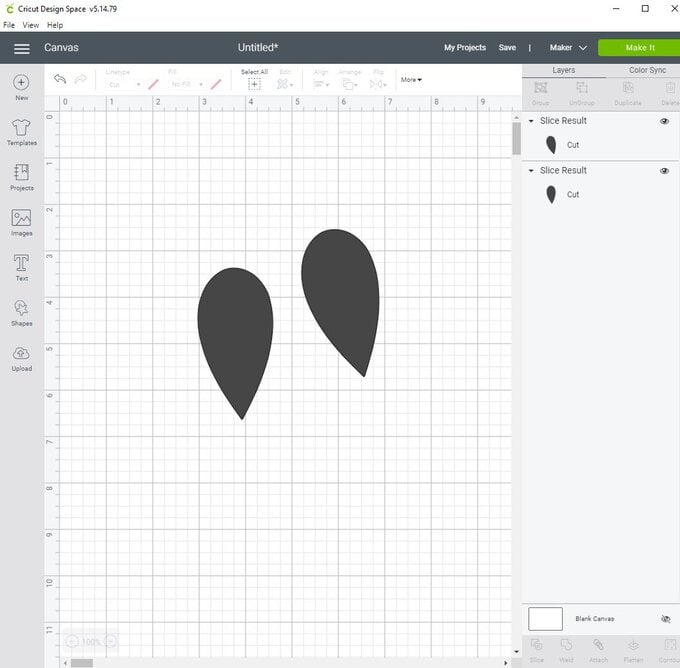
Open Cricut Design Space and start a new project. We are first going to create some leaves. First select shapes and select heart shape. Select another heart shape. Overlap these so that half of the hearts are overlapping like the example below. Select both and use the slice tool. Remove all except the overlapped pieces; these are your first leaf shapes. Keep both pieces as you are going to need these shapes for all the leaves we will be creating.

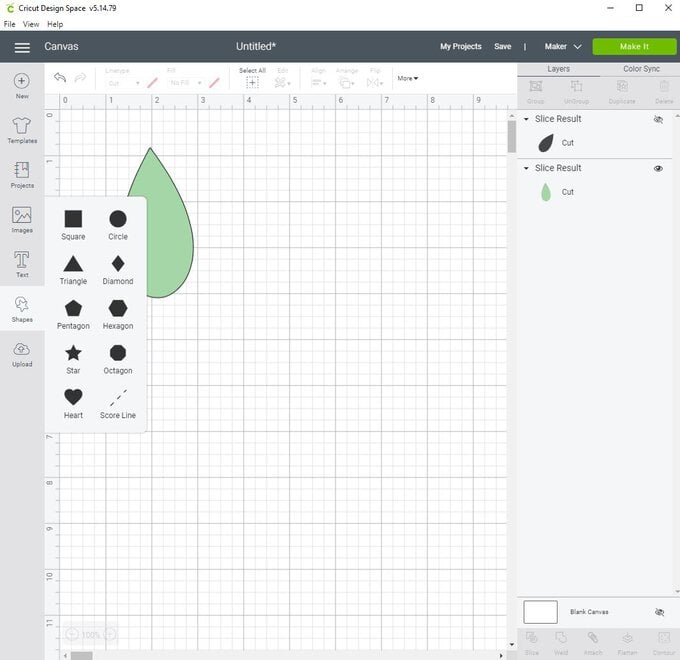
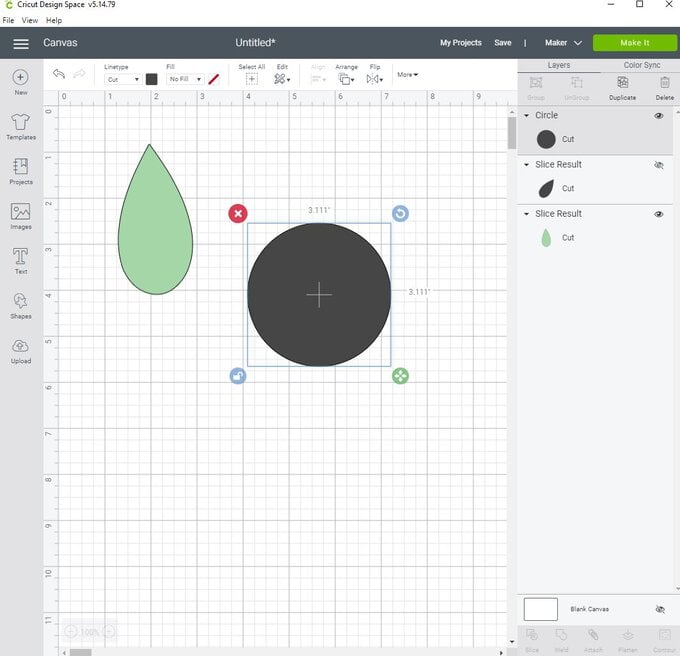
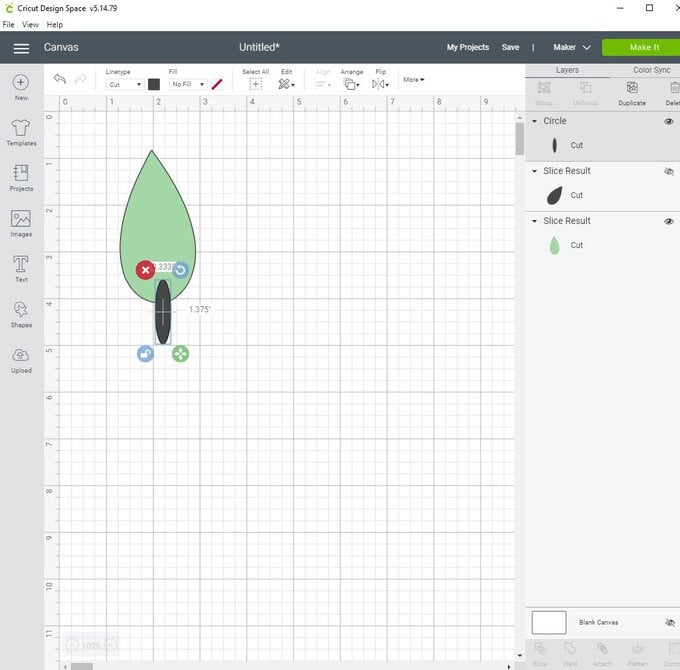
Make a stem for your first leaf shape by selecting a circle from the shapes area. Unlock this by clicking onto the shape and selecting the lock symbol. Then stretch this out to a long thin oval. Position on the leaf, select both layers and use the weld tool to join together. This completes the first leaf.
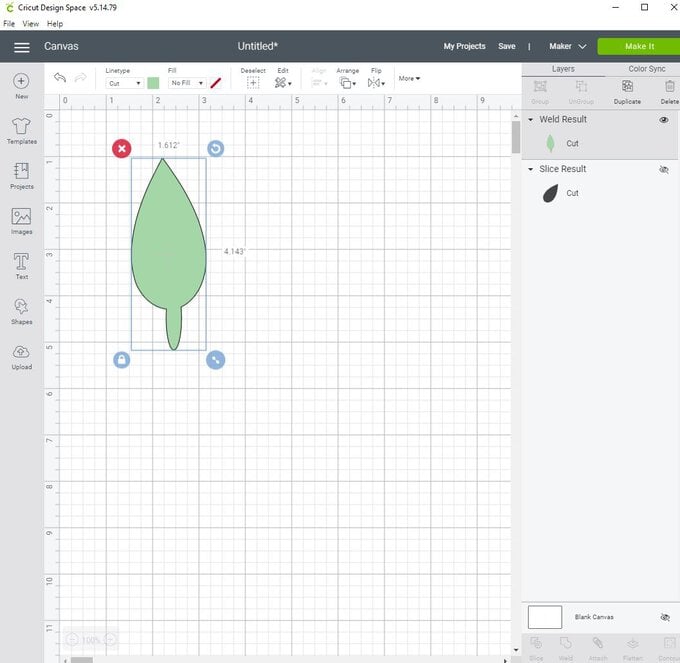
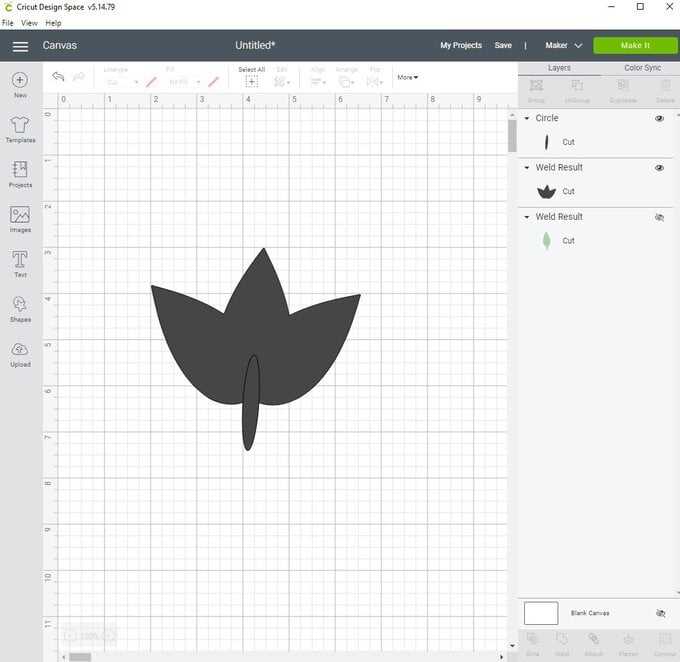
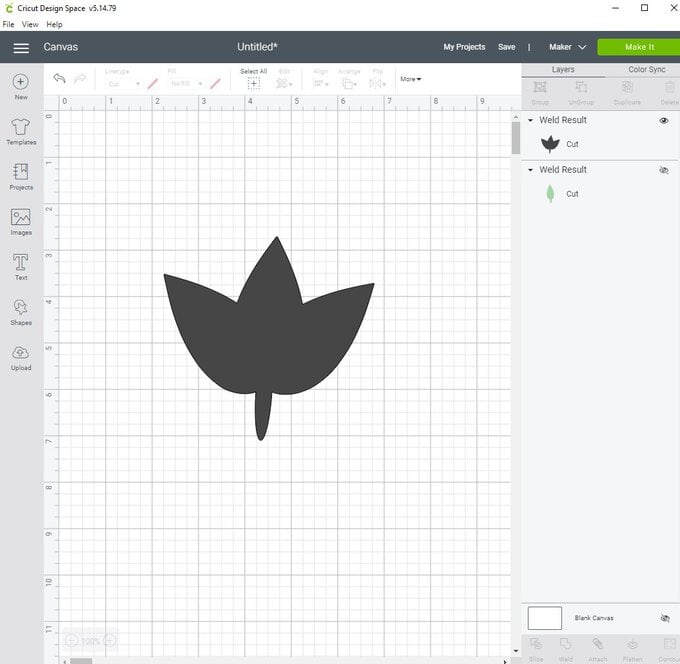
Take that second cut out piece of leaf shape and duplicate twice so that you have three leaf pieces. Overlap these in a fan shape like below. Select all and weld together. Again you need to create a stem. Select a circle shape, unlock the shape and create a thin oval. Place at the bottom of the leaf shape, select both layers and weld together. This completes the second leaf shape.
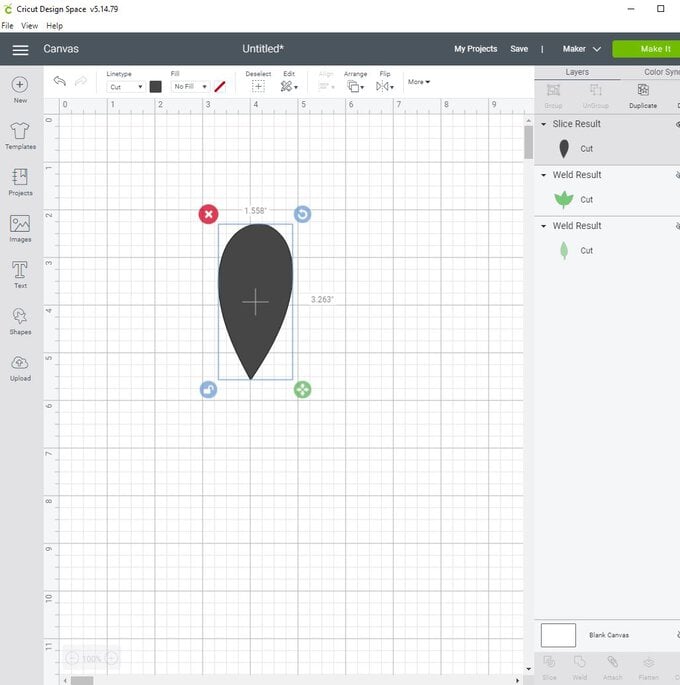
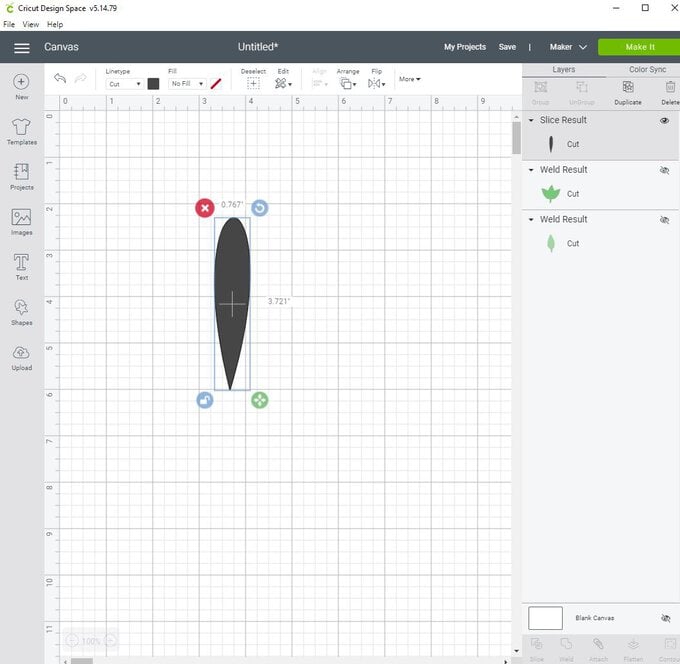
For the third leaf, take that original leaf shape. Select the shape and the unlock symbol. Stretch this so that it is long and thin. You can then lock the shape and size it both to create large leaf shapes with it and smaller shapes.
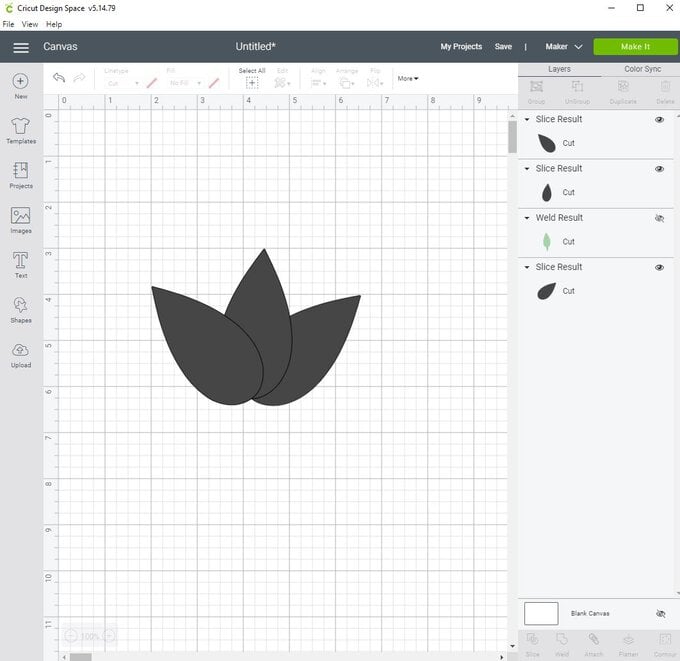
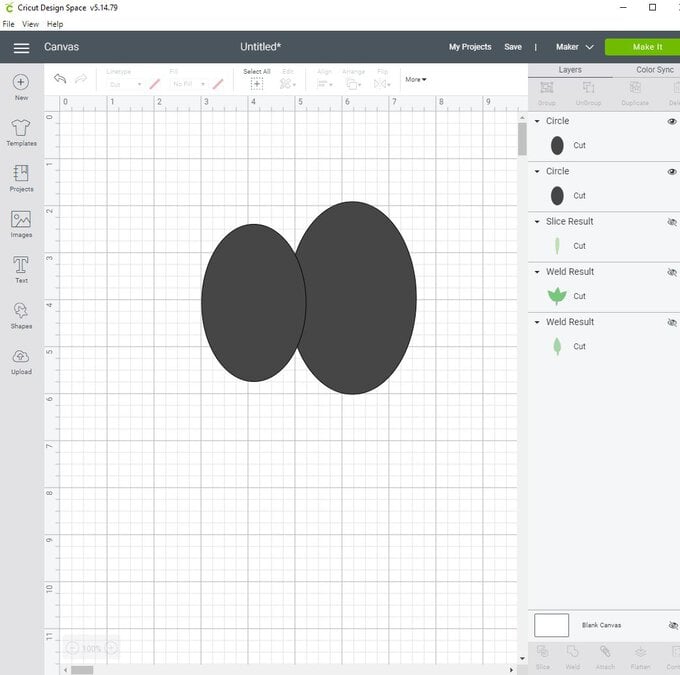
To make the flower, select a circle shape from the shapes area. Select the unlock symbol and shape into a large oval, duplicate and make this smaller. Position this to the side of the original oval slightly overlapping at the sides.
Duplicate again and position next to the second oval making it a little smaller.
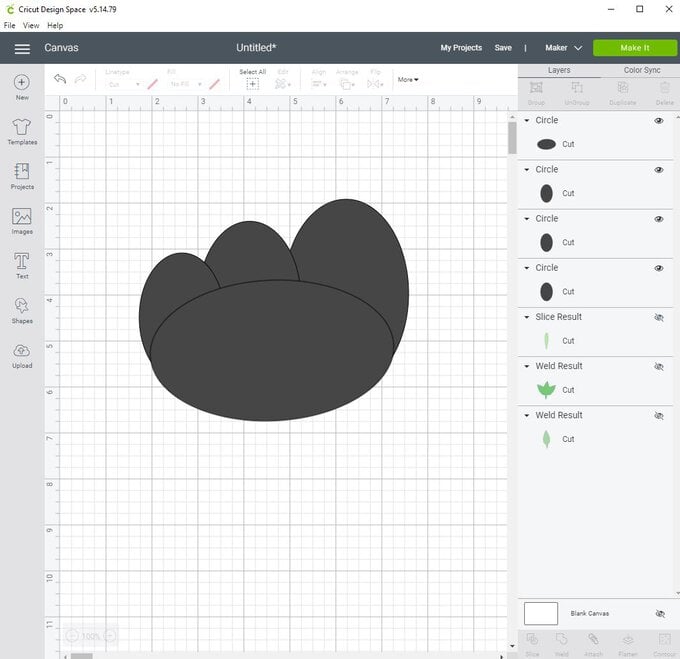
Then take another circle, unlock and shape so that it covers the bottom of the three ovals -shape it so that it looks like a flower petal.
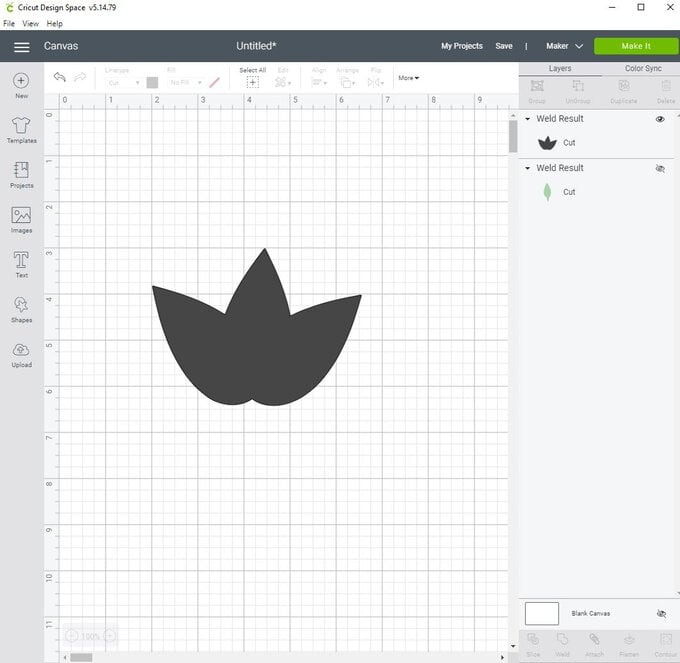
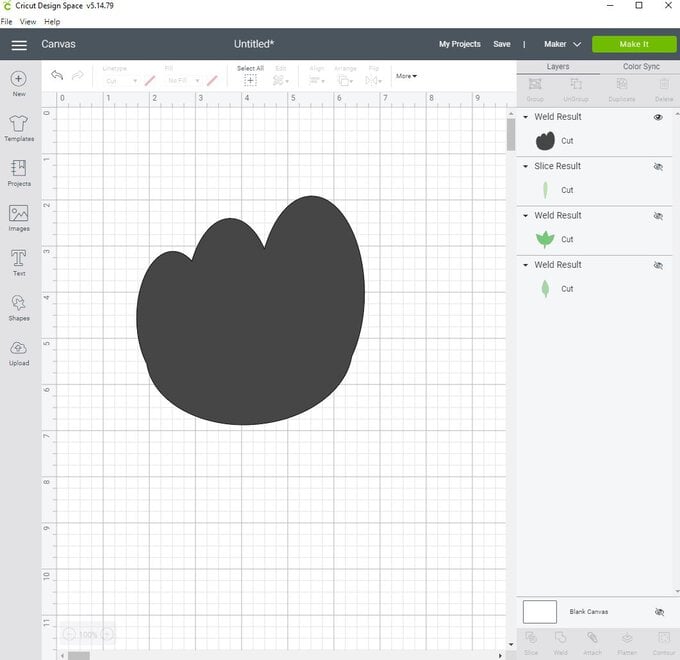
Select all the layers and weld together. You now have a petal. You now need to create the petal in a variety of sizes to create the flower. I cut out four small petals, 6 medium and 6 large.

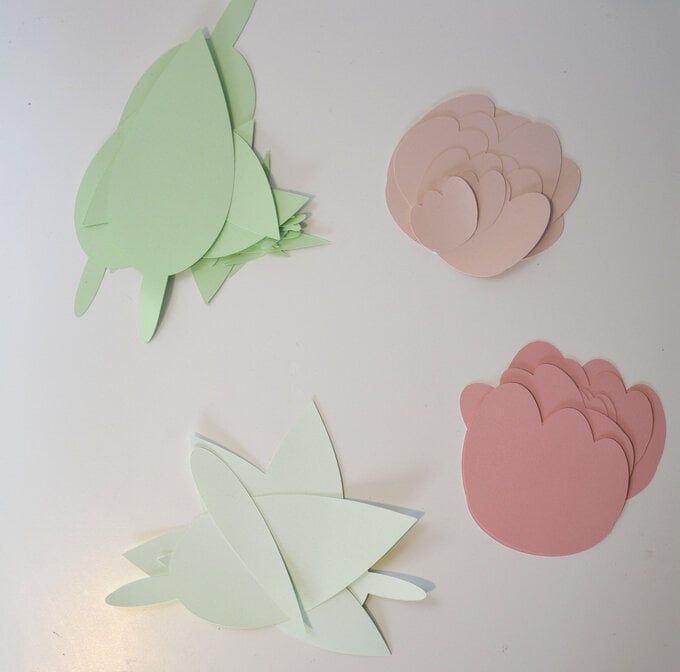
Now you have all the leaf and flower petal shapes. Create a variety of leaf sizes in each shape and mix up the leaf colours too to create a vibrant spring wreath!
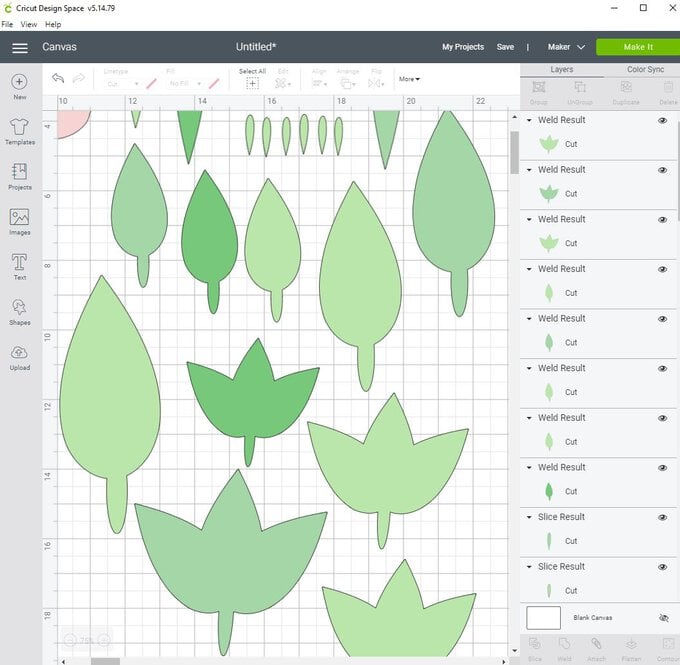
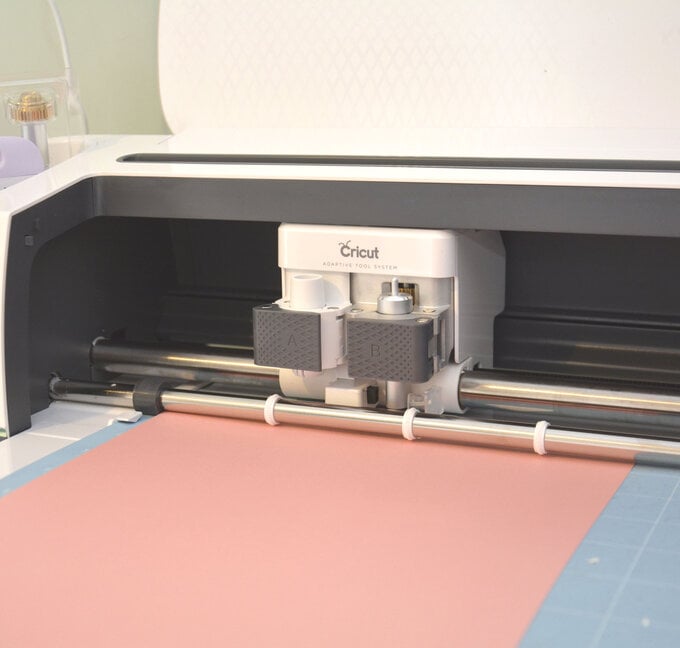
Cut the shapes out on your Cricut Machine!
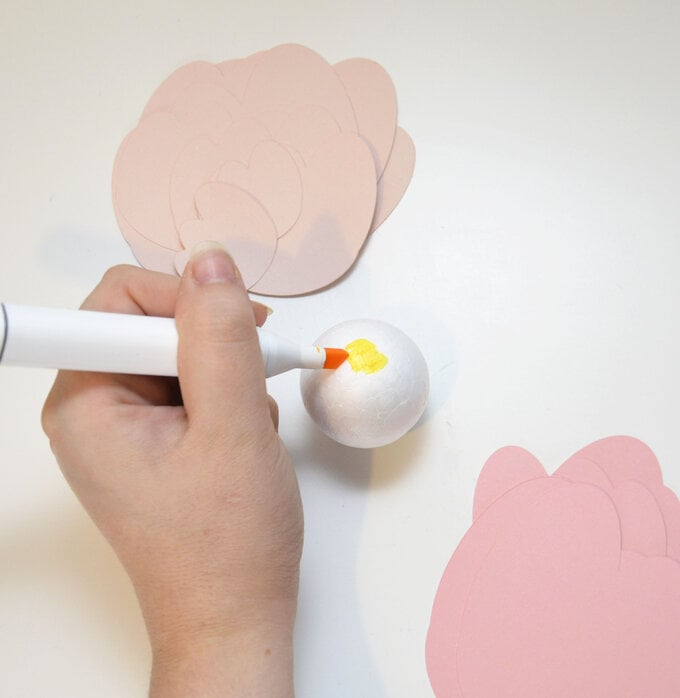
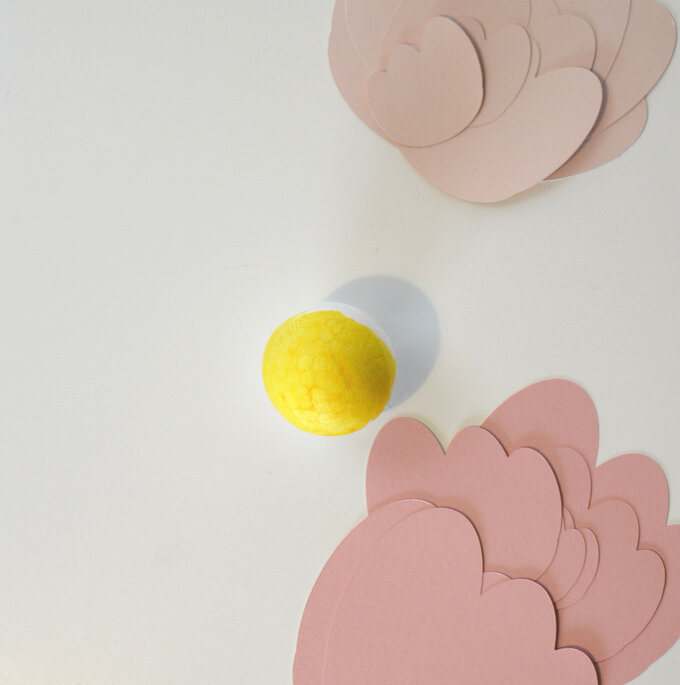
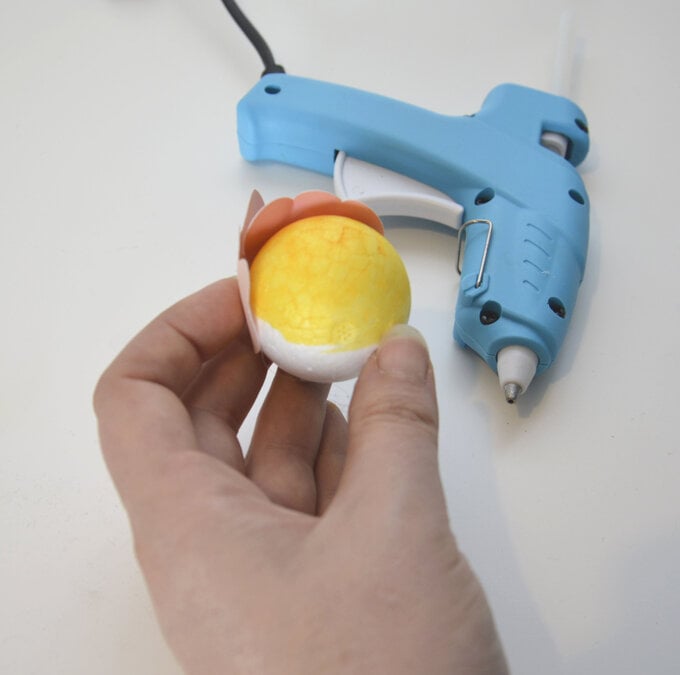
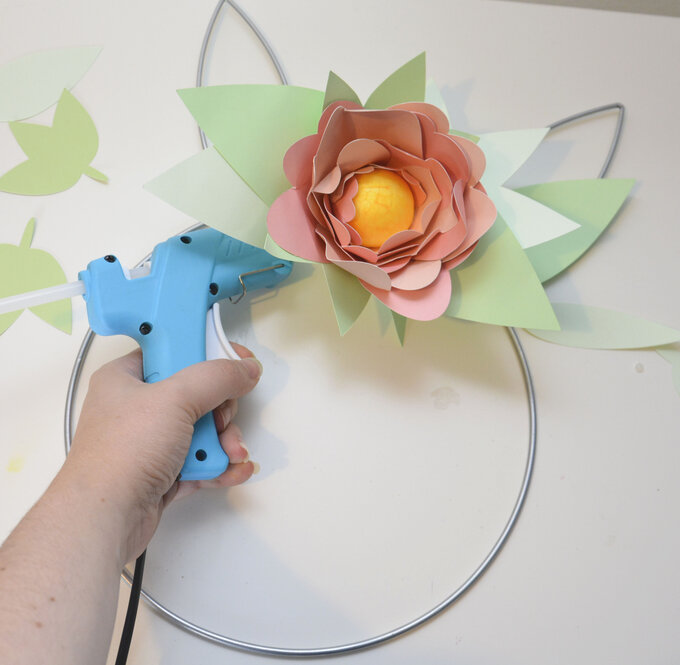
Take a 4cm polystyrene foam ball and a yellow felt tip pen or permanent marker. Colour in the top half as this will be your flowers centre.
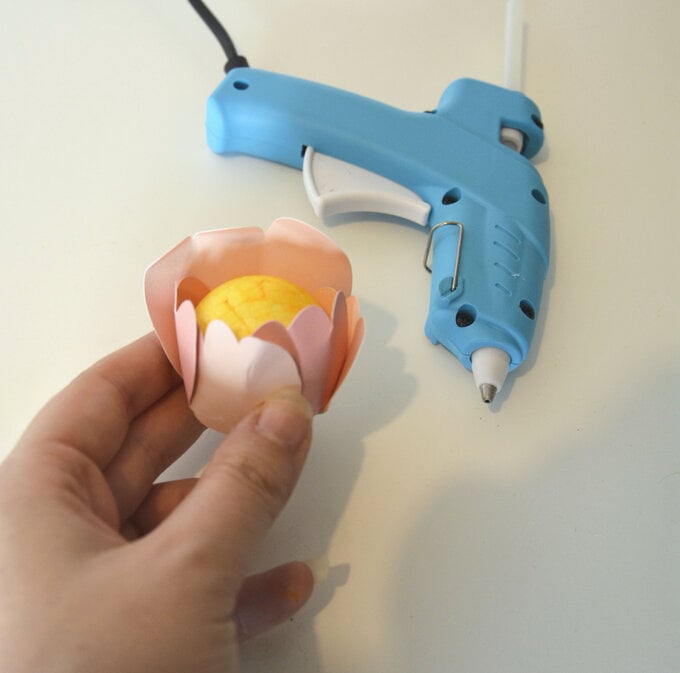
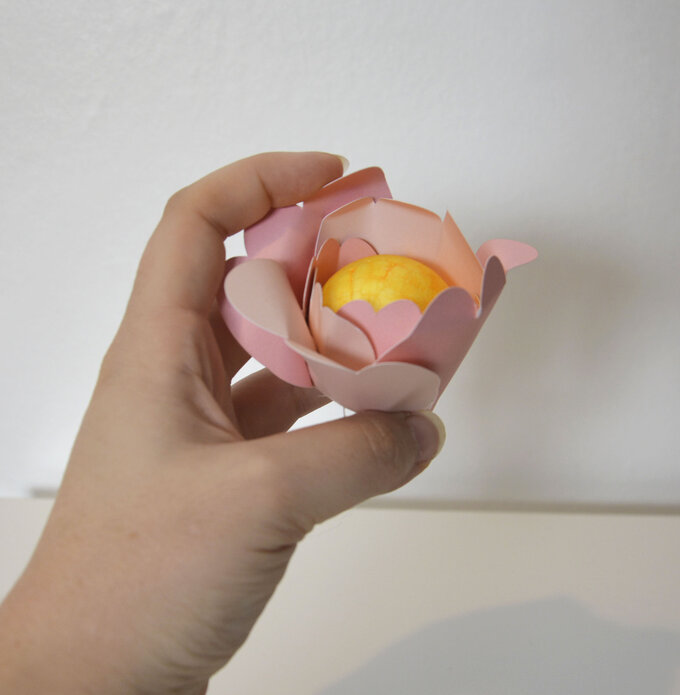
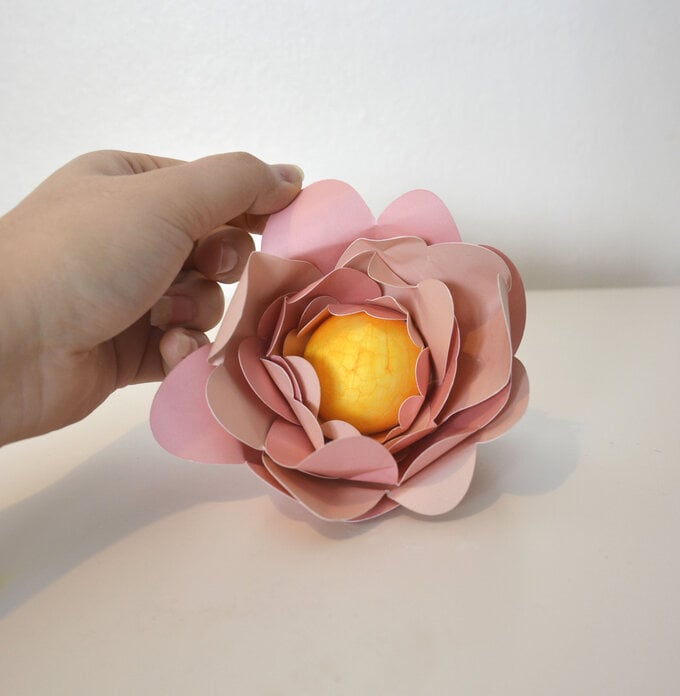
Starting with the smaller petals, make a line of hot glue on the bottom of the inner side of the petal and glue to the foam ball. Work your way around clockwise with each petal slightly overlapping. Use you hands to curl the petals inwards. Once you have finished gluing the petals use your hands to shape the top of the petals to your liking.
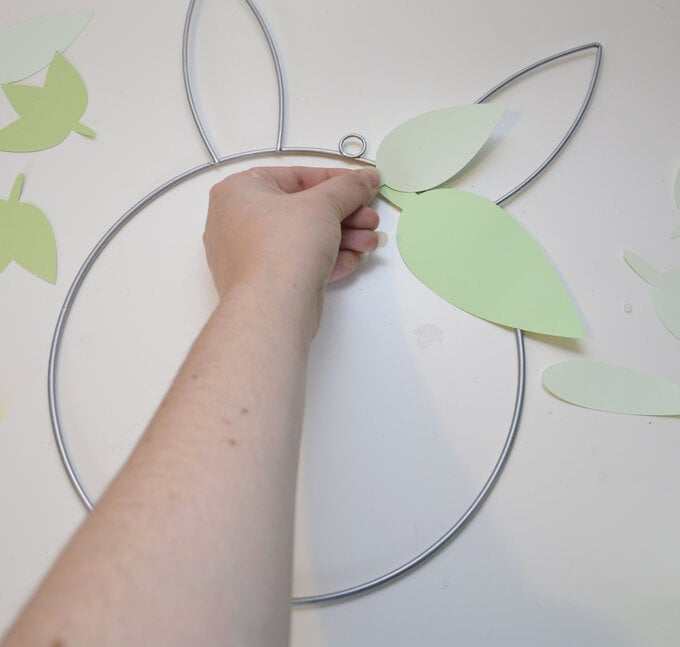
Take your wreath and position the leaves along the top wreath so you can see where they will go and if you need to cut out anymore.
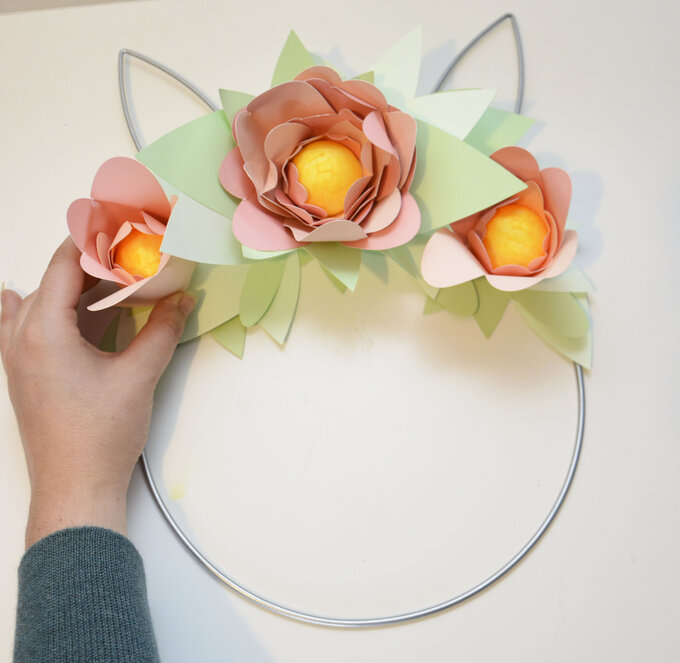
Adhere the leaves with a glue gun and hot glue to the wreath and attach flowers to centre.
Related Products