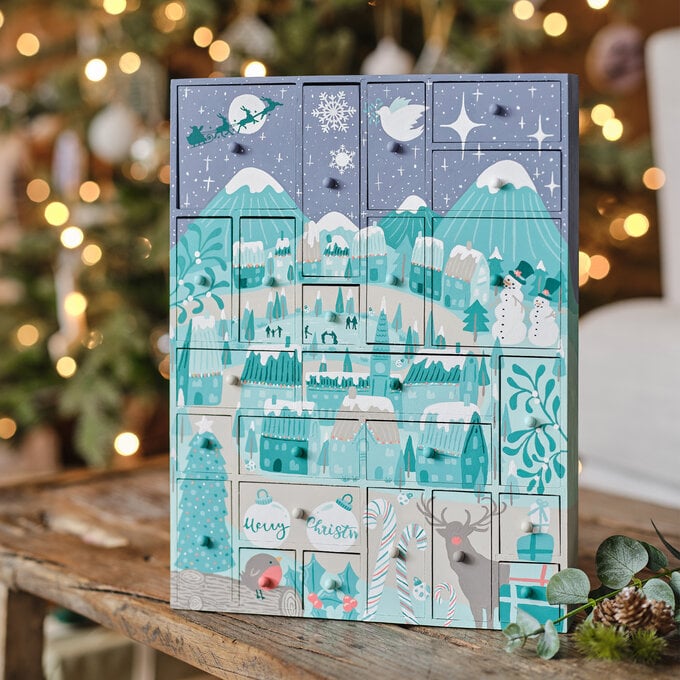
How to Decorate a Wooden Advent House
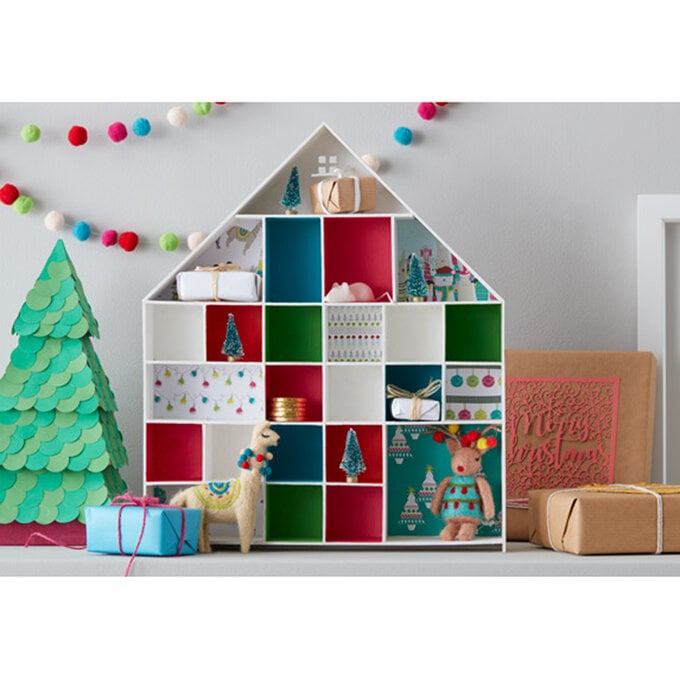
Christmas is just around the corner! Count down in style with an advent calendar that's perfect for decorating and reusing year after year. You can personalise it however you like, with a huge range of craft techniques to try.
Grab some of your favourite paints and accessories and get crafting. This advent calendar is the perfect size for a small gift or chocolate each day!
Project and instructions by Paige Webb
You will need

Subtotal
Is $ 6.49

Subtotal
Is $ 6.49
Subtotal
Is $ 20.00

Subtotal
Is $ 4.49
* Wooden Advent Calendar
* Acrylic Paint - White, Blue, Green, Taupe, Pale Pink, Red
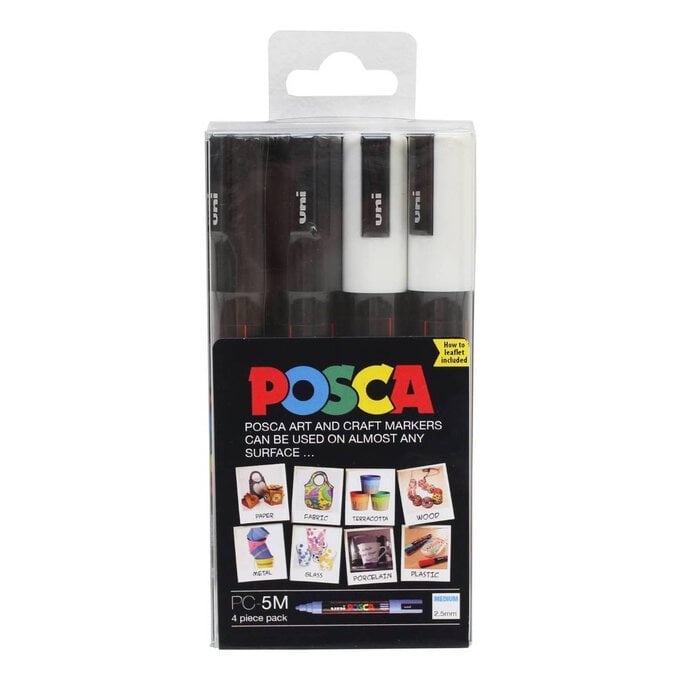
* White Posca Pens
* Advent Numbers
* Paintbrushes in Various Sizes
* Glue

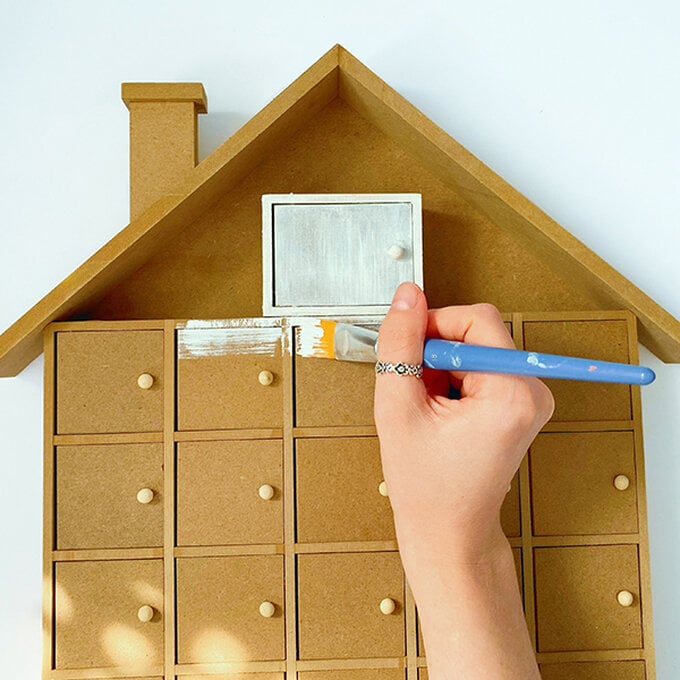
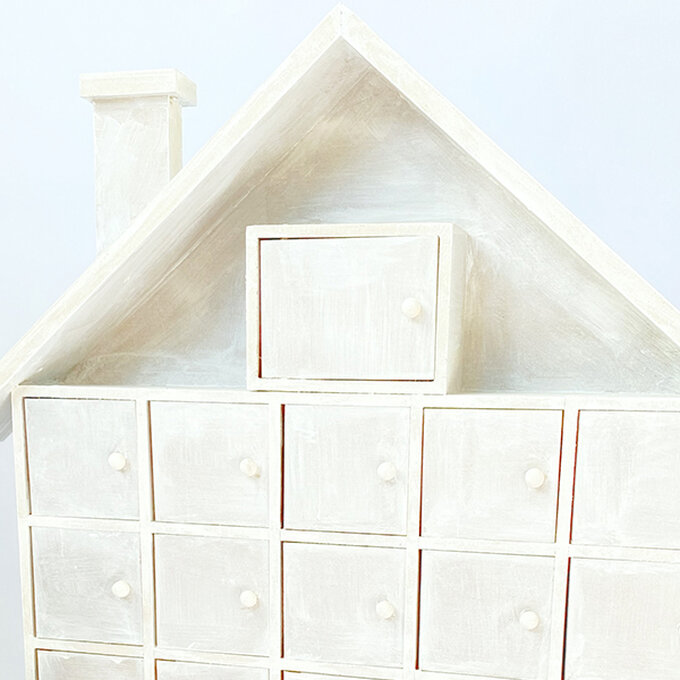
Start by applying an undercoat with white paint; this will help your chosen colours to pop!
Paint the whole advent calender including inside all the doors - don't worry too much about being neat, it will be covered with another colour in the next step.
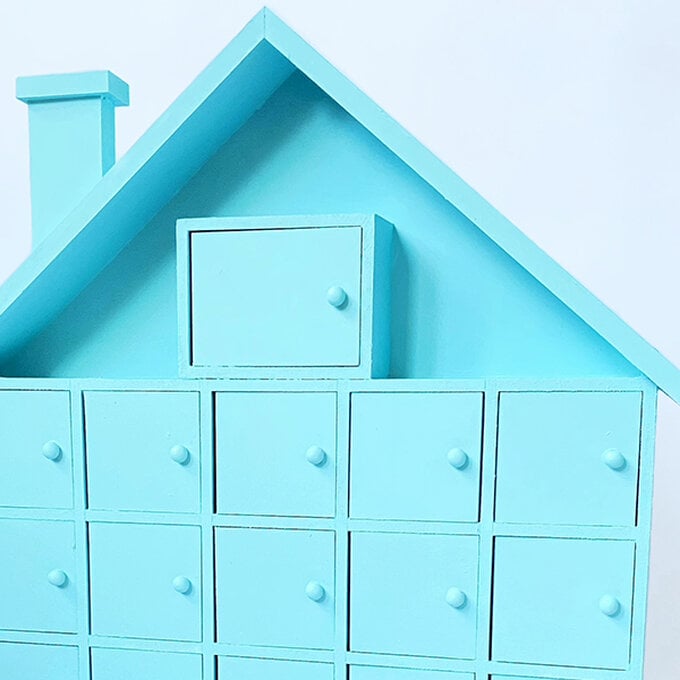
Now it is time to paint the main background colour. I mixed white, green, and blue to get this minty blue, but any pale blue paint will work great.
Paint the whole advent calendar including inside all the doors. Leave to dry and then apply a second coat.
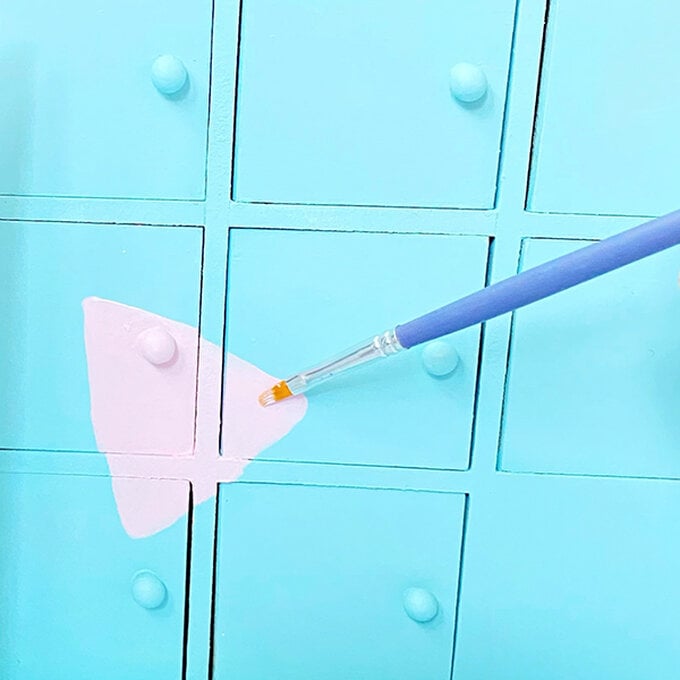
Next, paint your design. Start with the basic background shapes and add a few coats of the colour so it's nice and bright. LEave to dry.
Then take a thin paintbrush and paint on some finer details
Tip: Draw a quick sketch of your design on scrap paper first, so that you have a rough idea of how you want it to look.
This is where your design comes to life!
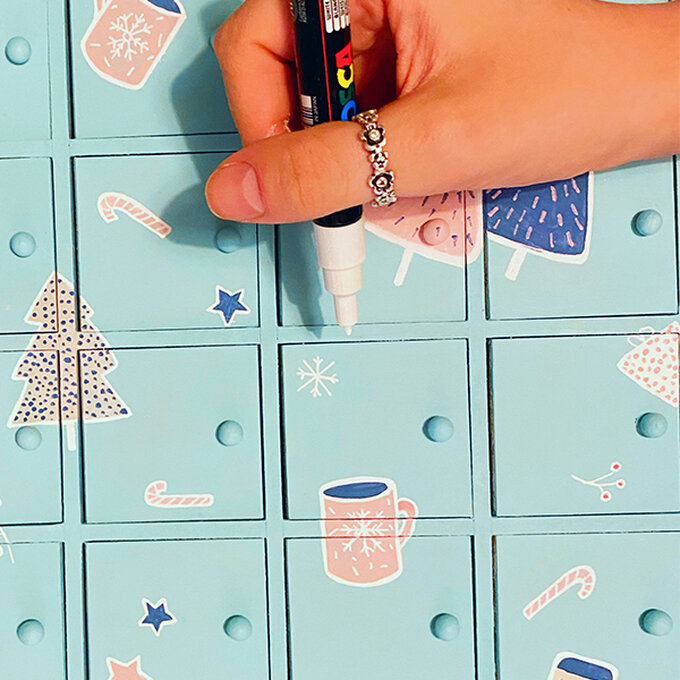
Add all the details on top of your coloured shapes using a Posca pen. I outlined all the drawings first, then filled them in with spots and designs.
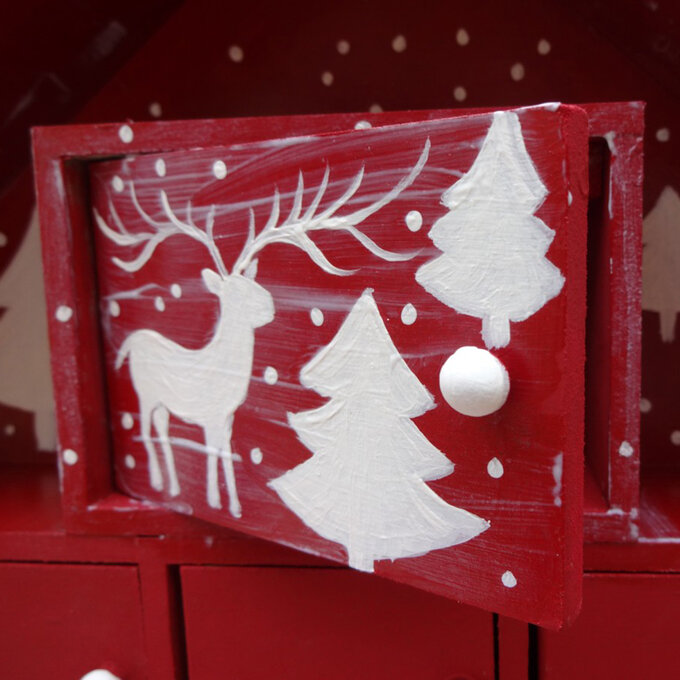
Now paint the back of the doors using brightly coloured paint. To get a crisp line along the edges, lightly swipe a square-ended brush across the door. Paint two coats, then leave to dry thoroughly.
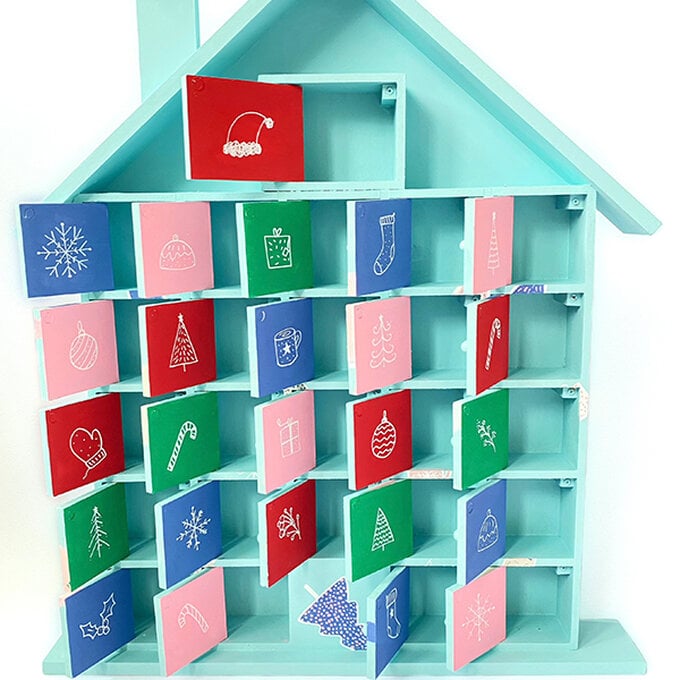
Using your Posca pen, add some Christmas drawings on the inside of the doors for a festive surprise every time you open one up!
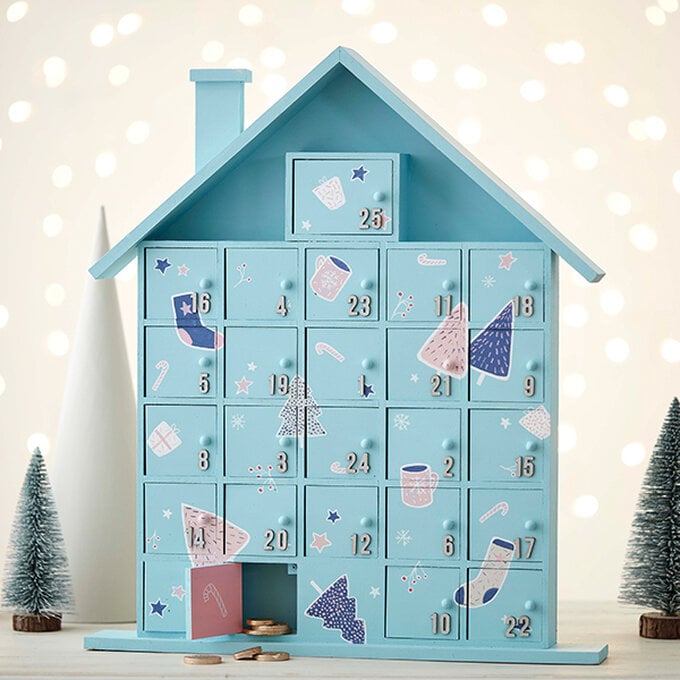
Finally, glue the advent numbers on to the front of the doors. Lay the advent calendar flat while the glue dries.

Your advent calendar is now complete!
Related Products