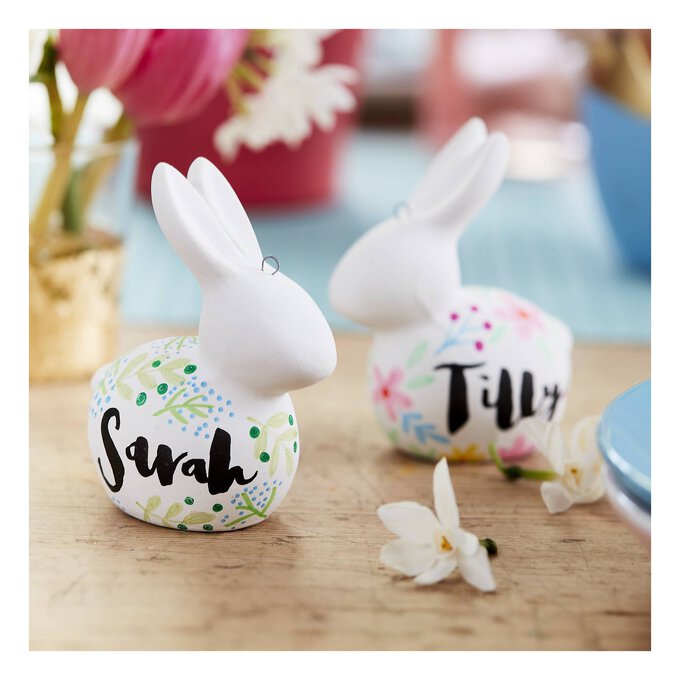
How to Decorate Ceramic Bunnies
Personalise the ceramic bunnies with names or initials with a combination of brush lettering and simple foliage.
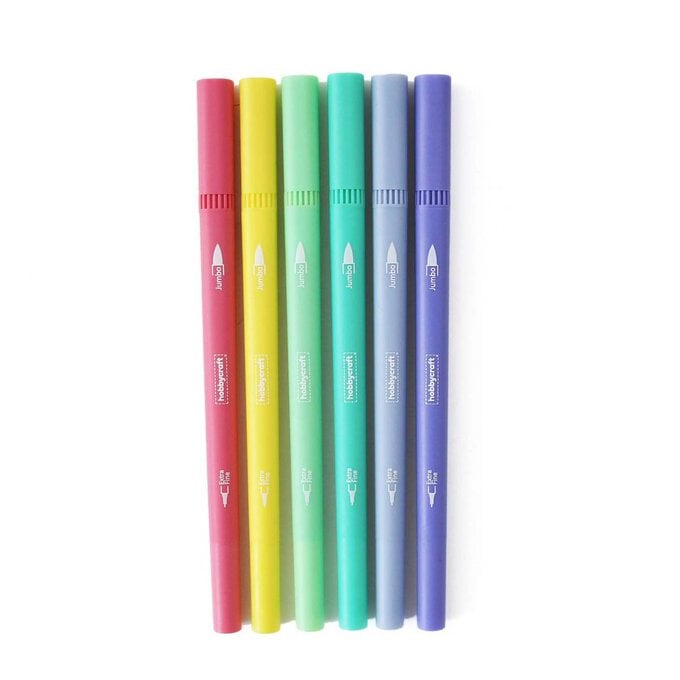
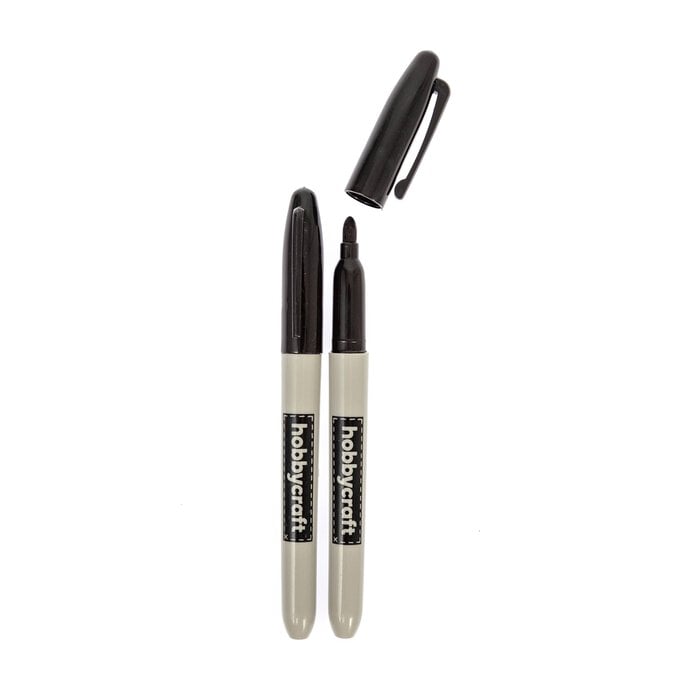
You will need

Subtotal
Is $ 13.00
Subtotal
Is $ 1.49
Subtotal
Is $ 10.00
Subtotal
Is $ 3.49
How to make
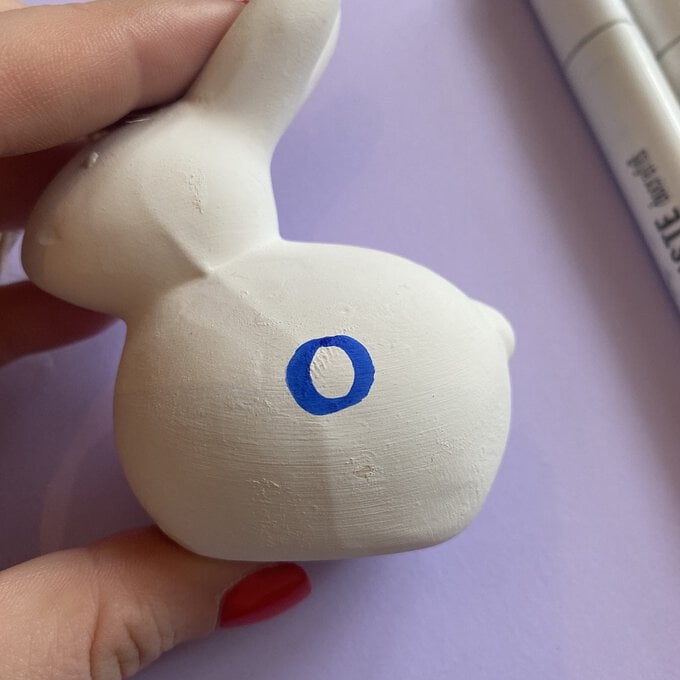
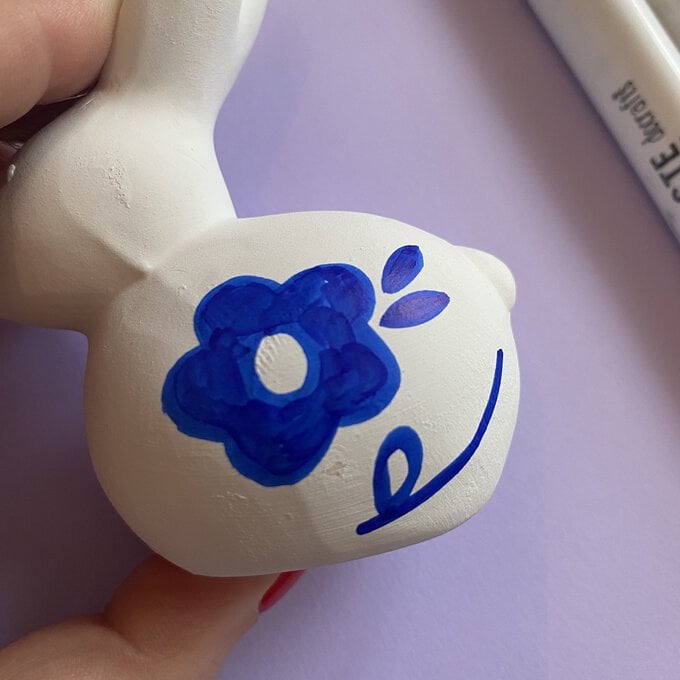
1. To create the large florals draw a circle that will act as your floral centre
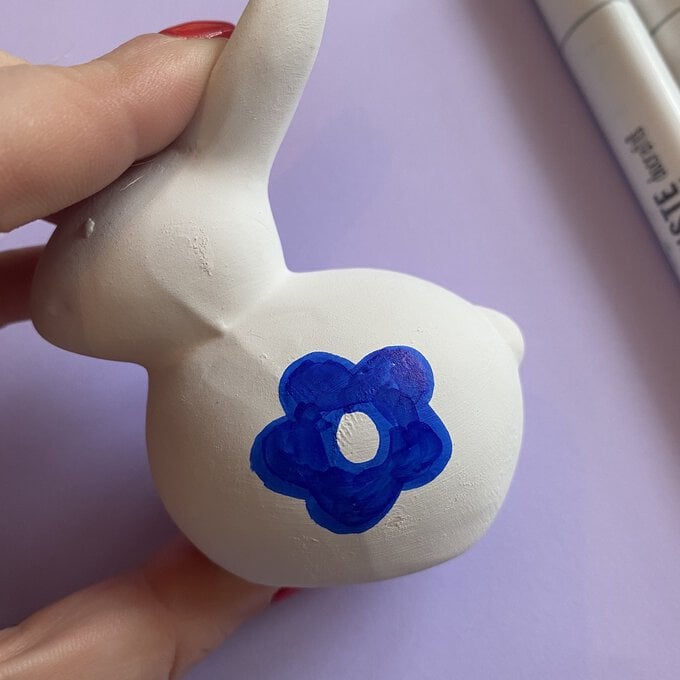
2. Then draw your petals around it keeping to simple scallop shapes for the florals
3. Colour in the petals so you are left with your centre showing the ceramic base
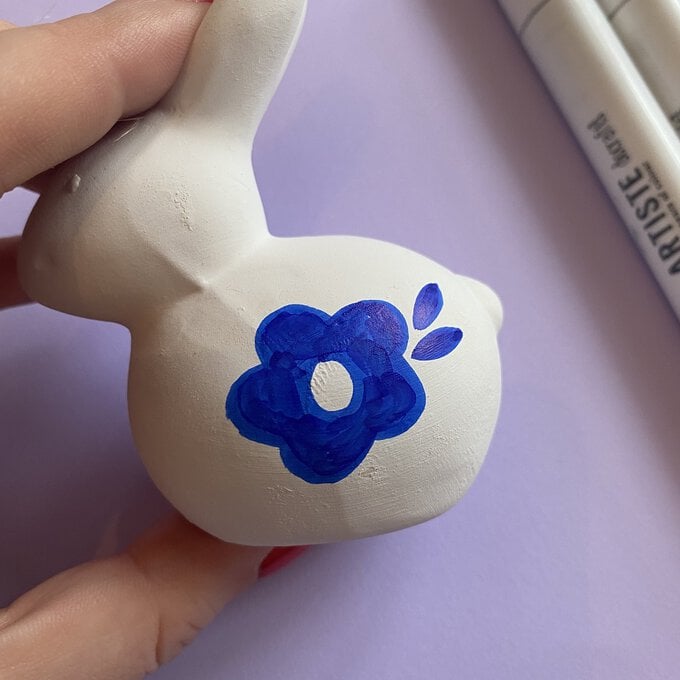
4. Using teardrop shapes create ditsy leaves around the flower
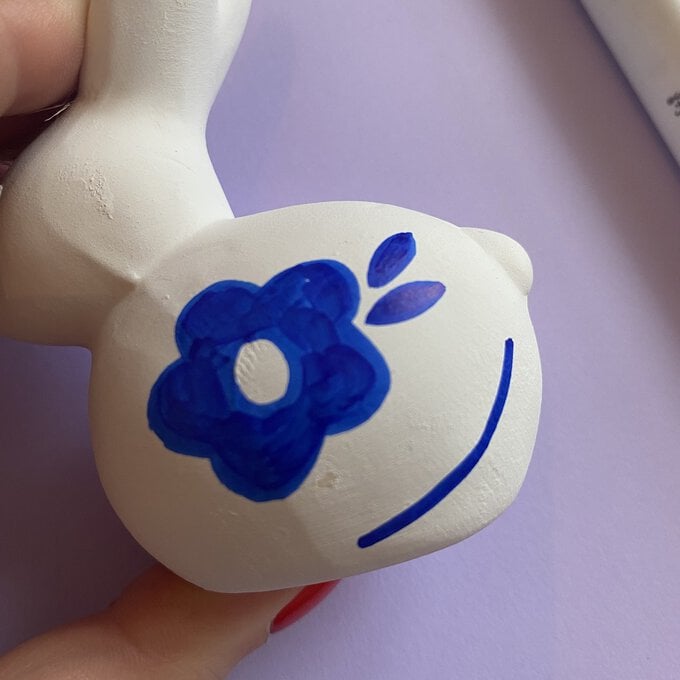
5. You can add foliage by drawing a simple curved line
6. Add teardrop shapes along the curved line. If you feel a bit nervous about working directly onto
the ceramic then you could use a pencil to sketch your shapes first
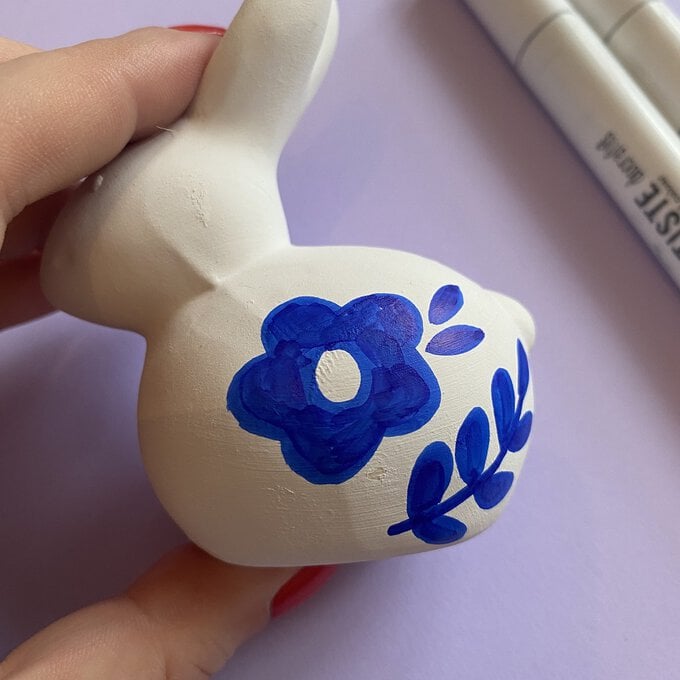
7. Colour in the teardrop shapes to create a simple foliage branch
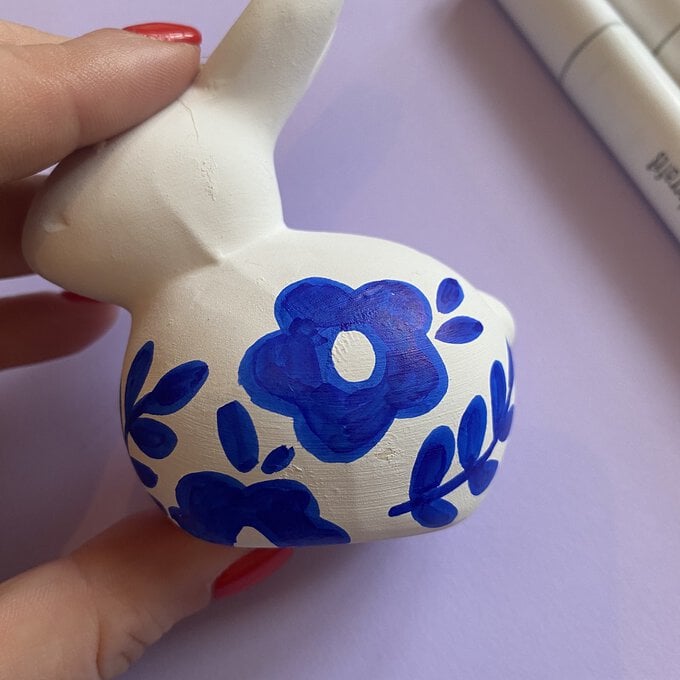
8. Begin repeating these shapes around the bunny eventually covering its body with a pattern

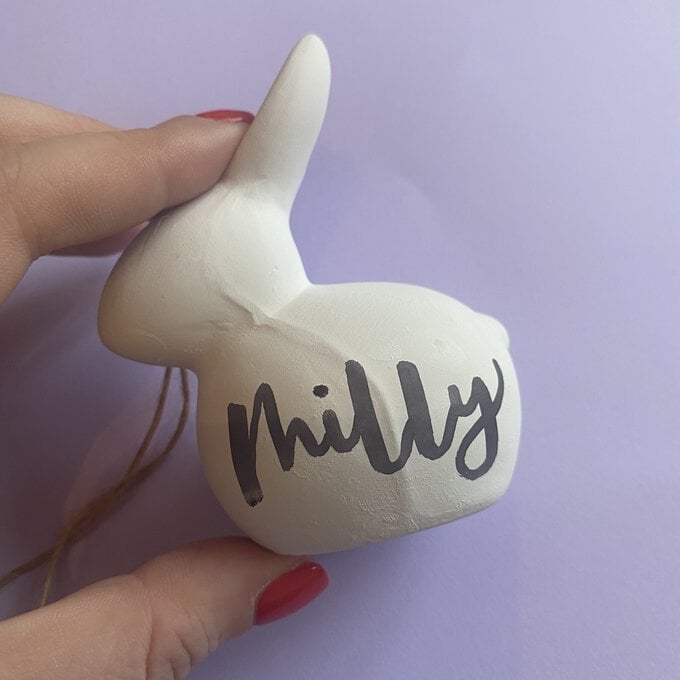
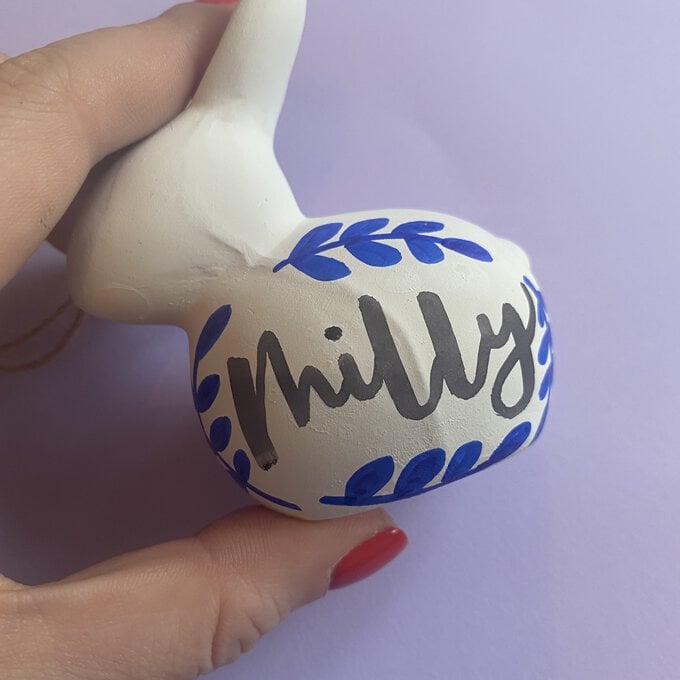
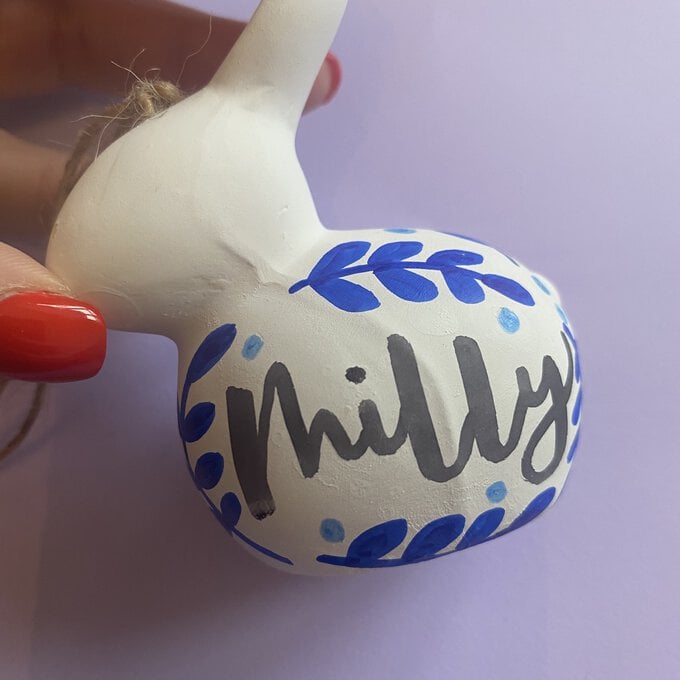
1. Brush letter your name onto the middle of the ceramic, I've used the Kelly creates brush lettering pen for mine.
2. As we did with the floral bunny create foliage shapes that frame the name, again if you are feeling nervous about working on the ceramics use a pencil to create a guide
3. Using another colour you can add in dots around the foliage and name.
4. Once dry these are the perfect table place name or handmade gift for easter!
Related Products