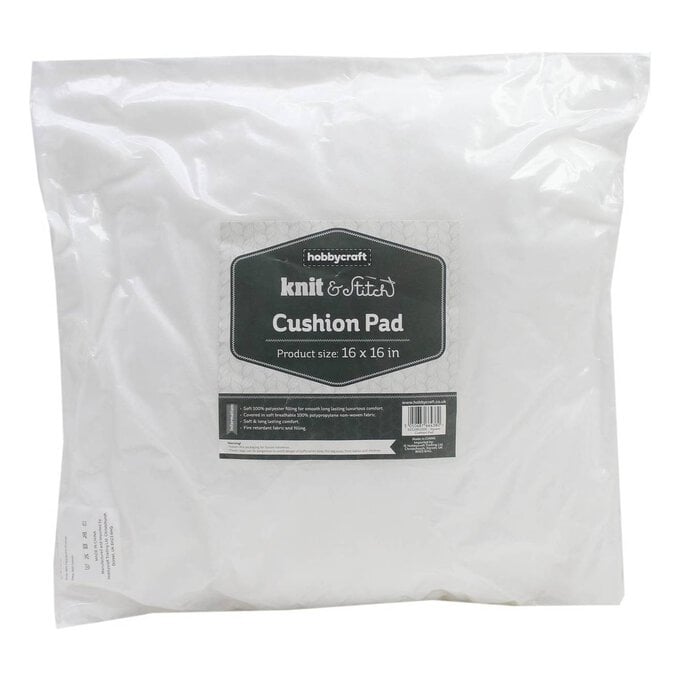
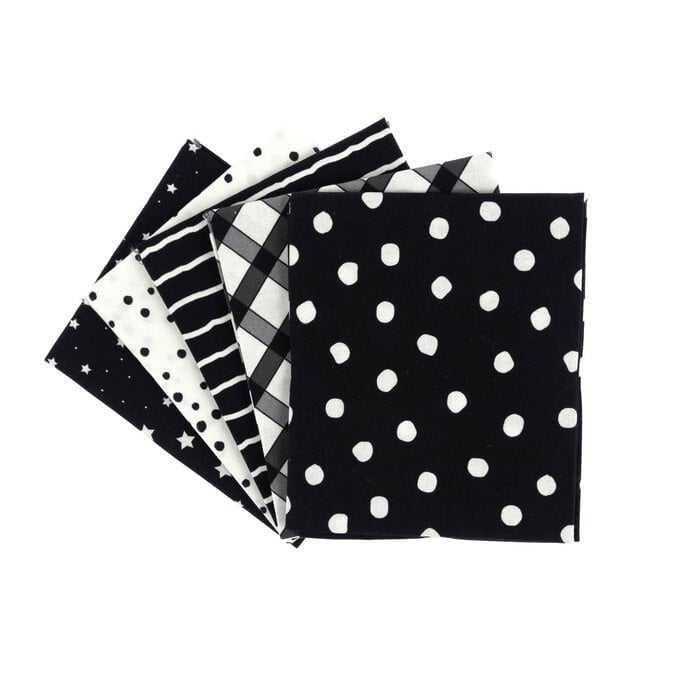
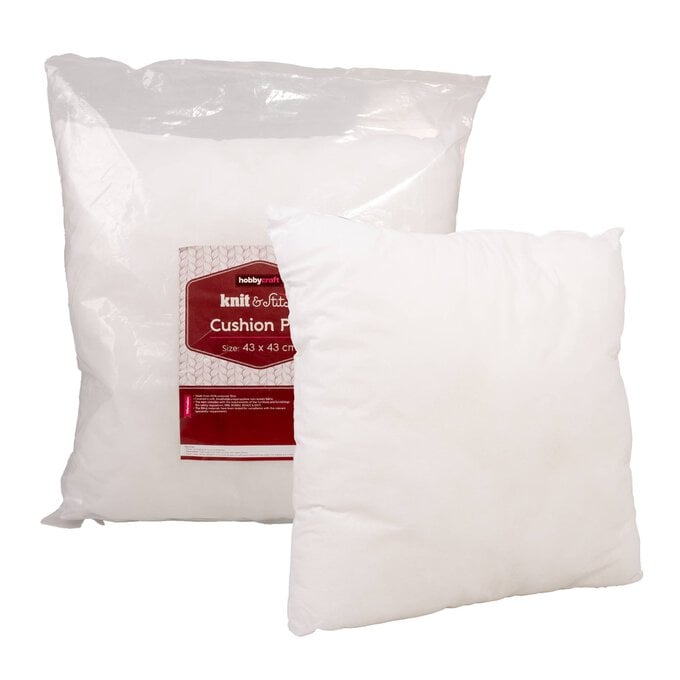
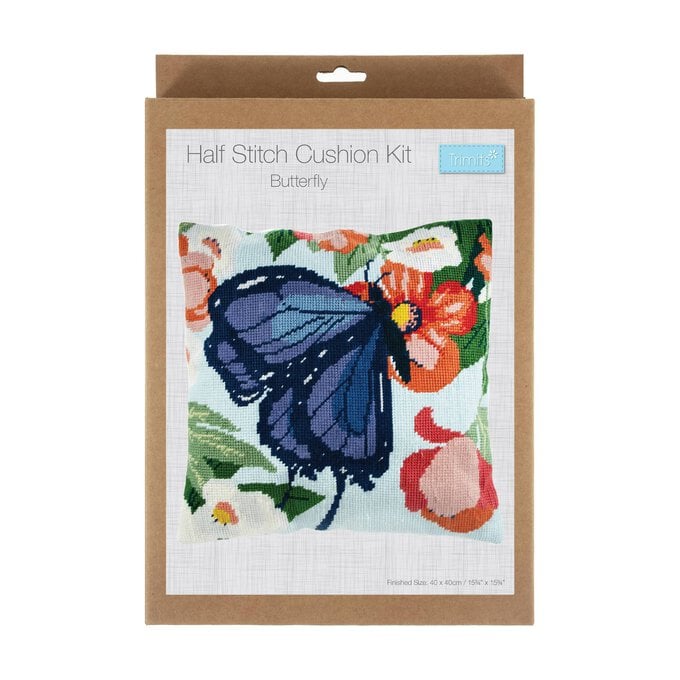
Cushion Making Kits
Our collection of cushion making essentials will help you craft your own stylish soft furnishings, with fabrics and filling to bring every idea to life. From cushion making kits to cushion pads, find everything you need to stitch beautiful cushions for your home.
Viewing 1 - 48 of 976 Products
Viewing 1 - 48 of 976 Products


You've viewed 48 of 976 products
Related Products
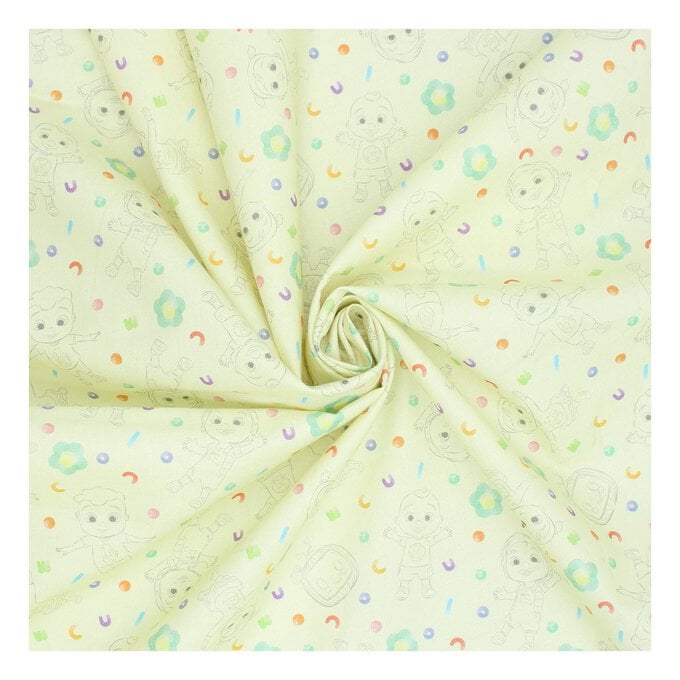
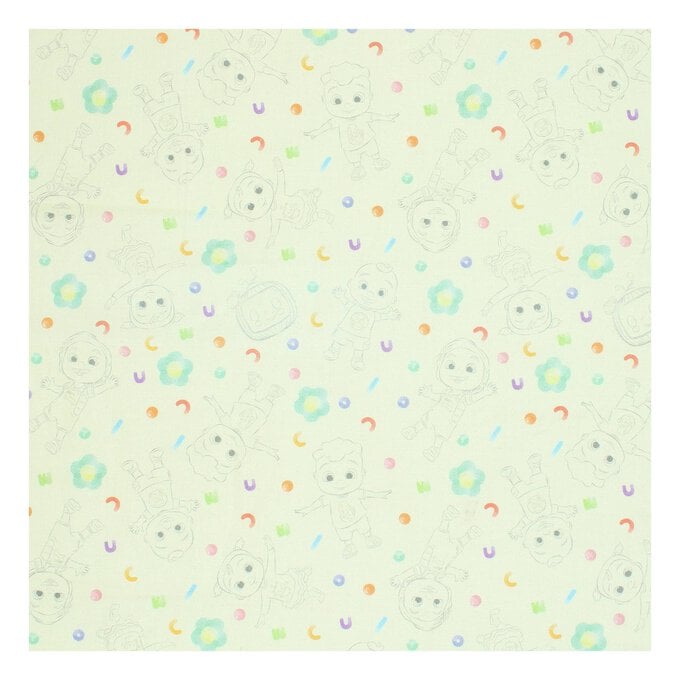
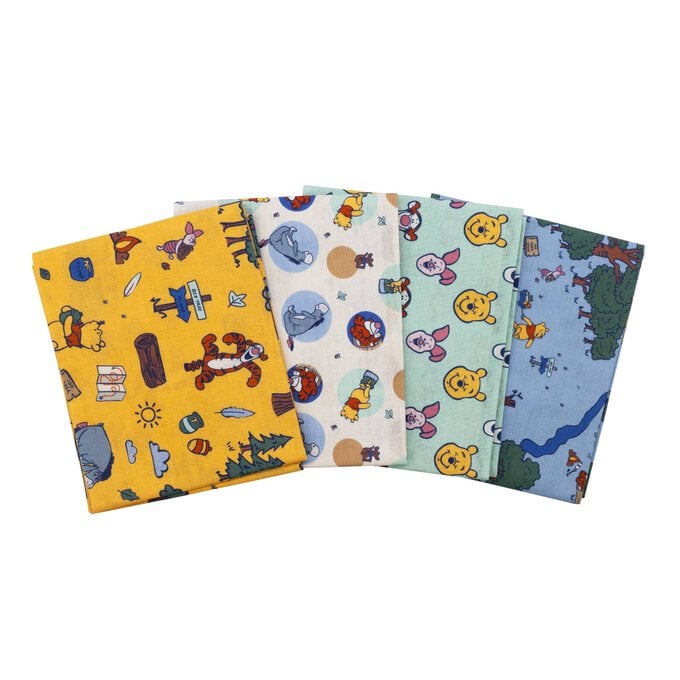
Cocomelon Letters Cotton Fabric by the Metre
Is $ 15.00
This Cocomelon Letters Cotton Fabric is ready to bring a burst of fun to any sewing project! Use the 100% cotton fabric to create a colourful quilt, children’s clothing, accessories and more. The fabric features a brightly coloured print inspired by the ...
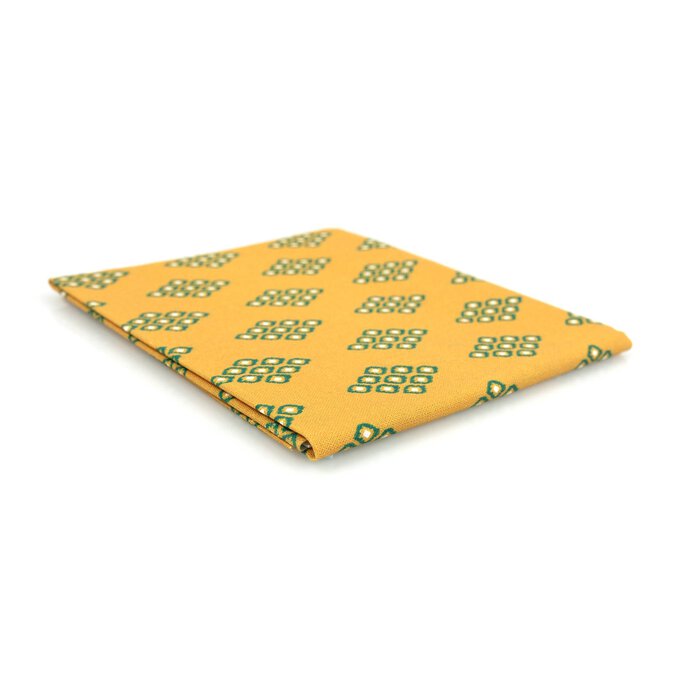

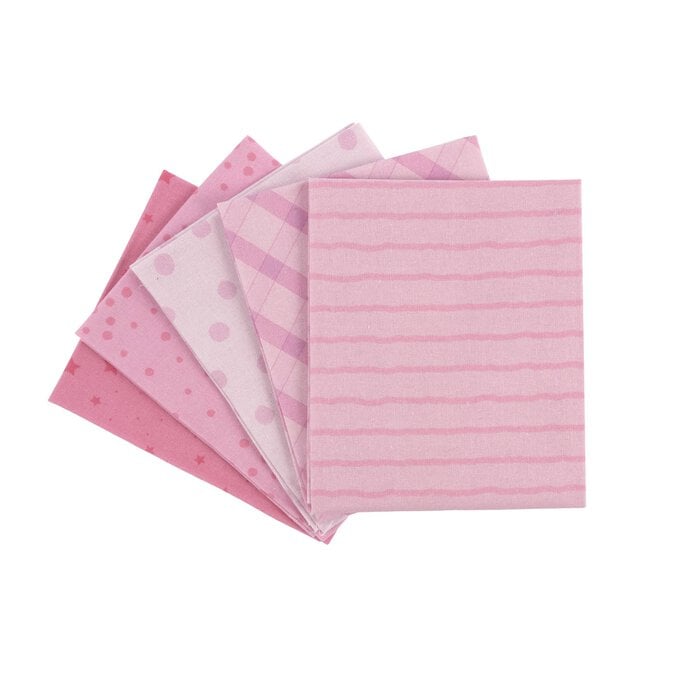
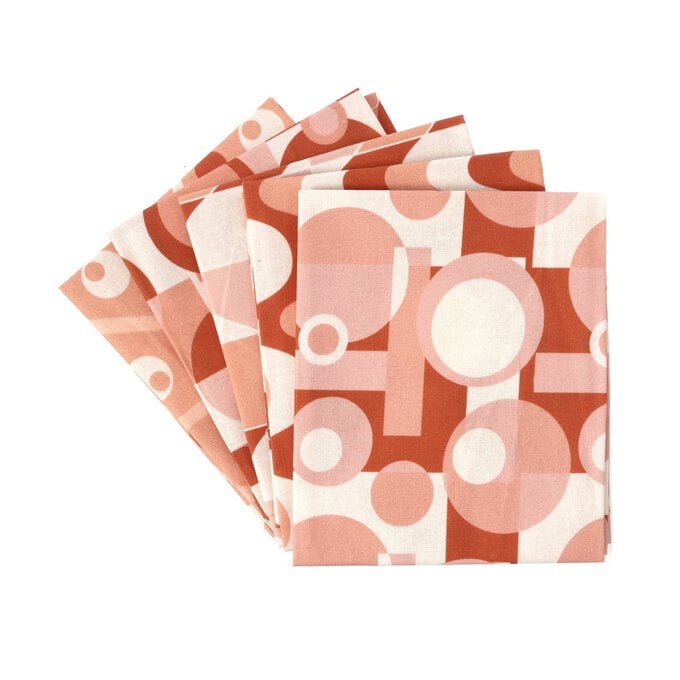
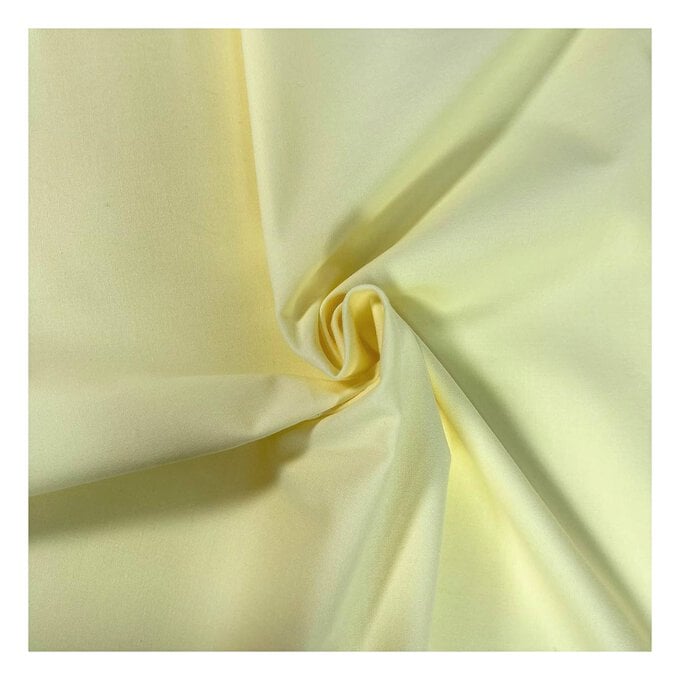
Mini Diamond Yellow Single Cotton Fat Quarter
Is $ 4.49
Enjoy sewing in style with this Mini Diamond Yellow Single Cotton Fat Quarter. The beautiful geometric print combines with bold, bright colours. The pre-cut single fat quarter is 100% cotton. It’s ideal for a whole host of sewing projects, from quilting ...
3 for 2
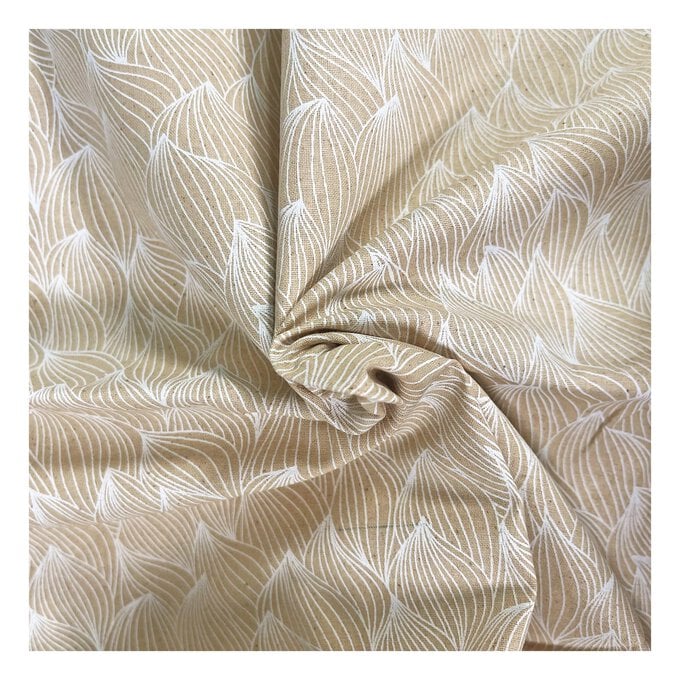

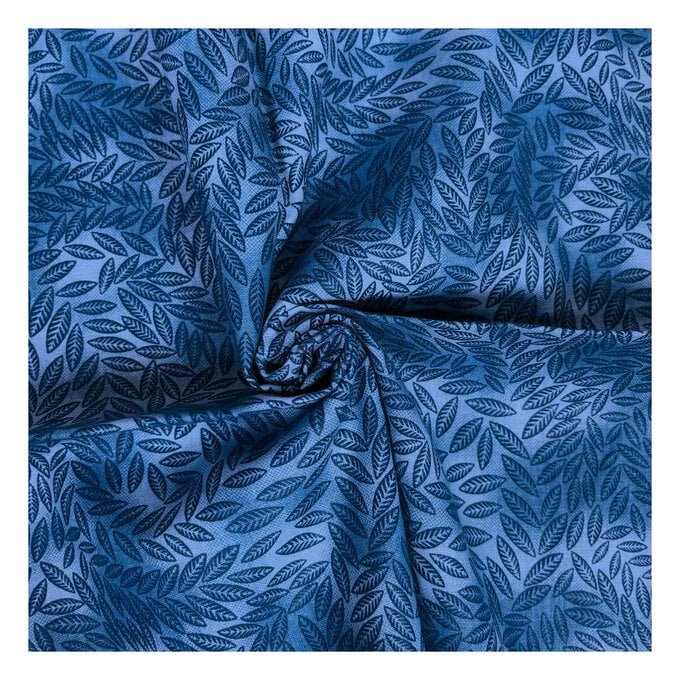
Natural Leaf Cotton Fabric by the Metre
Is $ 12.00
This Natural Leaf Cotton Fabric will add unique detail to any sewing project. This 100% cotton fabric will be ideal for a huge range of ideas, including dressmaking, home décor designs, quilts and more. Choose exactly the amount of fabric you need ...
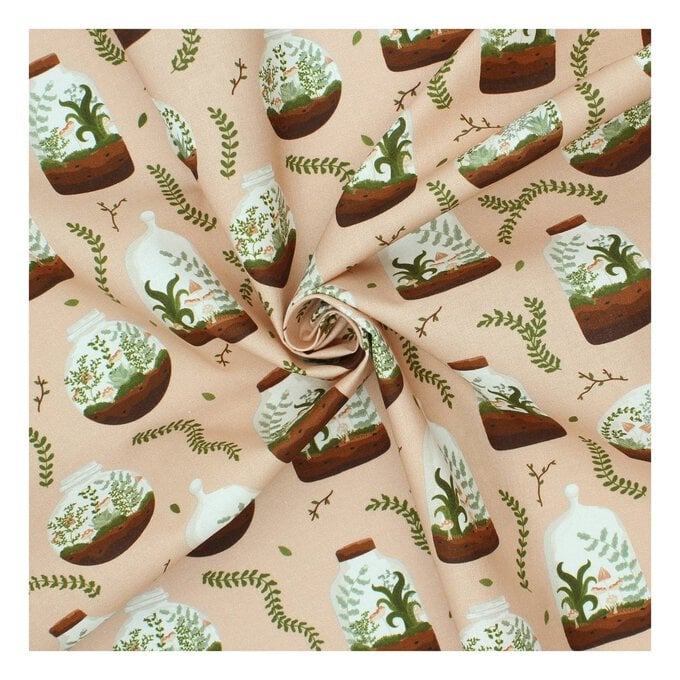

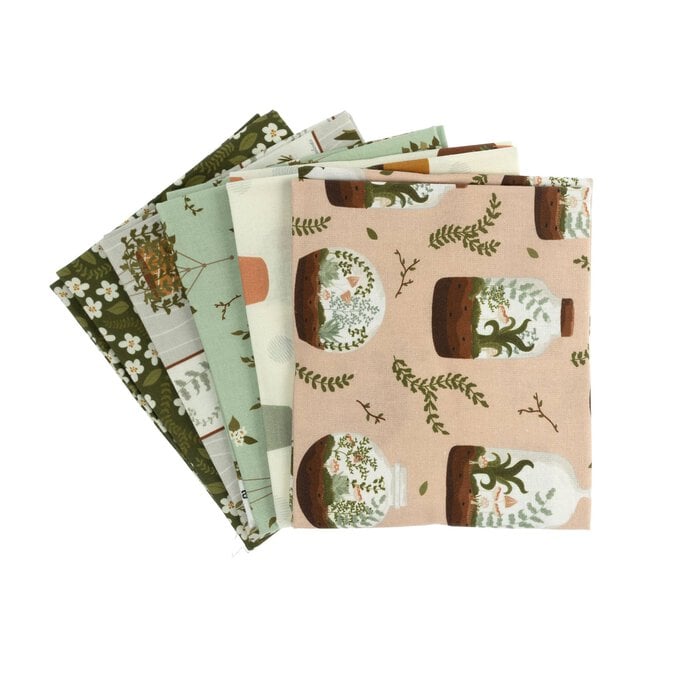
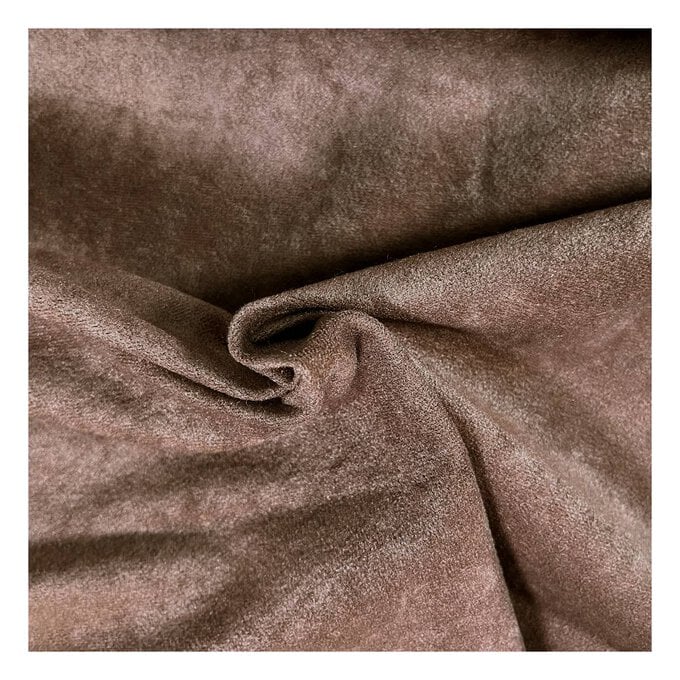
Plant Life Terrarium Cotton Fabric by the Metre
Is $ 12.00
This Plant Life Terrarium Cotton Fabric will add unique detail to any sewing project. This 100% cotton fabric will be ideal for a huge range of ideas, including dressmaking, home décor designs, patchworks and more. Choose exactly the amount of fabric you ...
New
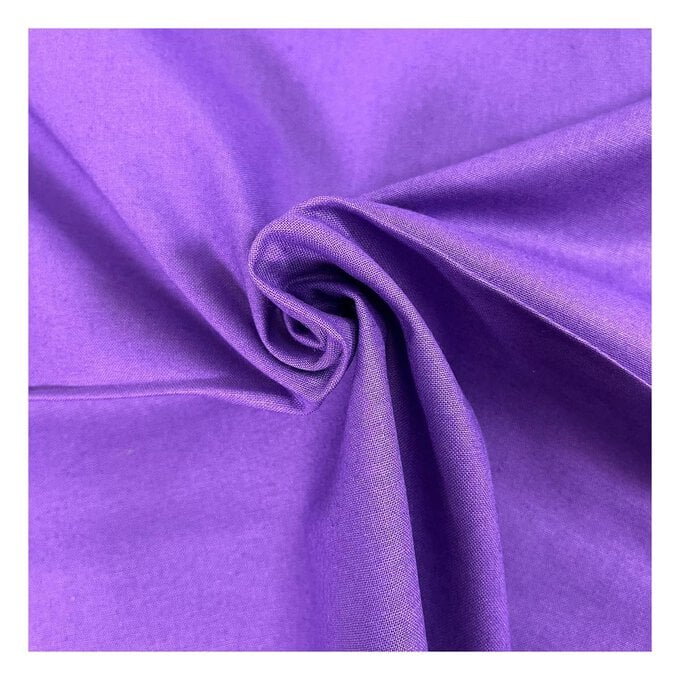

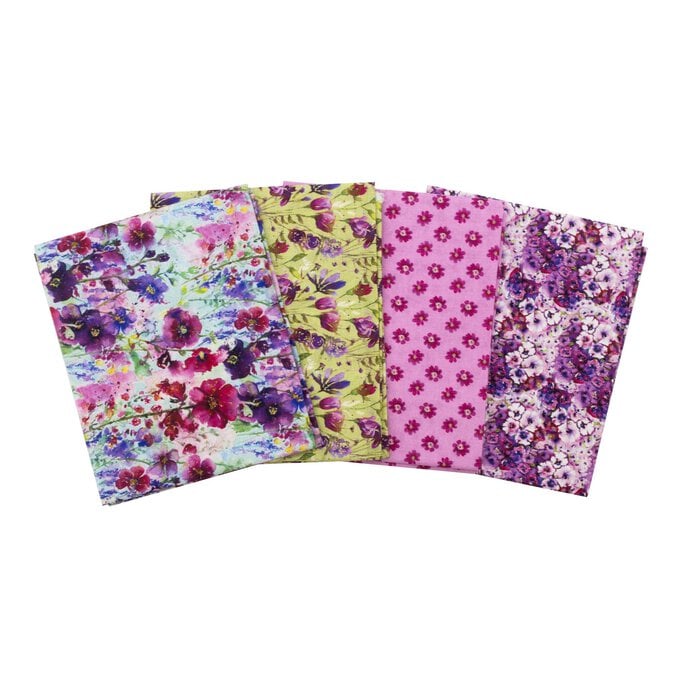
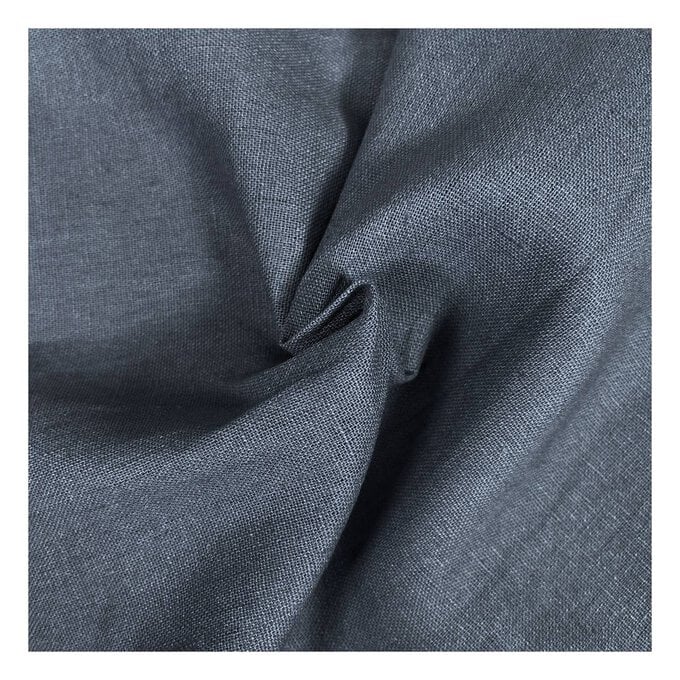
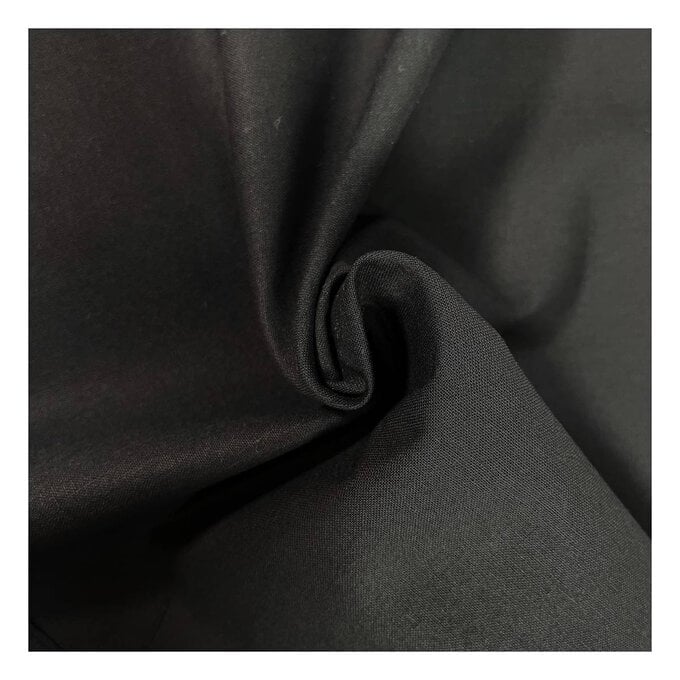
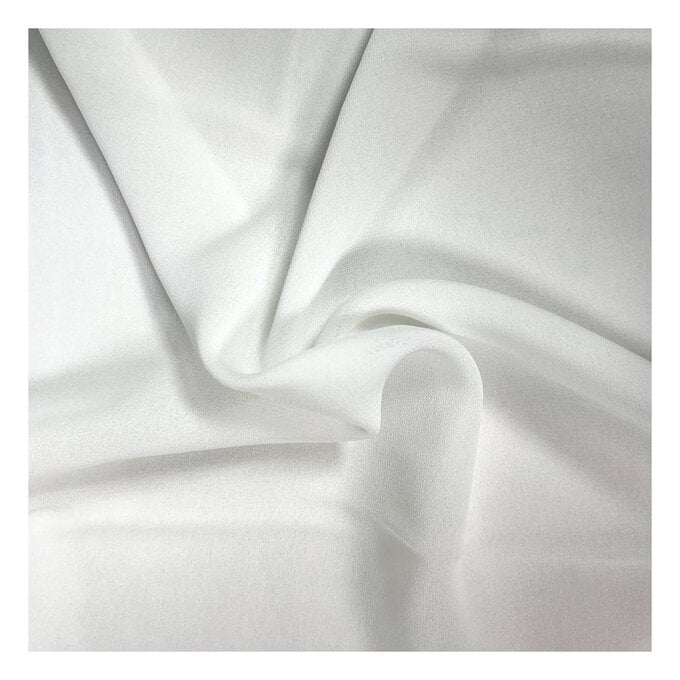
Purple Cotton Homespun Fabric by the Metre
Is $ 12.00
This Purple Cotton Homespun Fabric is 100% cotton and available in a wonderful collection of colours. It'll be the perfect choice for a wide range of sewing projects, including home décor pieces, quilting, garments and more.This cotton fabric is lightweight and ...
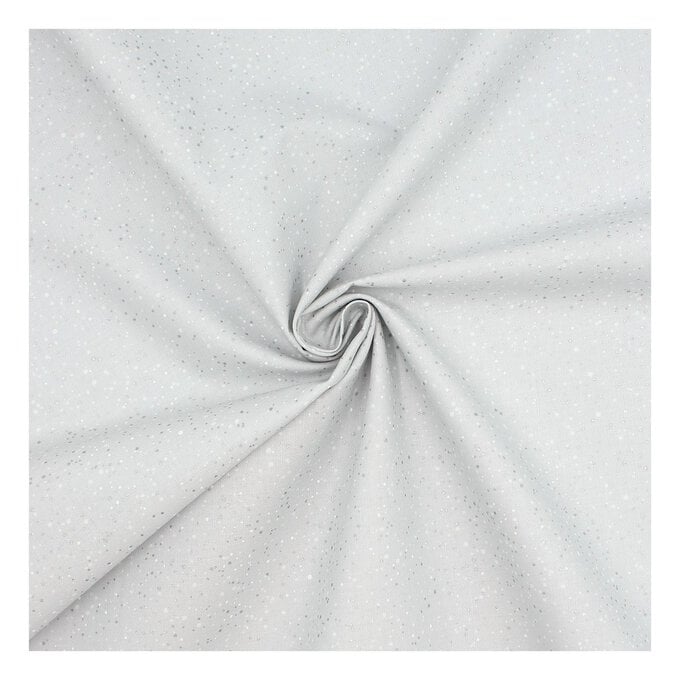

Robert Kaufman Silver Metal Dot Cotton Fabric by the Metre
Is $ 24.00
This Robert Kaufman Silver Metal Dot Cotton Fabric will add beautiful detail to any sewing project. This high quality fabric is 100% cotton and it will be ideal for a huge range of ideas, including dressmaking, home décor designs and more.Choose exactly ...
Oops...
Sorry, we did not find any products that match the
selected filters. You can go back to previous results to
select something different.