How to Make a DIY Halloween Decoration
Complete your handcrafted Halloween display with this wooden coffin halloween decoration. Using some basic crafting supplies, and the free creative lettering guide provided, you'll be able to create an effective Halloween sign whilst practicing your creative lettering skills.
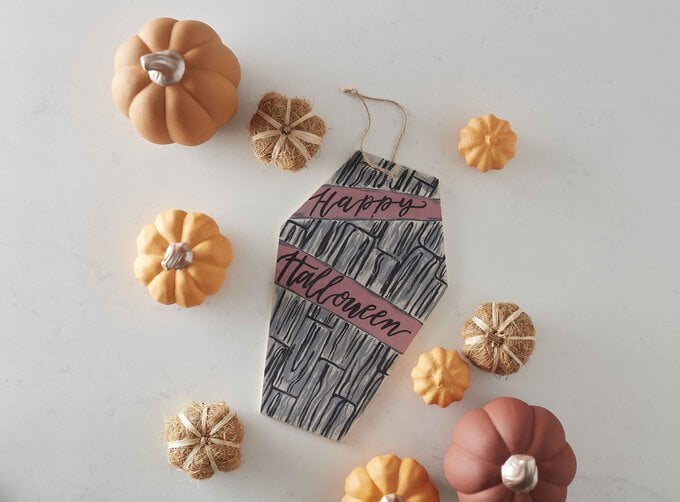
Display your wooden coffin sign in your front window with pride for everyone to see. Not only will you be able to scare your trick-or-treaters, but you'll be able to impress them with your crafting skills too!
Project and instructions by Edlyl Asis.
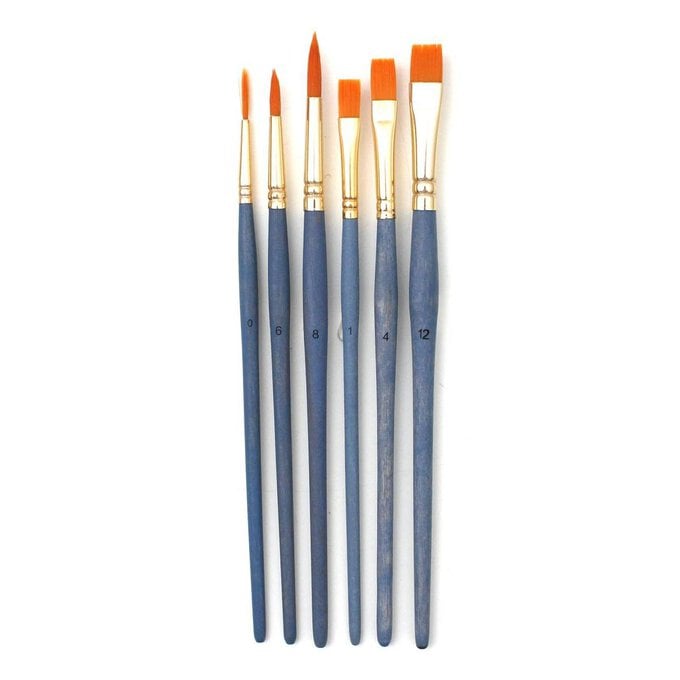
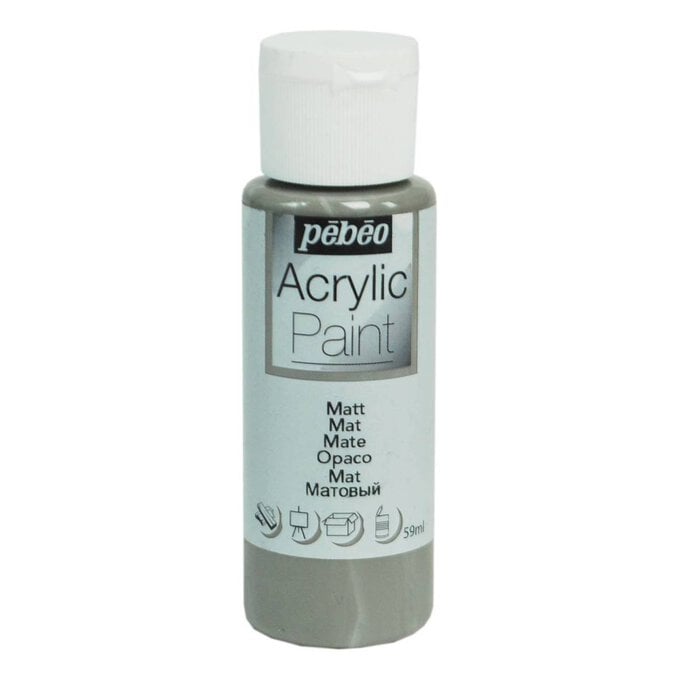
You will need
Subtotal
Is $ 6.49

Subtotal
Is $ 3.49

Subtotal
Is $ 4.49
Subtotal
Is $ 4.49
Subtotal
Is $ 4.49
How to make
You will also need:
* FREE downloadable creative lettering guide
* FREE Halloween wooden coffin template
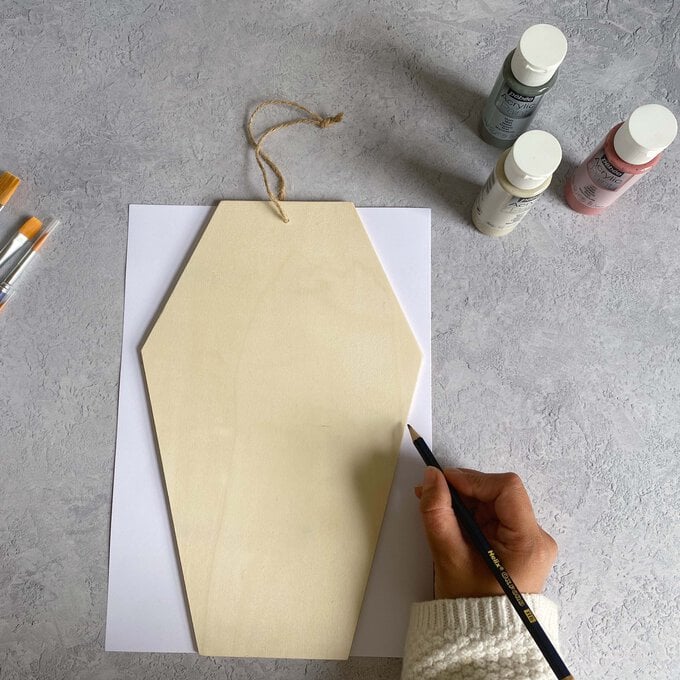
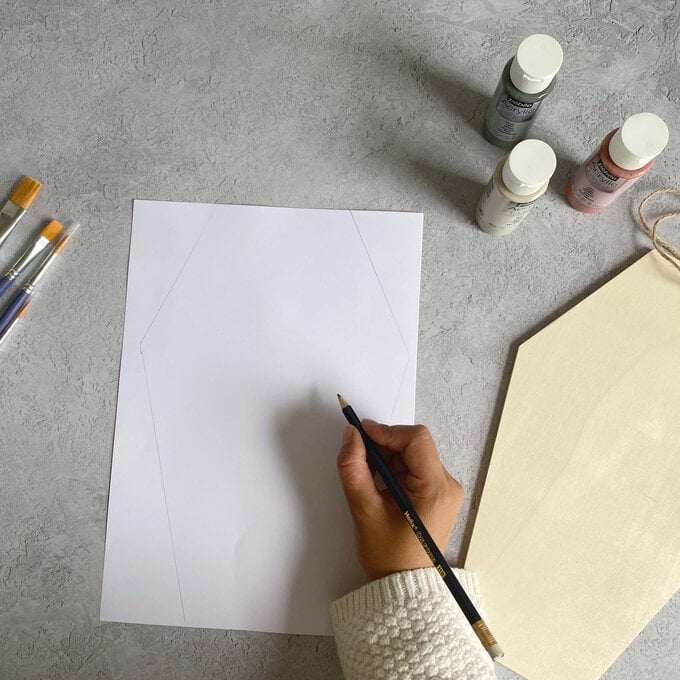
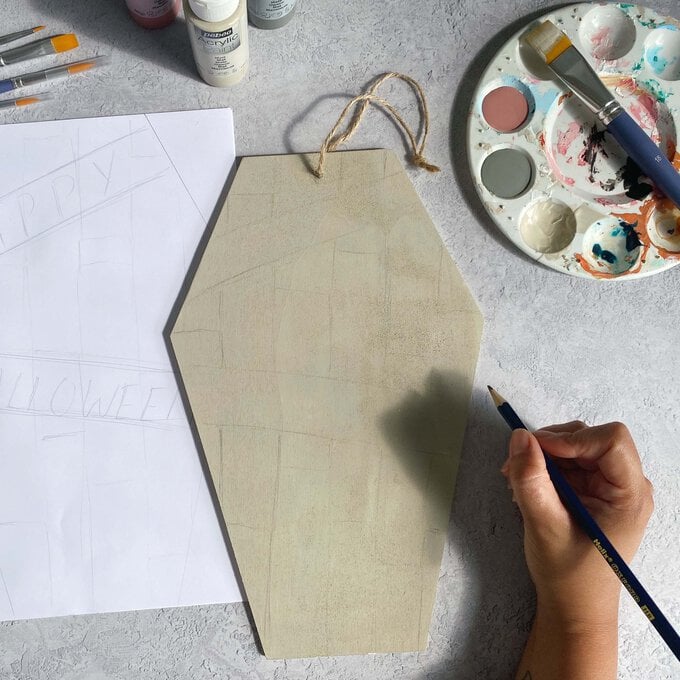
Place the wooden coffin over a piece of paper, using a pencil draw around it to mark the outline of the coffin. Use this as a mockup for your design.
Using the template provided, draft your design onto the piece of paper to work out your final design.

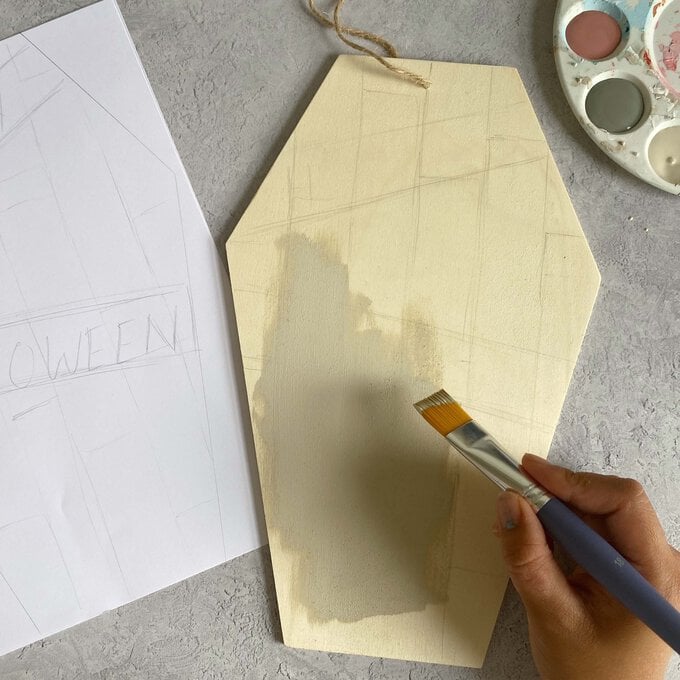
Paint the wooden coffin with your chosen background colour. Wait 10 mins to dry.
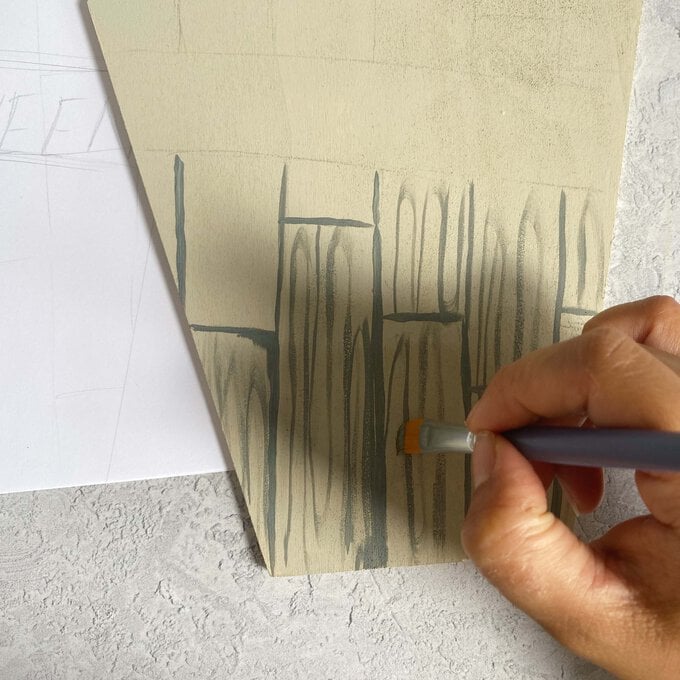
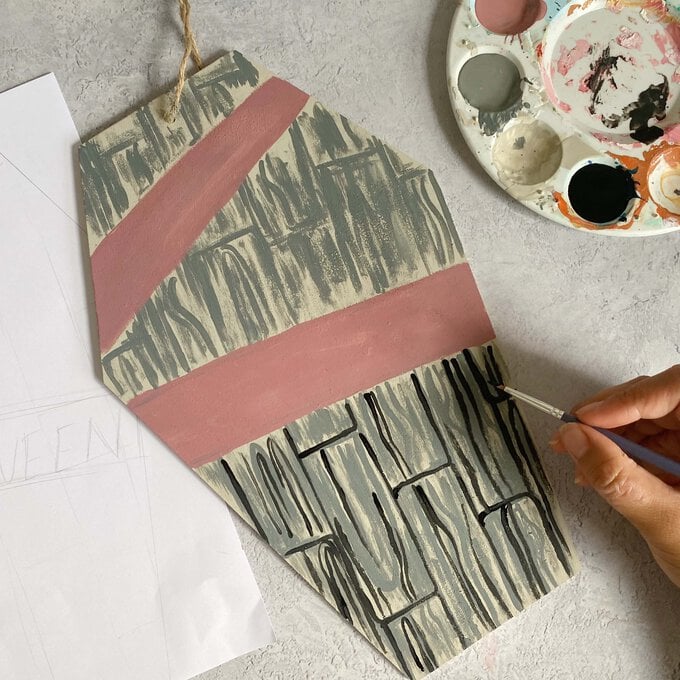
Once dry, use a pencil to lightly mockup your design. When you're happy with this, using the tip of a flat paintbrush, create some wood-like texture.
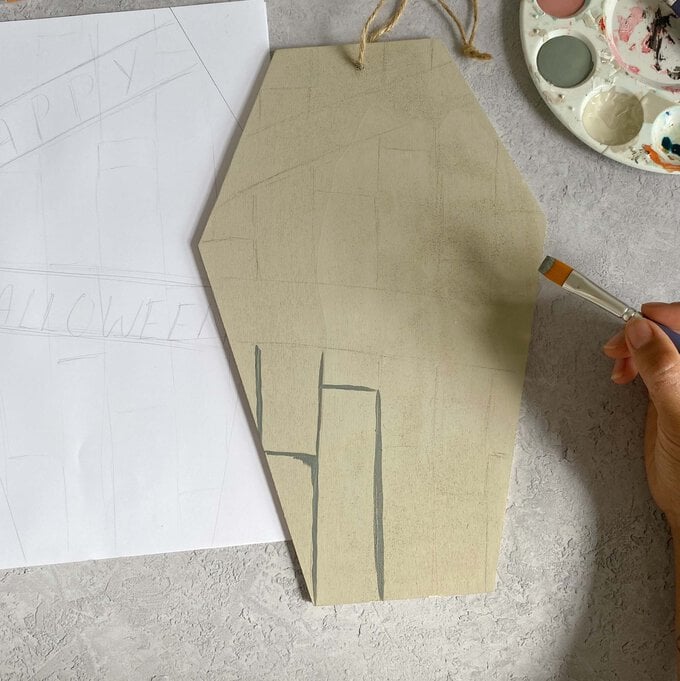
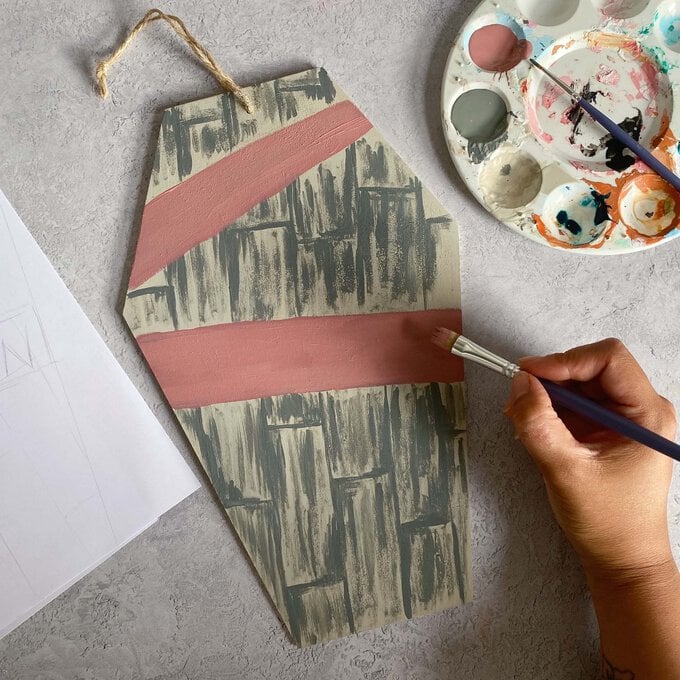
Wait for this to dry. With a bigger brush and a different colour, preferably a brighter colour, paint the section where your greeting will go.
Again, wait for this to dry. Using a small round tip brush, go over the wooden slats with a darker paint (perhaps a black paint) and paint some more lines and curve shapes to add to the wood-like effect.
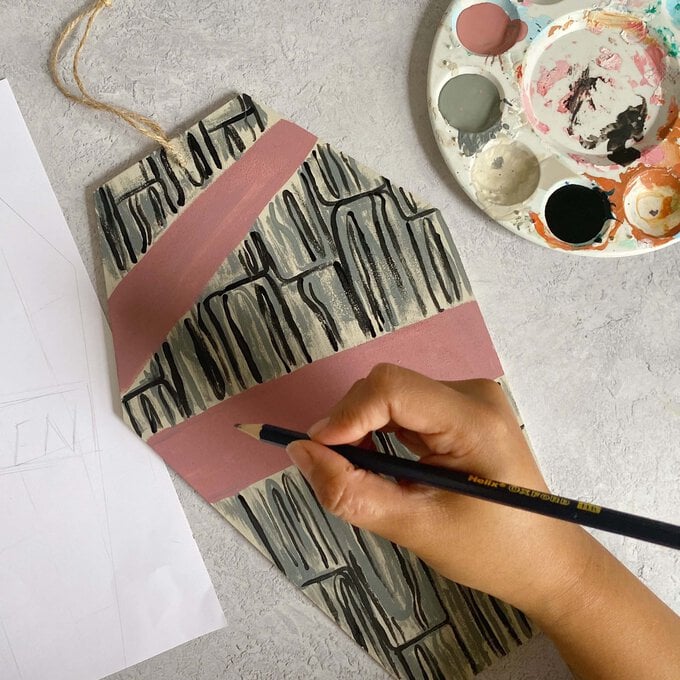
Once dry, you can then move onto the wording.
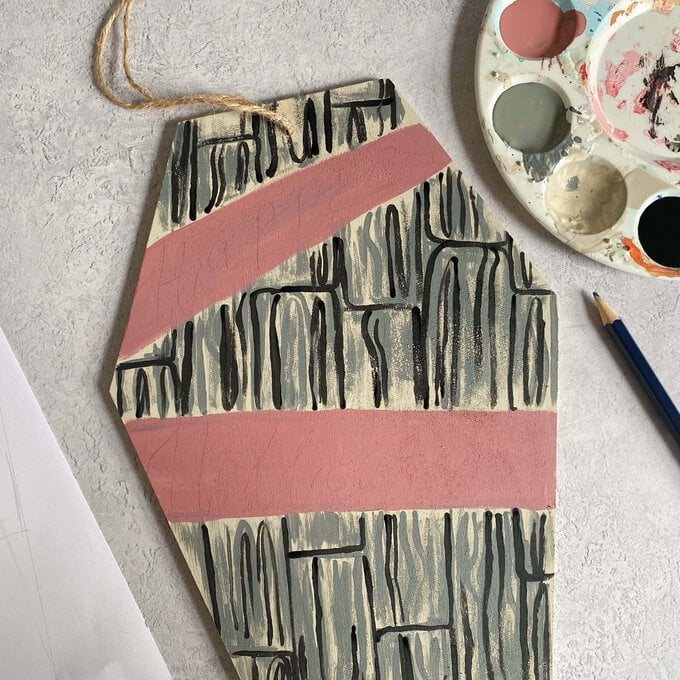
Use a pencil to lightly write out 'Happy Halloween'. If you need to practice the style on a piece of paper before writing on the wood.
Top Tip: Use the FREE lettering template provided and creative lettering practice paper if needed.
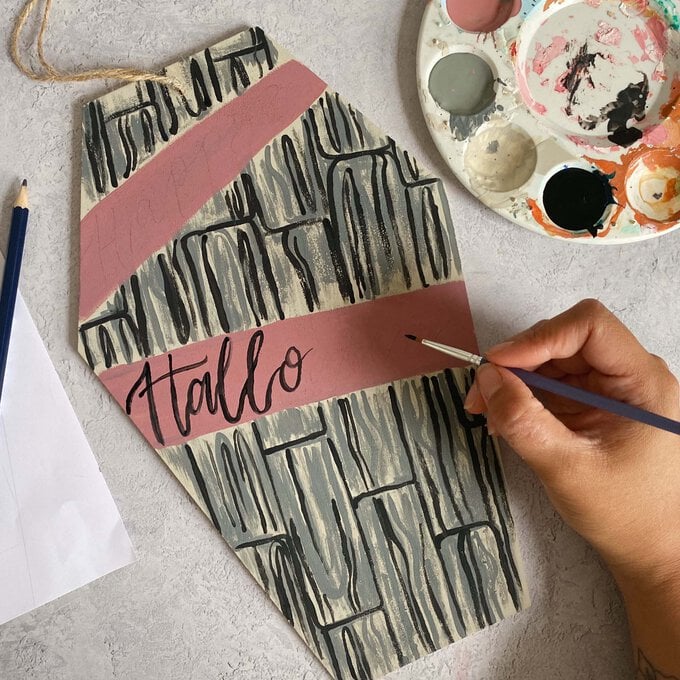
Once you're happy with the style of lettering, use the same small brush and black paint and carefully write out the greeting, letter by letter.
Top Tip: You may have to go over it again to make it finer but wait for it to dry before going over it again.
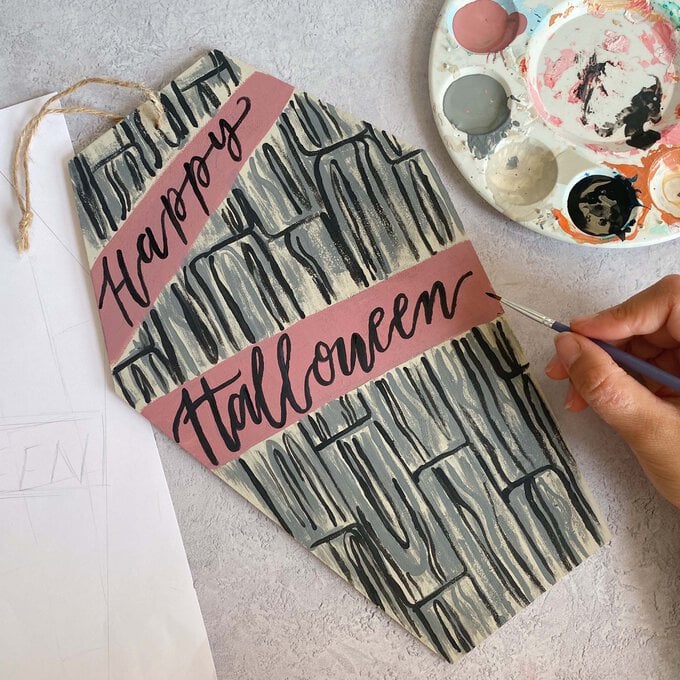
Finally, add a few more finishing touches with the grey paint around the wording.
Leave the decoration to dry before hanging up in your home.
Related Products