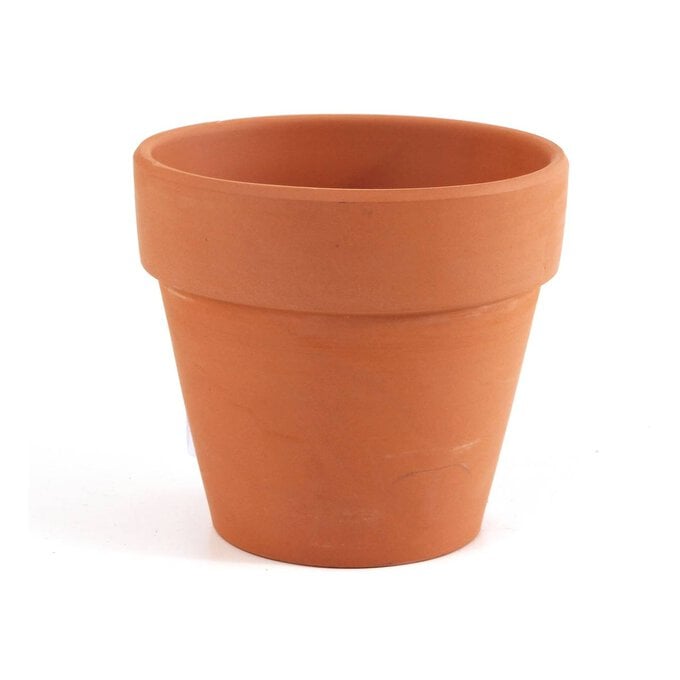
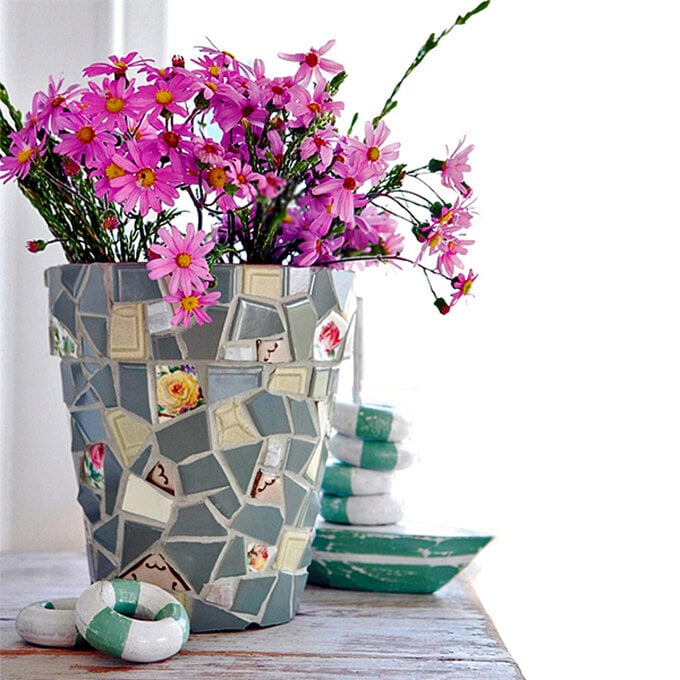
How to Make a Mosaic Plant Pot Holder
Create this eye-catching, mosaic plant pot to display your favourite plant. Follow a specific colour scheme or go for a rainbow design!
Mosaics may look tricky to do, however, as long as you have the right tools and a spare few hours of making time you can have something really beautiful that will last a life time.
You will need
Subtotal
Is $ 19.00
Subtotal
Is $ 6.49
Subtotal
Is $ 8.49
Subtotal
Is $ 3.49
How to make
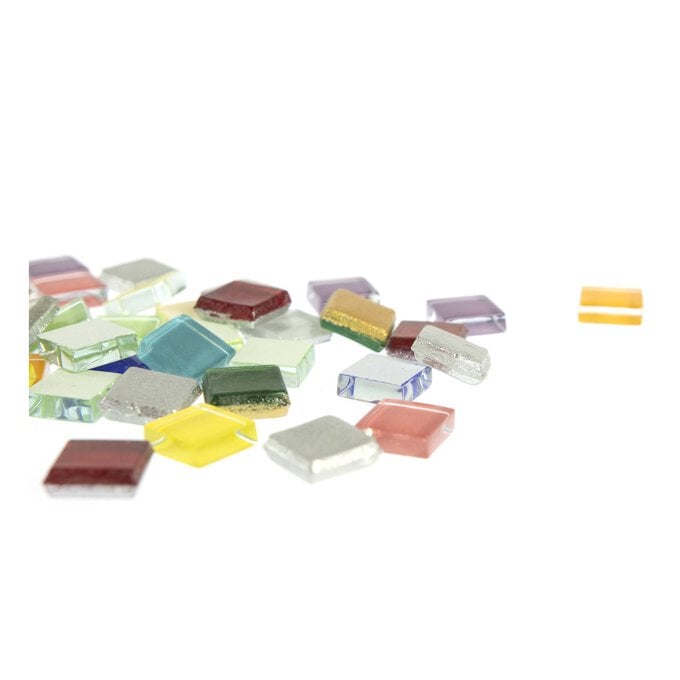
* Mosaic Tiles
* Tiles (If breaking into mosaic tiles yourself)
* Hammer (If breaking into mosaic tiles yourself)
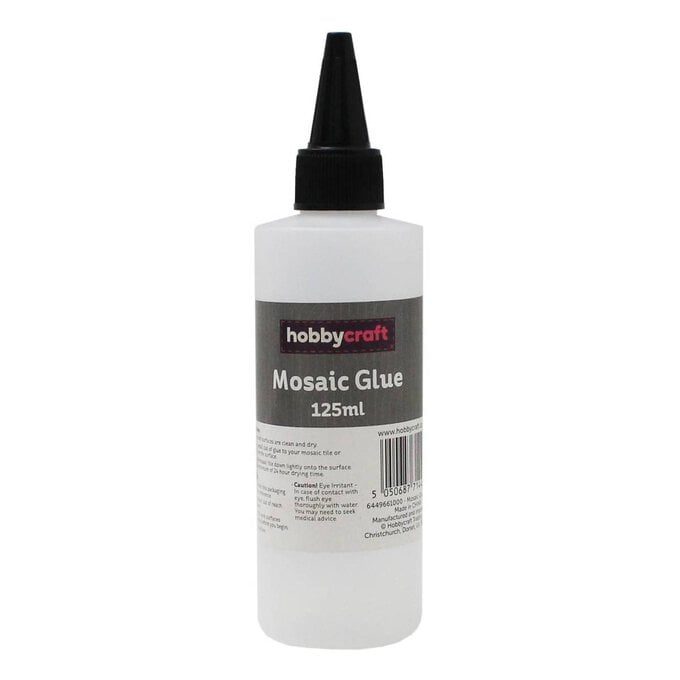
* Tile Adhesive
* Plant Pot
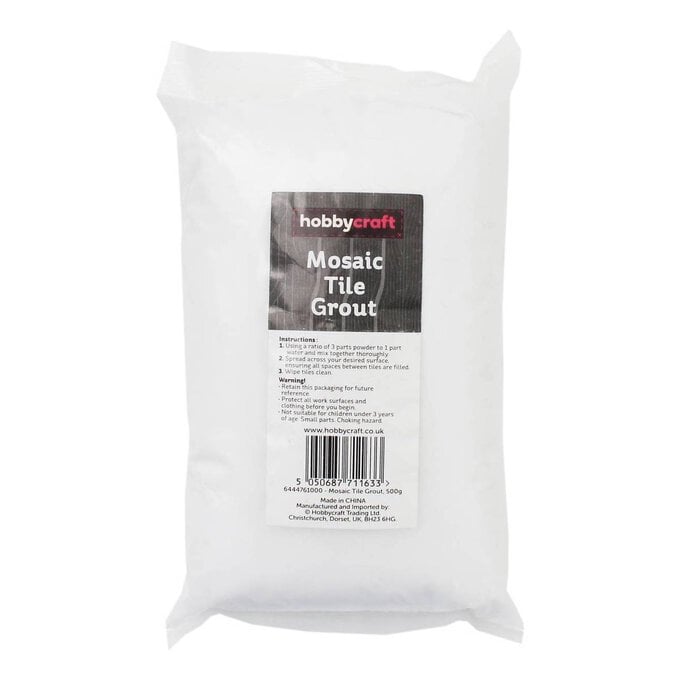
* Grout Powder
* Waterproofing Medium
* Craft Paint
* Plastic Bag or Newspaper
* Spatula
* Soft Cloth

Use our ready-made Mosaic tiles or try breaking your own to recycle unwanted tiles.
Make your own mosaic tiles by enclosing them in a thick plastic bag and breaking them up using a hammer. If you'd like to cut out specific shapes, it would be better to use a two-wheeled tile cutter.
Now you've got your mosaic tiles, can start adhering them to the pot. Use a spatula to spread an even layer of tile adhesive over approximately one-third of the edge.
Press the mosaic tiles into the tile adhesive. Leave small, even spaces in-between the tiles, arranging them as if you were assembling a jigsaw puzzle. Try to position them in line with the top edge of the pot so the top edge will be neat once completed.
Repeat to cover the remainder of the top edge, then complete the rest of the pot, working in sections.
Set aside for approximately three hours to allow the adhesive to dry completely.
Pour a little grout powder into a small plastic container, then slowly stir in the waterproofing medium, mixing well to combine. Stir until the mixture has the consistency of thick paste - it doesn't take long to mix the grout so you can always mix more if you need it later.
Now mix a little craft paint into the grout mixture to colour it, again stirring well to combine.
Note: The colour will be slightly lighter once the grout has dried. Use your hands to spread the grout over the entire surface of the pot, ensuring you fill in every groove between the tiles.
Set the pot aside for about two hours to dry.
Once completely dry, wipe it down with a damp sponge to remove the excess grout.
Set aside for another hour to dry completely before polishing the entire surface with a soft cloth.
Related Products
Is $ 4.49


Is $ 4.49


Is $ 5.49

