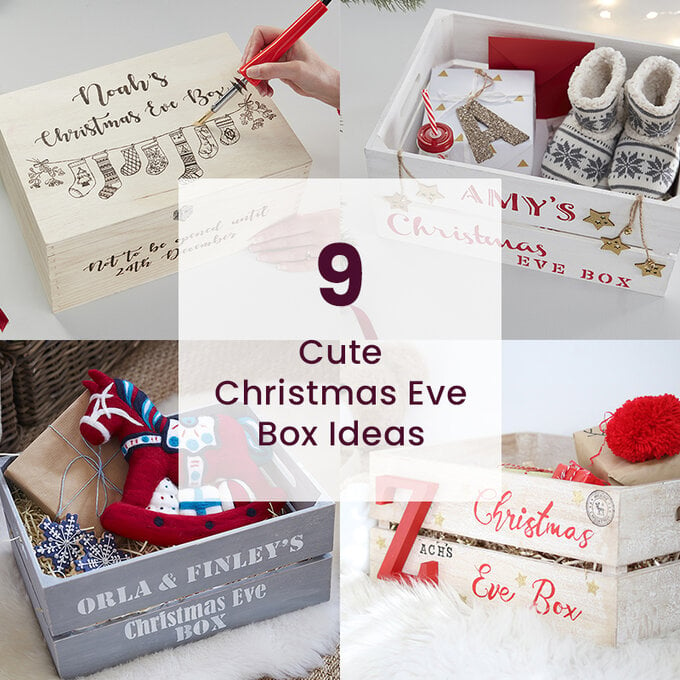
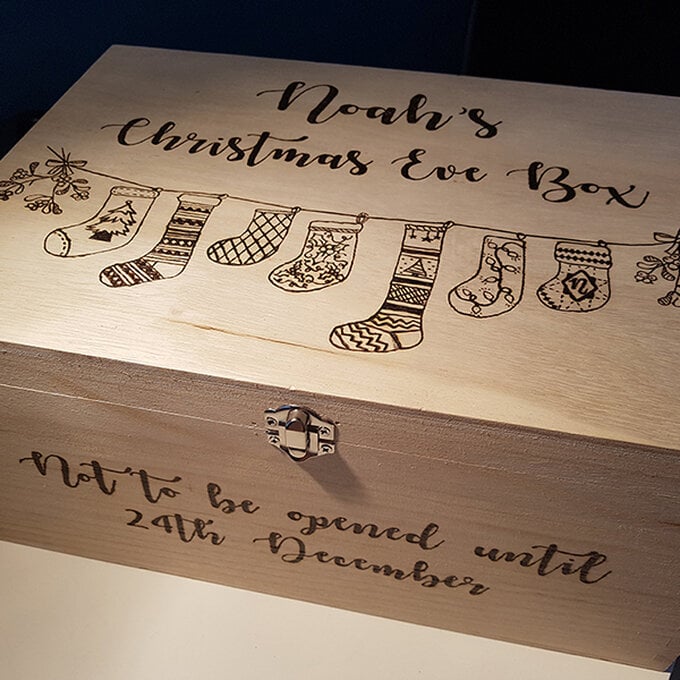
How to Make a Pyrography Christmas Eve Box
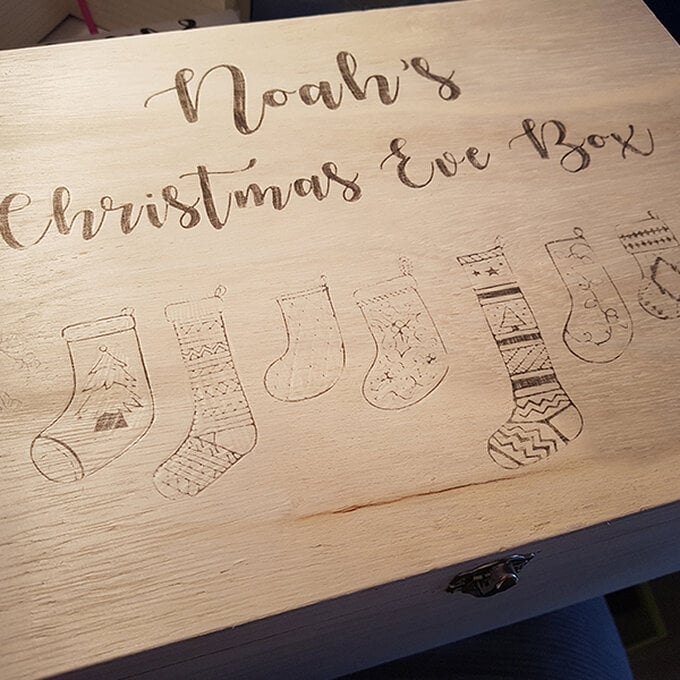
Create your own beautiful personalised Christmas Eve Box with a bit of pyrography. This traditional 'wood burning' technique uses a special tool to burn your design into the wood - which means you can personalise it to the max, using your favourite fonts and images!
Follow our step-by-step guide to get creative with this unique skill. All that's left to do is fill the box with sweet treats and activities for before the big day...
Project and instructions by Rachel Richardson
You will need

Subtotal
Is $ 23.00
Subtotal
Is $ 3.49
Subtotal
Is $ 15.00
Subtotal
Is $ 3.49
How to make
You will also need:
* Design software enabling you to reverse your chosen design to print
* Hand held mirror (optional)
* Scissors
* Tape

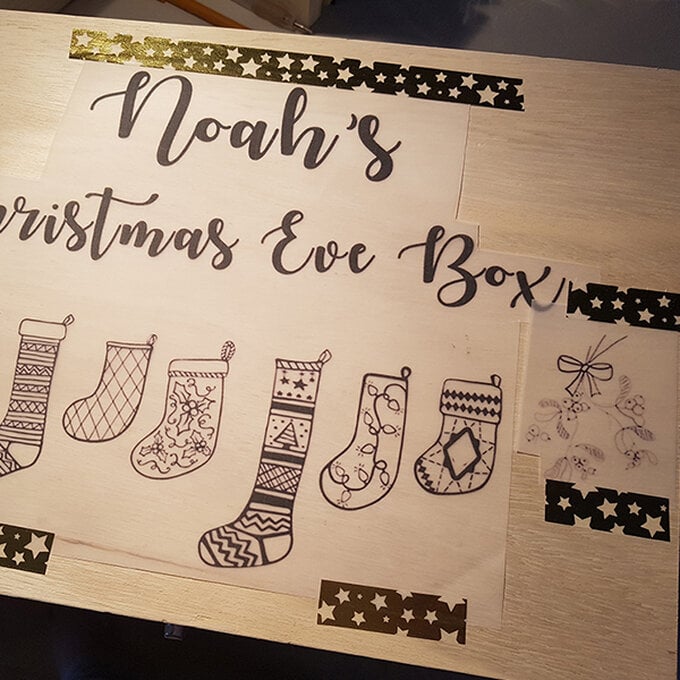
Measure the lid of the box.
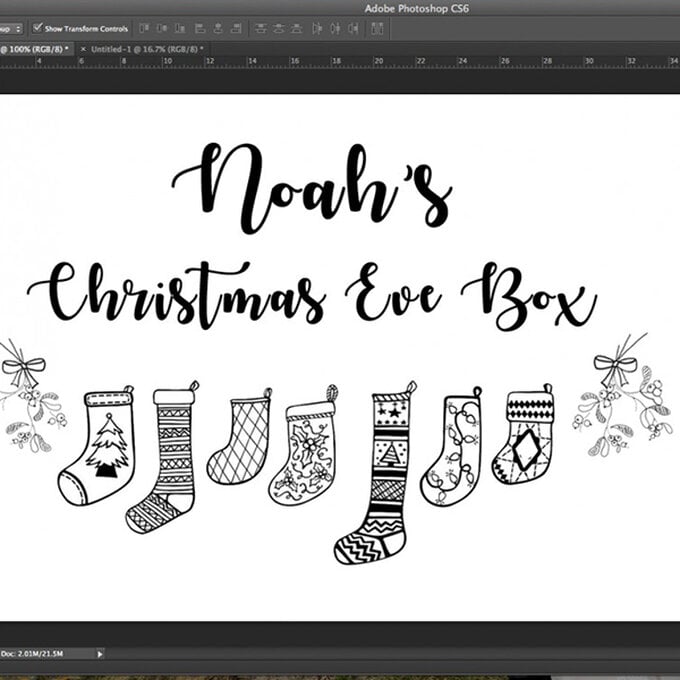
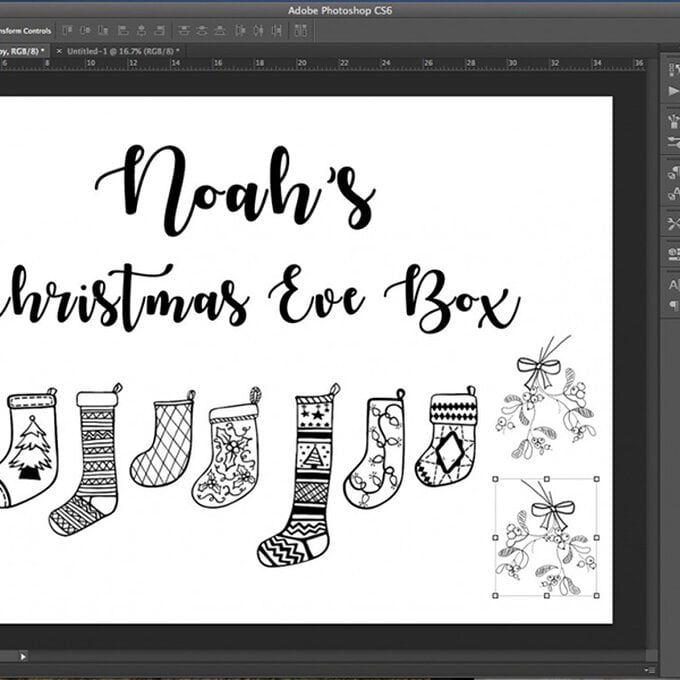
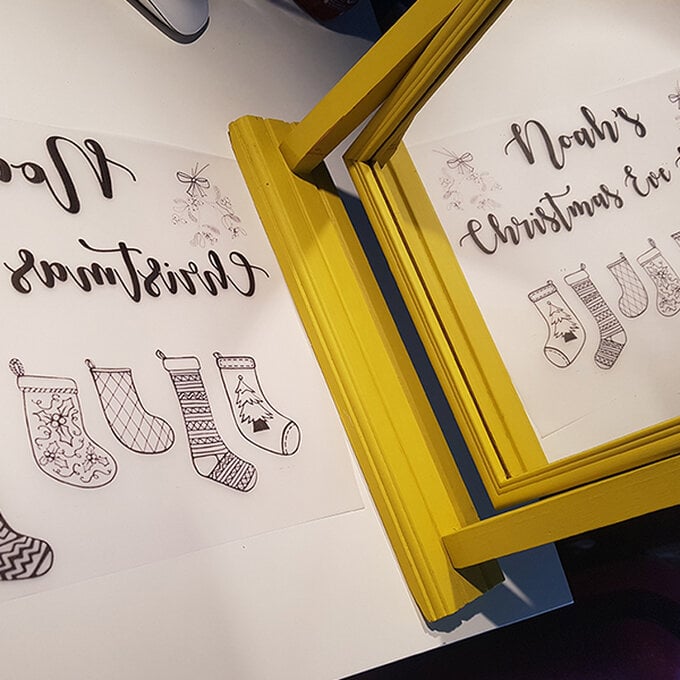
When you start your design think about the size and whether it's easy to print. Set guidelines to A4 size in your design software (don't worry if your design is larger than A4, you can print out multiple pages or cut up the design to arrange in place once printed). The font shown is Autumn in November – you can find free fonts available with a quick internet search.
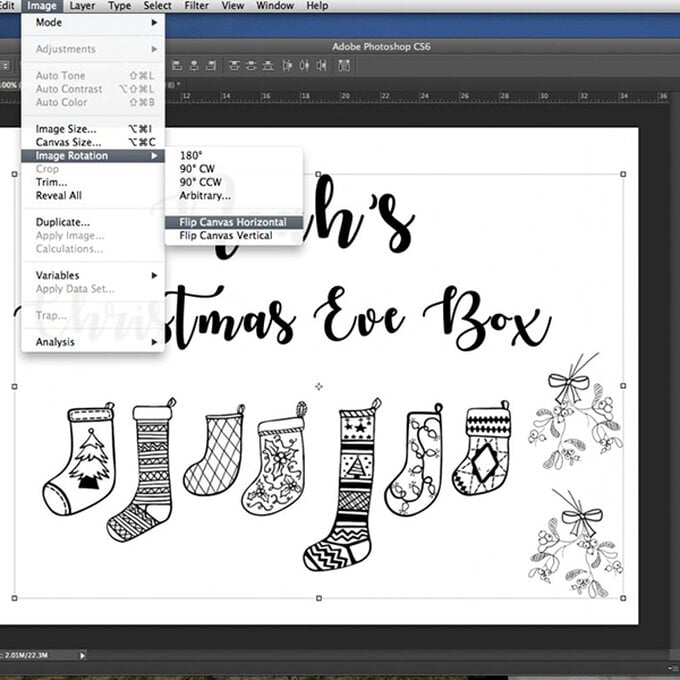
Before printing, flip the image horizontally. You'll find the option to do this in the settings of your design software.
Tip: Place a mirror to the left or right of your design to check your design has flipped correctly. If you can read it, you're ready for the next step.
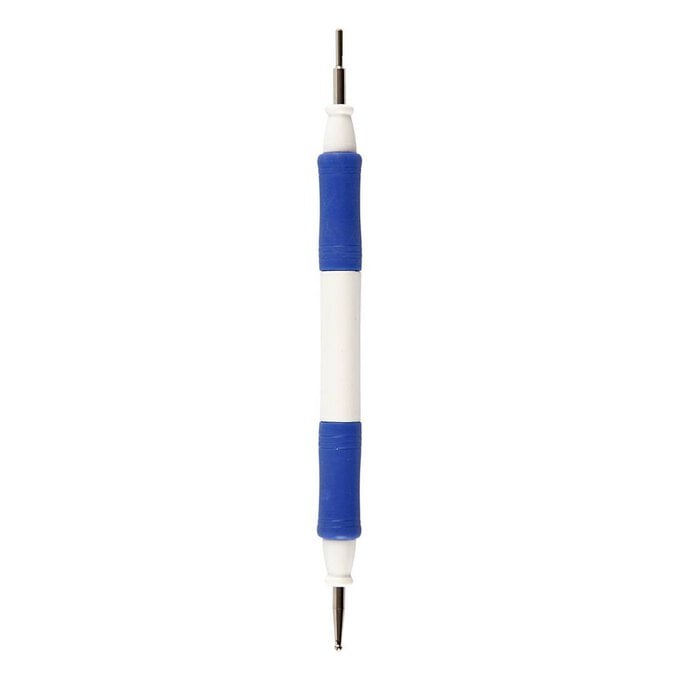
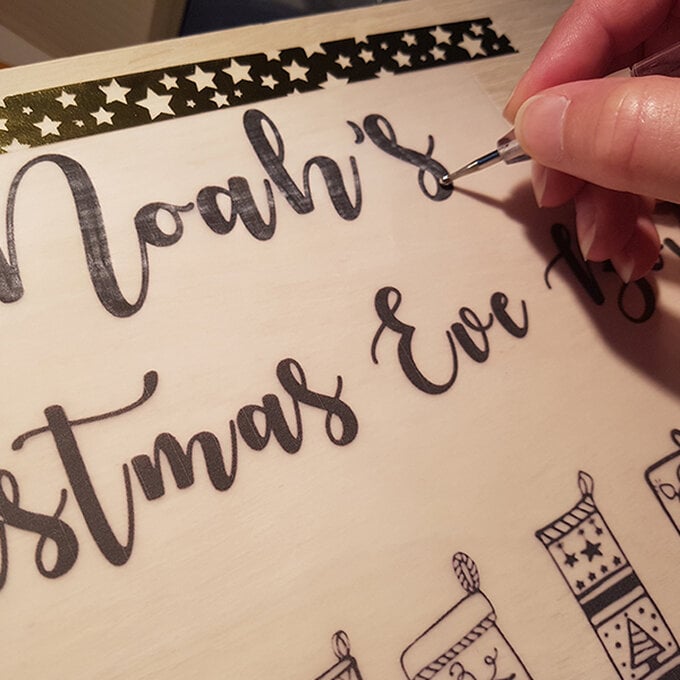
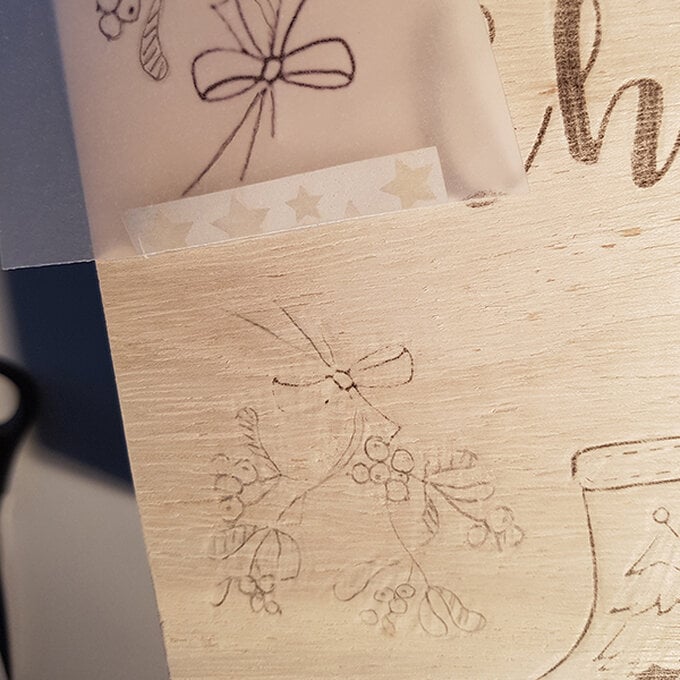
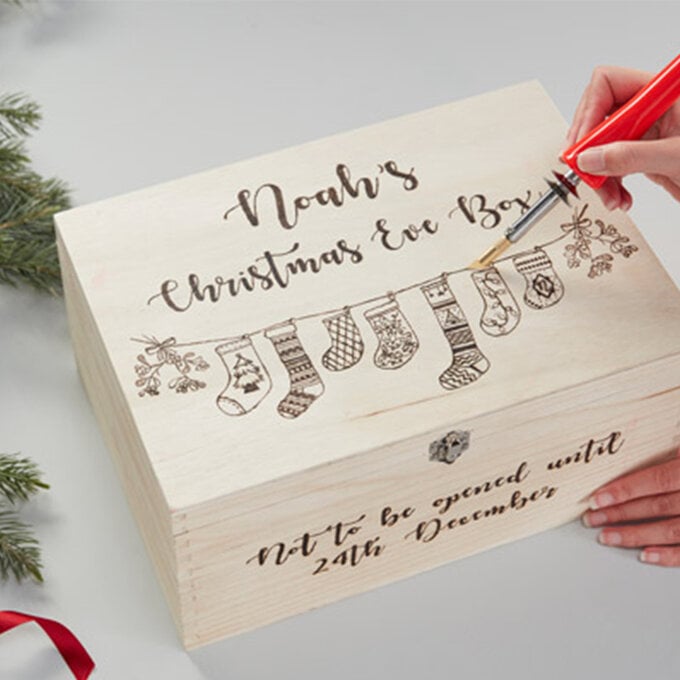
Using the embossing tool, gently rub over the image to transfer the ink onto the box. Peel back the paper and check the pressure you have applied is enough.
Tip: Only rub where the ink is printed to prevent indentation elsewhere on the box. If you need to, fill in any gaps with a pencil.


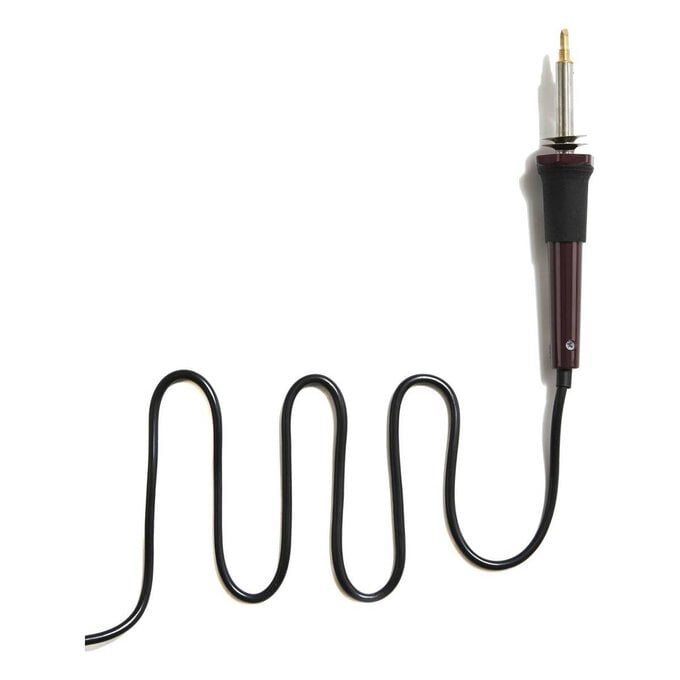
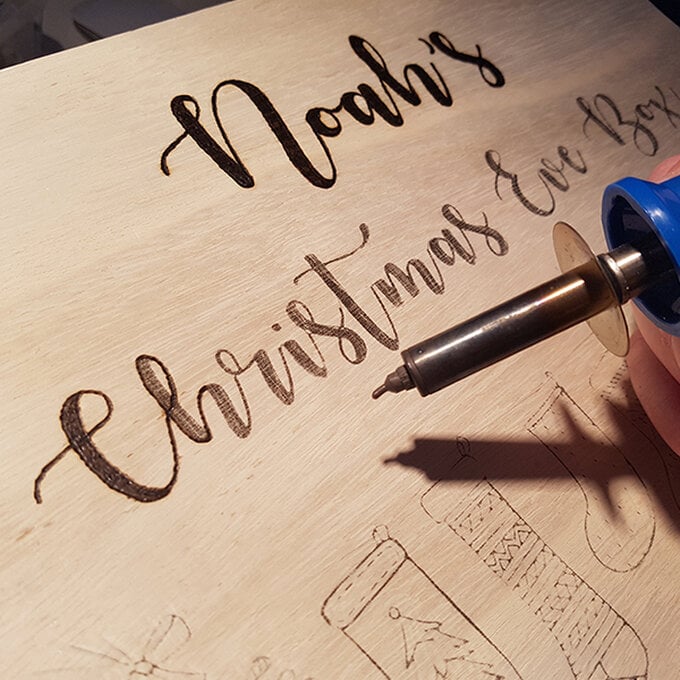
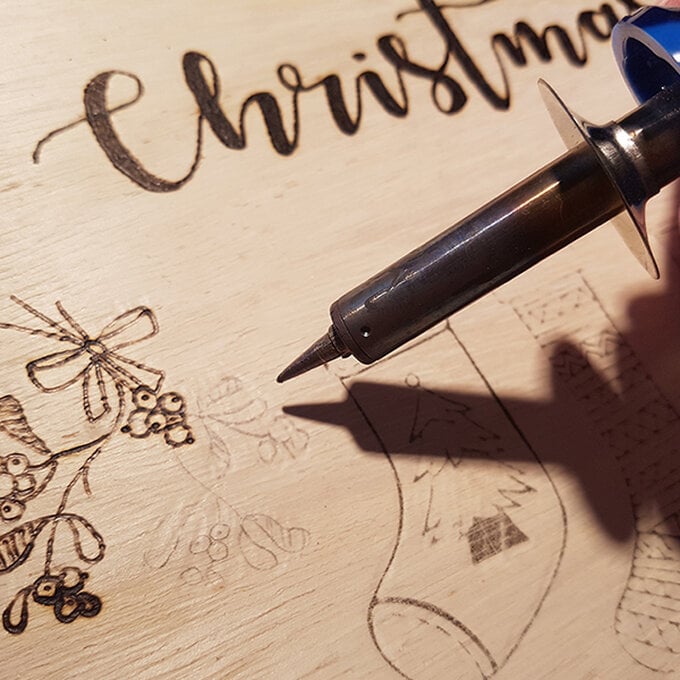
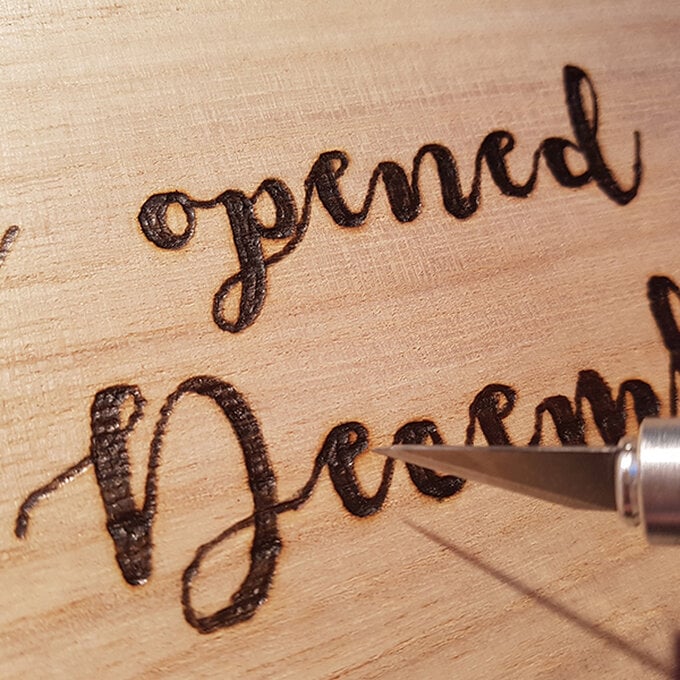
Allow the pyrography tool to heat up for approximately five to ten minutes. Use a round ended tip as it will flow easier when burning. Use a fine tip when burning detail.
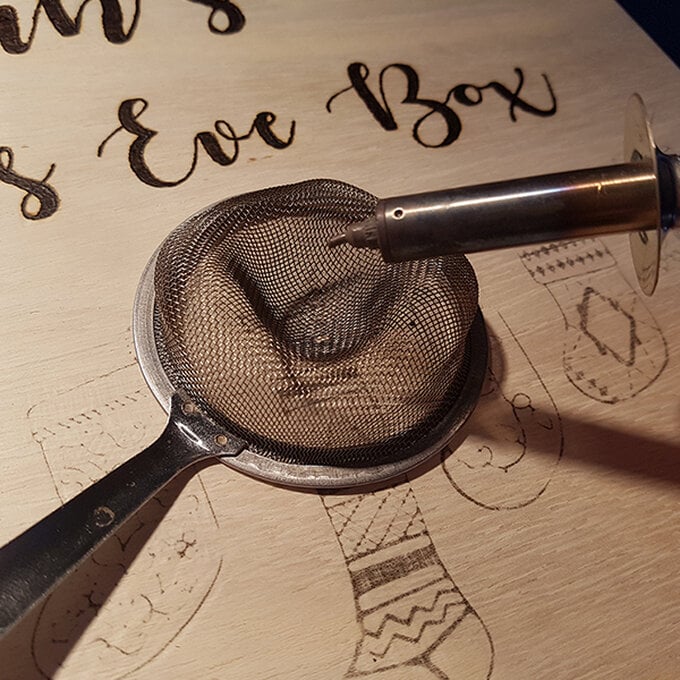
Tip: As you burn you will notice some build up on the tip, rub the tip onto the back of an old tea strainer to remove it. You can use a sharp scalpel to gently scratch away mistakes or scorch marks.
Related Products